No more boring soggy sandwiches in your lunch box, this post is how to perfect the Lunchbox Toasted Sandwich!
This may seem like a very simple idea to some, but I love to share these easy tips as we head back to school. Over the years my kids have become a bit over sandwiches day in day out so we mix it up. And this is one of the ways.
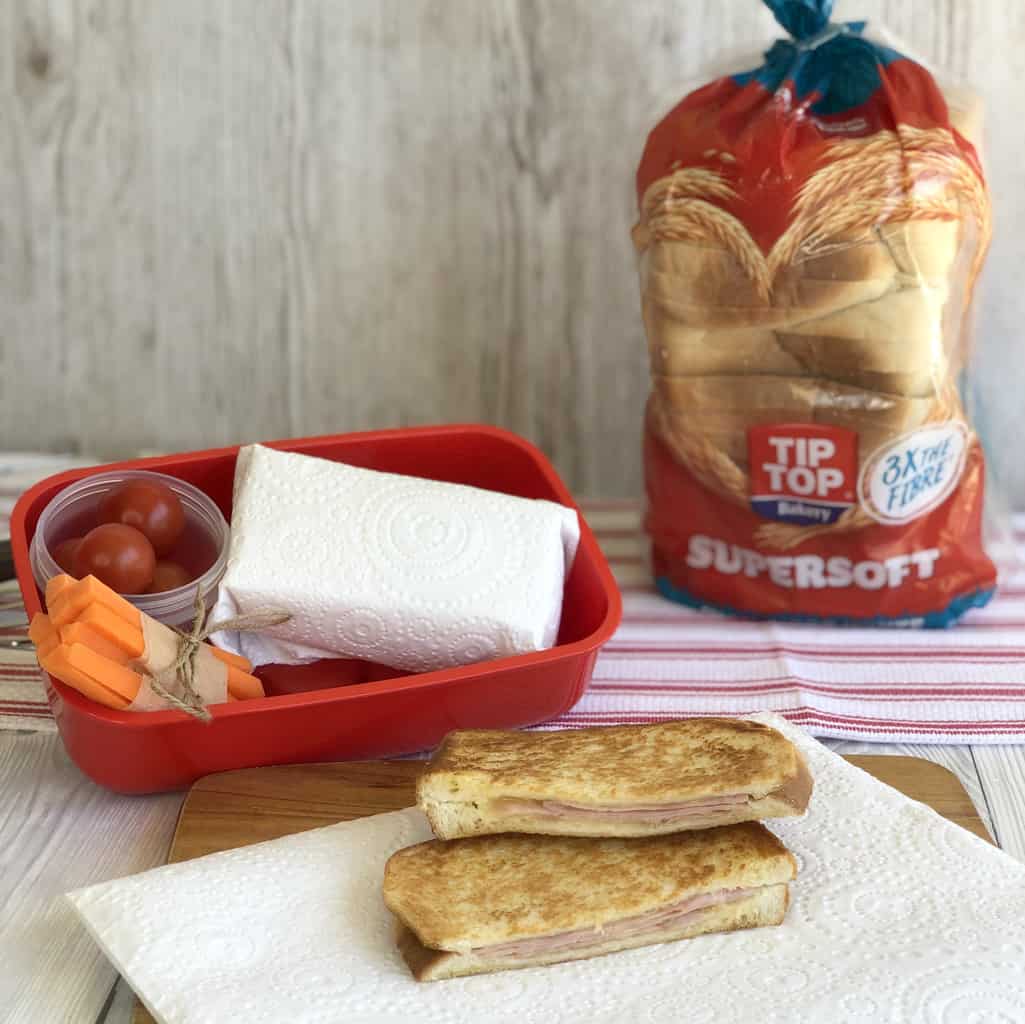
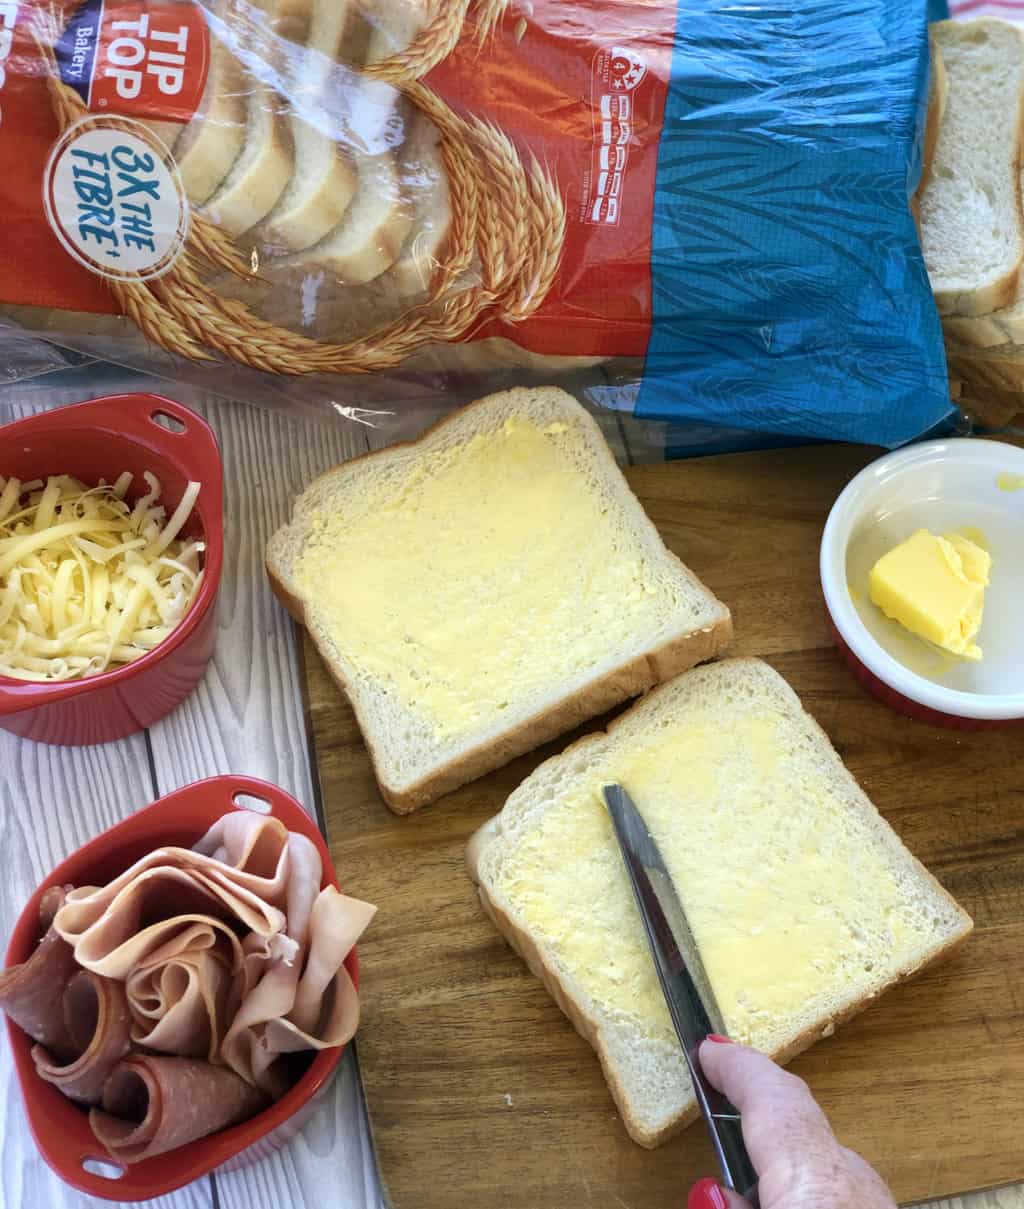
I have partnered with Tip Top to showcase their delicious new Supersoft High Fibre White Toast Bread. It is all the things you love about fresh soft white bread, with 3x the fibre compared to the standard Tip Top Supersoft bread!
It makes wonderful sandwiches and great toasties, so I knew it was the perfect product to share this easy tip with you all.
Toasted sandwiches are such an easy solution to a tasty lunch, but as you can imagine without proper prep they can become soggy and unpleasant come lunch time. But with a few tips from me you can change the way you prepare lunches this year.
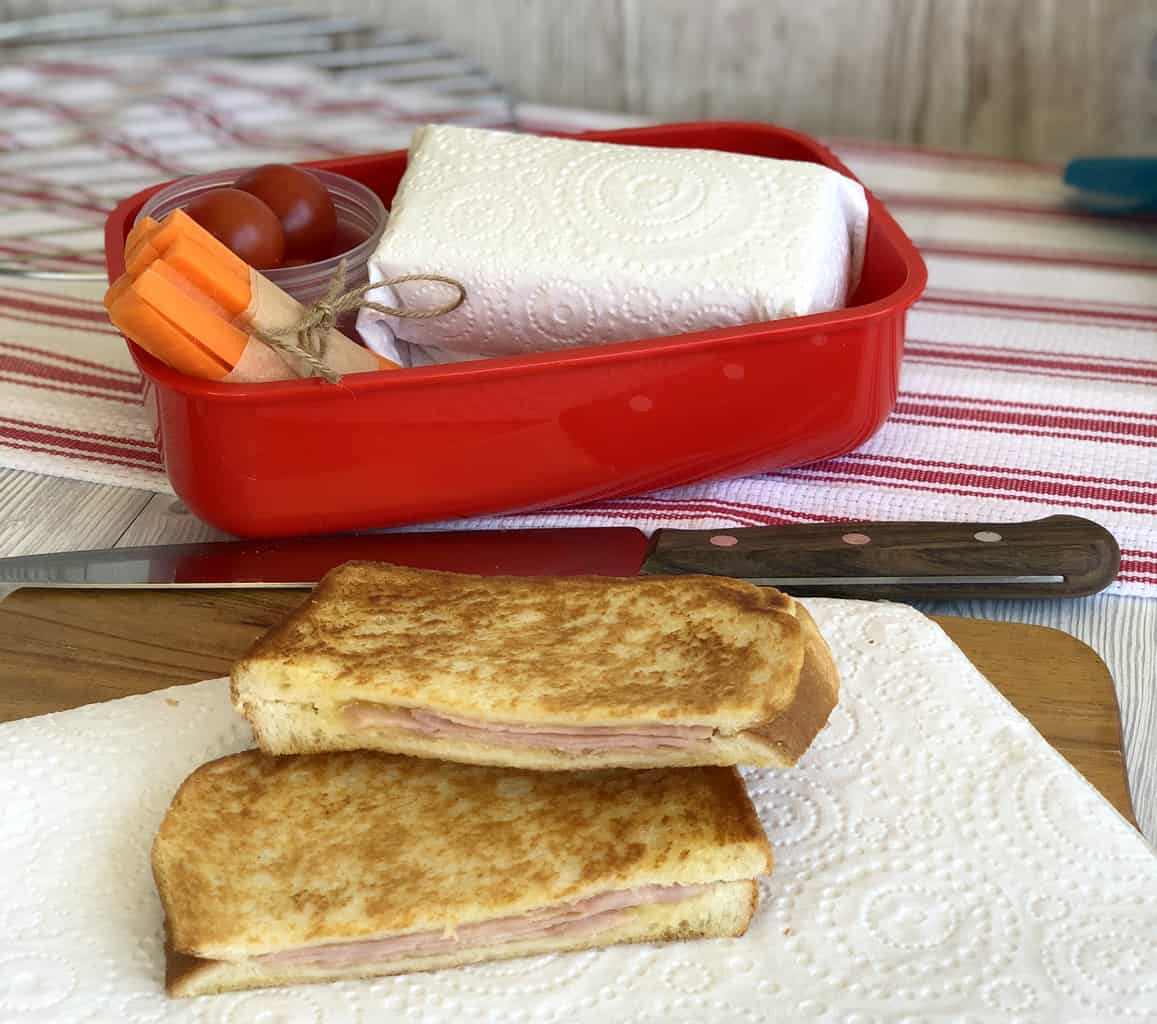
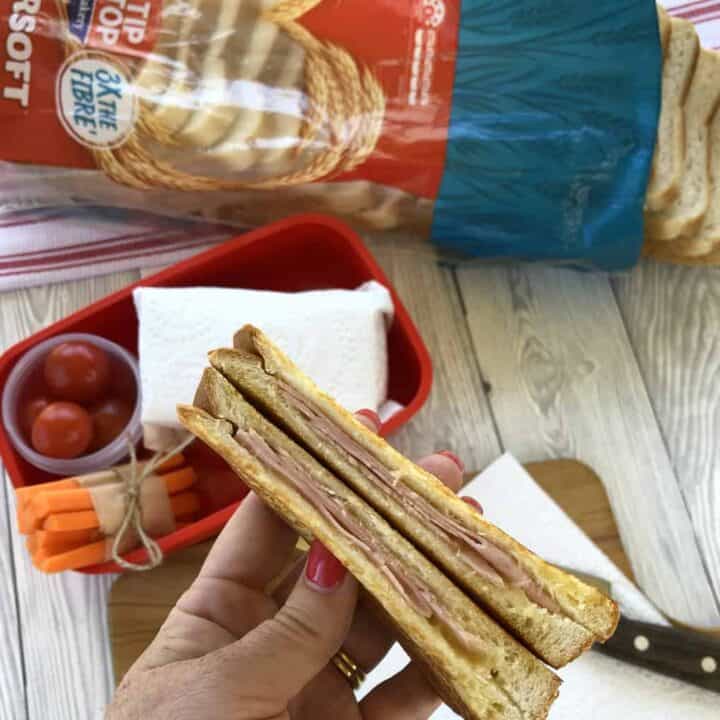
I am sure you all know how to make toasted sandwiches, there are so many options for fillings too! For today I have gone very simple with Ham & Cheese. This is the classic toastie and perfect for lunch boxes.
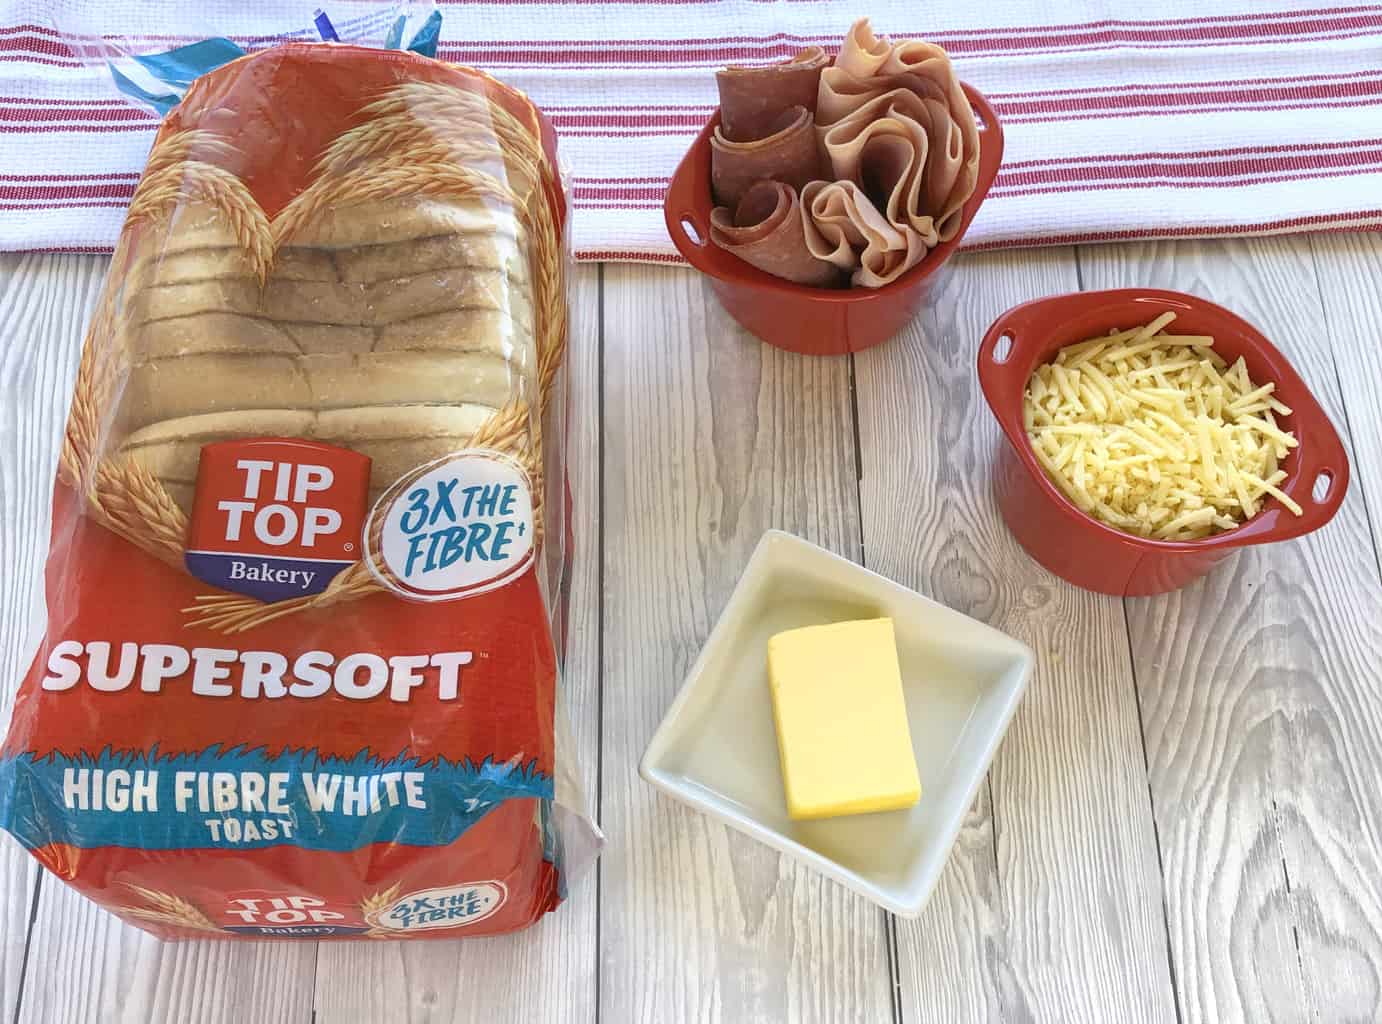
All you need is
-
Tip Top Supersoft High Fibre White Toast Loaf
-
Butter
-
Cheese
-
Ham
-
Toasted Sandwich Maker or Frying Pan
-
Wire Rack
-
Paper Towel
You want to make sure the filling itself is not too moist for this method, but you can definitely try more fillings that suits your family. Creamed corn or baked beans are popular, but you need to not overfill the toasties so they are not soggy.
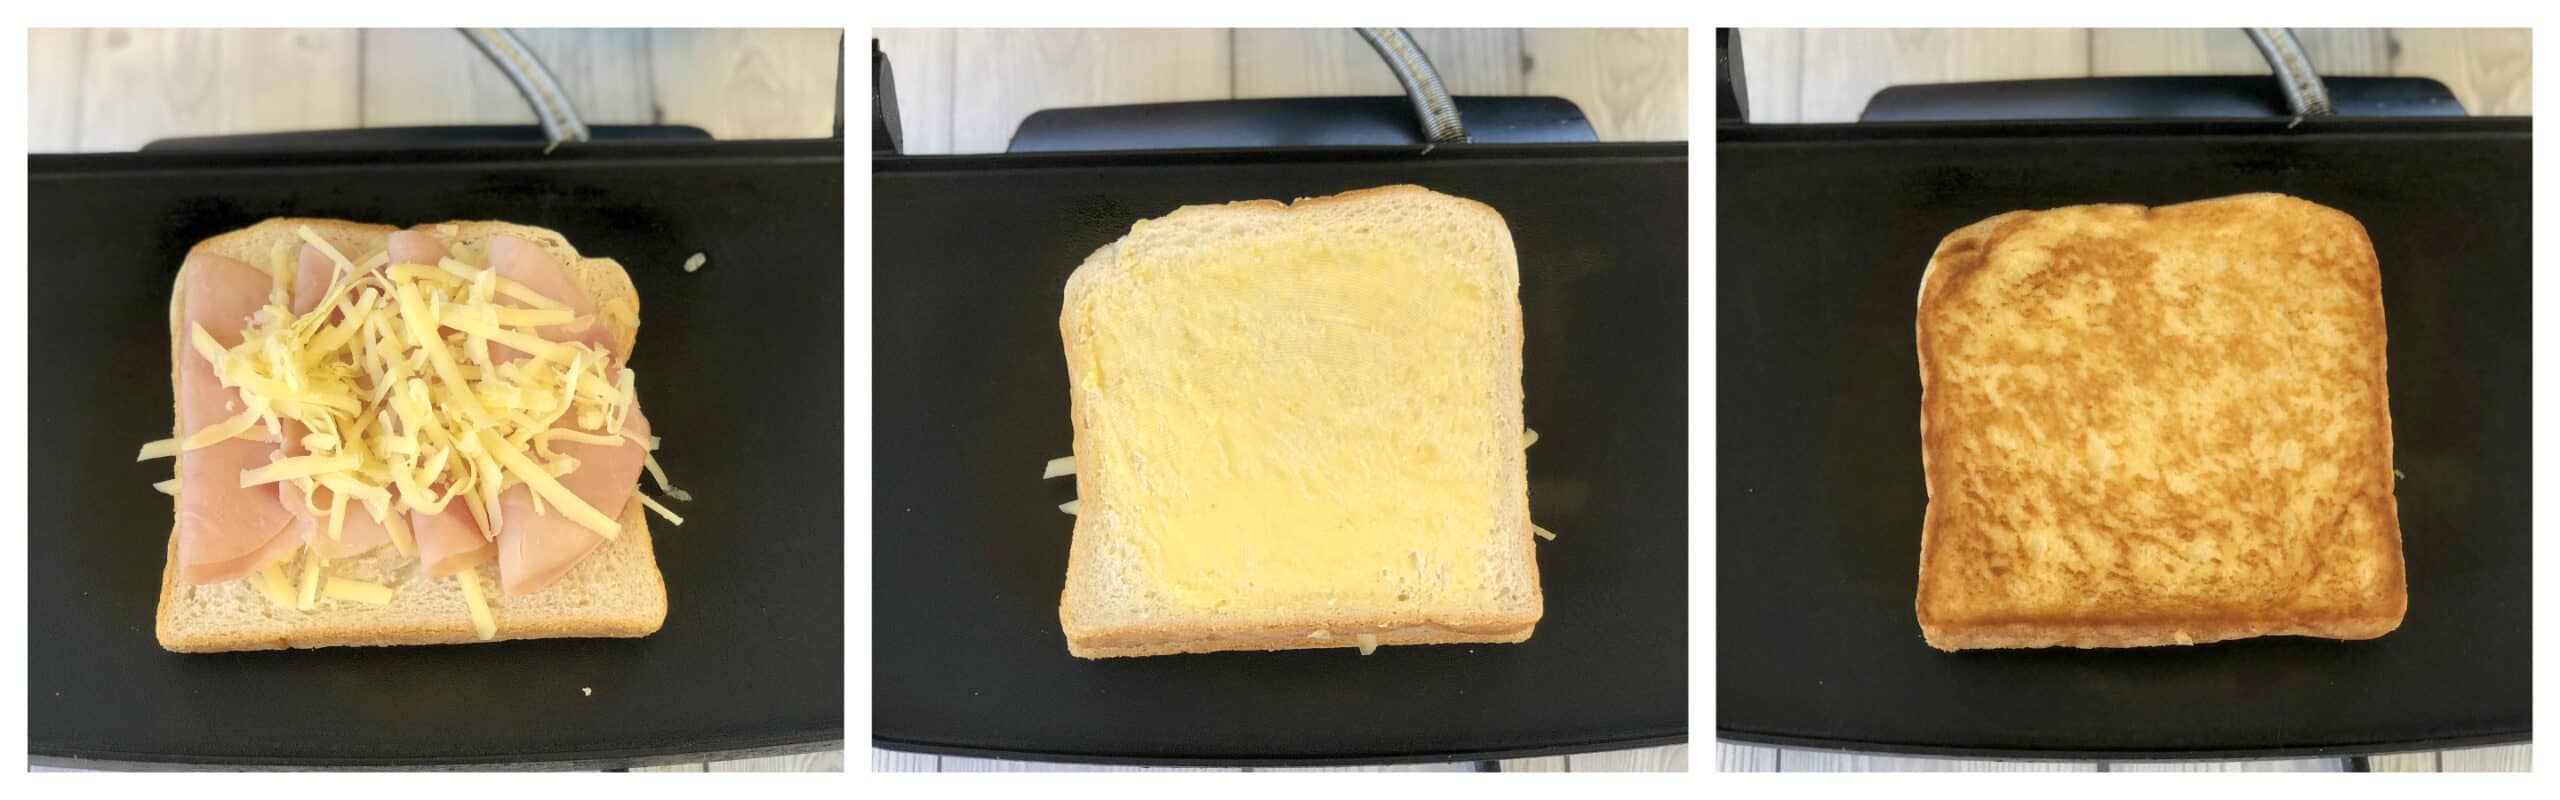
The key is to cook the toasted sandwich as you normally would, I use a sandwich press for this. You can use a frying pan also, simply brown each side over a medium heat.
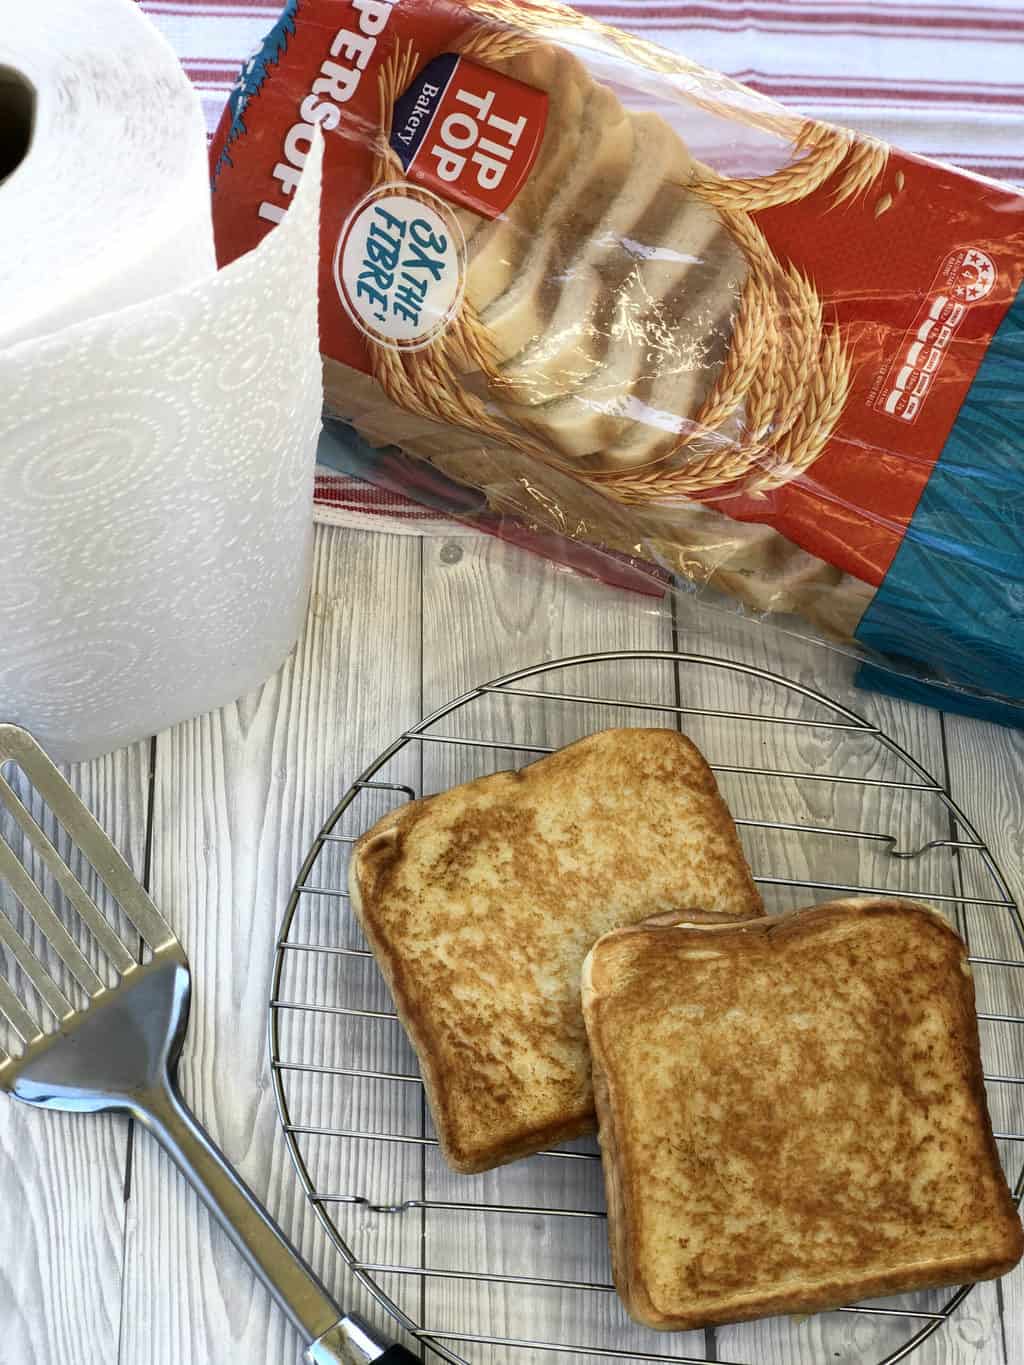
Then the most important step is to place the golden brown toasted sandwich on a wire rack to cool. This means that the base of the sandwich does not go soft and soggy.
I find that if I make the toasted sandwiches during breakfast by the time everyone is dressed and ready for school they have cooled enough to be wrapped and popped in the lunch boxes.
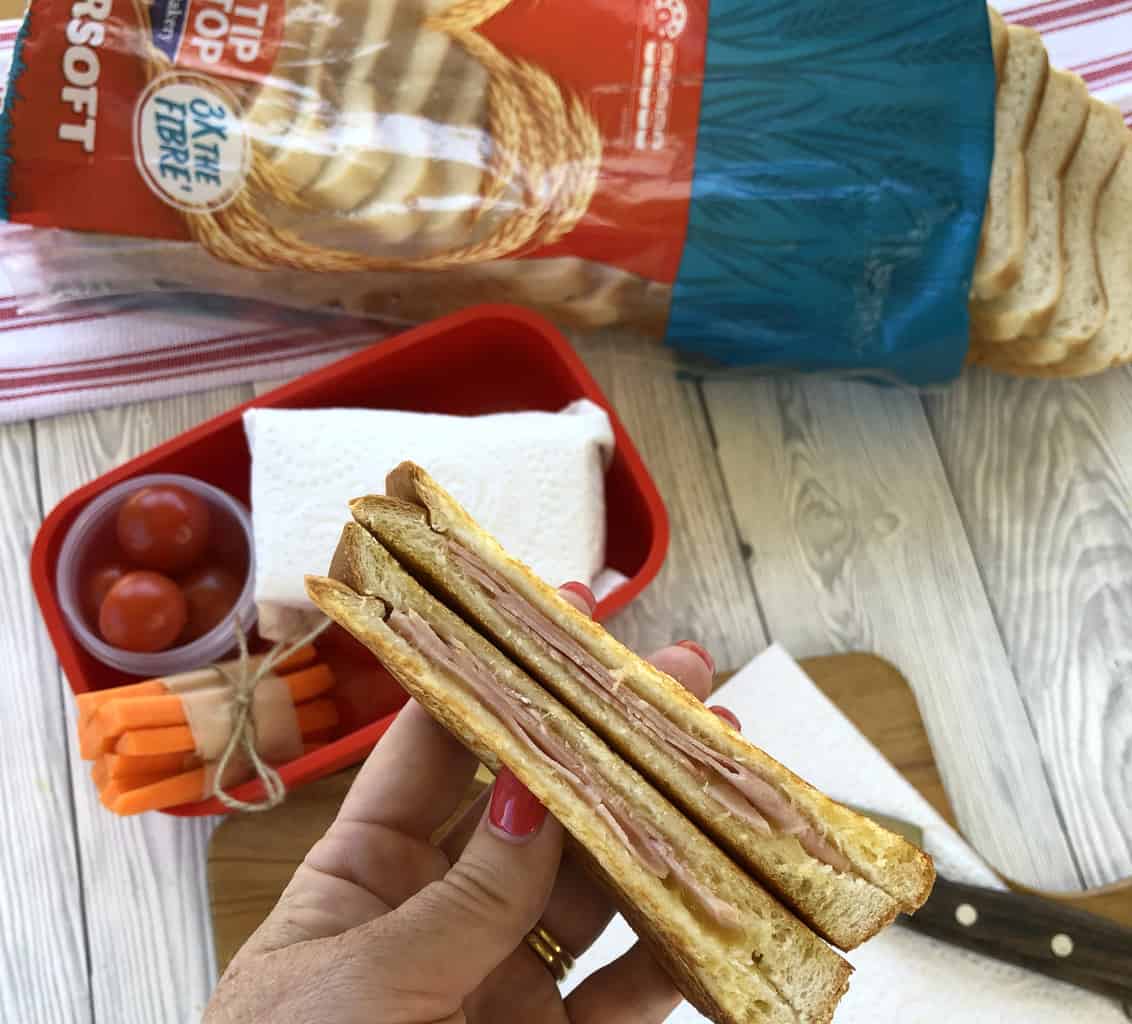
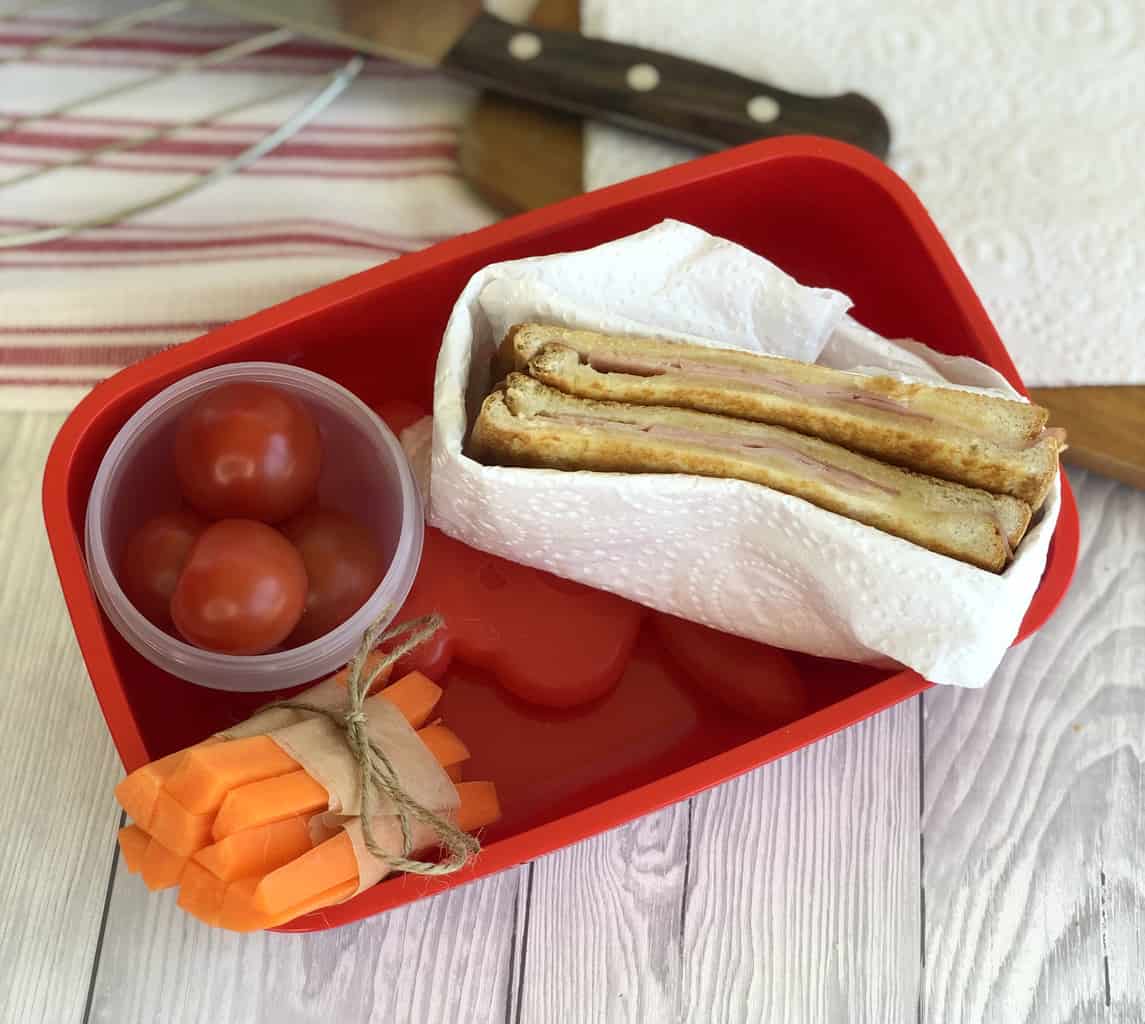
Once they are cooled I slice in half then wrap in a kitchen paper towel and place on an ice pack in the lunch box! It is important to keep the filling chilled if you are using ham or similar.
Last year I was again lucky enough to partner with Tip Top and I shared this popular recipe for Savoury Bread Nests, have you tried it yet?

I have included the recipe below for how I make toasted sandwiches but I hope these tips above are super helpful and inspire you to mix things up with the lunch box sandwiches this year!
What fillings will you try? The kids love this, so easy but lovely and easy to make.
Onto the recipe for the Perfect Lunchbox Toasted Sandwiches
Perfect Lunchbox Toasted Sandwich
How to create the perfect lunch box toasted sandwiches that stay fresh all day!
Ingredients
- 2 Slices Tip Top Supersoft High Fibre White Toast bread
- Butter
- Cheese
- Ham
Instructions
- Preheat the sandwich press
- Spread the two pieces of bread with butter
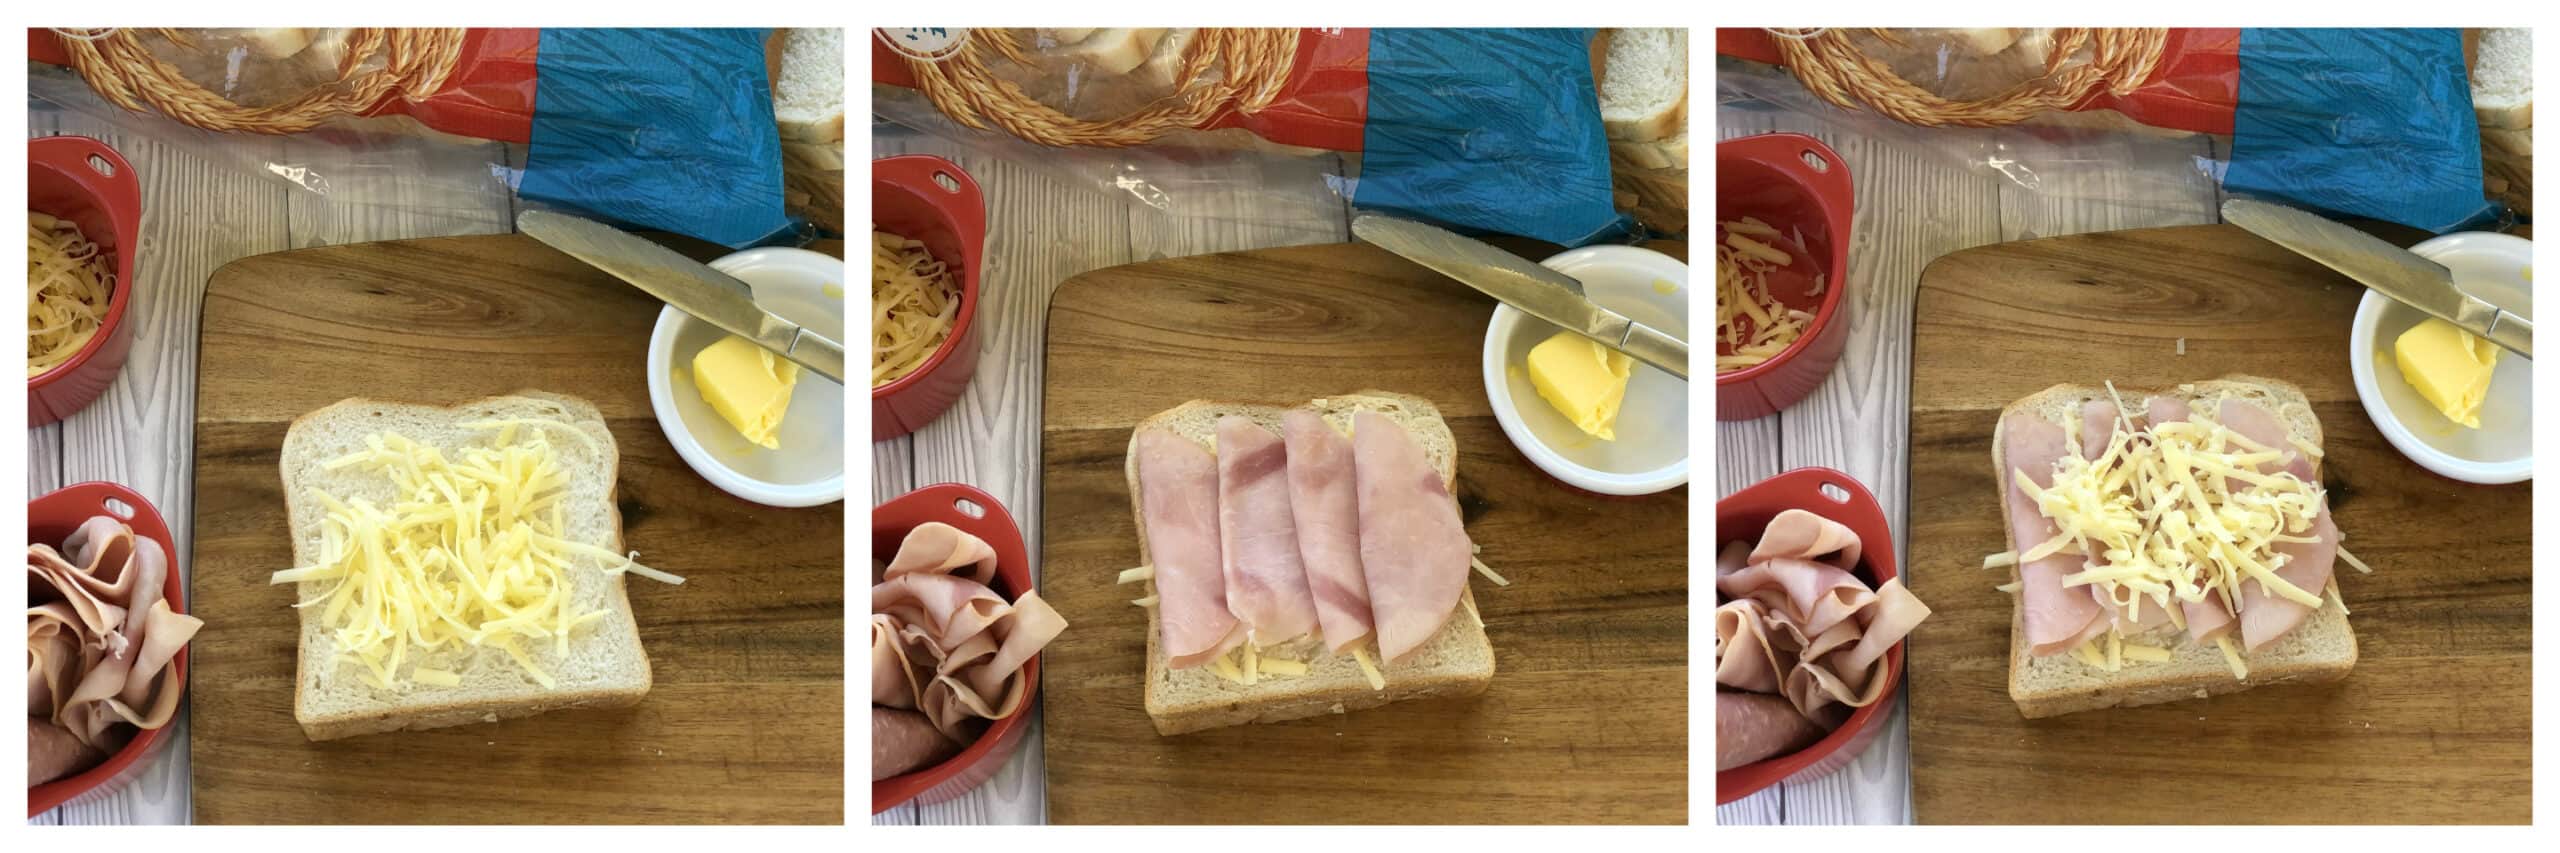
- On the unbuttered bread side place some cheese and ham and pop in the sandwich press buttered side down and place the second piece of bread buttered side up on top.
- Close the sandwich press and cook until the toasted sandwich is golden brown, approximately 4 minutes
- Remove the cooked sandwich from the sandwich press and place on a wire rack to cool completely, approximately 20-30 minutes
- Slice the toasted sandwich in half
- Take two kitchen paper towels and double over.
- Place the cooled and halved toasted sandwich on the paper towel and wrap the toasted sandwich well.
- Place this in your lunch box with a small ice pack to keep this cool and safe until lunch time
- Enjoy!
Thank you so much for stopping by to check out my latest recipes on my blog. If you are not already be sure to follow me on Facebook or Instagram for more deliciousness, and you can register your email in the subscription box below to receive all my recipes as I publish them.
Happy Cooking
Anna
Pin It! Pinterest

I love hearing from you! What do you think of this recipe?