This Buttercream Icing is wonderfully smooth and fluffy, so easy to whip up, and perfect for topping all your favourite homemade bakes.
Posted February 28, 2014, Updated December 11, 2025
I thought I would share a more step by step process for making buttercream icing – there are many recipes out there but there are a few tips & tricks that make it easier and once you have made it a few times it’s easy to get the hang of!
Disclaimer – I am Just a Mum! I am no expert and have learnt what I know from making my kids birthday cakes not culinary school! There are plenty of other experts around for you to look at, this is just my take on it! 😉
When I was making sure my recipe was the same as others out there I noticed that there are many variations to quantities, so this is my recipe I have always used but the processes are the same regardless of what amounts you prefer.
I used standard butter here but I often use vegetable shortening from our local kitchen store Chef’s Complements if I need the icing to be pure white as our butter here in NZ means the icing still retains a creamy/yellowy colour at best.
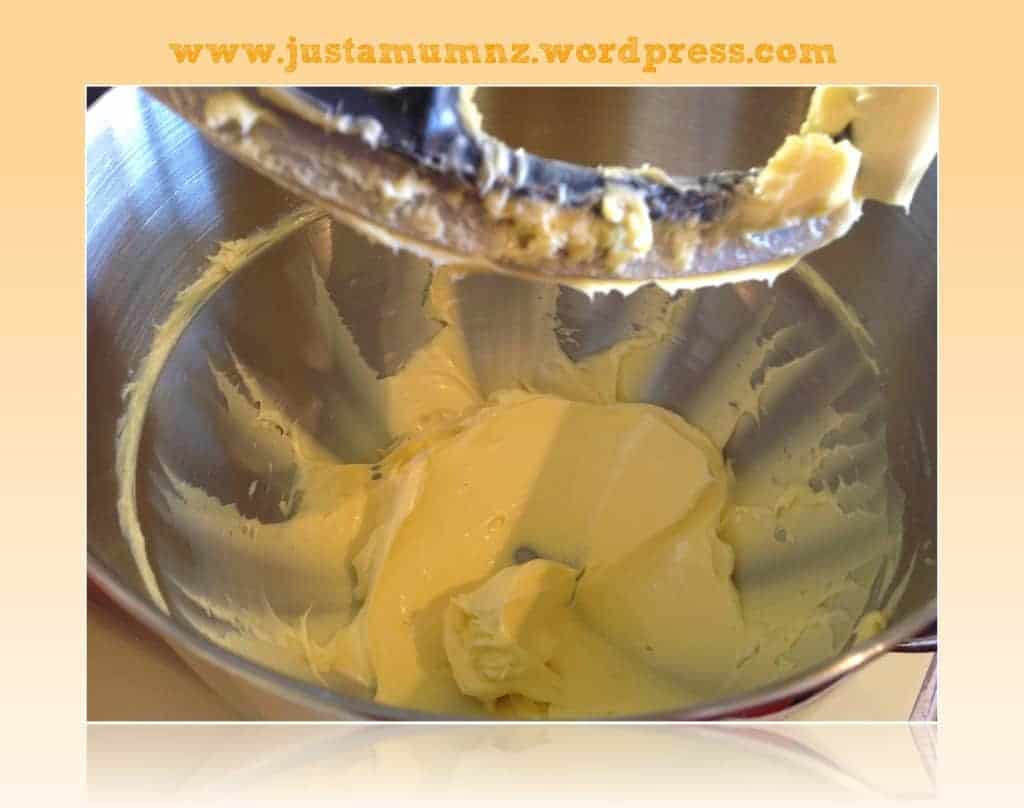
The first tip is that you will need either an electric hand beater, food processor or food mixer for best results. You need to really whip the butter to get it creamy and pale and its near impossible to do it by hand.
Ingredients
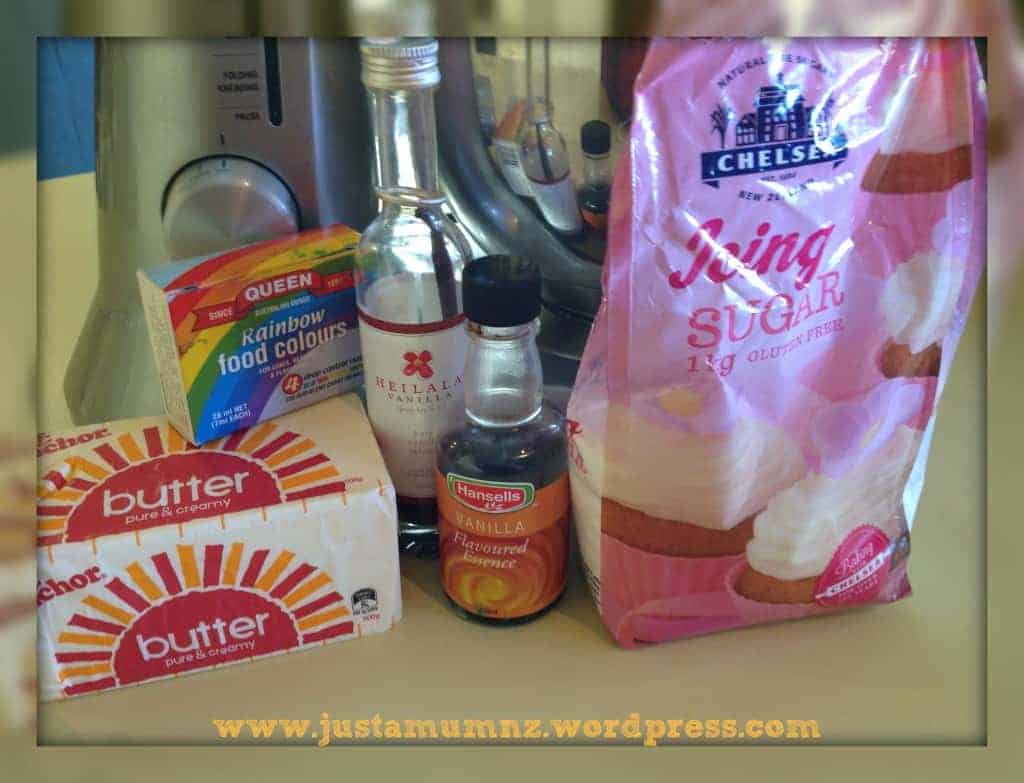
125g softened butter
1 1/2 Cups Icing Sugar (you are supposed to sift I never do!)
2 TBSP milk
1 tsp vanilla
Food Colouring
I recommend using the best icing sugar you can find – some brands are definitely better than others and will effect the outcome. Also you use imitation vanilla essence but you will need to use more for flavour than a quality vanilla. Taste as you go for the flavour you prefer.
Soften the butter in the microwave in short bursts to get it to just softened stage, not melted, 10 seconds at a time.
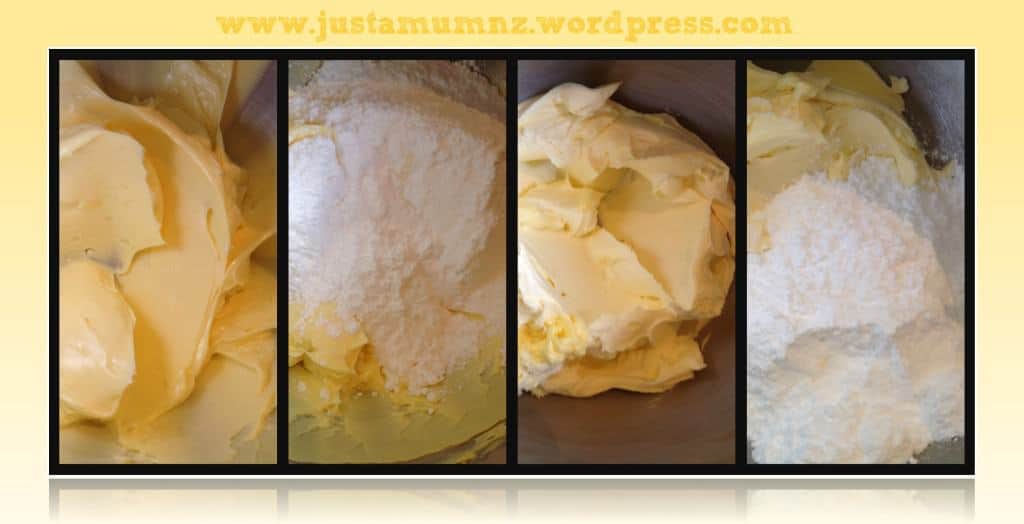
Add the butter to a large bowl and begin to blend on high until it begins to go pale and creamy – approx. 2-5 minutes
Add half of your icing sugar and mix well again for at least 60 seconds – I find by adding this first portion of icing sugar and mixing it allows me to get a paler colour as the mixing blades have more to work with.
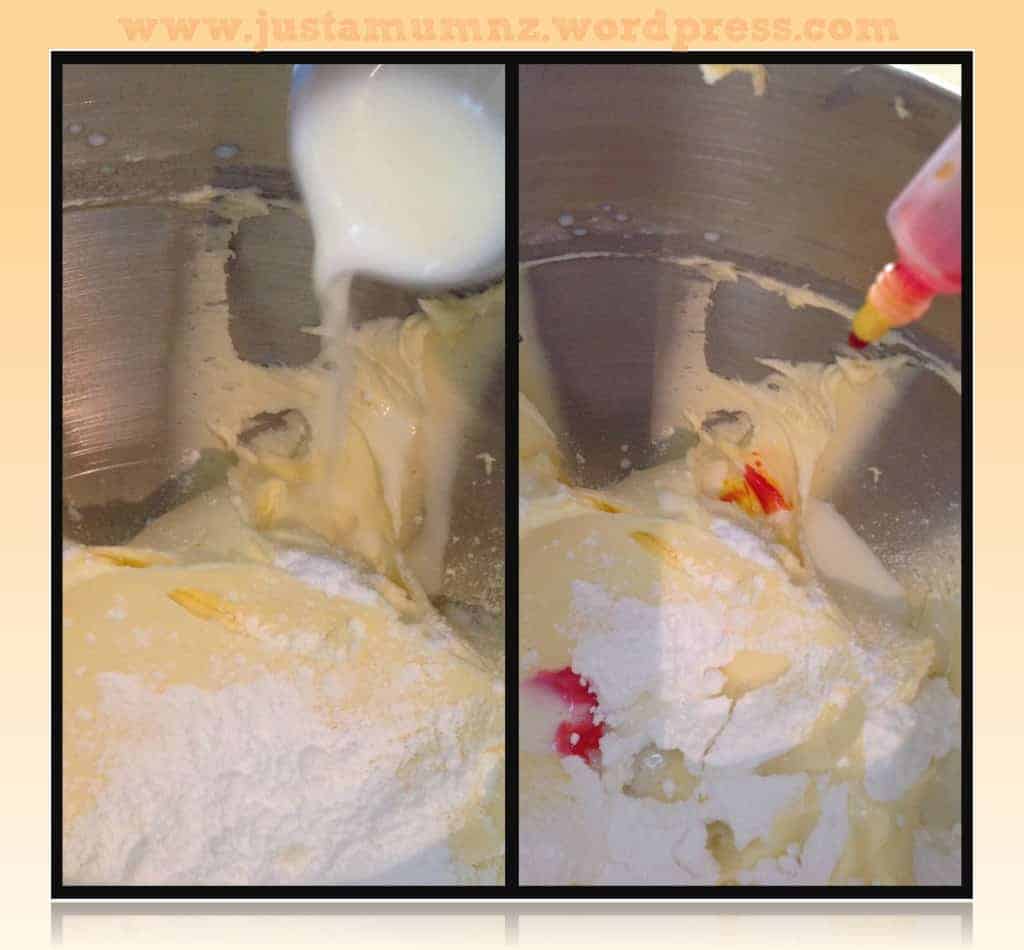
Add the last measure of icing sugar, milk, vanilla and food colouring. I doubled the recipe today so I added the icing sugar in 3 stages, adding milk to the last two stages. Continue to add food colouring a few drops at a time until you get the desired colour. Try not to overmix too much once all ingredients are together to avoid overly aerated icing.
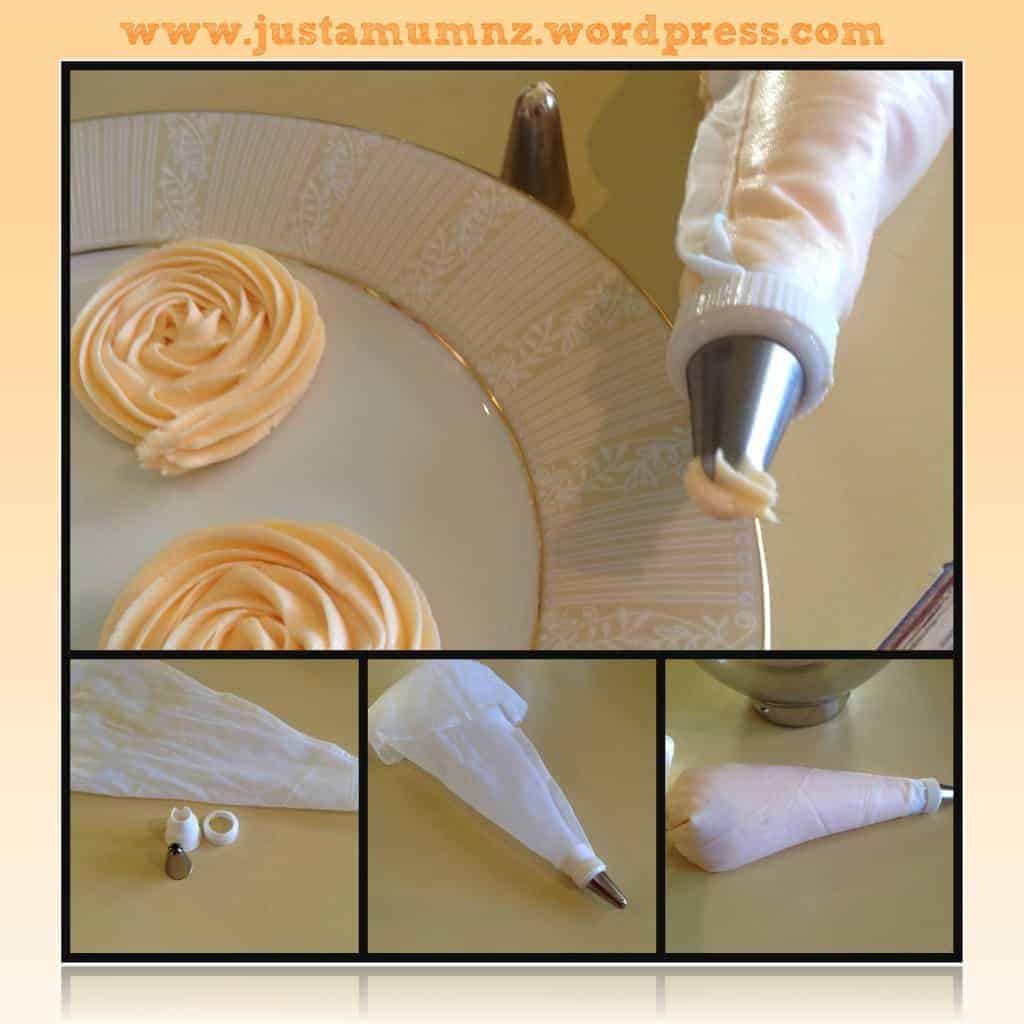
Once the colour and consistency is right prepare your piping bag.
There are so many piping bag sets available, you can buy them for only a few dollars to more expensive brands, and even reusable ones are available at supermarkets – with a bit of practise I find it’s easier to pipe decorations onto a cake than it is to try and get smooth icing!
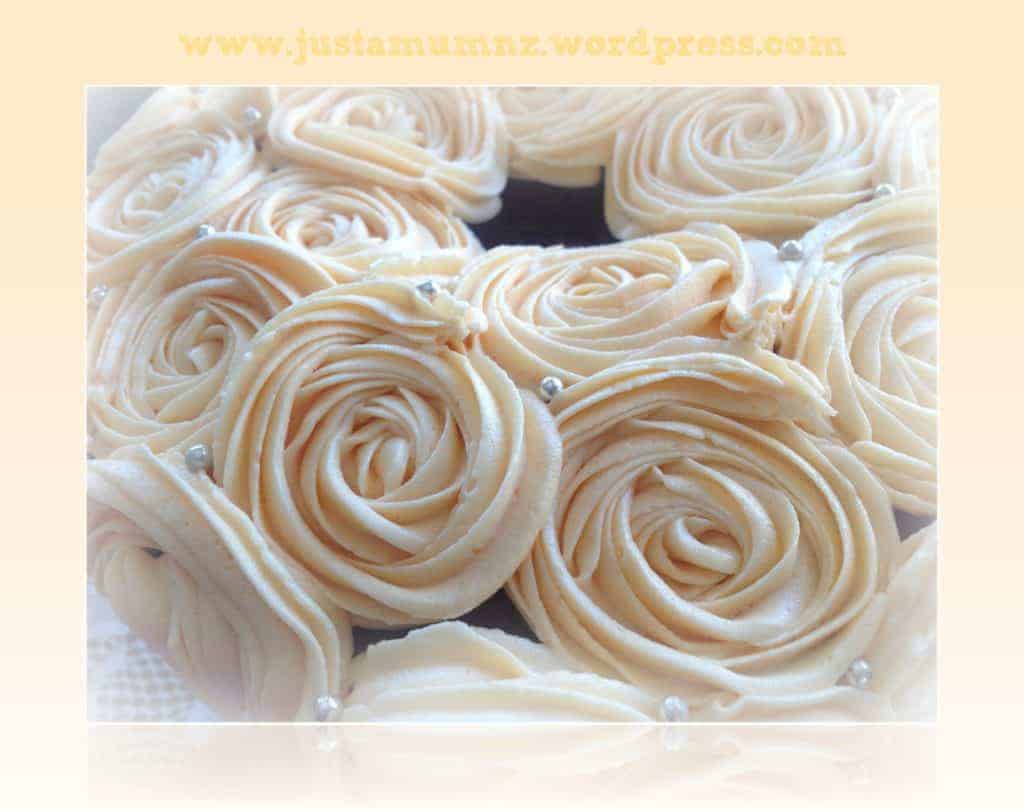
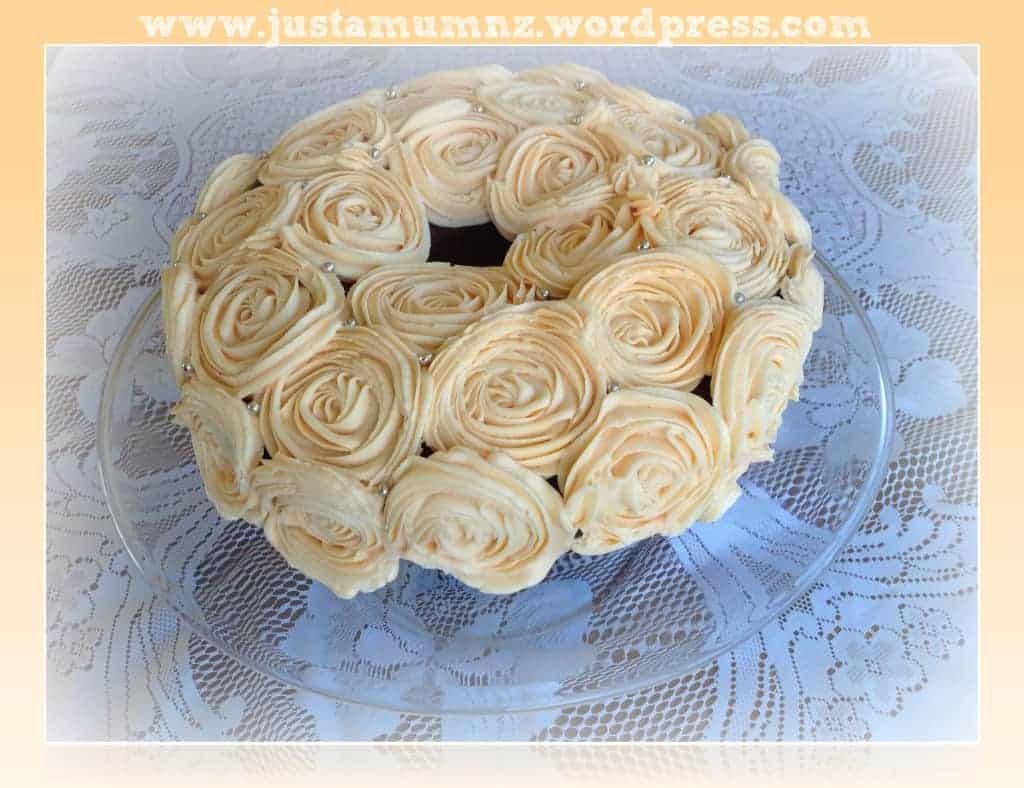
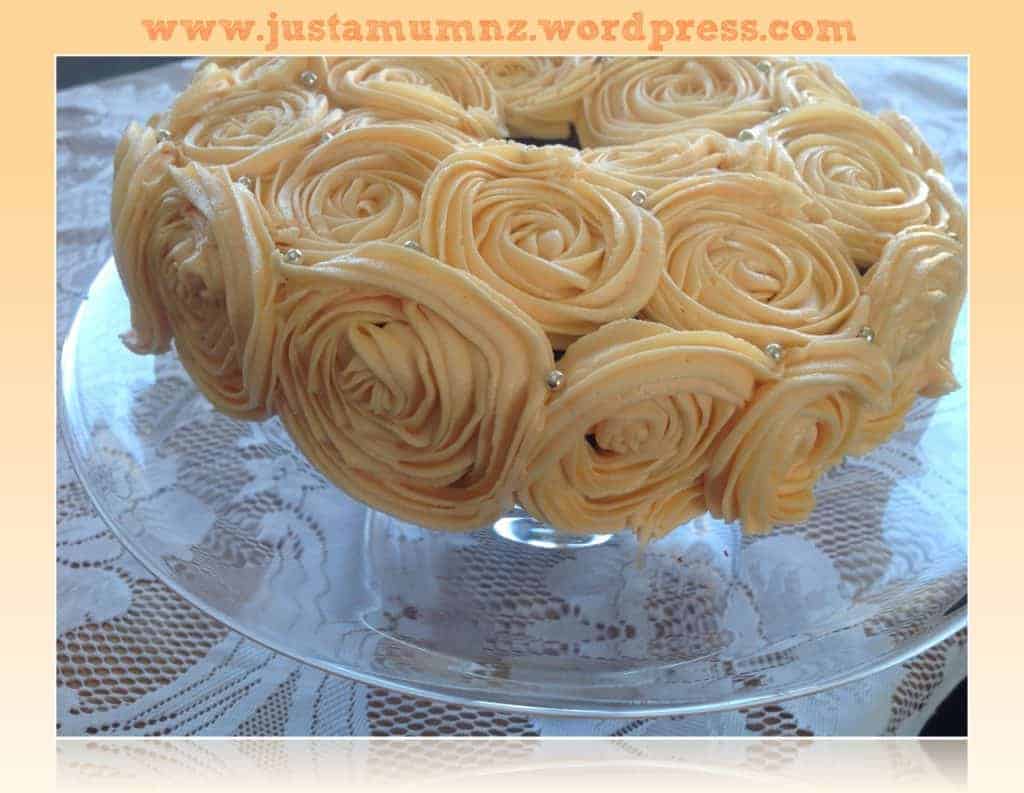
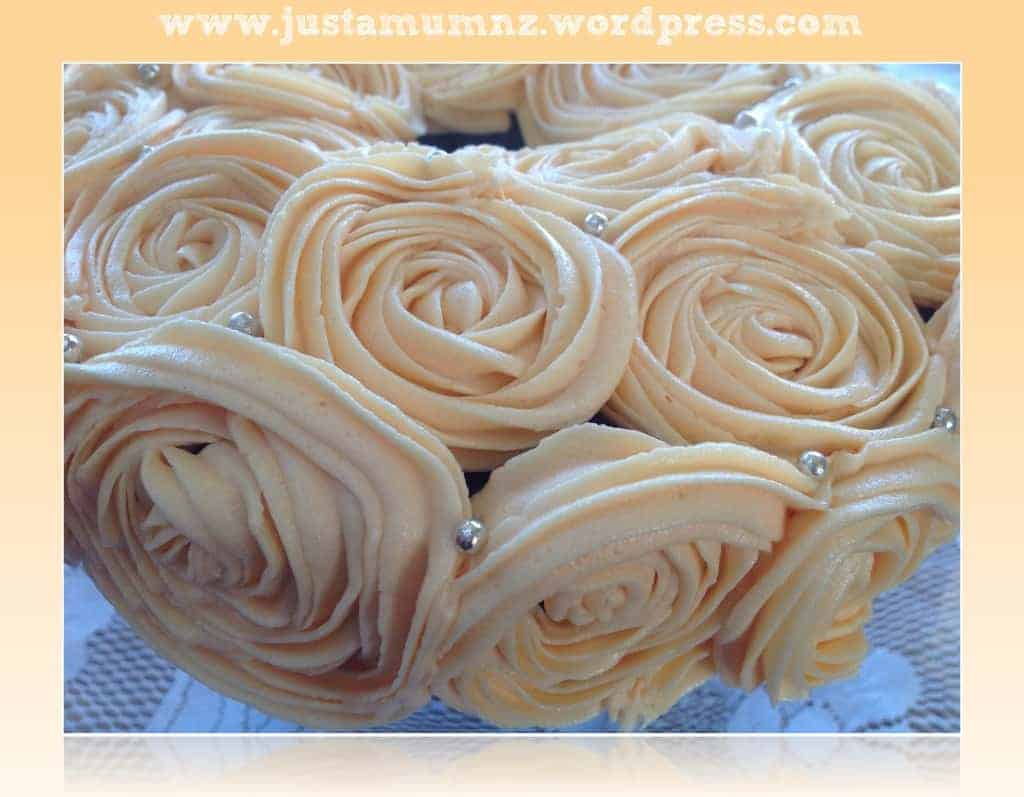
I usually use a plate to practise on before I ice onto the cake – this allows me time to get the feel of how to hold the bag – and also make sure I am happy with the tip I am using, try out a few different ones to see which one you like the best. Today I wanted to try something I have not done before with my Magical Orange Cake, I see all the errors but really I am sure it looks ok! Icing is pretty forgiving and you can always scrape bits off or just do your best and no one will be the wiser.
When icing with a piping bag make sure you twist the top tightly and that no air is trapped in the bag and that you have a firm grip on the bag itself – there are lots of tutorials on YouTube for easy fancy ways to decorate so check them out!
If you have any questions please do not hesitate to ask and I will see if I can help.
Thank you so much for stopping by to check out this recipe, you can follow me on Facebook & Instagram and also follow this blog via email to receive all my recipes as I publish them so check out the subscription box below.
Happy Baking!
Anna
Angel says
Hi,
I made it just the same way you explained but my icing was little runny didn’t get any form… what we have to do after mixing all ingredients do we have to refrigerate it and for how long ..? And if we have to serve it after 5 hrs how to preserve it..plz reply
justamumnz says
Hi Angel, that’s not good. Sorry to hear that. I just made that icing last night and as its so cold here I had the opposite problem! You shouldn’t need to refrigerate it before using it unless it’s very hot in your house? Once it is piped or spread on it should ‘set’ and stay in form. Is it hot in your home or was butter very soft or hot when it was whipped?
eleanor says
Hi again,
so I have made the cakes and also your wonderful plain cupcakes recipe…for piggy cupcakes. Also going to freeze. Have you tried freezing cupcakes? Also can I make the buttercream today and store in fridge…the internet tells me different things so would like a kiwis opinion!
Thanks…one of my new favourite blogs btw:-)
justamumnz says
Hi Eleanor – yes absolutely you can freeze cupcakes – try not to store them one on top of another though if you can help it as they will stick to each other – such a pain but happens! Yes you can store the buttercream in the fridge if you have to make it in advance – you may need to whip it up again just before you are ready to use. Where possible I make the buttercream fresh as it really does not take long at all (maybe 10 minutes at the most??) and then the consistency is perfect for icing right then rather than needing it to thaw and in this weather it may get too soft! Does that answer your question – yes you can fridge it and then get it to room temp but fresh is better 🙂
Sharyn Michelle says
Looks fantastic, I have been doing these for a little while but never get them looking like yours, I now know its the tip Im using… Thanks for the pics its really helped 🙂
Just a Mum says
You’re welcome 🙂 I learn something new every time I ice something!
Kim @ This Ole Mom says
Hi, I really don’t see any errors I think you did a great job it looks beautiful. Thank you for sharing the recipe and the tutorial. I ‘ve been looking for a really good frosting tutorial! I’m pinning it . Looks delicious and beautiful! Kim ~ This Ole Mom
Just a Mum says
Thank you 😀