It is always a bit scary when you are asked to make a cake for someone else. If it is for my own bunnies I know they will like whatever comes out as long as its tasty and colourful! However I was looking forward to the challenge of this one even if it was with my cake making nemesis – Fondant!!
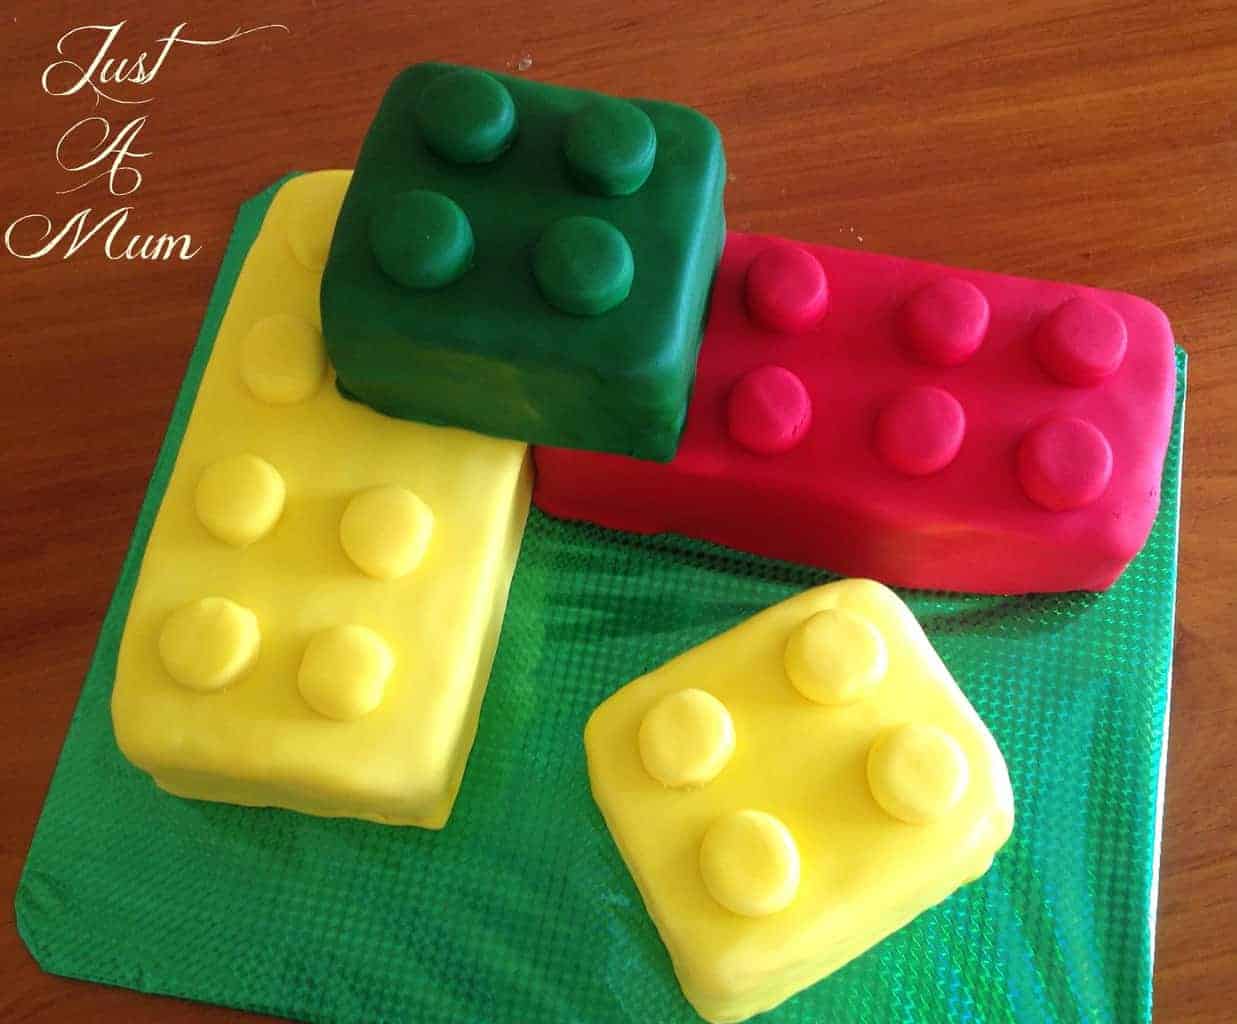
Little William is into Lego so his Mum was hopeful we could recreate Lego pieces and even if not perfect I think the end result looks the part and I am sure the birthday boy was happy!
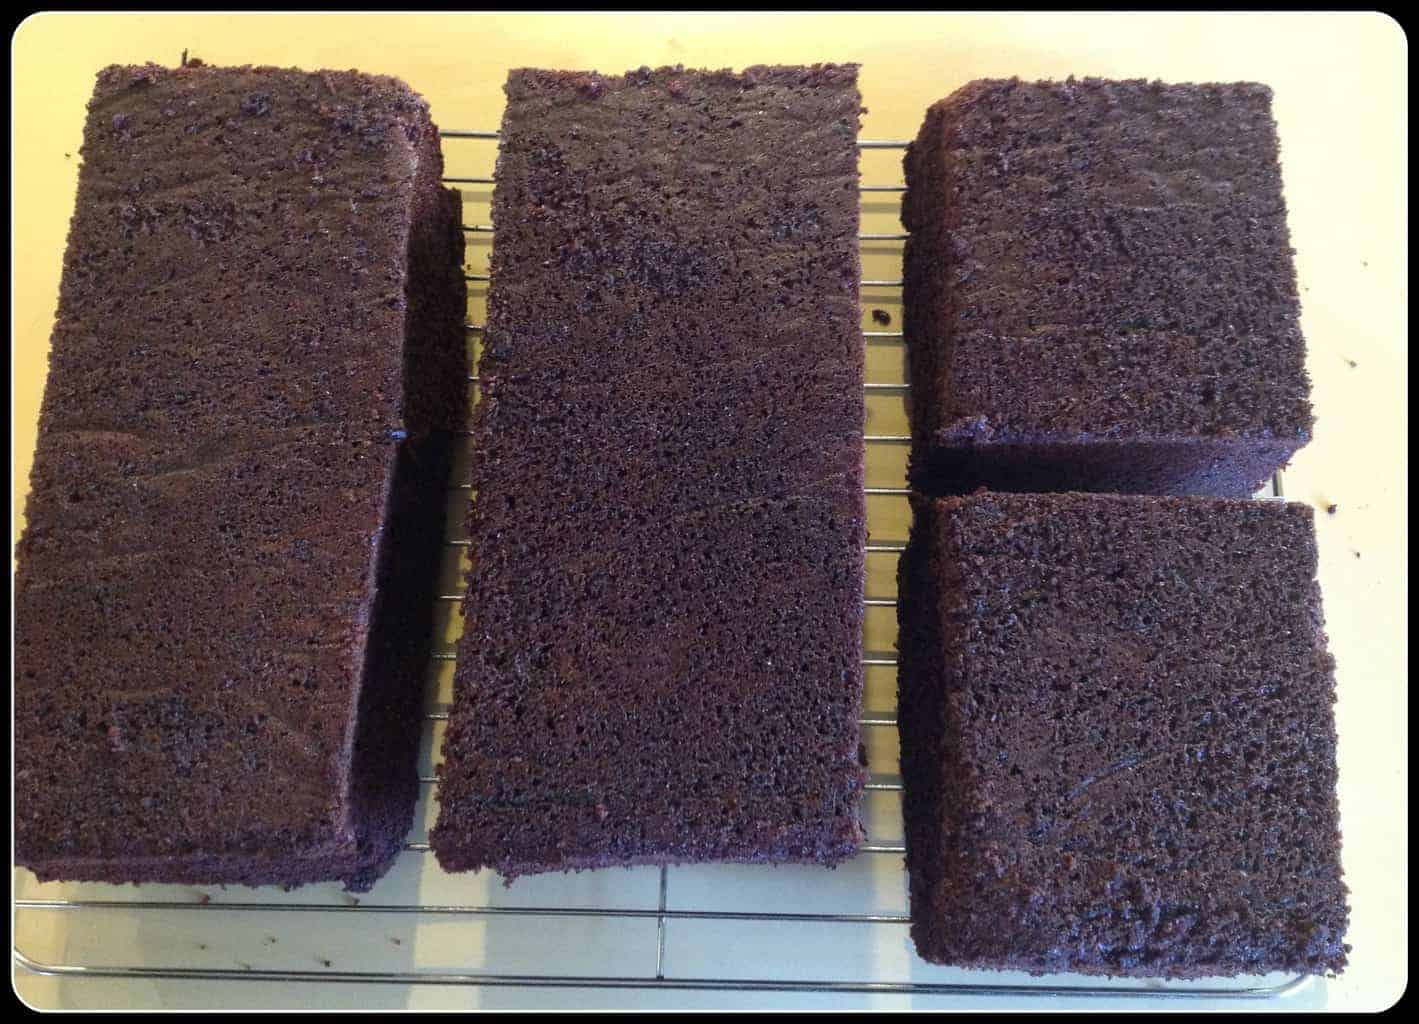
I started with making my Easy Rich Chocolate Cake Recipe x 3 in a roasting dish 27cm x 35 (13.5 in by 10.5 in) – it will take much longer to bake so take this into account when cooking, and of course quite a bit of trimming afterwards to get the desired shapes.
Once completely cooled cover in plastic wrap and leave overnight.
To prep cake into a perfect rectangle, slice off the top until completely flat – I used a cake leveller but you can just use a large knife and grab the spirit-level from the garage! And trim the sides so they are straight, try and take the minimum amounts you need.
Once you have a rectangle shape with flat top and straight sides cut into 3 equal rectangle pieces, and cut one of those pieces in half – so you will end up with two rectangles and two squares.
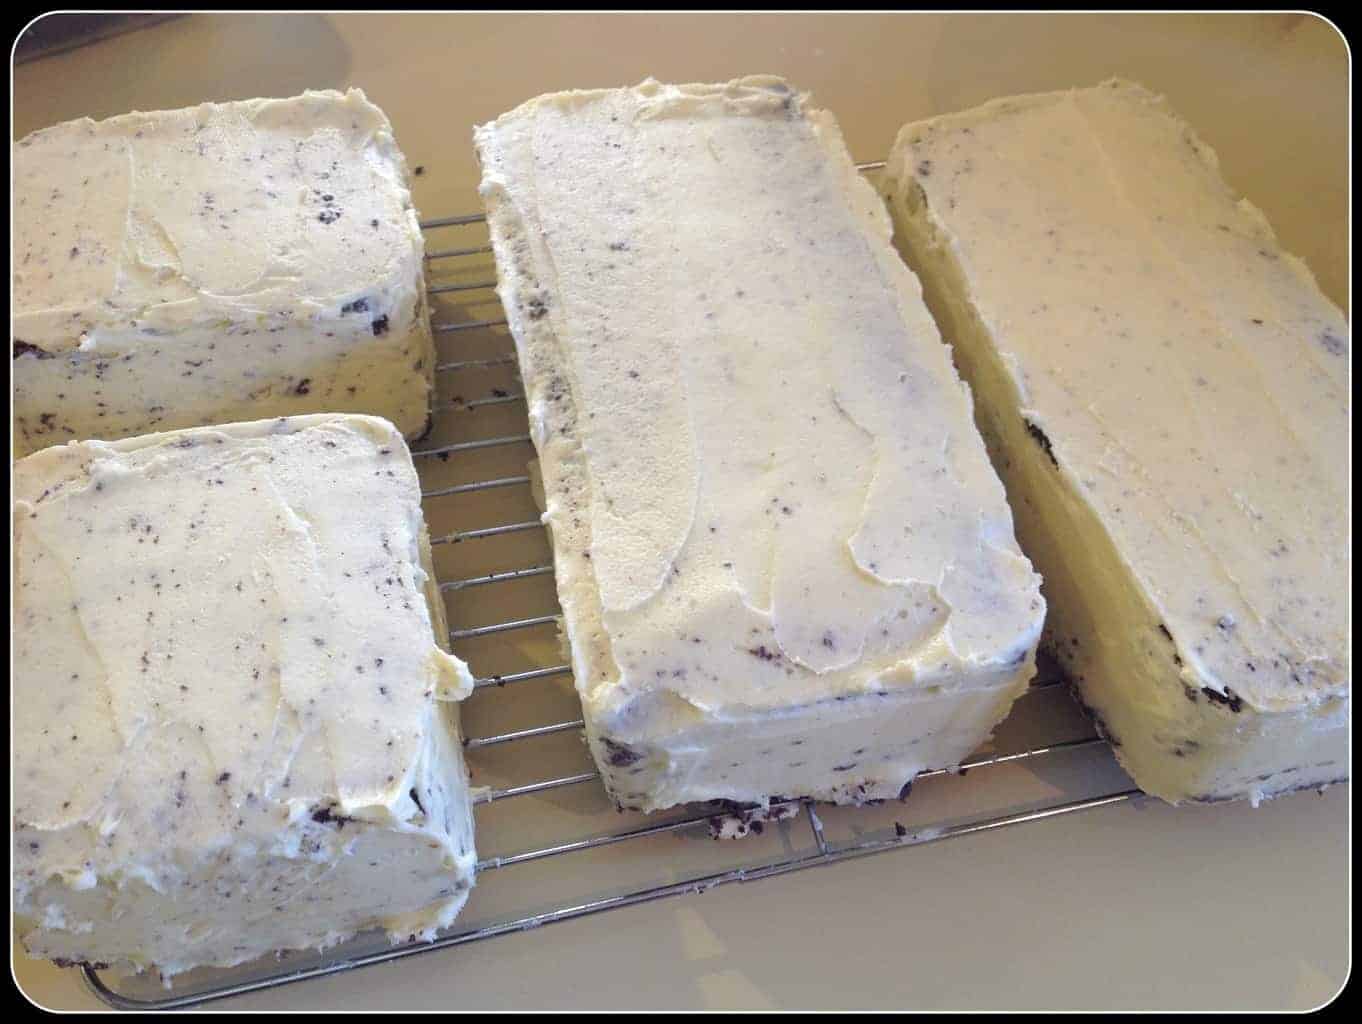
Make up a double batch of my Buttercream Recipe , and colour if desired, we just left ours natural and heat the buttercream in the microwave for 5-10 seconds to allow it to be a slightly thinner consistency (unless it is already quite soft as it may be in summer) and cover all sides except for the bottom in a thin crumb layer and aim to get the buttercream as smooth as possible.
Cool the cakes in the fridge for 5-10 minutes, you can either smooth the buttercream with a paper towel or a clean paint roller – or add another layer of buttercream and smooth it as best you can with a knife. As you can see with mine I could not get it completely smooth with what I had so you will see some of the bumps etc through the icing.
Pop the cakes into the fridge while you prepare your fondant for the first rectangle. We use pre-coloured fondant, but you can colour white fondant with a bright gel colour, adding a few drops at a time and kneading it through until you get the desired colour.
Spray your bench lightly with cooking spray (icing sugar will alter the colour of the fondant) and I used a silicon rolling pin and lightly sprayed this also.
Knead the fondant until it is sift and pliable. Roll it out until it is 3-4mm thick and large enough to cover the tops and sides of your piece of cake.
Using your rolling pin gently lift the fondant up and place onto the cake (you tube has lots of fondant tutorials for rolling and covering cakes, specifically square ones).
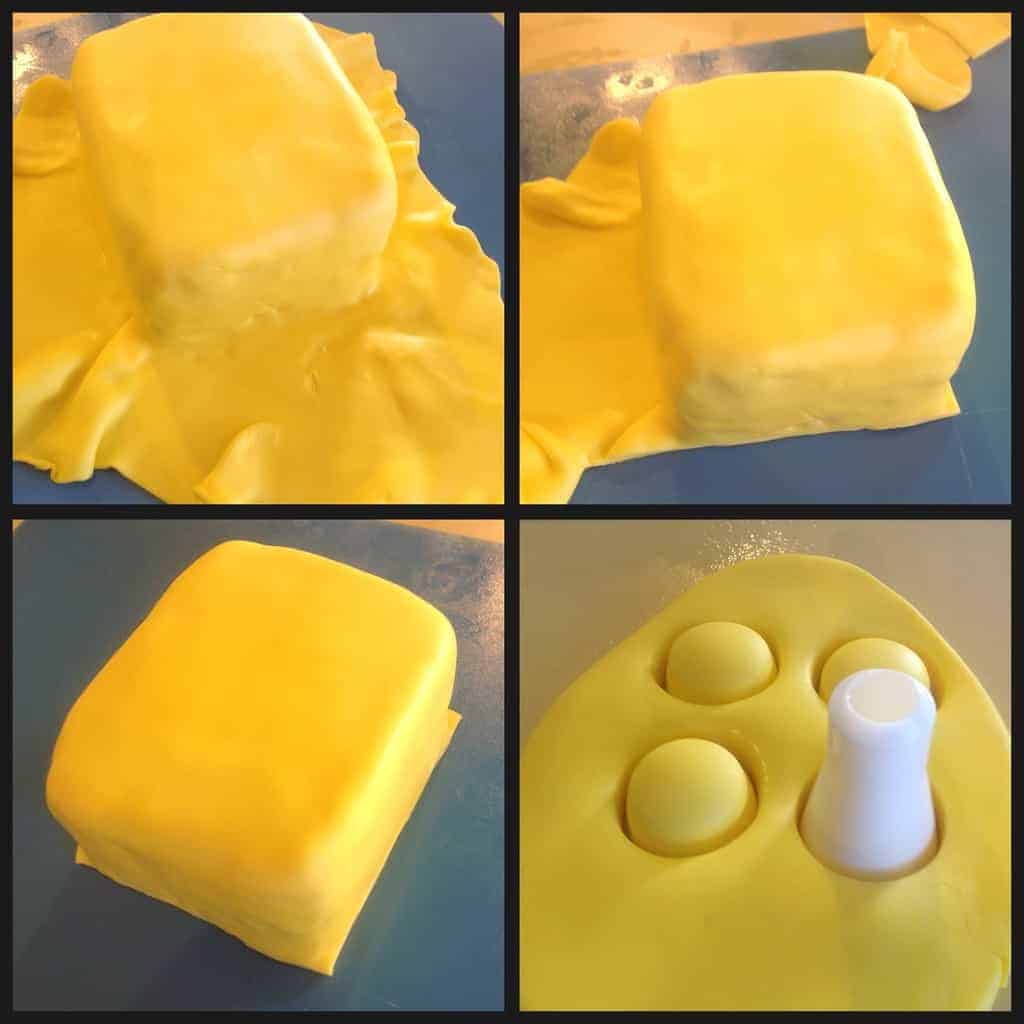
Drape the fondant over the top of the cake and using a clean dry hand rub the top of the cake then keep rubbing gently the top edge and then smoothing down the sides a little at a time all the way around an inch at a time until you have gone around several times, rubbing the whole time and working quickly.
Once smoothed to the cake, using a knife, roller or in my case Pizza cutter cut away the excess fondant at the bottom of the cake.
Using the excess you just cut off, knead it again and roll until 1 inch thick (you will need to re-spray your bench and rolling pin) and using a small circle cutter or a large icing tip base (as we did, see you do not need all the fancy tools – check your drawers for the right size!) cut the appropriate amount of circles to use as the top of the lego pieces and place them onto the cake – they should be moist enough to stick without needing something to adhere them to the cake.
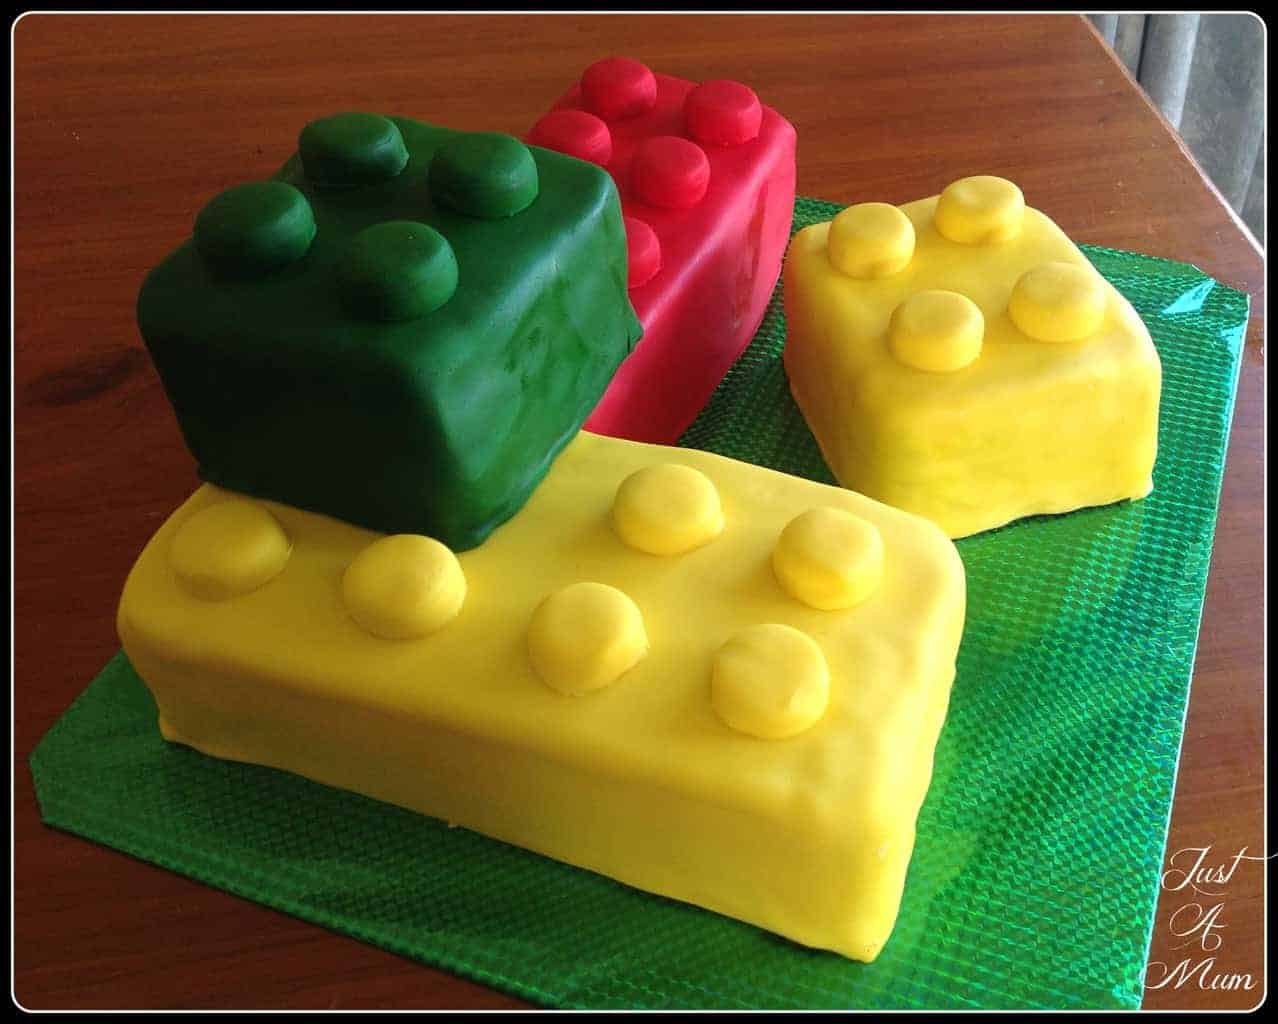
Then carefully transfer the cake to a prepared cake base or tray – we simply used some birthday wrapping paper on a baking tray – it looks the part!
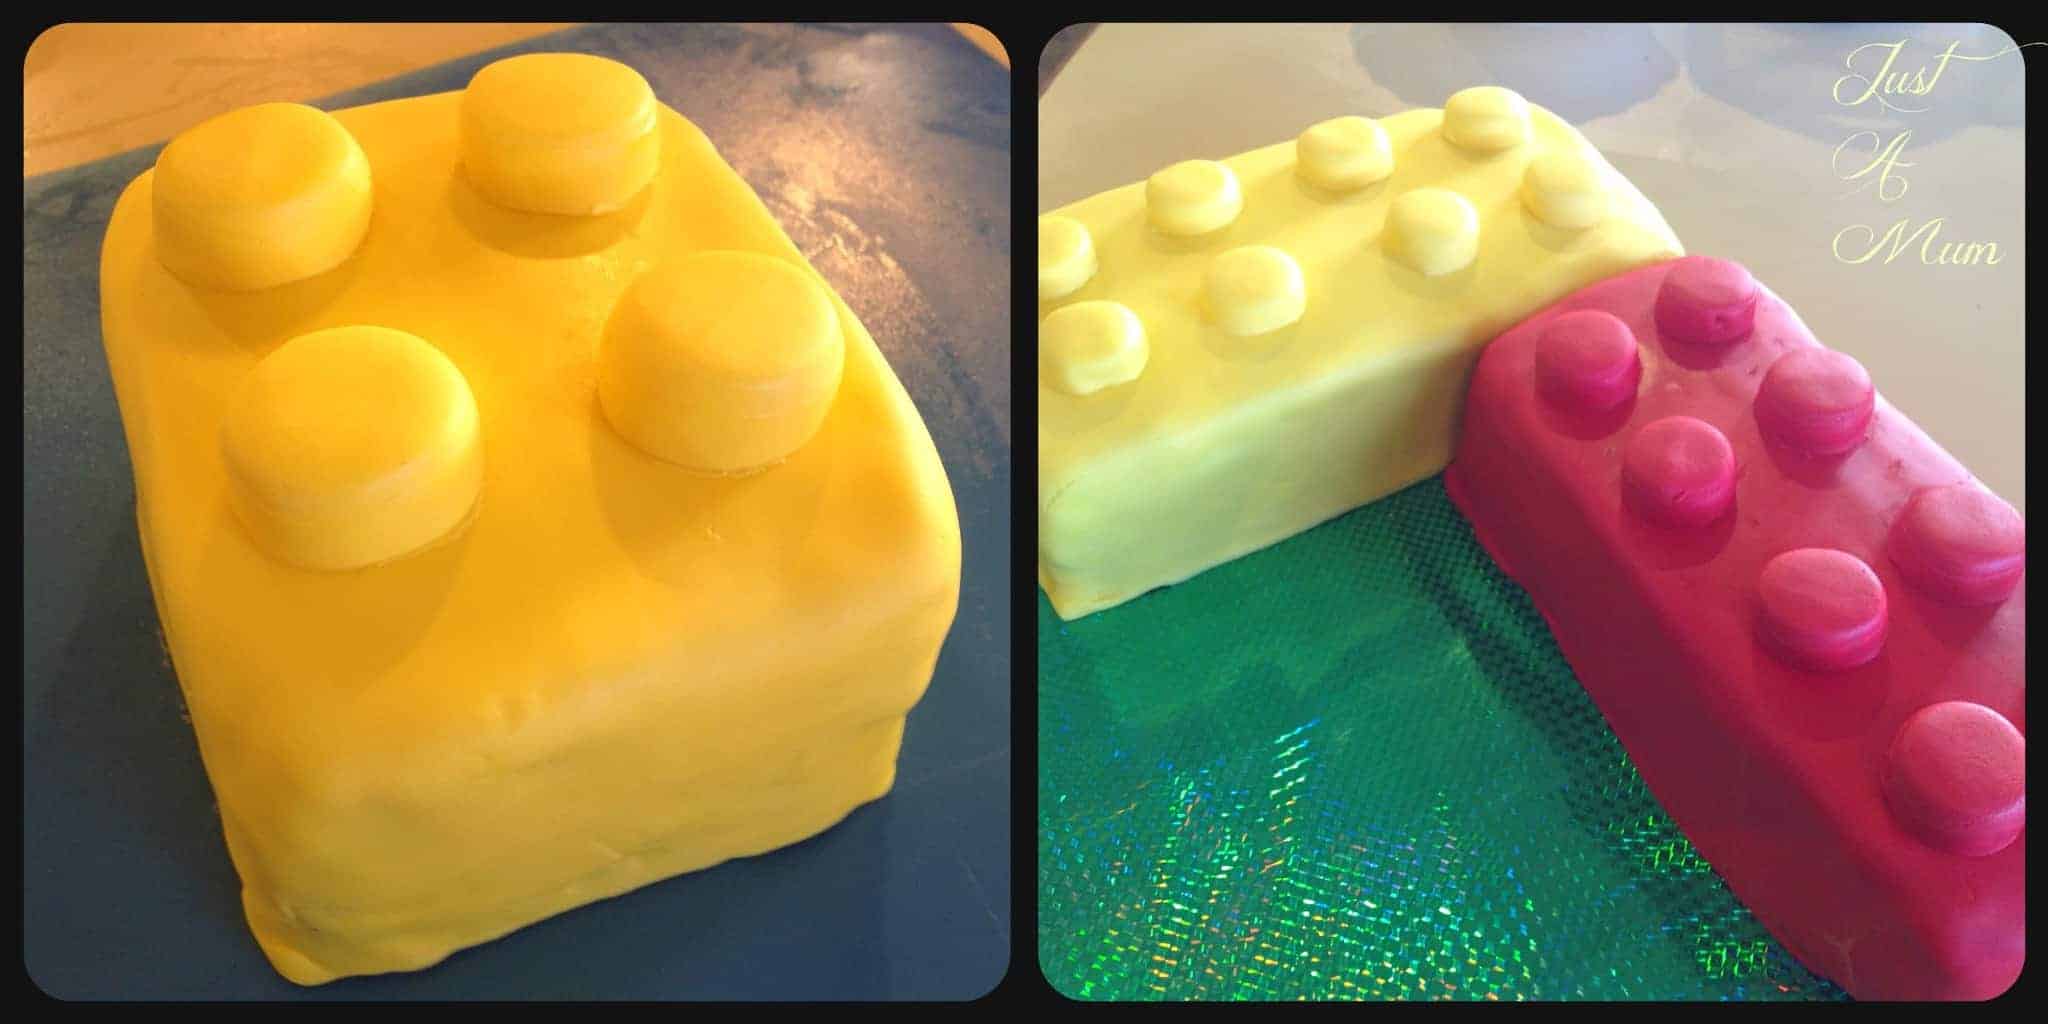
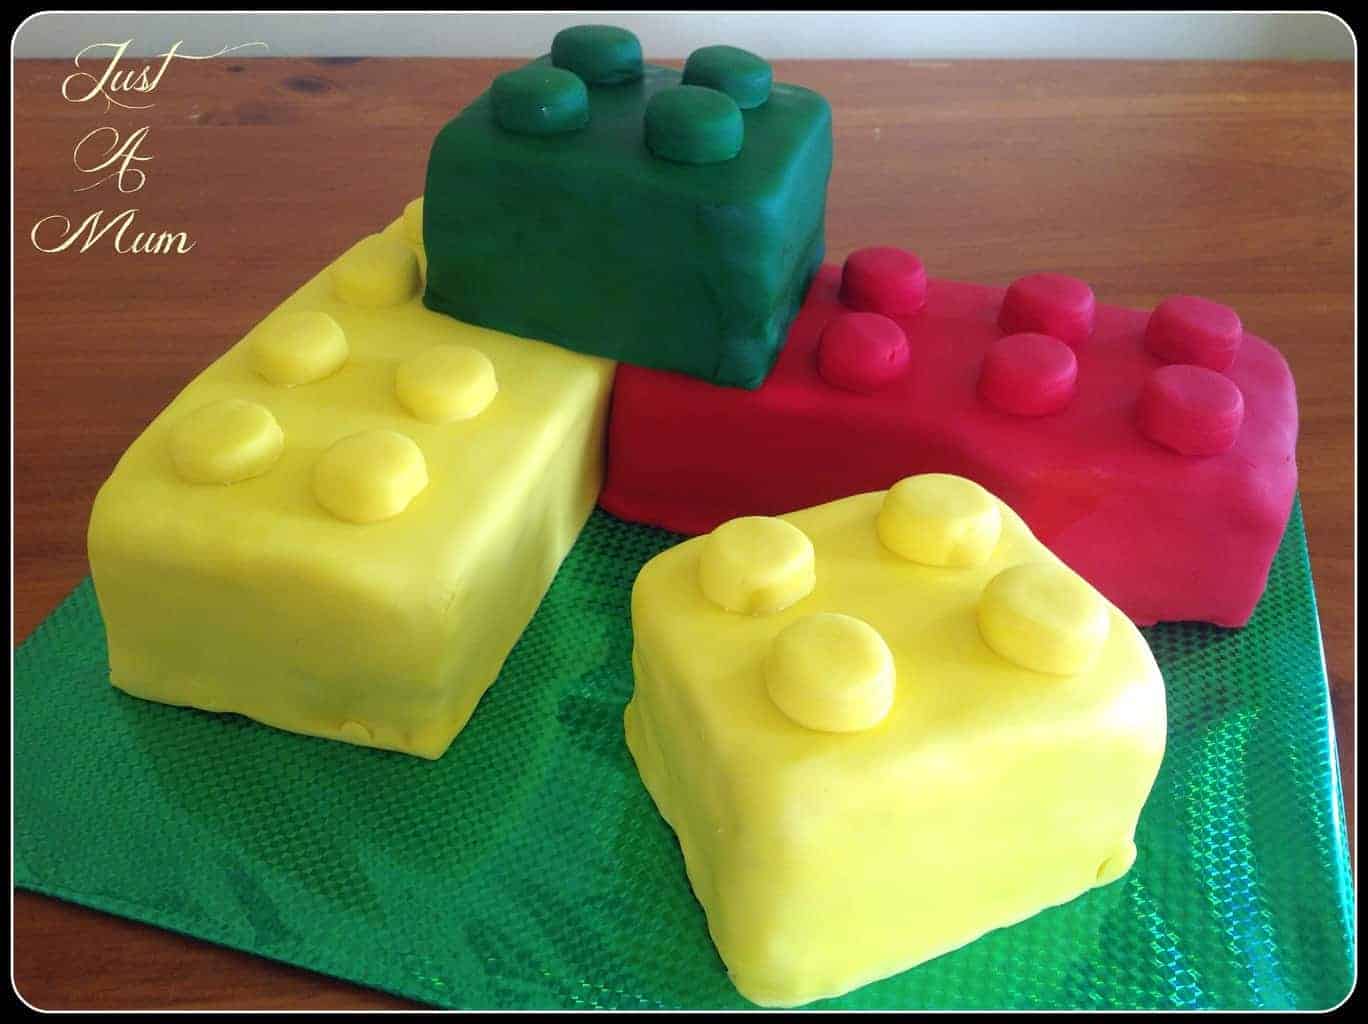
Repeat with the remaining cakes and display them however you like to get the desired look, if you stack them remember to remove the knobs from that bit of the cake.
And there you go! One Lego cake for a lovely birthday boy.
I suggest before you attempt this one if you have not worked with fondant or buttercream crumb layers please do pop over to YouTube to have a nosy at some tutorials, it was so helpful to me to give me some ideas.
If you have any questions at all please do not hesitate to ask, I will get back to you as soon as I can so ask in comments below.
Thank you so much for stopping by to check out this recipe, you can follow me on Facebook & Instagram and also follow this blog via email to receive all my recipes as I publish them so check out the subscription box below.
Happy Baking!
Anna
Catherine Millar says
Hi Anna
I will be making this for Master 6’s birthday. For the knobs. Can I use cake and cut out and the butter cream to stick it down or is better to roll out the thicker fondant? I’m a bit confused by the knob part.
Thanks heaps
Cat
justamumnz says
Totally up to you what you make the knobs with, I found it easier making them fondant.
Chelsea | Mommie and Wee says
I love this! Cake baking and decorating is one of my passions! Thanks for linking up to Pin Worthy Wednesday, I have pinned your post to the Pin Worthy Wednesday board. Come back and link up with us again next week 🙂
justamumnz says
Thank you Chelsea! 🙂
Lucy @ Bake Play Smile says
Wow this looks amazing!!! I’m a bit scared of working with fondant so will have to give Youtube a bit of a workout! I love how bright and colourful your Lego pieces are. Thank you so much for linking up with our Fabulous Foodie Fridays party! xx
justamumnz says
Thanks so much for stopping by 🙂 Fondant and I are not friends but this one worked quite well for me! Think the non stick spray was the key 🙂
Melinda @Home.Made.Interest says
Stopping by from the Wednesday Round-up Link Party. My son would love this cake! Great job:)
Michelle says
I love this! I have the urge to stack the one piece that’s all by itself.. hmm, where to put it?? You make it look easy. I’ve never worked with fondant before.
justamumnz says
Ha ha – designing the layout was the hardest part! lol – I am not a fan of fondant at all but I have to say it was pretty easy – lots of watching You Tube first though! Thanks Michelle 🙂