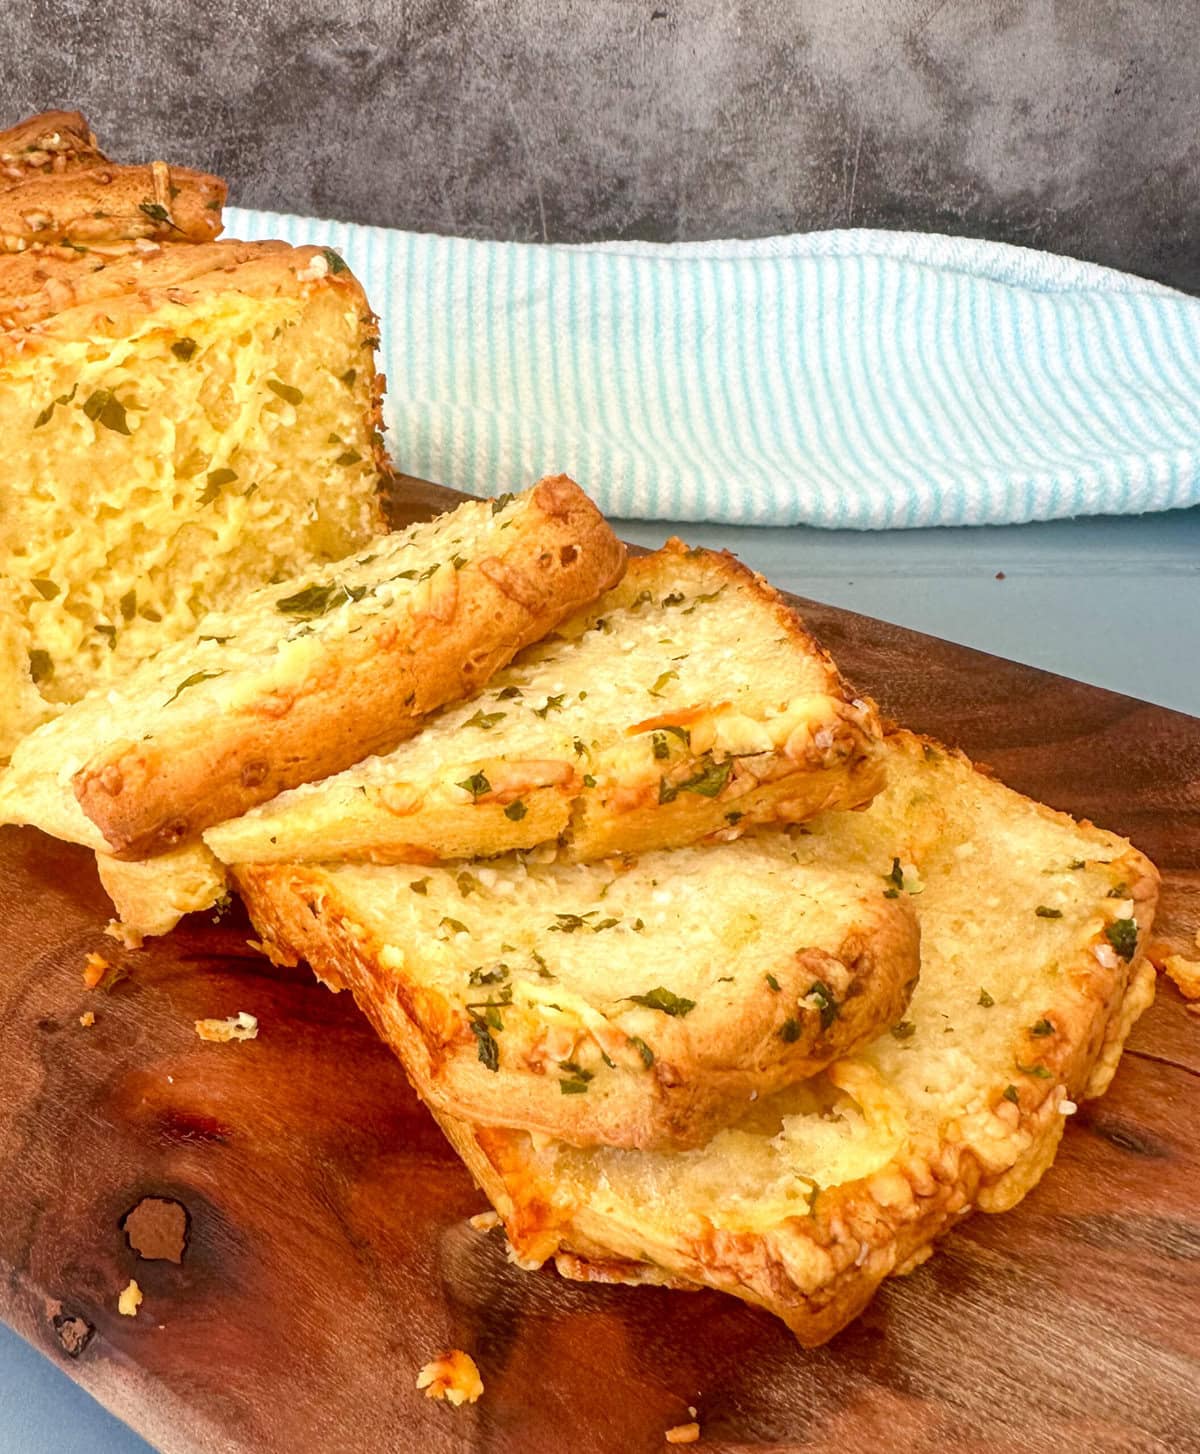
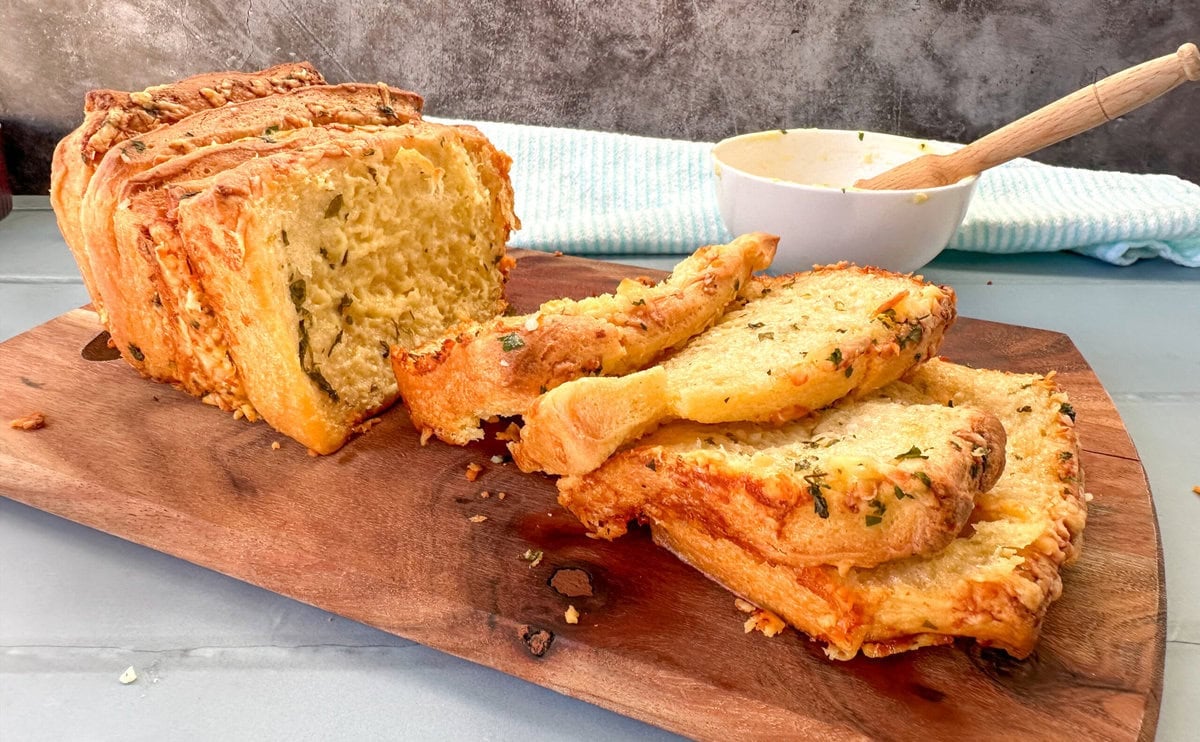
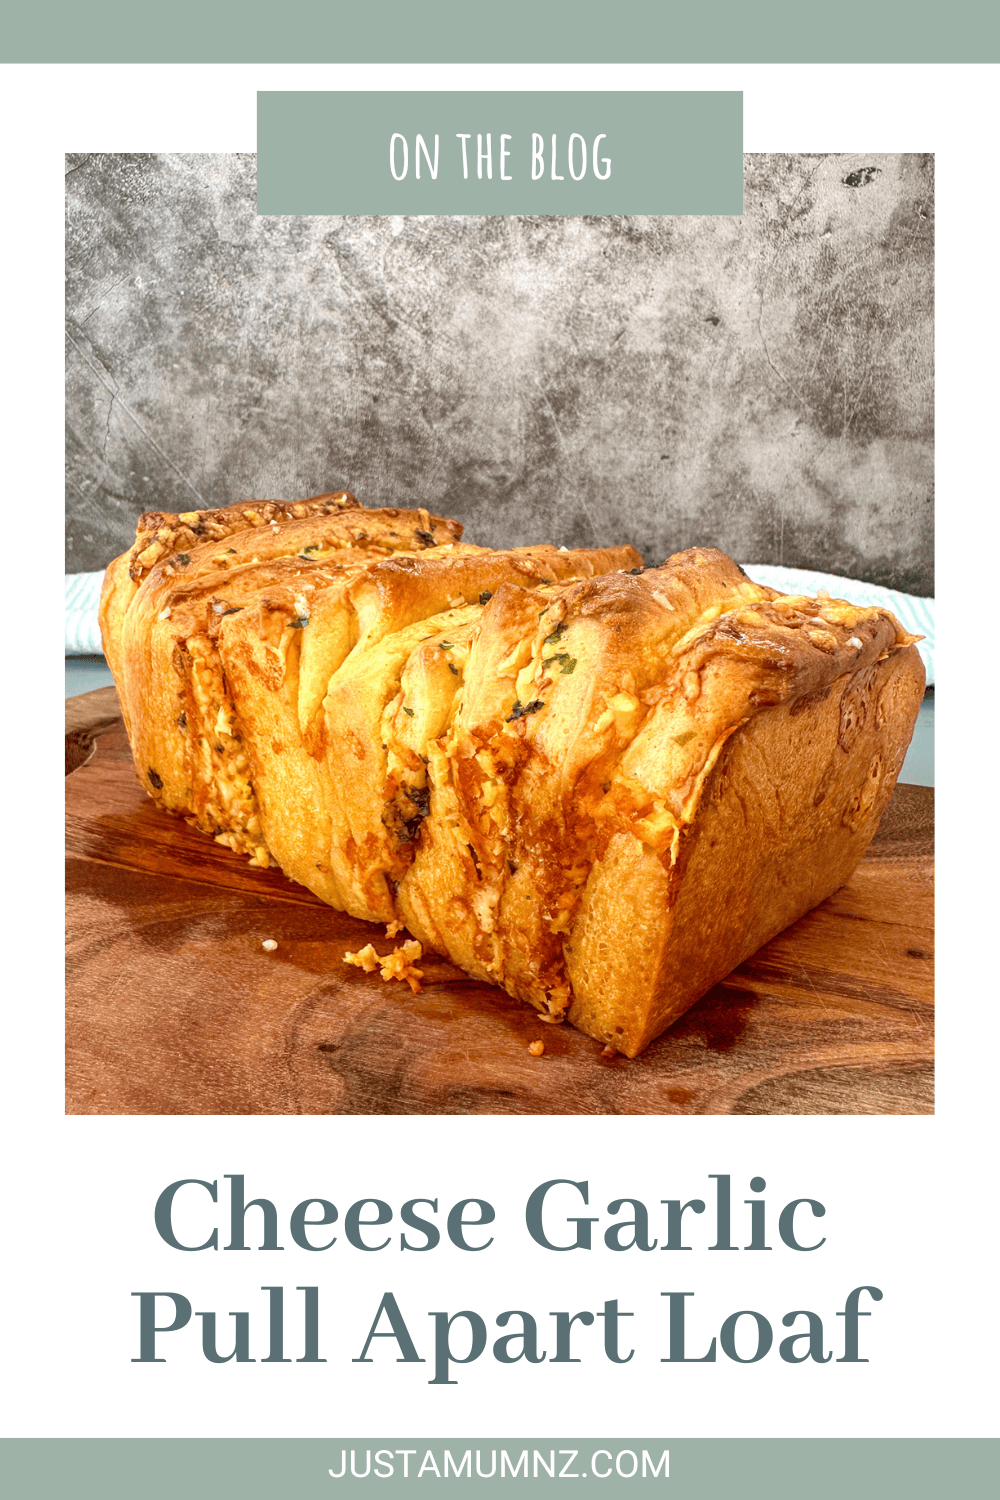
This delicious Cheese and Garlic Pull Apart Loaf is so easy to make and the perfect side dish to your favourite dinner or a treat on it own!
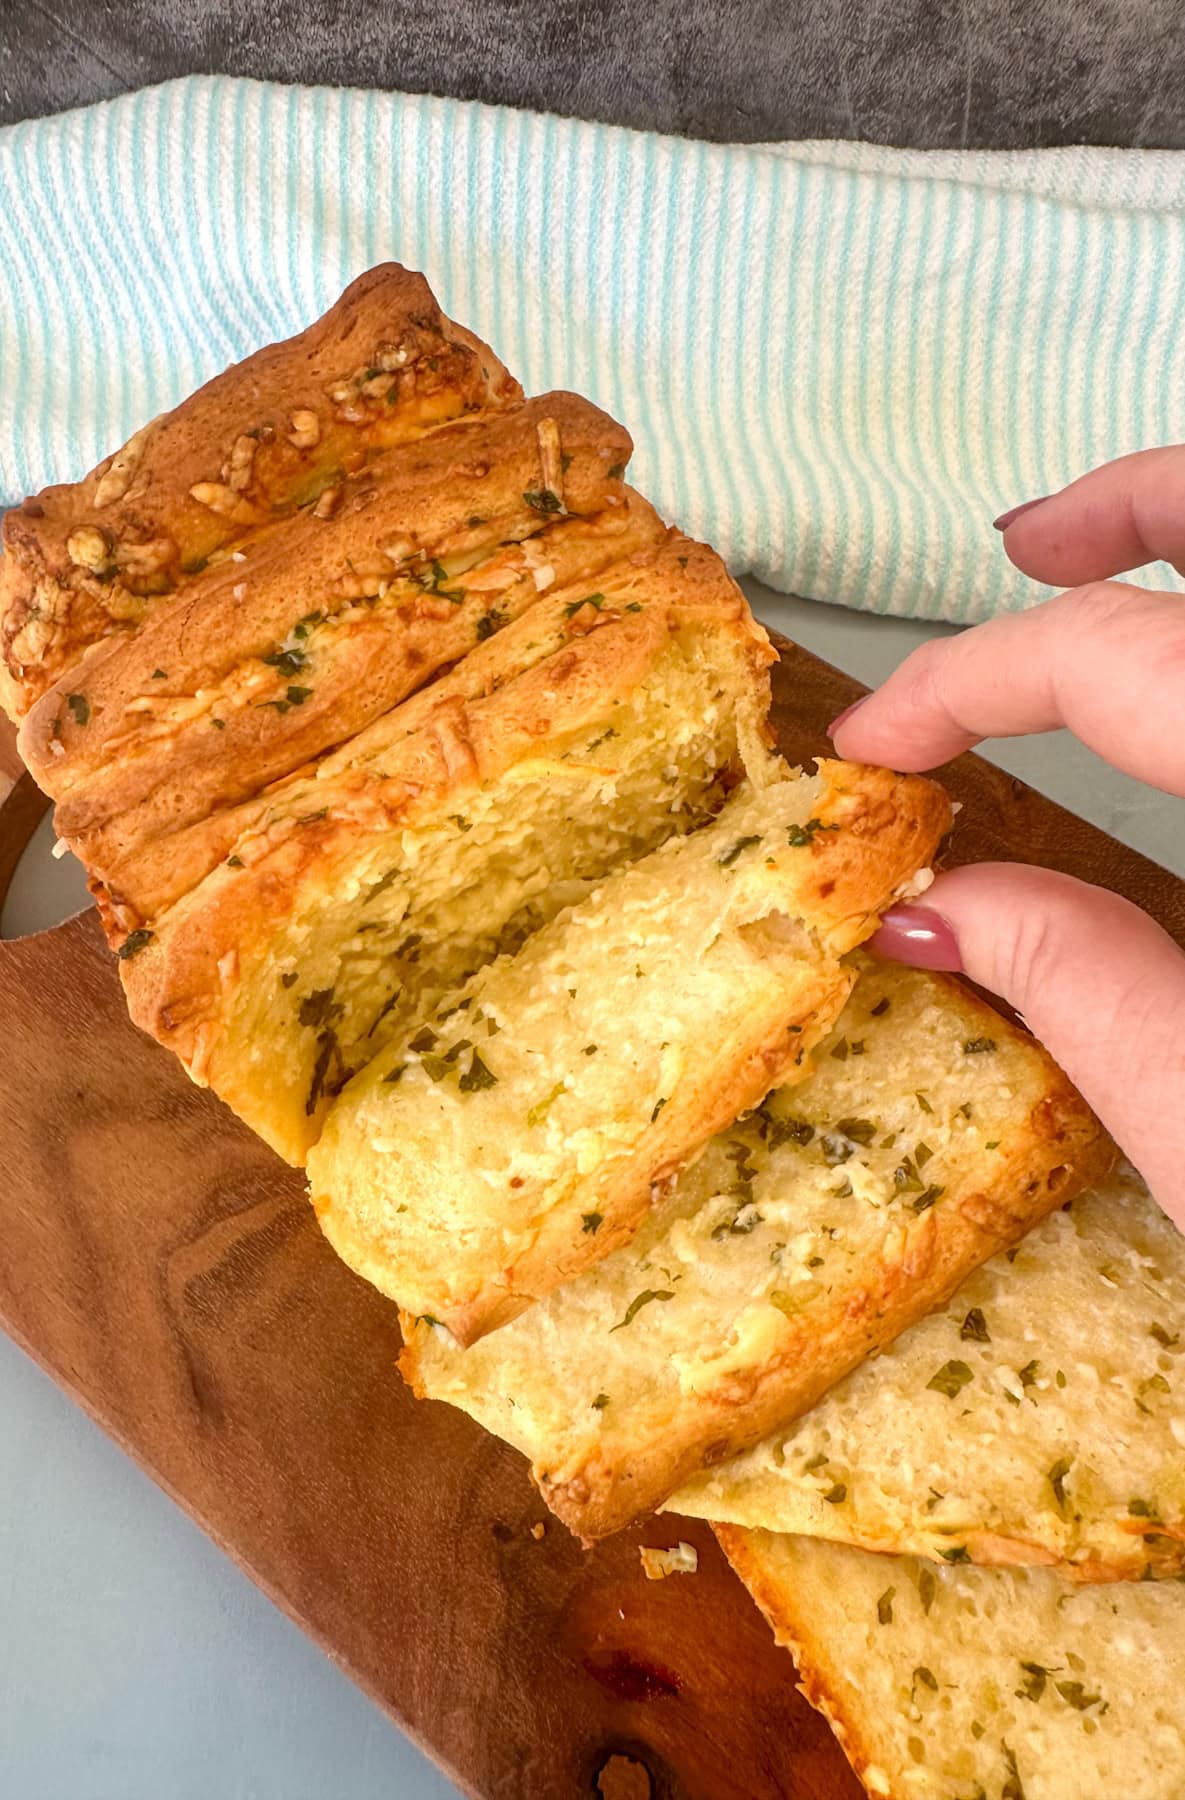
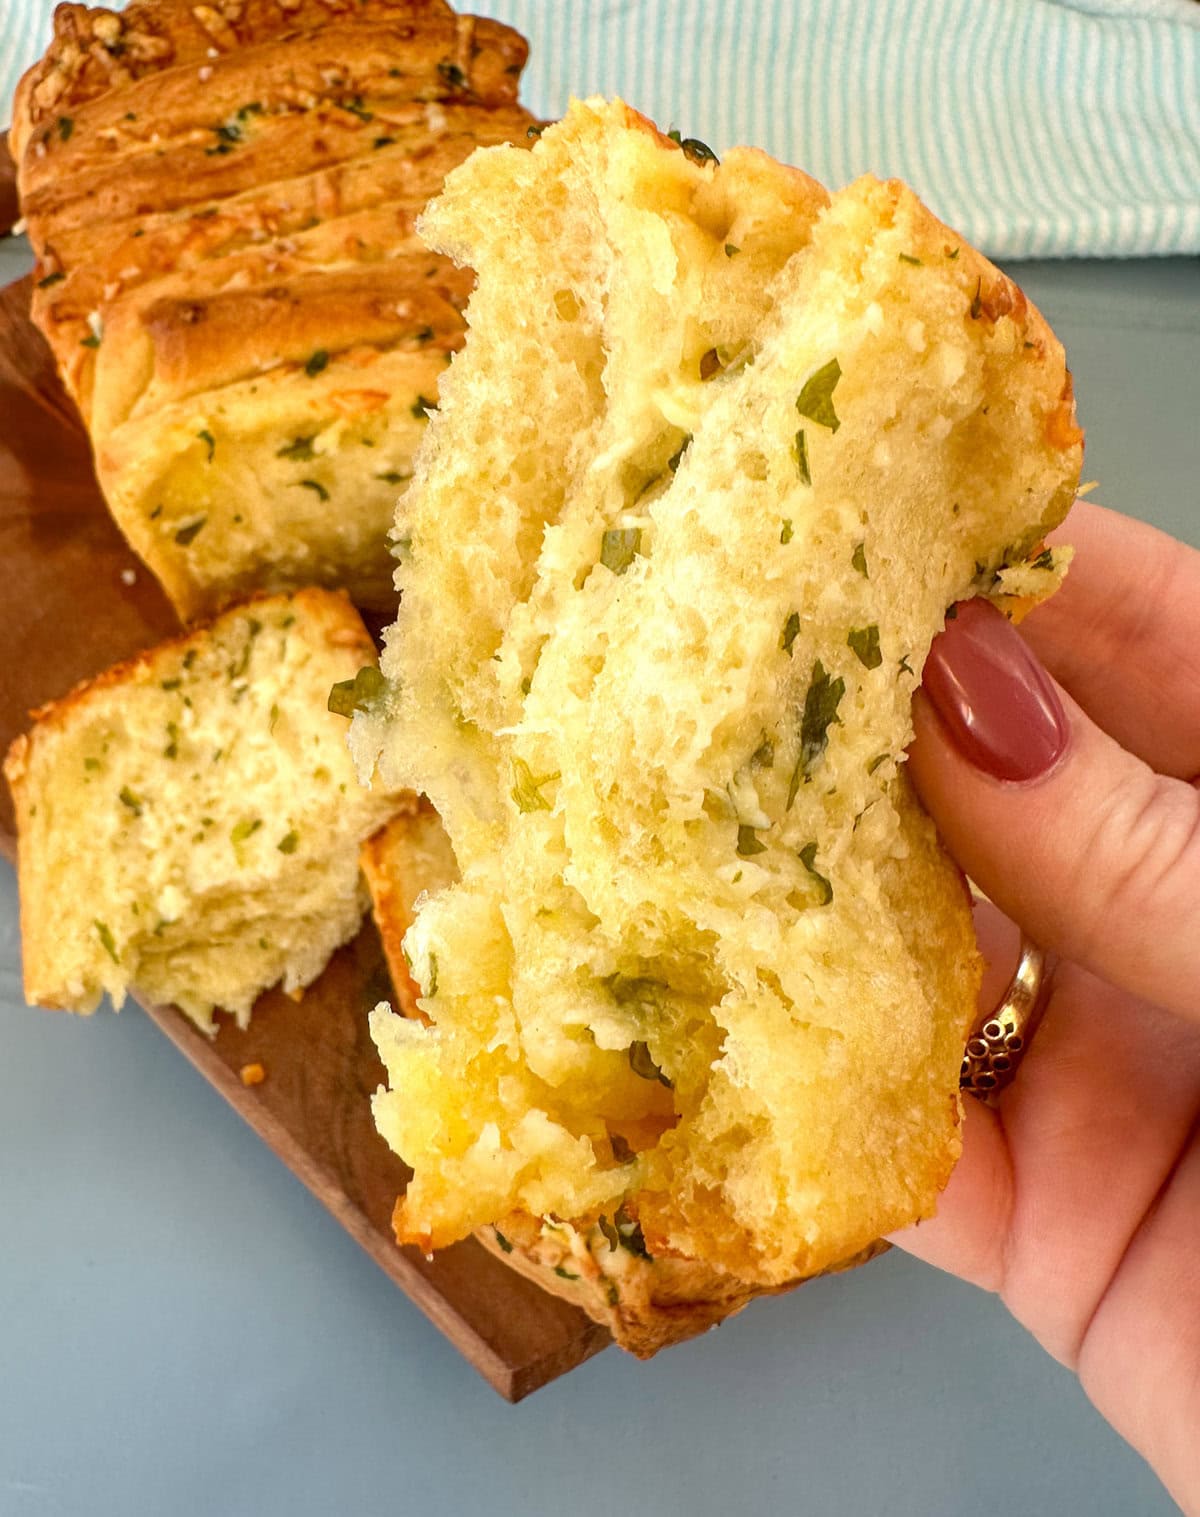
This bread is light and fluffy and stuffed with buttery garlicy cheesy goodness between each layer. Making bread from scratch is such a fun process, really easy once you know the basics and most of the time is dedicated to it rising rather than any tricky techniques.
I saw a similar idea to this on TikTok and just had to try it! I have been experimenting with bread recipes so wanted to test what I have learned on this deliciousness.
Feel free to hit the “Jump to Recipe” button if you want to get straight on with the recipe
This recipe is quite simple, fresh dough cut in segments that are coated in garlic butter and then sandwiched together with cheese, once baked the pieces of dough pull apart with melted cheese so you have lovely pieces 0f garlic bread to enjoy.
If you are familiar with working with yeast then many of the things I share in this post will be old news for you, however I am sure there are just as many people like me where the basics of bread making are new to them. If you wish, jump straight down to the printable recipe card, otherwise settle in while I share a few things I have learned.
These bread tips will be handy for any recipe that uses yeast such as bread, rolls, cinnamon scrolls and more. Full disclosure, I am not an expert!! But I have been trying to learn as much as I can so I can pass on what I am learning to save you the time:
Which yeast do I use for baking bread?
For this recipe you can use instant dry yeast or active dry yeast – both can be used interchangeably in making bread, however with the active dry yeast you need to activate it first, so that involves adding the yeast to warm milk and a little sugar until it is lovely and frothy. You use the same amount of both yeasts.
What temperature is ‘warm’ milk for baking bread?
The milk for activating dry active yeast or adding to your dough should be warm. Warm milk is 43C (or 110F), if you do not have a thermometer the best way is to pop your finger in there, it should feel quite warm to the touch. If the milk feels hot to the touch, as in your finger cannot comfortably stay in the milk, you will need to cool it down. If it feels room temperature or you cannot really feel it, it’s not warm enough.
I warm my milk in the microwave for around 30-40 seconds and this is usually perfect. Stir the milk before testing its temperature.
Do I need a stand mixer with a dough hook to make bread?
Let’s be honest, a stand mixer is such a handy kitchen tool, so I definitely recommend investing in one if you are in a position to do so. However you can definitely make bread without, you can bring the dough together in a bowl then turn it out onto the bench and knead for 8-10 minutes by hand. So it is more physical than just popping in the stand mixer and letting it do its thing.
How do I know that my bread is kneaded enough?
The purpose of kneading bread is to develop the gluten, this gives bread its lovely structure and bounce. If it is kneaded well your final result will rise nicely and be airy.
There are a few ways to know if you have kneaded your bread dough enough. The first is that it should feel smooth and be a little tacky but not sticky, it should spring back to the touch, the ball of dough should keep its shape and not collapse.
The second way is a windowpane test, if you take a piece of dough and stretch it out between your fingers it should form a thin see through “window” without tearing, this shows the gluten is well developed.
If your dough passes these tests it is ready to go, if not give it a few more minutes until it does.
How do I cover the dough for the first rising?
Lightly oil a large bowl and place the dough in the bowl and turn it to coat it in oil, then cover well. You can use a few different methods to cover the dough, the best solution is something that will ensure the dough does not dry out such as plastic wrap, a reusable bowl cover or a lid if your bowl has one. Alternatively a damp cloth which allows circulation but not allowing the dough to dry out.
Some tips for rising bread dough in a warm place
If it is a warm day or your home is warm this can be an easy step, but if your kitchen is a bit cool or you are wanting an easy solution then I have some great tips for you to choose from. The ideal environment is a temperature of around 22 – 25C for up to 90 minutes.
- A warm windowsill or room is ideal
- Pop a bowl of boiling water in your the bottom of your oven or microwave, then pop the covered dough in there to proof.
- You could preheat your oven to its lowest temperature for a few minutes then turn it off, leave the light on to keep a warm environment
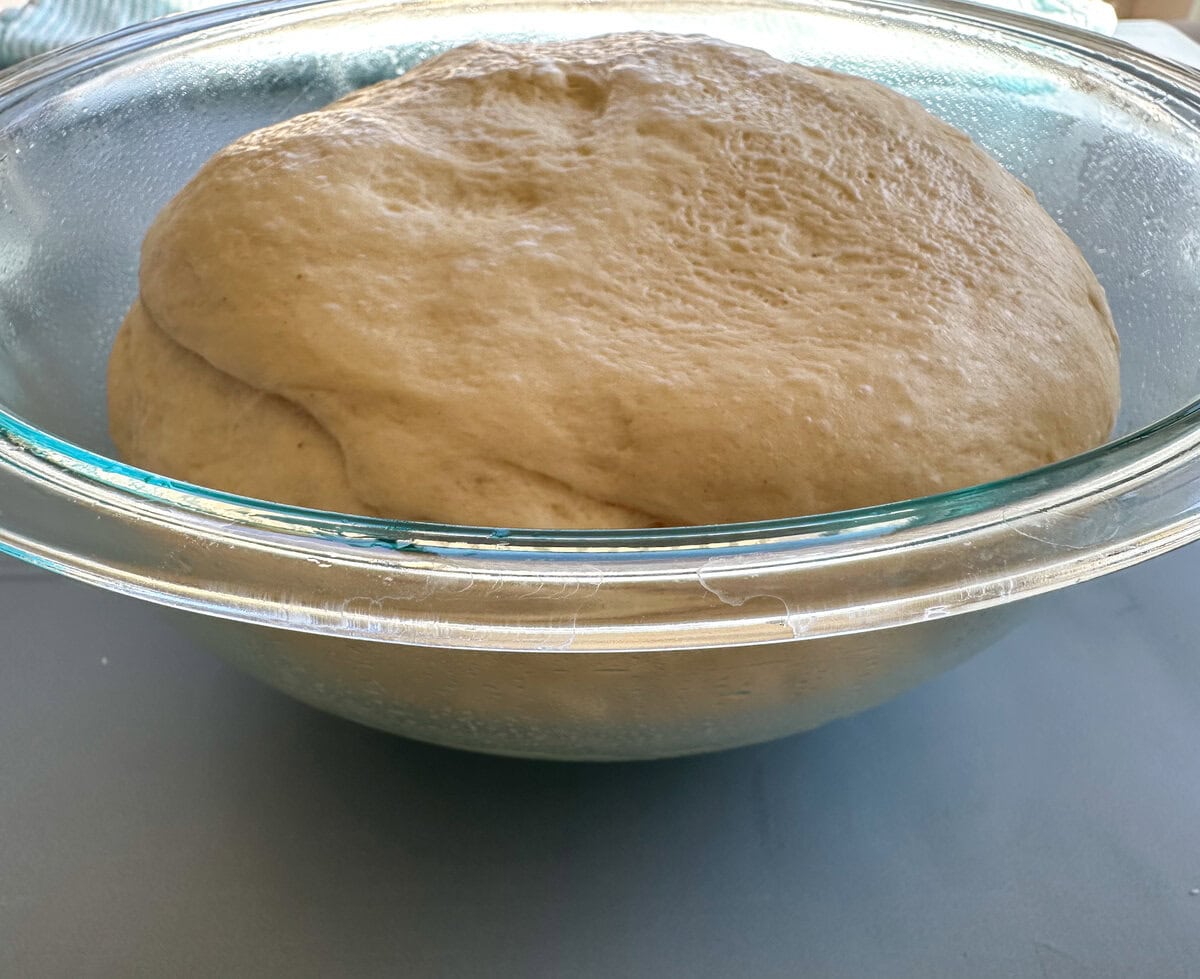
If all the steps went well your dough will double in size during this time
Why do I punch down the risen bread dough?
You will find all yeast dough recipes include the instruction to punch down the dough. The reason for this is to deflate the dough and release some of the carbon dioxide which gives a more even rise when baking. And you literally do just that, gently punch down the dough and pull it together gently into a ball before your next step of the recipe you choose.
You do not want to punch down no-knead or yeast free bread dough however.
I hope you love the recipe, it makes for a fun afternoon in the kitchen and then you can have warm fresh bread in time for dinner.
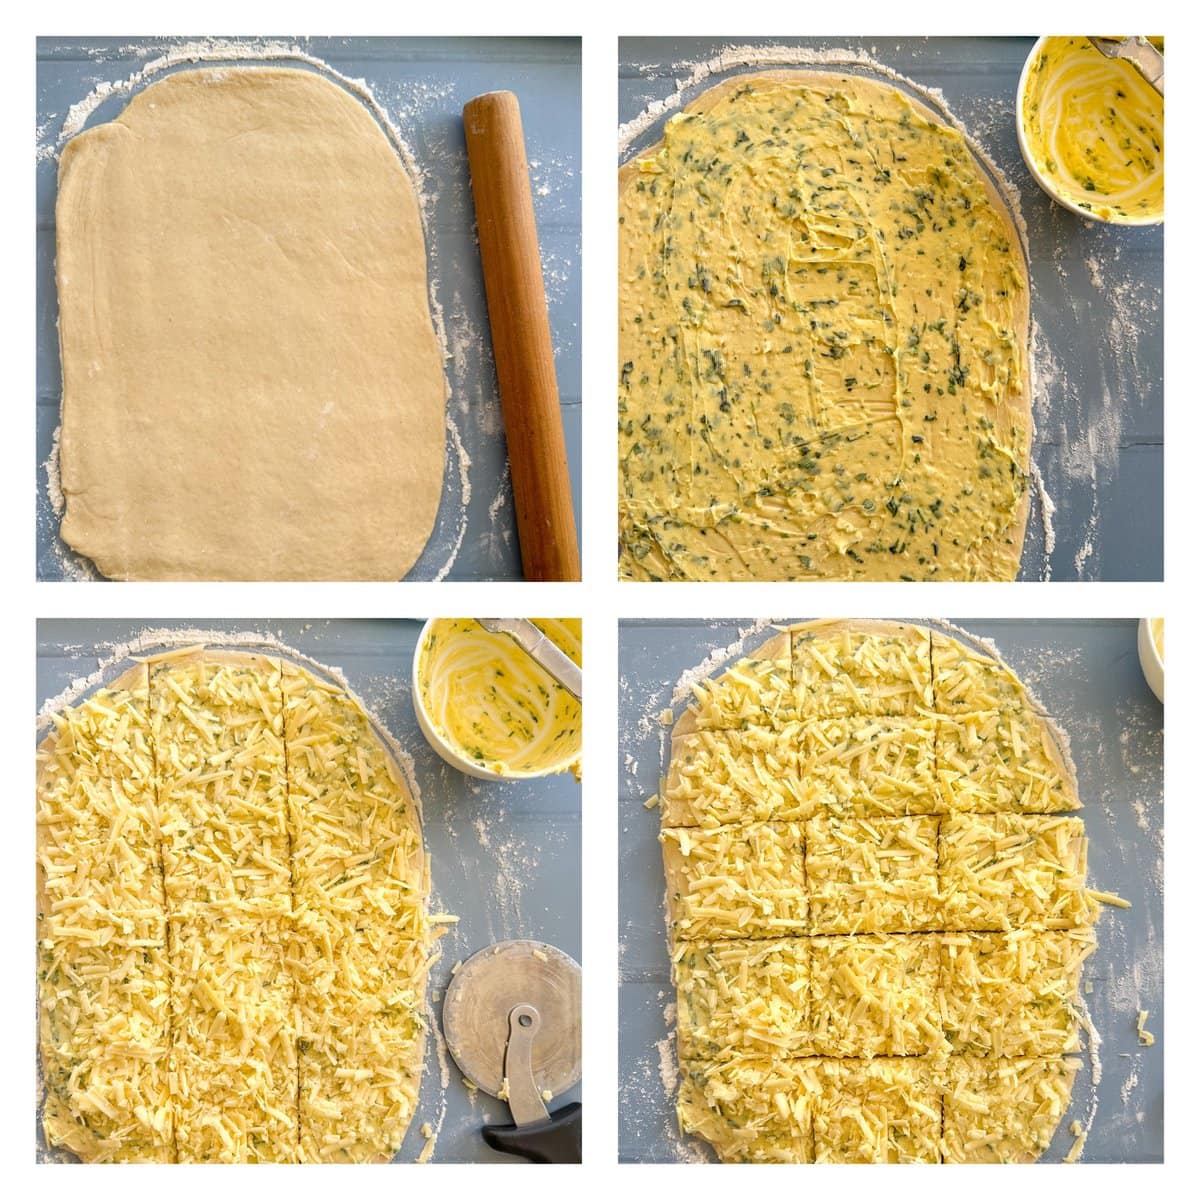
The method to this recipe is to make and proof your dough, once risen you will roll it into a large thin rectangle, approx 20 cm x 30 cm. Then generously spread a mixture of soft butter, garlic and parsley, and sprinkle with grated cheese. I love a combination of an aged cheddar and mozzarella but any cheese will do.
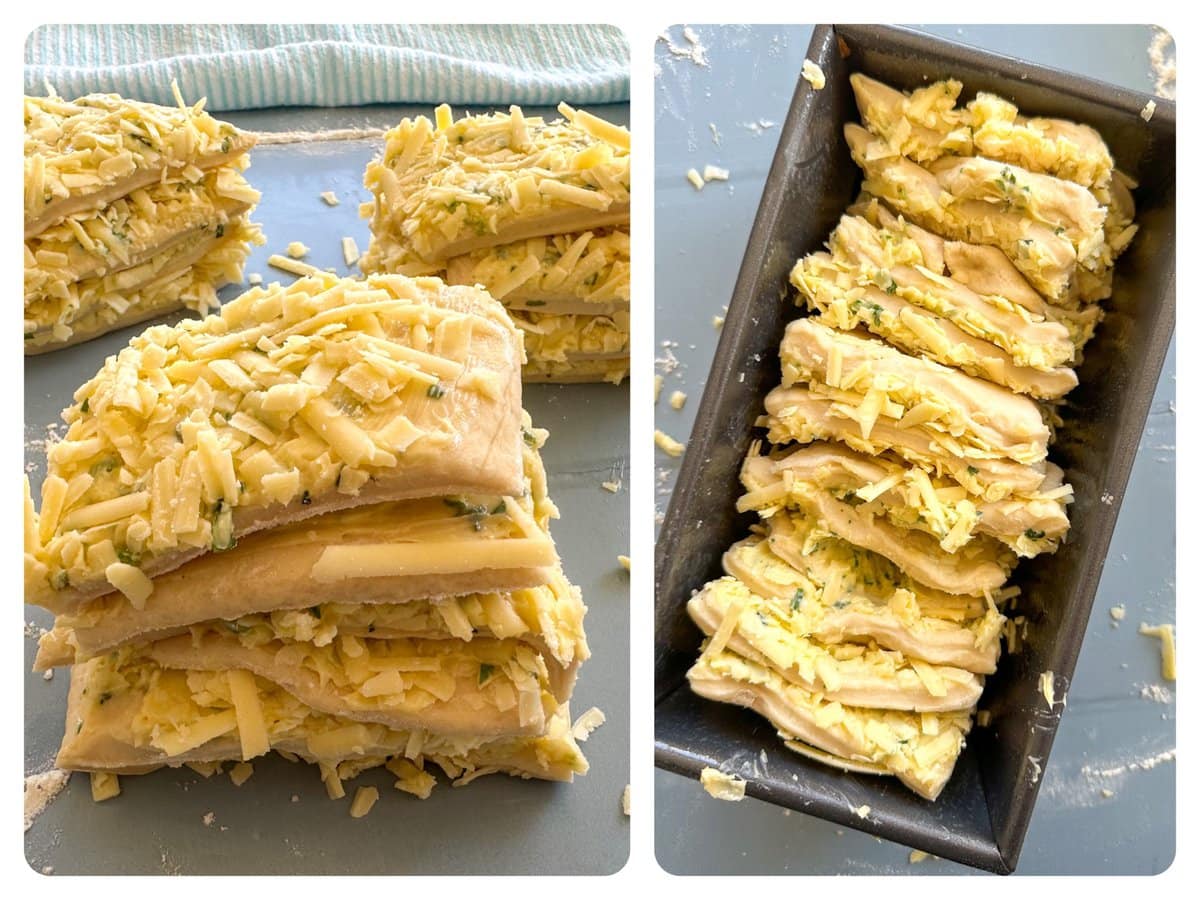
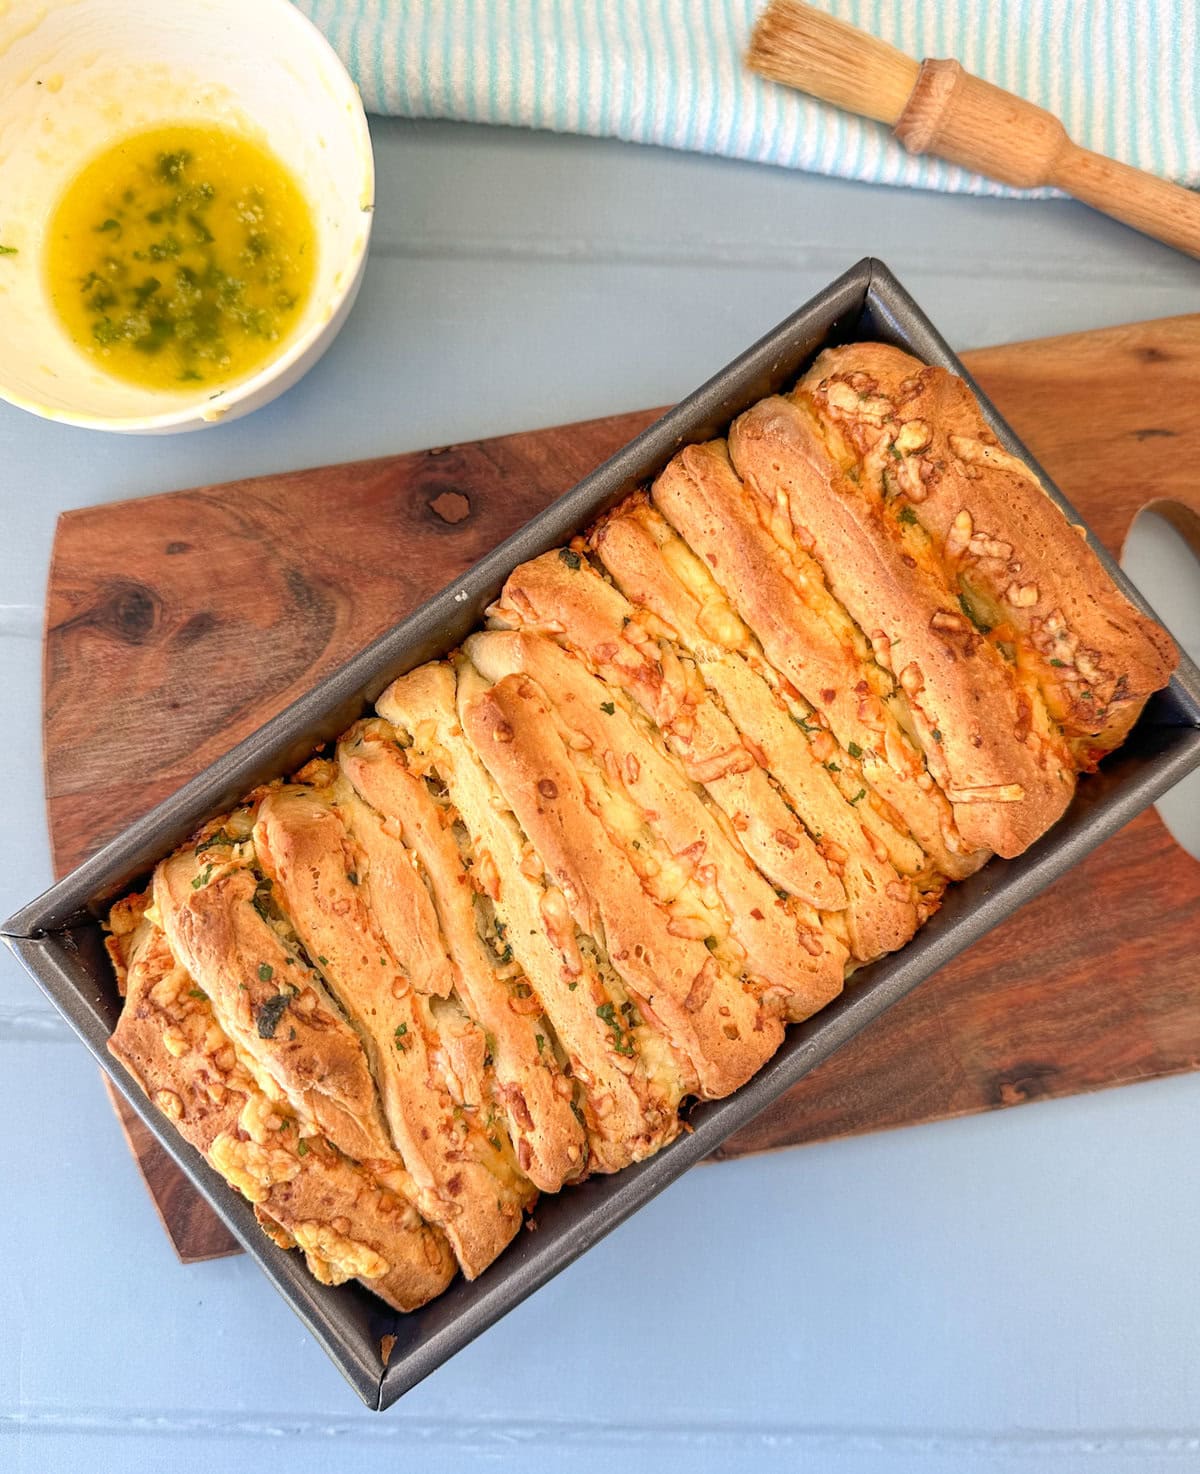
Then using a pizza cutter or sharp knife slice into even squares, then I create 3 piles of these squares and then carefully lay them on their side in a greased loaf tin, taking care not to loose too much of the filling.
Then you will do a second rise for around 40 minutes. The second rise allows even more time for the yeast to work and creates a more light and airy dough with lovely flavours, always take care not to over proof the second rise.
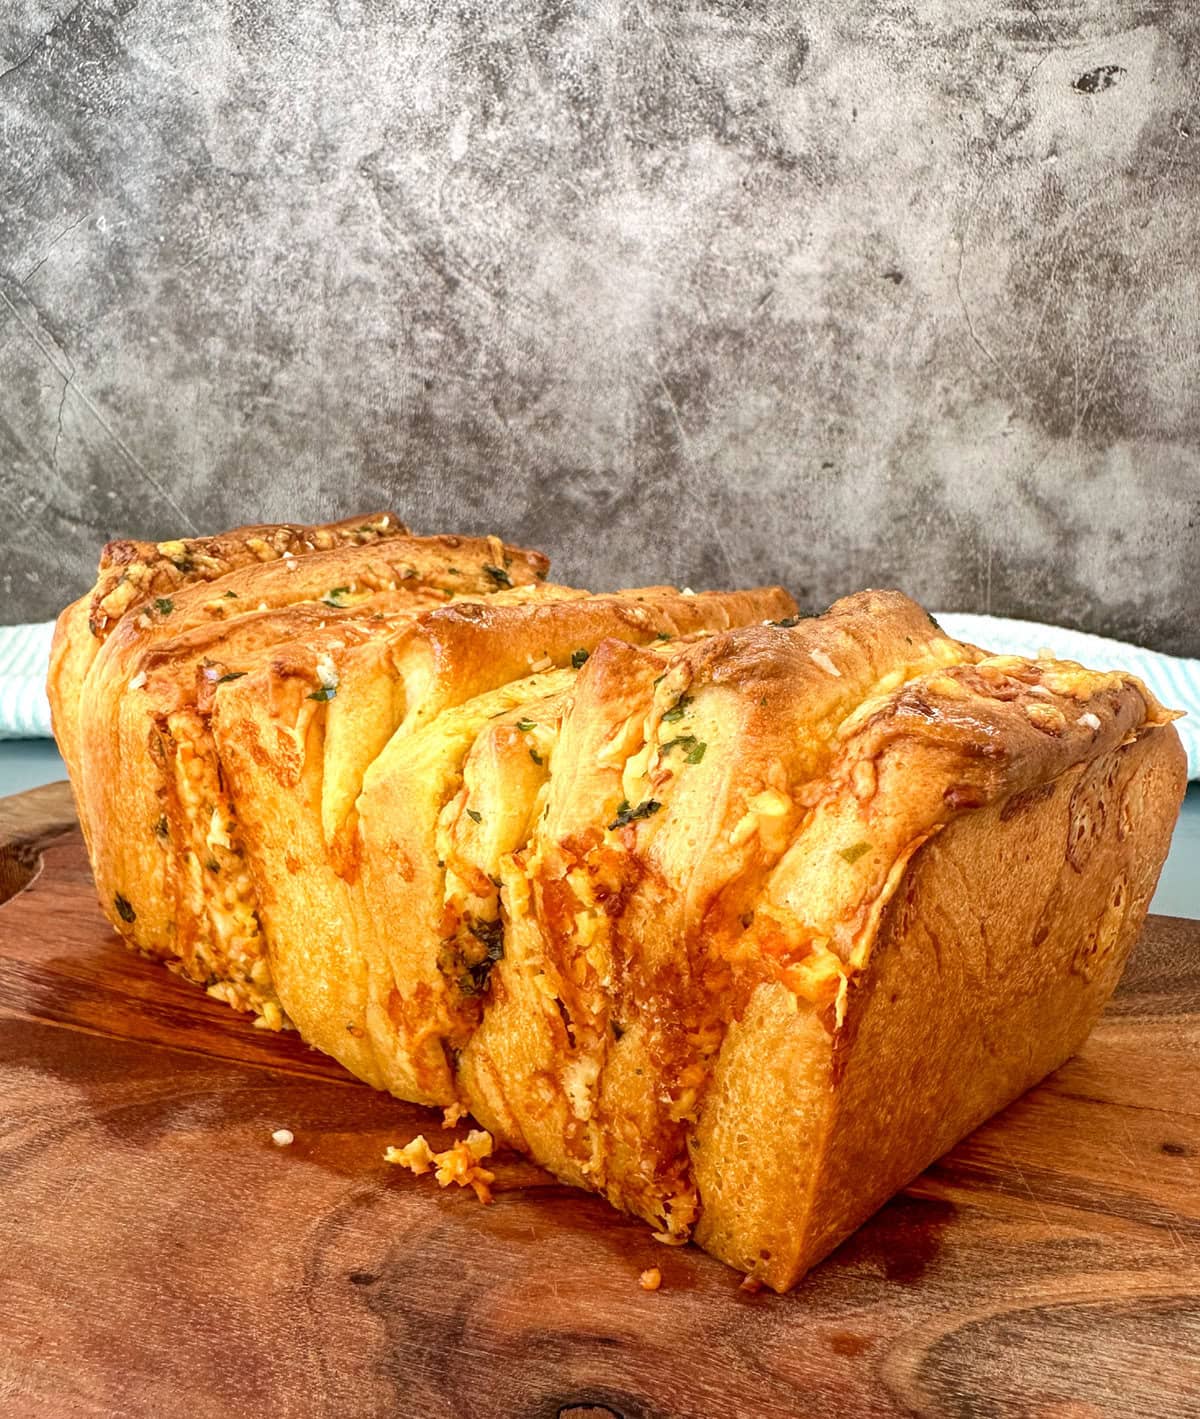
Then the loaf is baked until it is golden brown, bread is cooked when it has a good colour and gives a hollow sound when tapped. I like to brush it with some melted butter and parsley when it is first out of the oven for extra flavour.
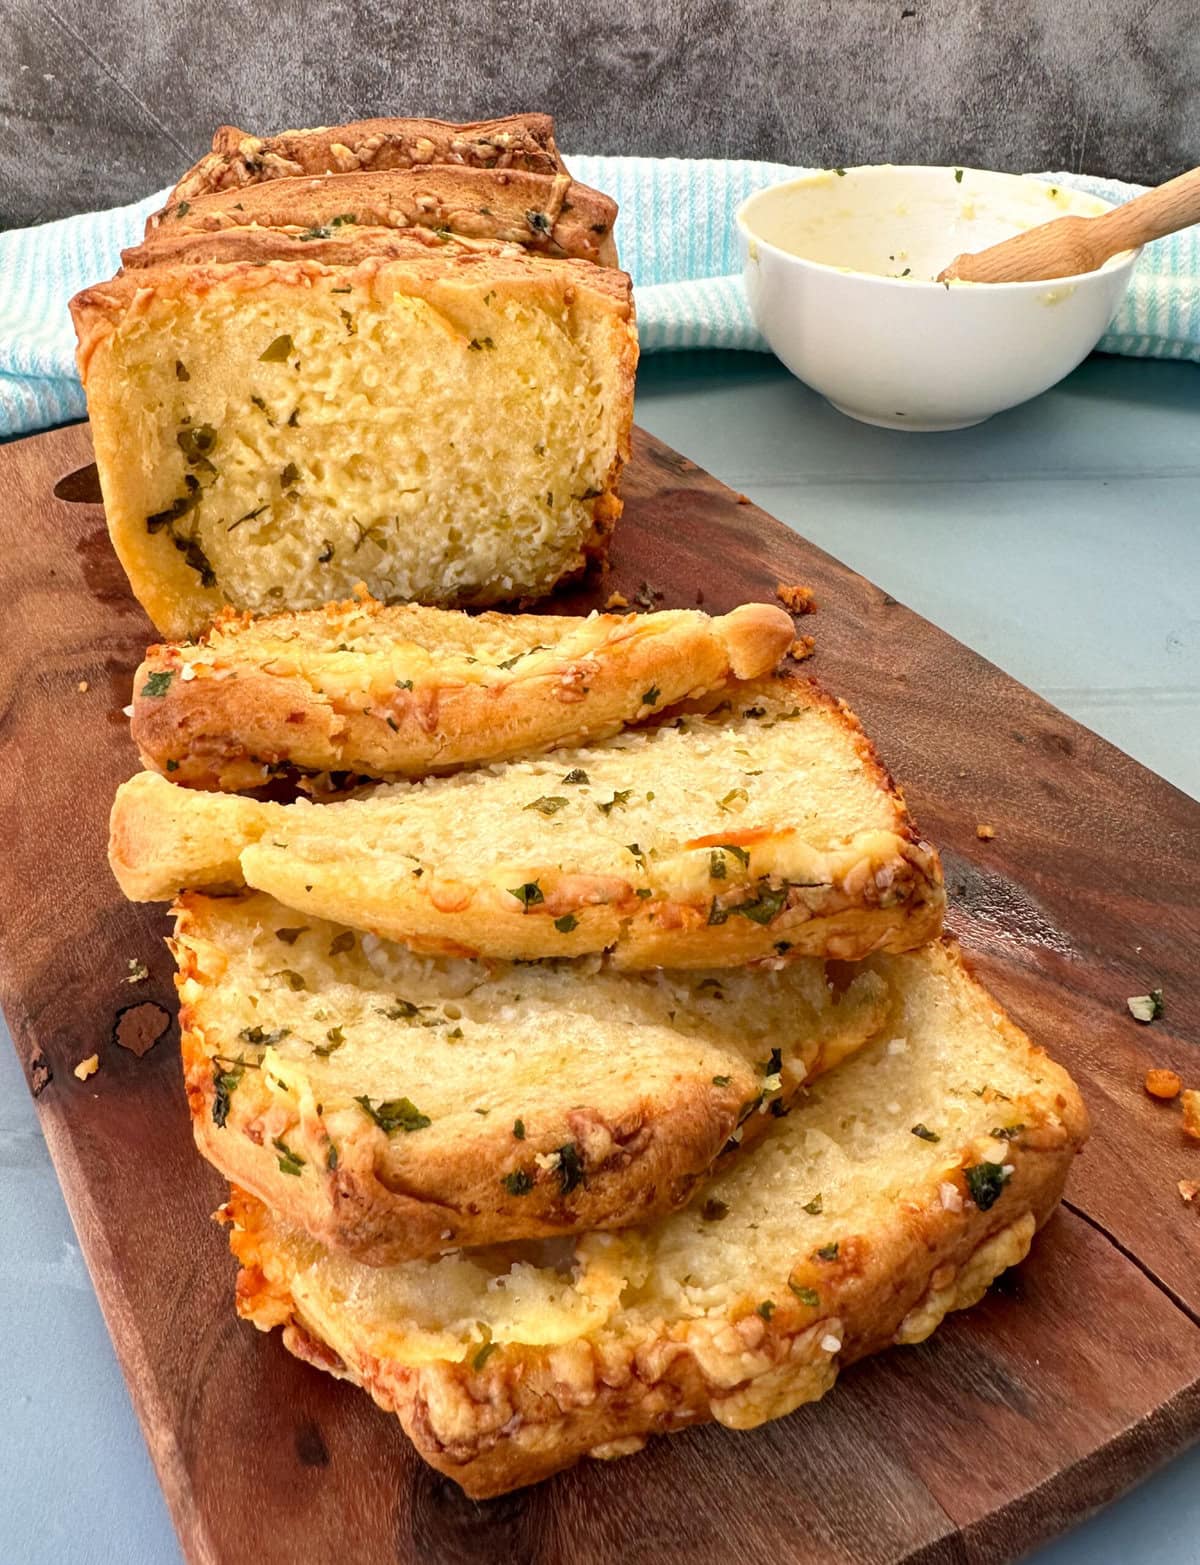
Then allow it to cool on a wire rack in the loaf tin before turning it out to serve. This is pull apart loaf is lovely served fresh and warm.
Check out my Slow Cooker Cheese Loaf here if you just love the carbs!
Onto this recipe for a delicious pull apart cheesy garlic loaf.
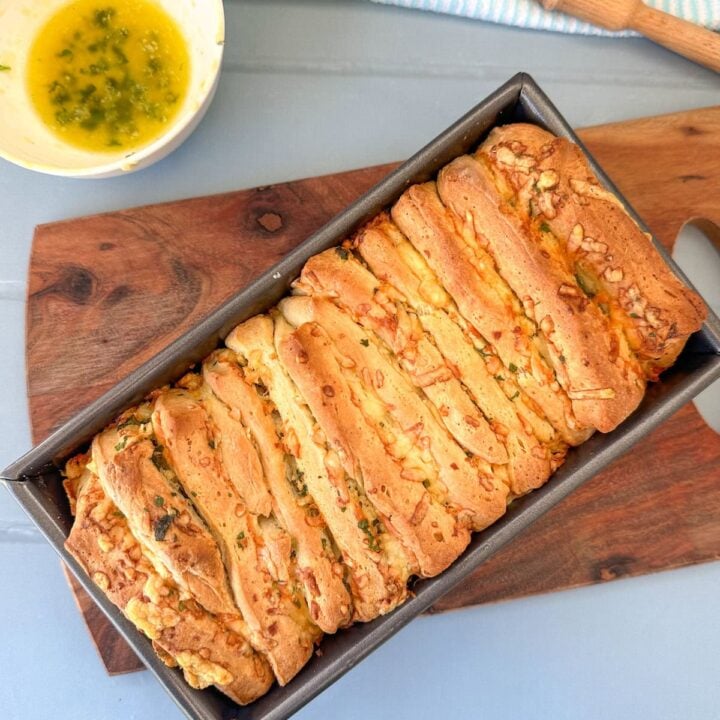
Cheese Garlic Pull Apart Loaf
Delicious light flavourful pull apart loaf with a garlic butter cheese filling
Ingredients
- 2 teaspoons Yeast (Instant Dry or Active Dry* see method)
- 1 Tablespoon White Sugar
- 3/4 Cup Milk, 187mls, Warm (43C)
- 45 grams Butter, soft
- 2 Cups Plain White Flour, 300 grams
- 1 teaspoon Salt
Optional
- 1 teaspoon Dried Rosemary
Filling
- 120 grams Butter, soft
- 2 Tablespoons Fresh Parsley, finely diced
- 1 Tablespoon or 2 Cloves Garlic, finely crushed
- 100 grams Cheese, grated (combination of hard cheddar and mozzarella is the best)
- 1/2 teaspoon salt
Optional Glaze
- 15 grams Butter, melted
- 1 teaspoon Parsley, finely diced
- Coarse Sea Salt
Instructions
- Stand Mixer Method (See notes for non-mixer instructions):
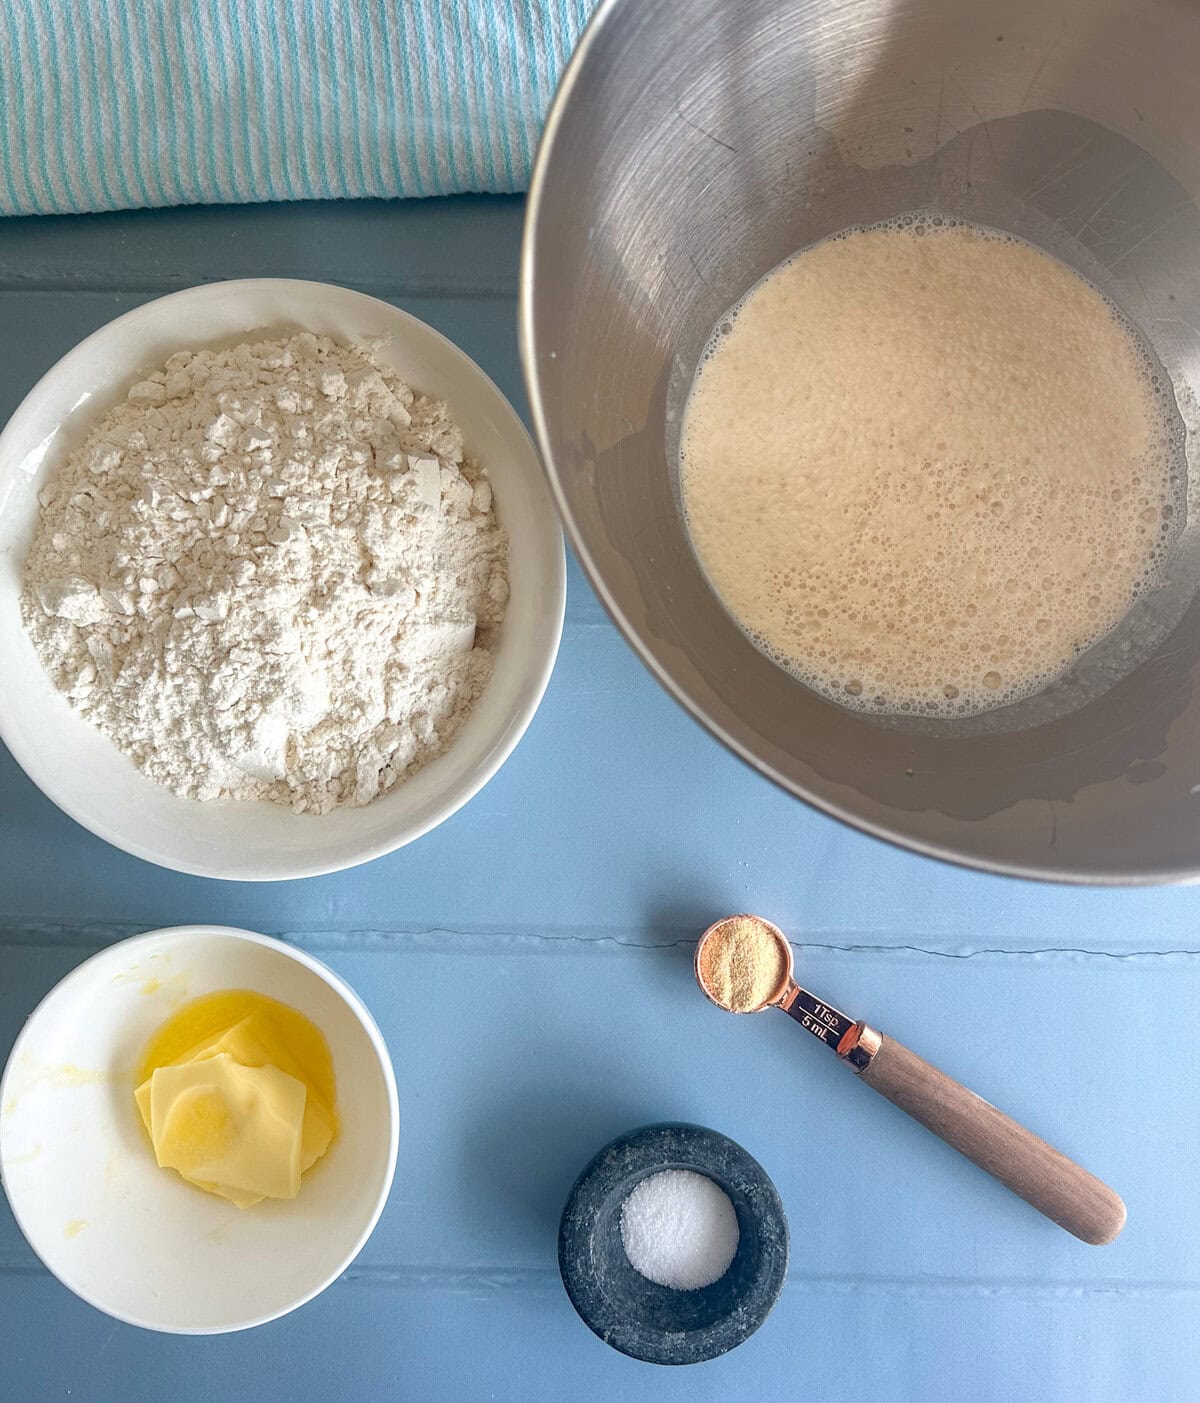
- If using Active Dry Yeast: Warm milk to 43°C (this feels quite warm to the touch), add to your stand mixer bowl, sprinkle with sugar and yeast. Whisk, then let sit in a warm place for up to 10 minutes until frothy.
- If using Instant Yeast: Warm milk to 43°C, add to mixer bowl with sugar and instant yeast. Whisk (no resting needed).
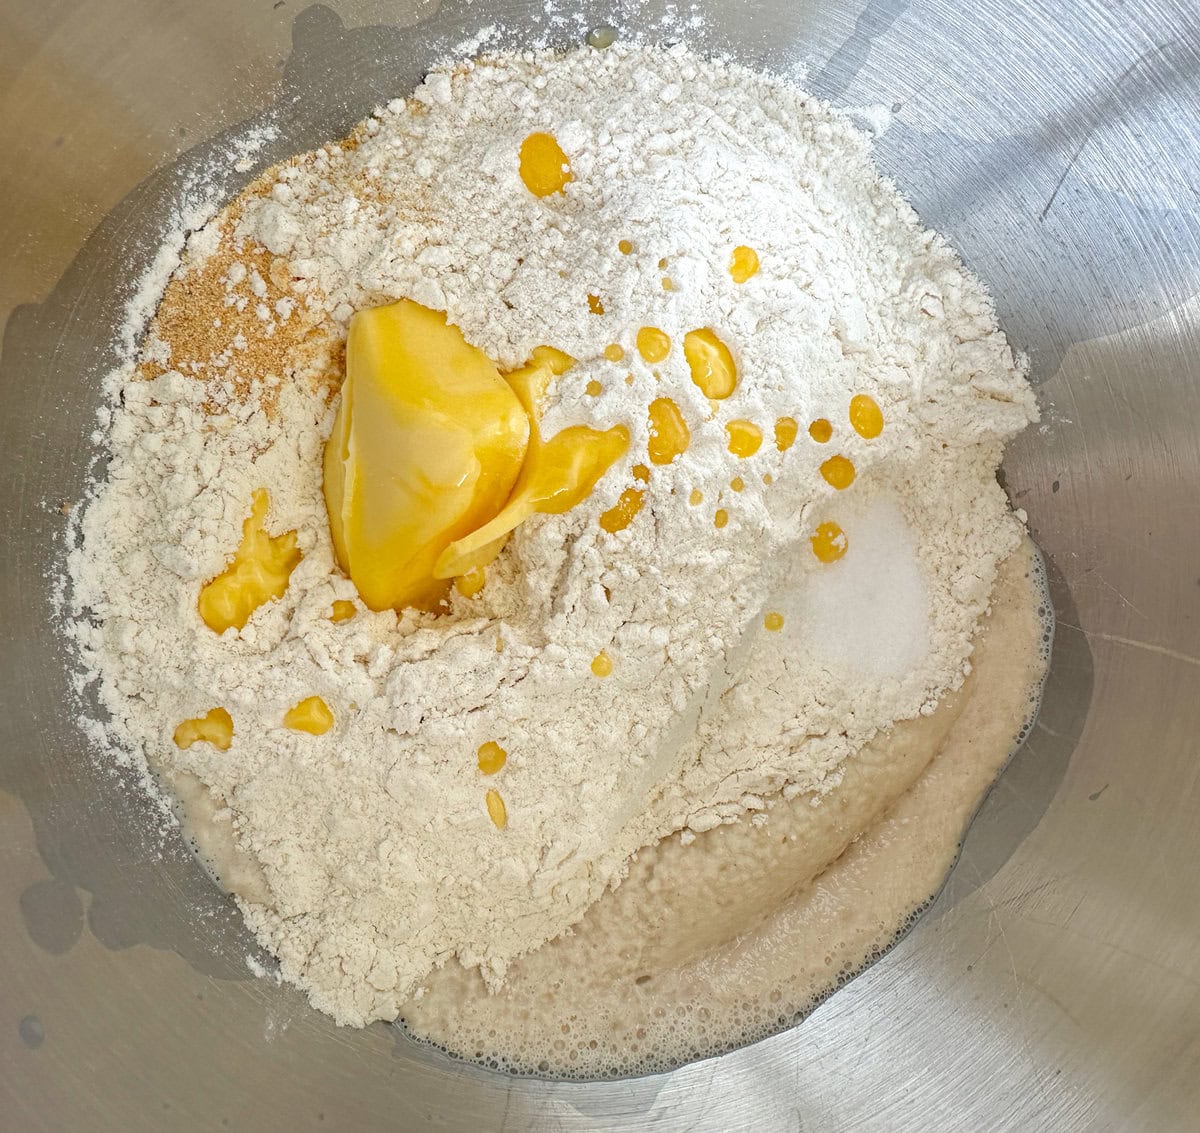
- Make Dough: To the milk and yeast add the softened butter, flour, salt (and rosemary, if using). Mix slowly with paddle attachment until just combined. Switch to a dough hook and knead for 8-10 minutes at medium speed until soft and smooth. Test with the "windowpane" method to see if it is ready (see notes).
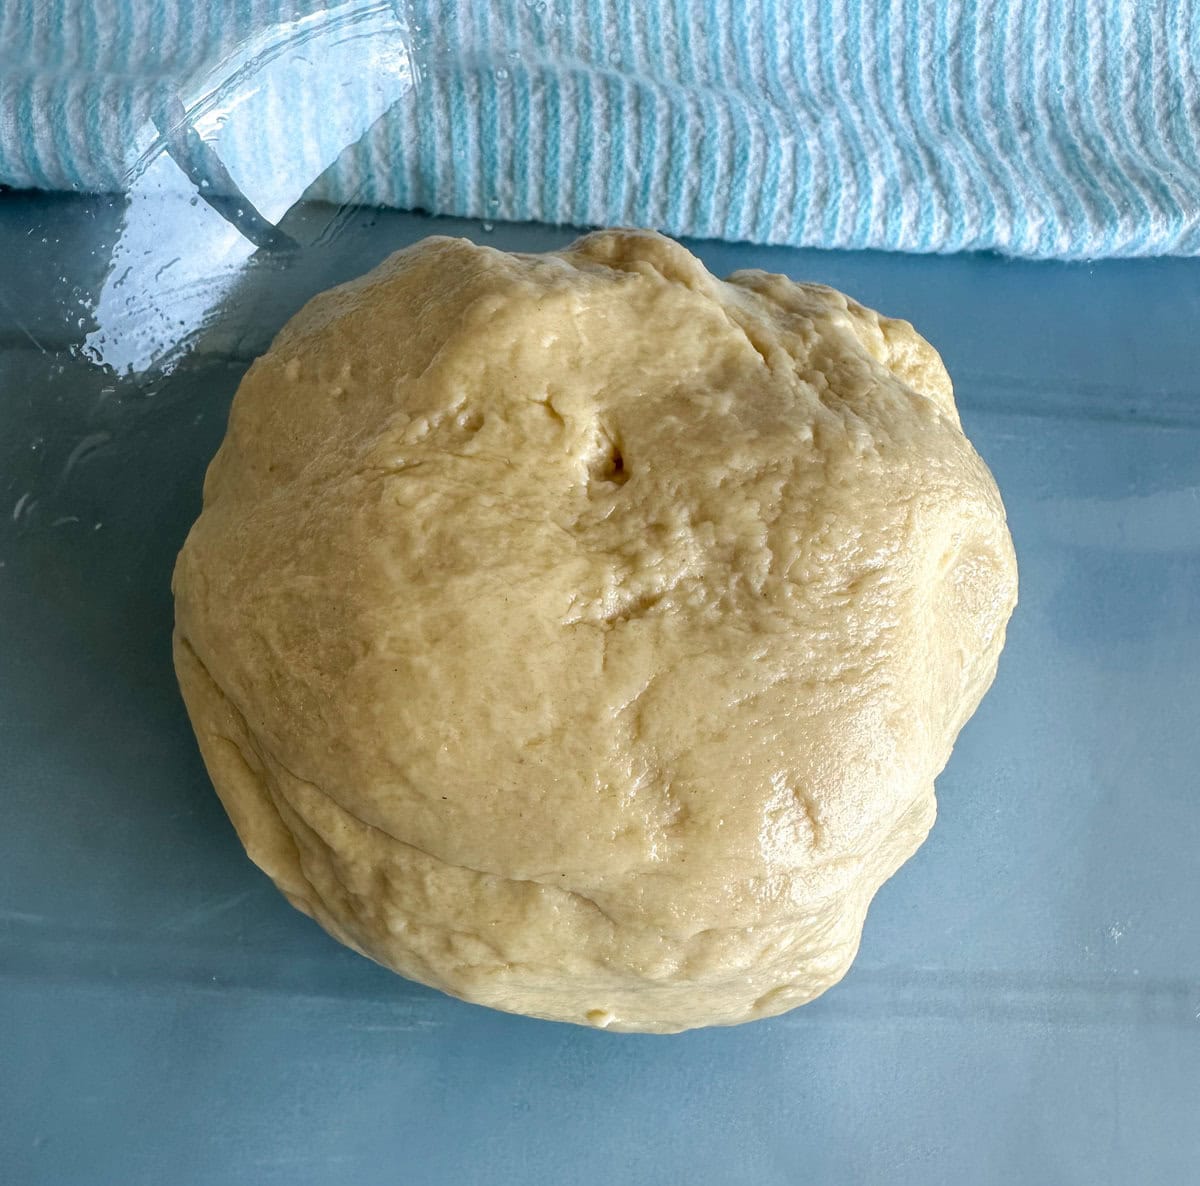
- First Rise: Lightly oil a large bowl. Add the ball of dough, turn to coat in oil, cover with plastic wrap or a lid, and let it rise in a warm place for 80-90 minutes until doubled in size.
- Prepare Filling: Mix softened butter, parsley, garlic, and salt into a paste. Set aside. Grease a 22 x 13 cm loaf pan.
- Shape Dough: Punch down dough, turn onto a lightly floured surface, and form into a rectangle shaped disk. Roll out into a large rectangle, 3-4mm thick. Spread butter mixture evenly over the dough, then sprinkle with the combined grated cheeses.
- Cut & Stack: Using a pizza cutter, slice the dough into 15 even squares (3 x 5). Stack the squares into 3 piles, then carefully place each pile on its side in the prepared loaf tin. Ensure the end pieces are dough-side out. Cover again and let it rise for 45 minutes only.
- Bake: Preheat your oven to 175°C. Bake for 45-50 minutes until golden and hollow-sounding. Cool in tin on wire rack for 15 minutes, then turn out onto rack.
- Optional Glaze: Brush melted butter and parsley over the loaf. Sprinkle with sea salt.
- Serve fresh and warm
- Enjoy!
Notes
How to make bread dough without a stand mixer
Prepare the ingredients as above in a large bowl. Bring them together to form a shaggy dough.
To knead dough by hand, place the dough on a lightly floured surface and press down on it with the palms of your hands. Then, fold the dough in half towards you, give it a quarter turn, and push it away from you. Repeat this process for about 10 minutes or until the dough is smooth and elastic.
What is the Windowpane Test, When is my dough kneaded enough?
The purpose of kneading bread is to develop the gluten, this gives bread its lovely structure and bounce. If it is kneaded well your final result will rise nicely and be lovely and airy finished product.
There are a few ways to know if you have kneaded your bread dough enough. The first is that it should feel smooth and be a little tacky but not sticky, it should spring back to the touch, the ball of dough should keep its shape and not collapse.
The second way is a windowpane test, if you take a piece of dough and stretch it out between your fingers it should form a thin see through "window" without tearing, this shows the gluten is well developed.
If your dough passes these tests it is ready to go, if not give it a few more minutes until it does.
Nutrition Information:
Yield: 8 Serving Size: 1Amount Per Serving: Calories: 372Total Fat: 23gSaturated Fat: 14gTrans Fat: 1gUnsaturated Fat: 7gCholesterol: 63mgSodium: 709mgCarbohydrates: 33gFiber: 1gSugar: 3gProtein: 8g
JustAMumNZ.com, occasionally offers nutritional information for recipes contained on this site. This information is provided as a courtesy and is an estimate only. This information comes from online calculators. Although justamumnz.com attempts to provide accurate nutritional information, these figures are only estimates.
If you make this one be sure to let me know what you think in the comments below, it is always lovely for me and others to hear what you thought.
So it is as simple as that. I hope you enjoy this and many more recipes I have up on my blog.
Thank you so much for stopping by to check out this recipe. If you are not already please do follow me on Facebook and Instagram for more delicious ideas.
Happy Baking!
Anna
Debbie Lovett says
OMG sooo yummy – only change I would make is number of pieces as I put some down the side to fill up loaf dish