
Well I have finally done it – after thinking about it since January this year hubby and I finally made a video tutorial of a hairstyle. Check it out here! www.youtube.com/watch?v=YbdBHK_J9aY Talk about nervous!
On so many levels this felt weird, hearing my voice, seeing my hands (yes I am odd) thinking of what to say and how to do it so you can actually see what I am doing! In the end we just did it without too much thought going into it.
There will always be negative people around so I have to put my thick skin on and know that we created this for the lovely people who ask me so often to show them how to do hairstyles and I really hope that this is helpful for people who want to do their girls hair.
Once you master a French braid – which is really just a fancy basic plait you will be away and all other hairstyles won’t seem so daunting any more.
Just like with my baking I am no expert, but we muddle away until we have worked them out. They never look the same as the professionals but I am doing my hairstyles on my own girls, they are fidgeting, talking, the cats are wandering around, lawnmowers will be going but I would rather just get onto it and do these for my lovely likers than think oh I should do that one day – well today was the day!
I do hope you enjoy this tutorial, I have also posted photos for a step by step process so scroll down below this video if you prefer to see the steps that way 🙂 It really is not that hard – just think its a normal plait with sections of hair taken in.
Click HERE to see my tutorial on a basic plait if you need a refresher before you begin 🙂
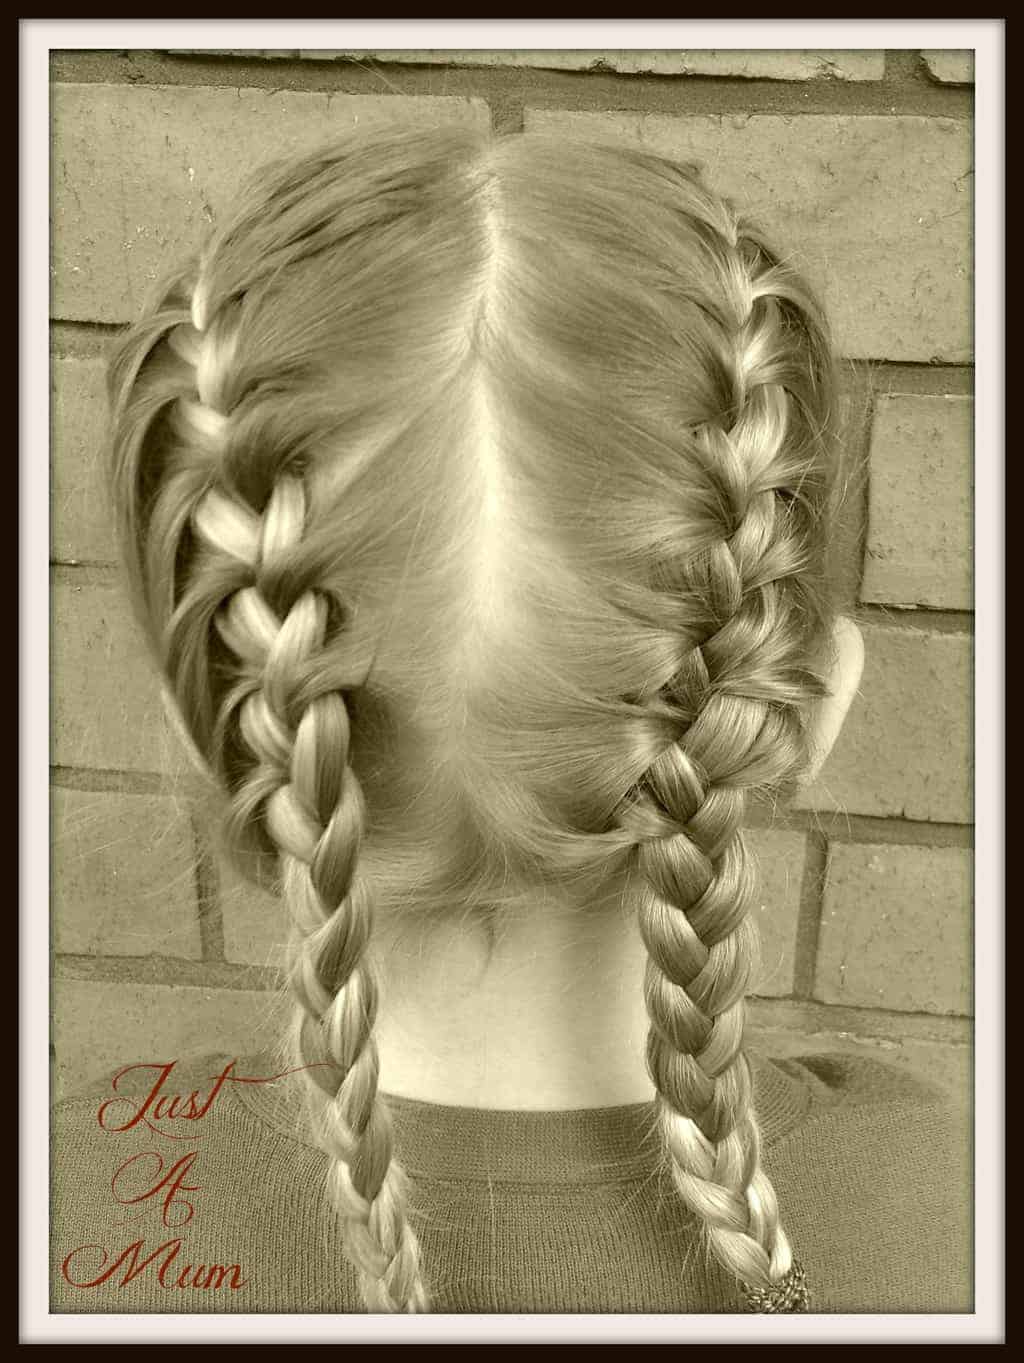
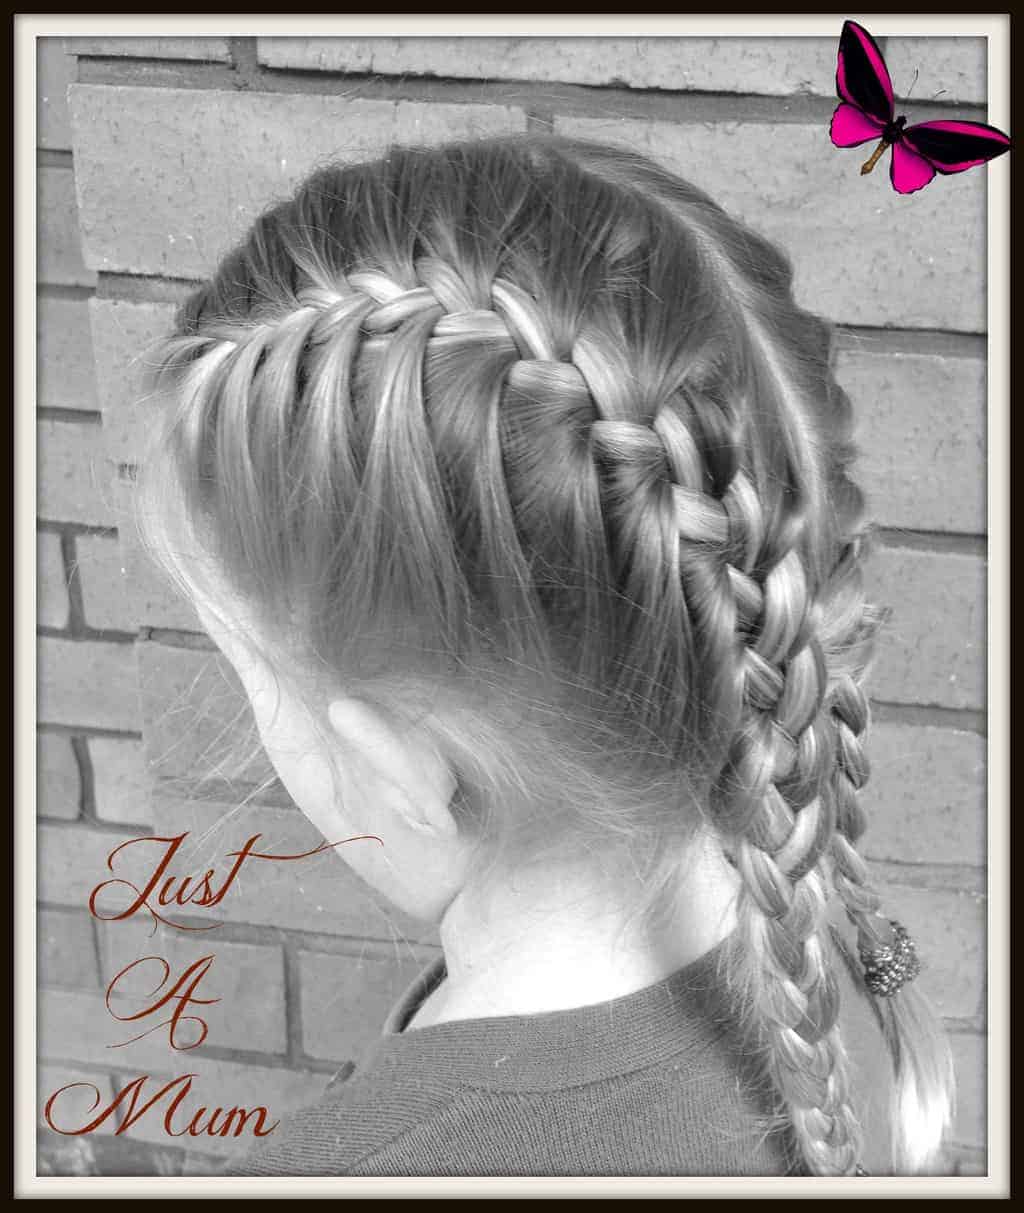
A French braid done this way is perfect for school or sports as the hair stays in and tidy for most of the day. It looks so pretty but really is not hard once you have tried it a few times! At first you might feel like you don’t have enough fingers but you will soon figure out the best way to hold the strands of hair – everyone does it slightly differently. Have fun and remember to send me your pics once you are done! 🙂
So as you can see – it is not so hard after all! Please see below for the photos and step by step process as best I can show you in photos! 🙂 I would love a thumbs up on the video if you like what you see! 🙂
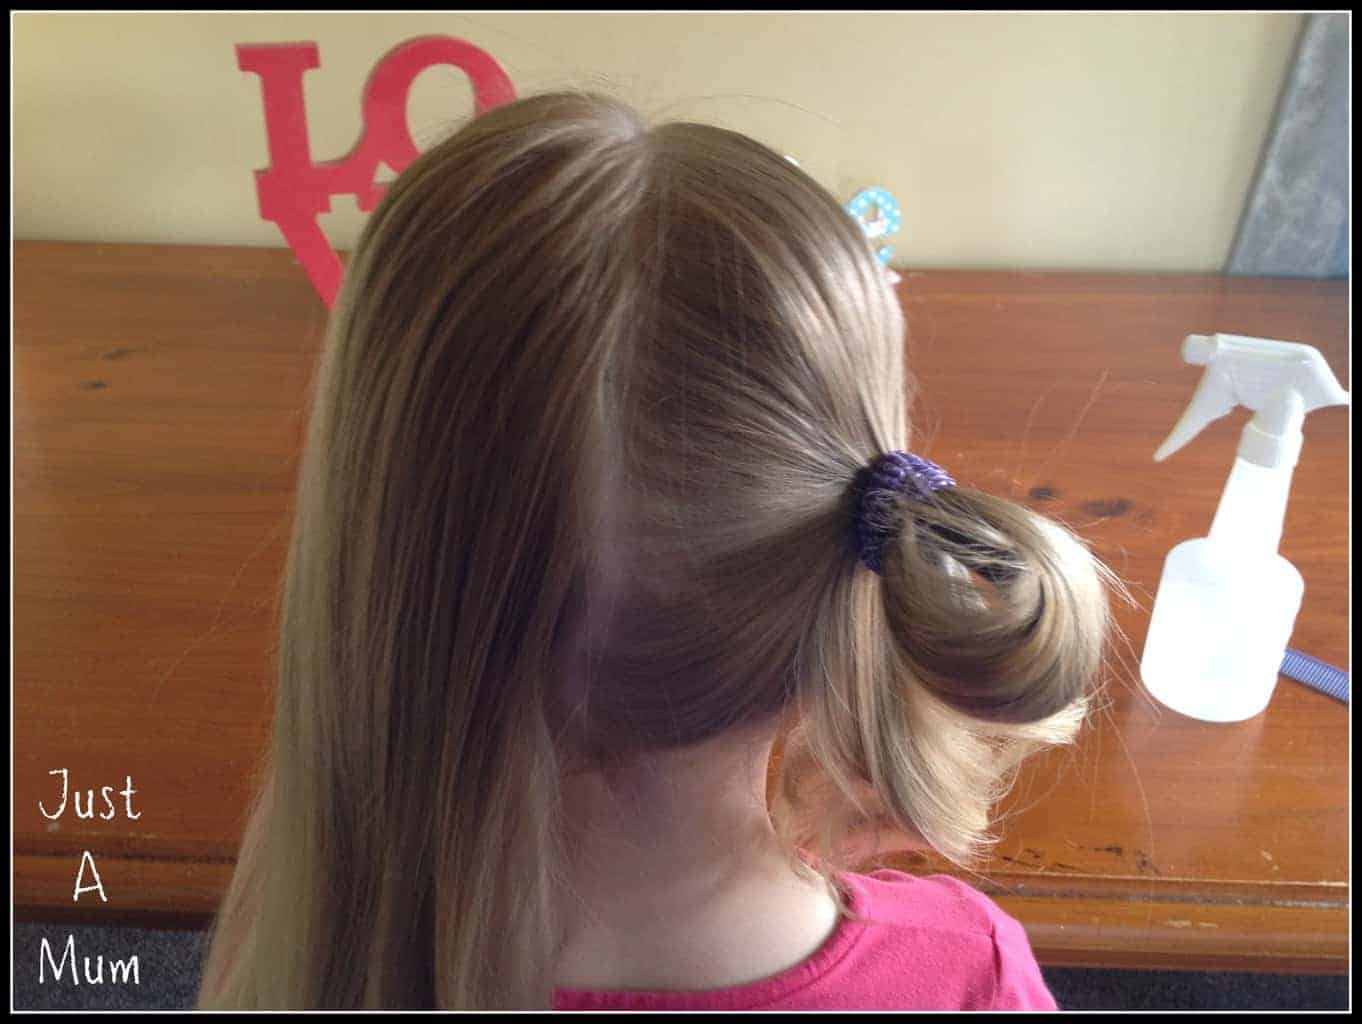
For two French Braids divide hair in half and tie one side out of the way to begin.
Step One – Brush the hair until smooth and divide into two sections. Tie one side out of the way. If they have flyaways you can use a little water to keep those under control.
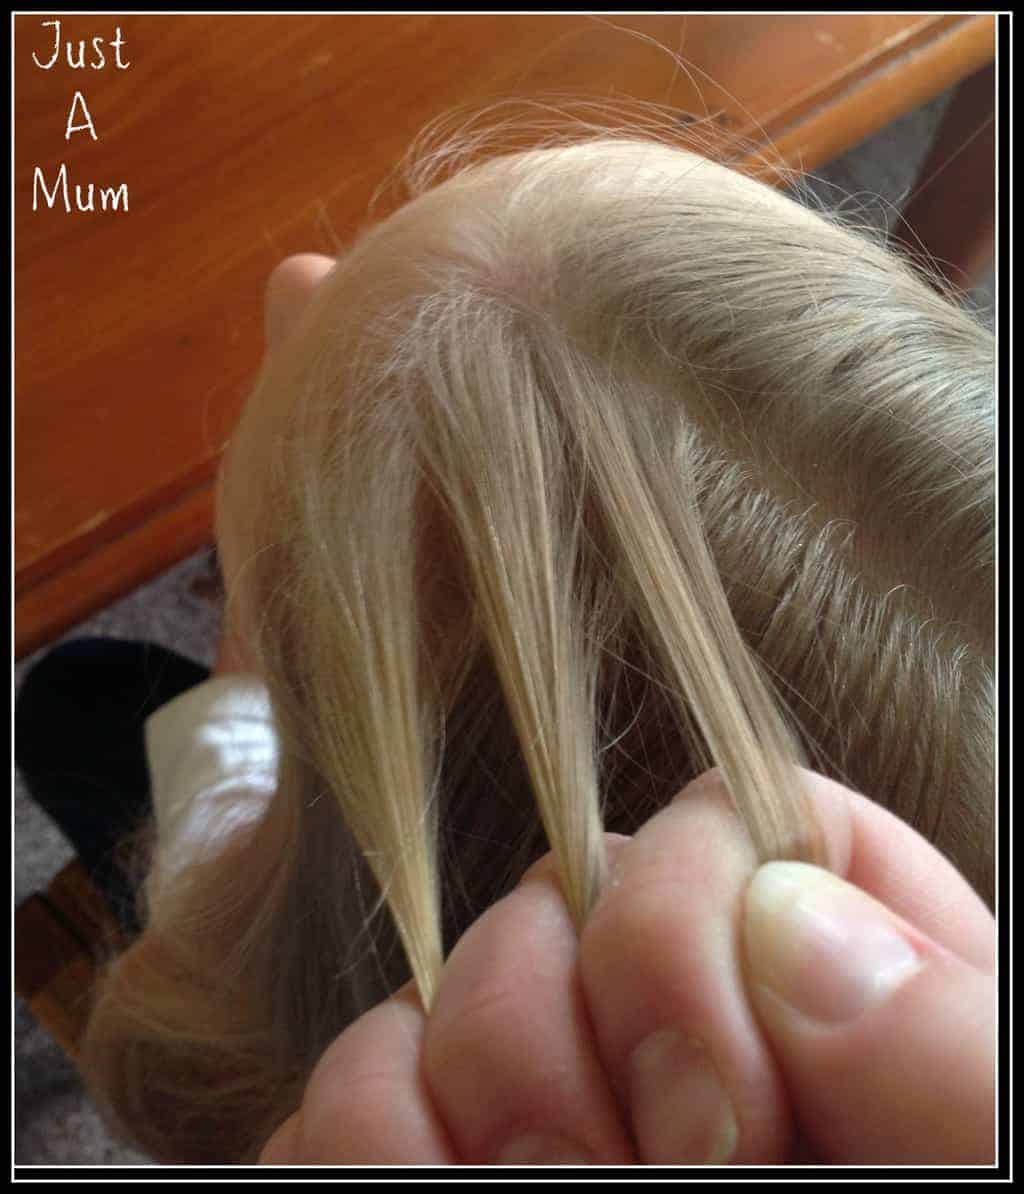
Divide Hair into 3 sections as you would for a normal plait.
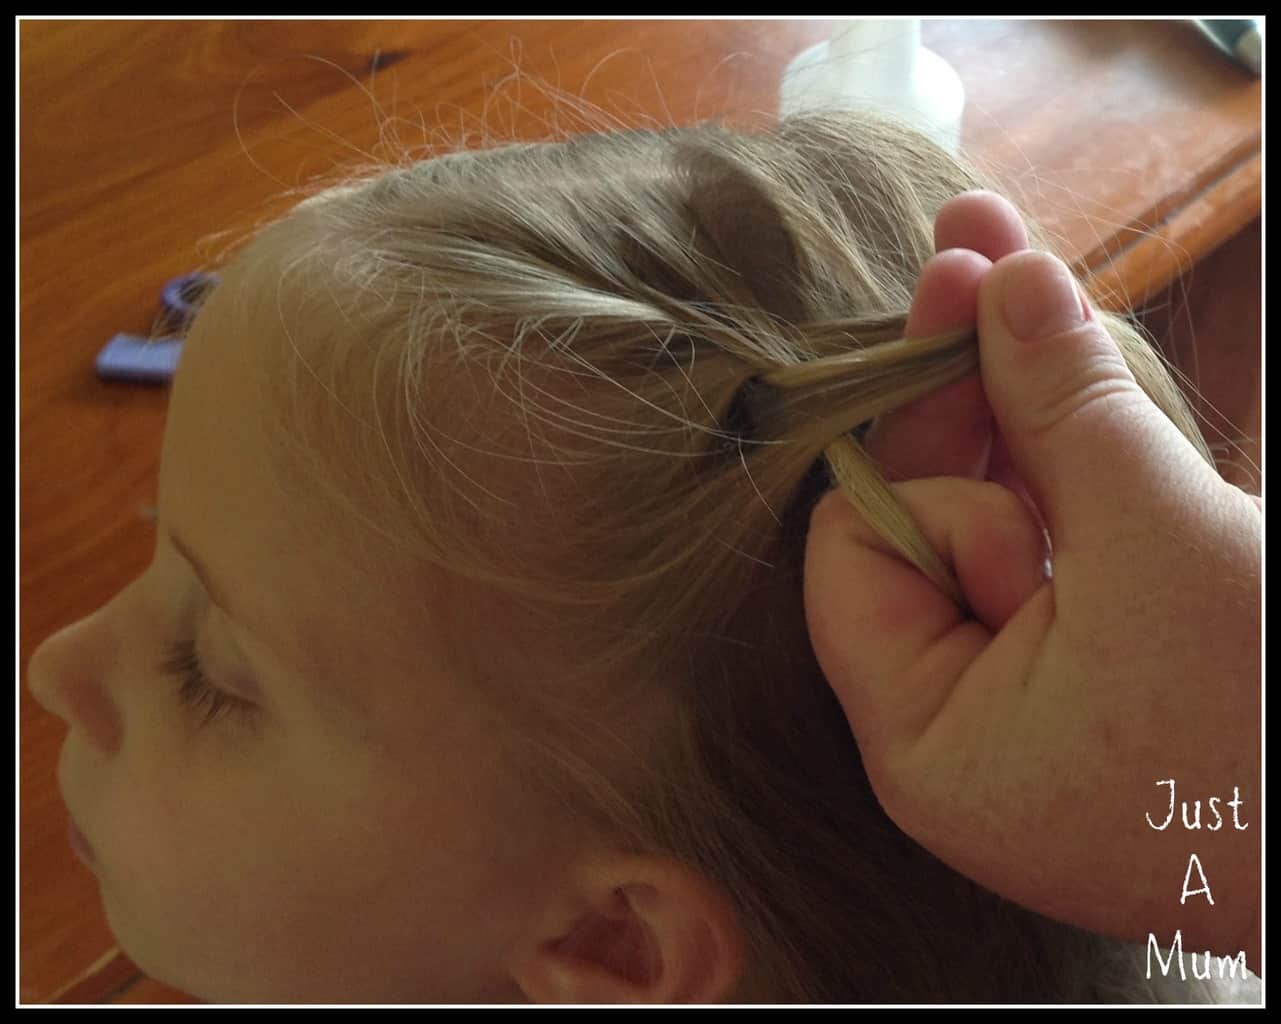
Step Two: Take a small section of hair from the front and divide into 3 even sections.
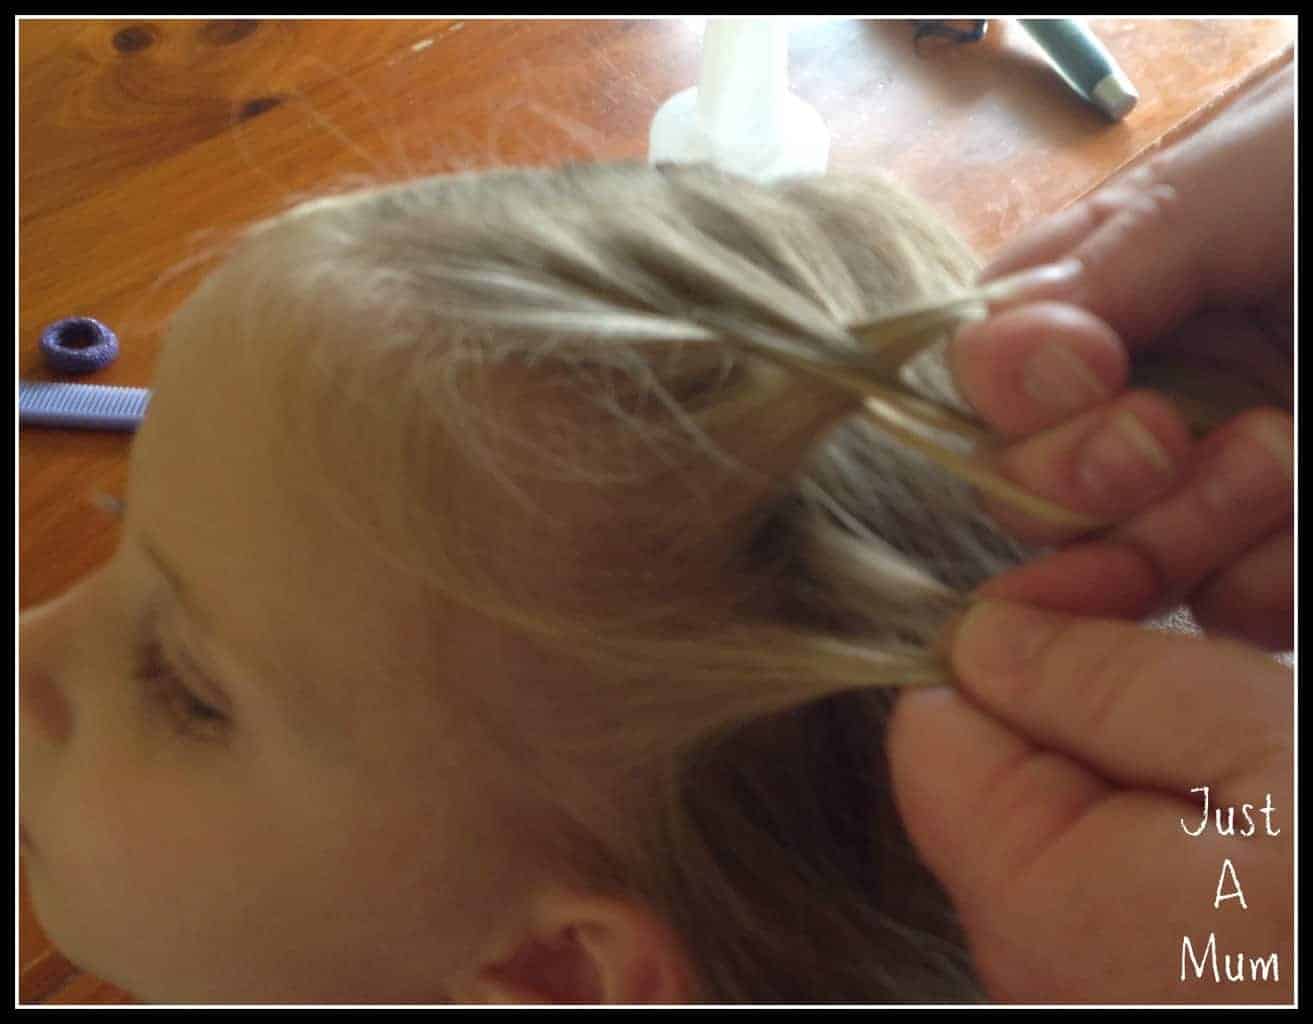
Begin by doing a normal plait – take the left strand over the middle, and the right strand over the middle. Then take a small section of hair from the left of her head
Step Three: As you would with a normal plait begin by plaiting the three sections of hair normally once – left over middle, and right over middle. Then take a piece of hair from the left hand side of her hair as shown above.
Incorporate that strand into the left hand piece and take over the middle as you would for a normal plait.
Step Four: Take the section of hair and incorporate it into the left hand strand of hair and take it over the middle strand of hair as you would for a normal plait and hold it tightly.
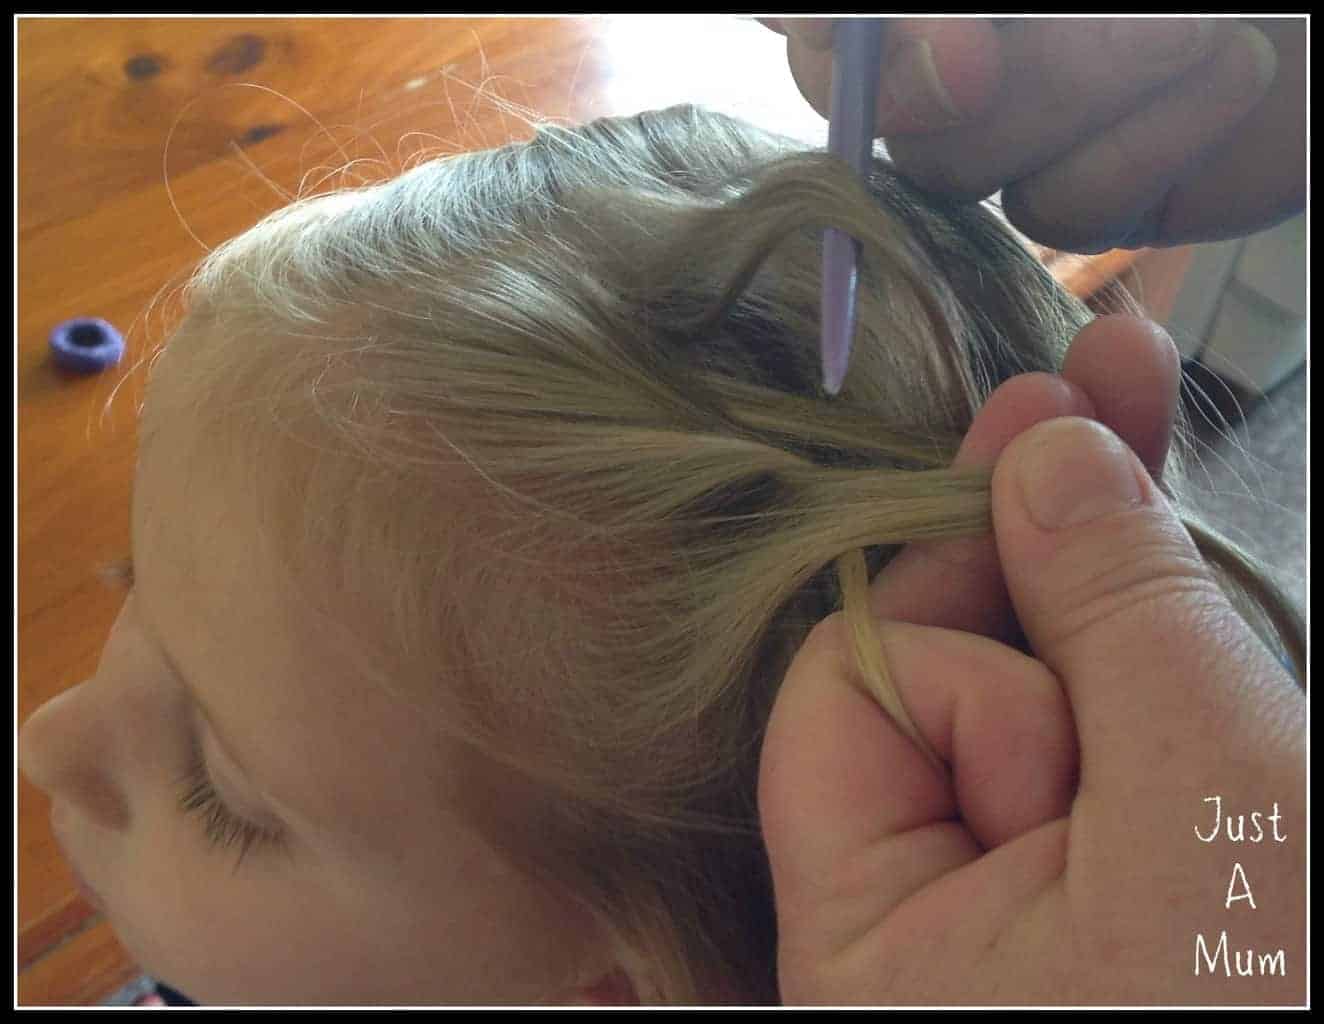
Hold the three strands in one hand and take a small section from the right hand side of her hair
Step Five: Hold all three strands in your fingers of your left hand and take a new section of hair from the right hand side
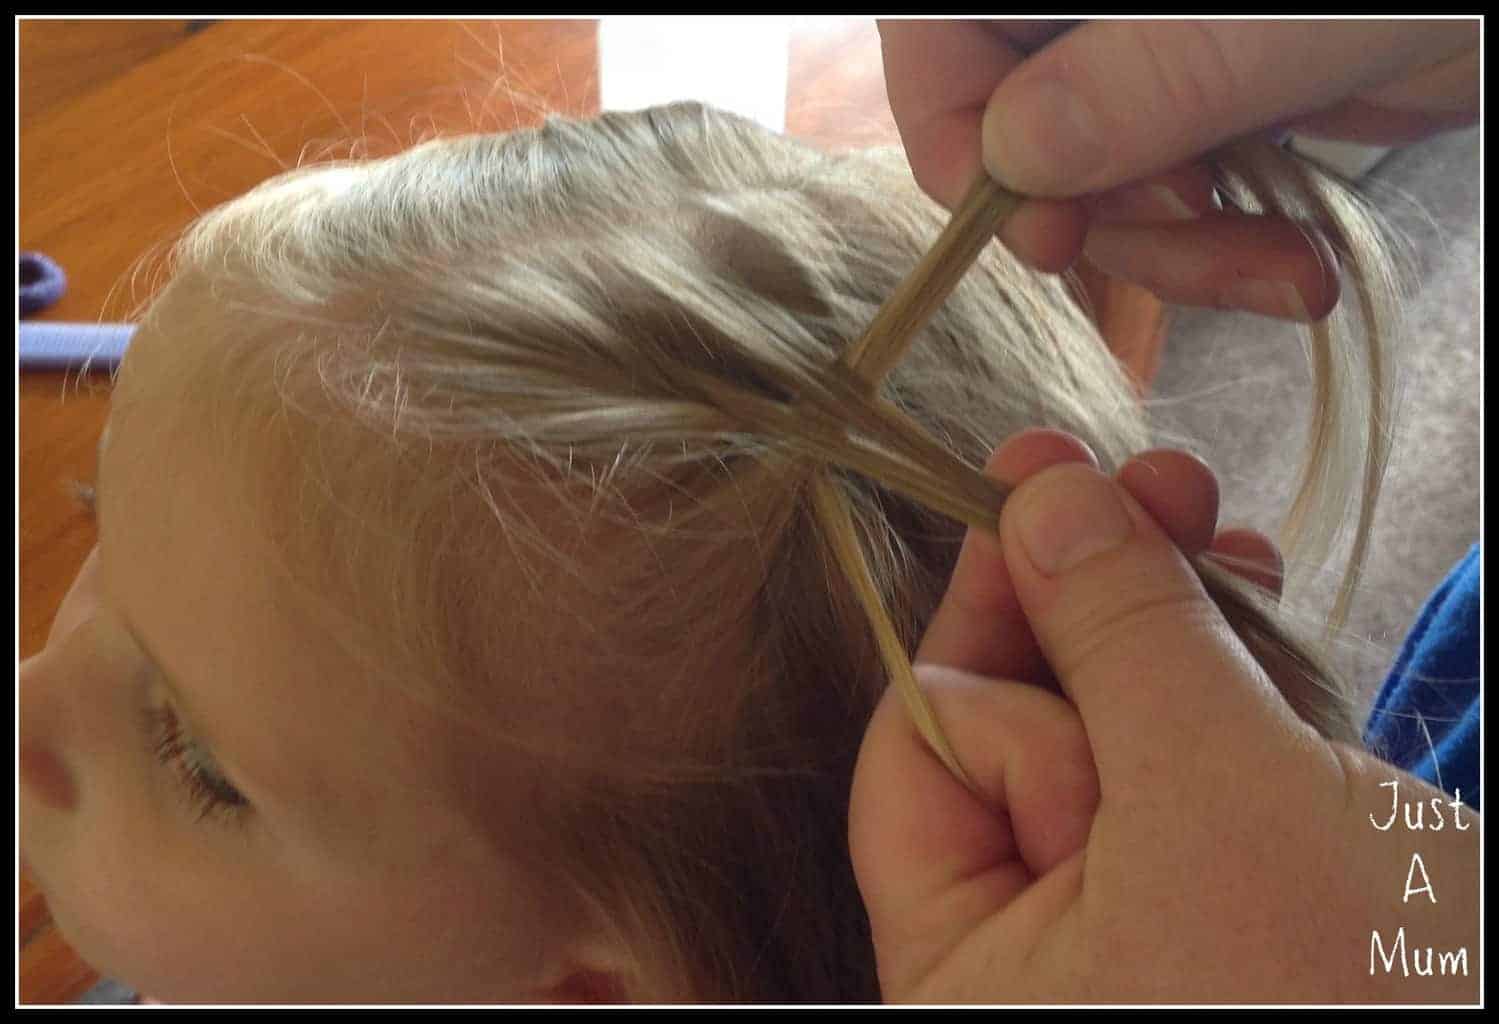
Then as above incorporate this section into the right hand strand and take over the middle strand as you would for a normal plait
Step Six: Take this section of hair and incorporate it into the right hand strand and take that over the middle strand as you normally do.

Continue to take sections from each side alternating and adding into the strand and taking over the middle strand, left then right left then right…..
Step Seven: Continue all the way down the hair, taking strands from the left and right alternating. Ensuring that you hold the hair tightly and pull each plait tight before you pick up the next strand.
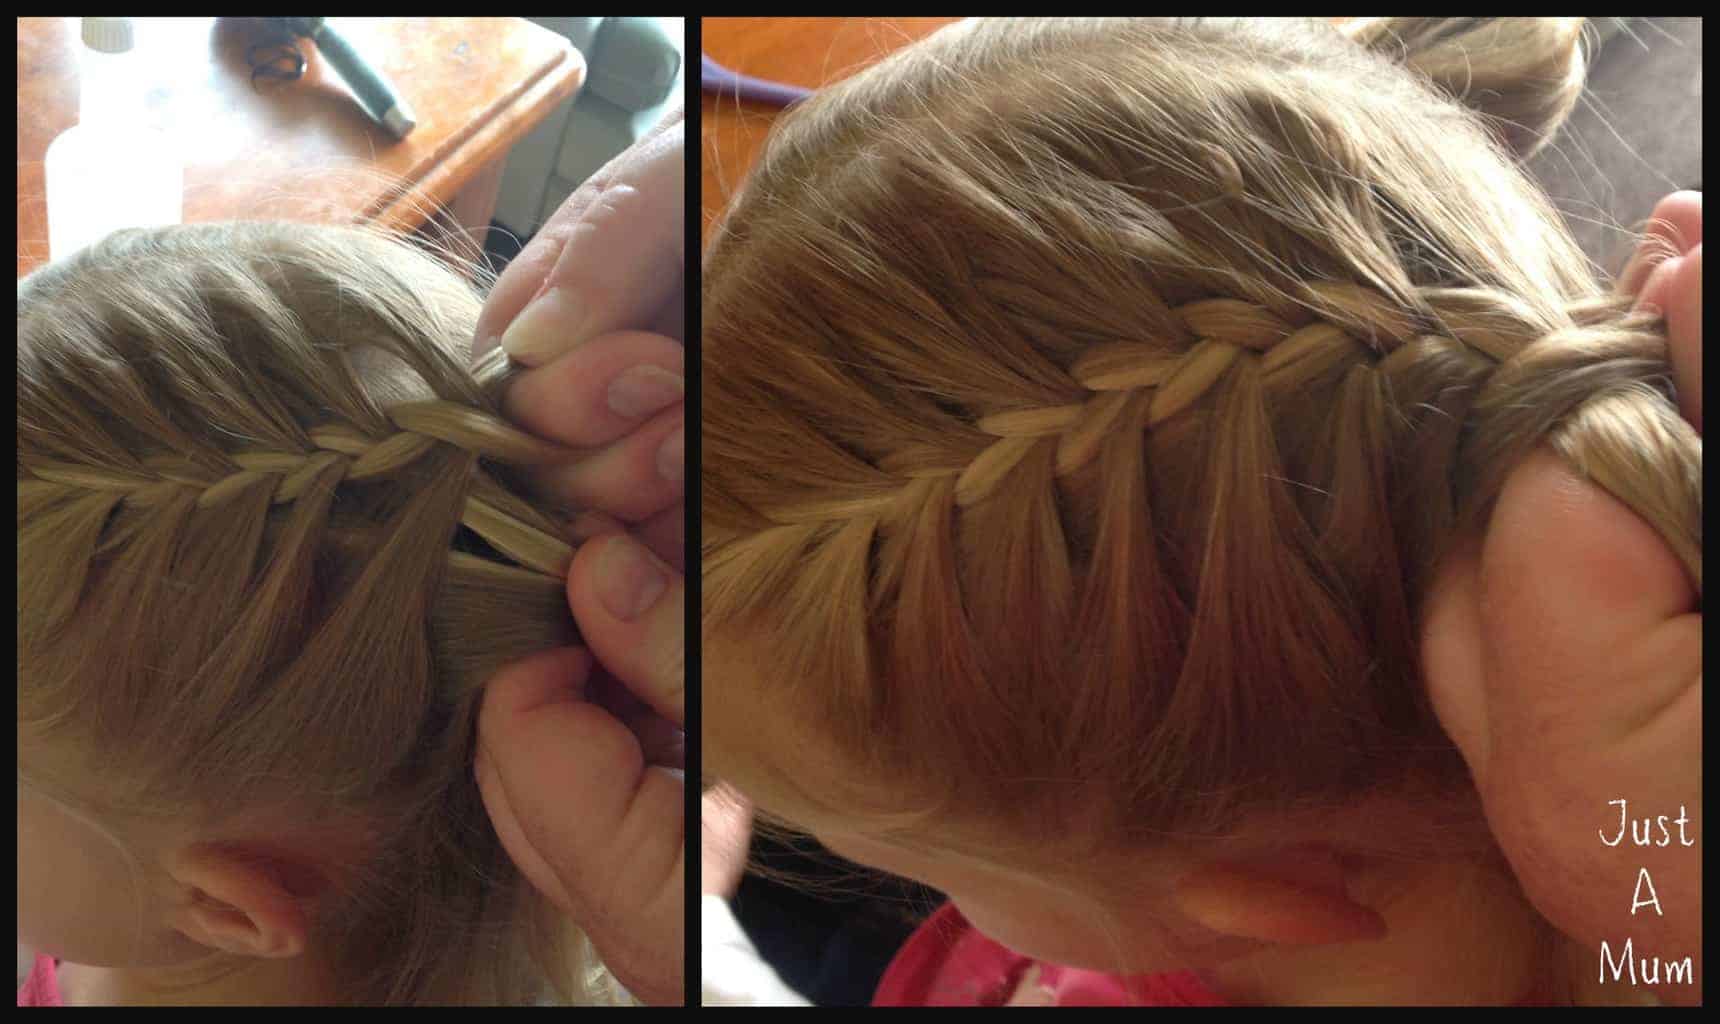
As you go further down the head have them look down so you can keep the braid tight to their head.
Step Eight: To ensure the braid looks tidy and firm against the head have them look down to the ground the lower you get so you can continue to have the braid fitting snuggly against their head.

Once you have incorporated all the hair into the braid continue to do a normal plait with the three sections until you get near the bottom them secure with a hair tie.
Step Nine: Continue bringing in sections of hair from each side until you run out of hair, ensuring that you keep the bottom section tight against their head. Once this happens carry on with a normal plait with the three sections of hair until 2 inches from the bottom of the hair and secure with a hair tie. Then repeat with the other side!
Thank you so much for stopping by to check out this recipe, you can follow me on Facebook & Instagram and also follow this blog via email to receive all my recipes as I publish them so check out the subscription box below.
Happy Baking!
Anna
Divachyk // Relaxed Thairapy says
I love it!!! 🙂
justamumnz says
Thank you! 🙂
Karen says
Your tutorial is great! The video was just what I needed. I do try to French braid my daughter’s hair, but mine always looks different, and after watching your video, I found out why: I’m folding the hair the opposite way (maybe because I’m left-handed?), and really probably doing a Dutch braid, as you mentioned.
I also struggle with fly-aways. I had never considered using a water bottle to spray those down.
Thanks for your amazing tutorial (and I love listening to your awesome accent. 🙂 ). I’m looking forward to your next videos. Pinning, tweeting, & sharing on my FB & G-plus pages later today.
Jessica says
Love your post! I have such a hard time doing this to my daughters hair. It always ends up being loose around the crown lol. I am hosting my first ever Tuesday Link Up Party. I hope you can come over and link up with me!! I love meeting new ladies and getting to see all the amazing content everyone has to offer! http://liverandomlysimple.com/totally-terrific-tuesday-linkup-party-1/
justamumnz says
Hi Jessica – yes it can be tough to manage all those strands fingers and keep it tight! Will pop over to your link up party soon! 🙂
Leilani says
This is a great tutorial! Pinning this! Thanks for sharing.
justamumnz says
Thank you Leilani 🙂