Creating memories and savouring the magic is what makes Christmas time so special! I hope this post gives you some great ideas to carve out time with the kids in the next few weeks and make these Christmas Shape Cookies.
Posted December 18, 2016, Updated January 23, 2026
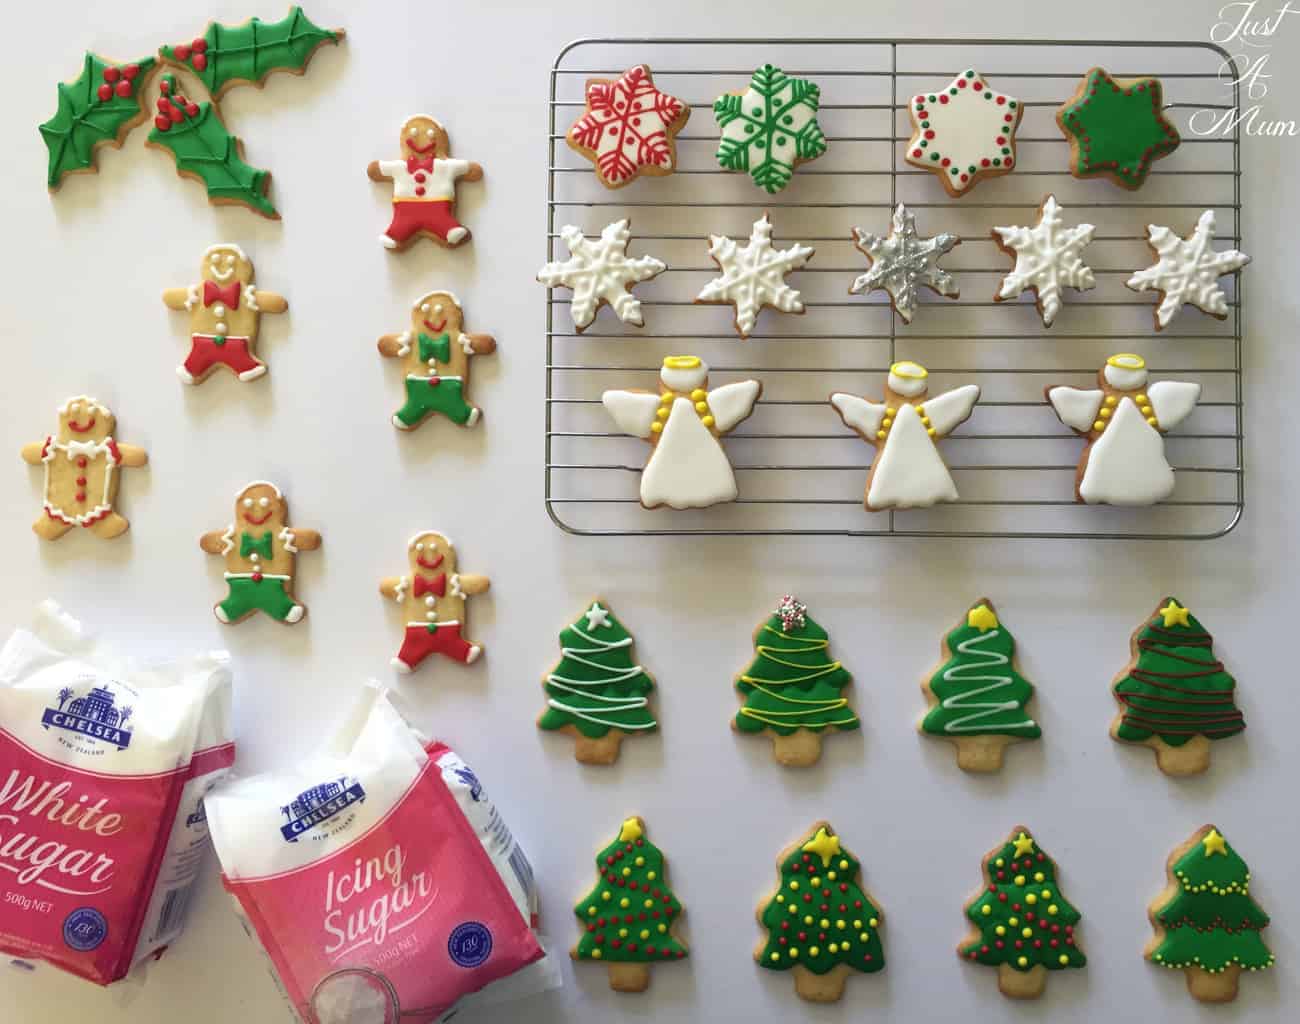
Everyone I talk to right now is rushing; from prize-givings, end-of-year parties, school functions, Christmas shopping, sports, and add to that tired kids and tired parents!
We are all working towards our time off then we are going to get our festive family fun times under way. And we will definitely be doing this project when school ends!
The best bit about this recipe is that you can set up an icing station and you can either all sit around and create together or take turns seeing what everyone comes up with. If you are feeling brave you could even invite some friends over!
There is absolutely NO expectation that the end result looks amazing and perfect; the best ones are the ones the kids do that are overloaded with sprinkles and a miss match of every colour available.
Because when kids make their own they are so proud, their eyes light up and they think it’s the best thing ever! I find it is the older kids or adults that want it perfect – how boring are we!!
I have shared here both the recipe for the dough – so simple but does need to be made ahead of time – and the gorgeous Royal Icing. I will go into more detail about that technique below.
My images are simply to give you some ideas. I chose a Christmas theme, but anything from Christmas trees to airplanes and butterflies are a-OK – if you do not have cookie cutters you can simply use different size glasses to cut out various shapes. No need to go to extra fuss and expense.
Onto a few important tips about the gorgeous Royal Icing.
The big thing to note here is that I have used a recipe that contains egg whites – as you may know there is a risk in using raw egg whites as it may cause illness for those on restricted diets. Please note this recipe is not suitable for pregnant women.
There are alternative recipes using meringue powder so, if you are concerned, seek those out first. Our eggs were lovely and fresh, and given how much raw cookie dough gets eaten around here I wasn’t too concerned!
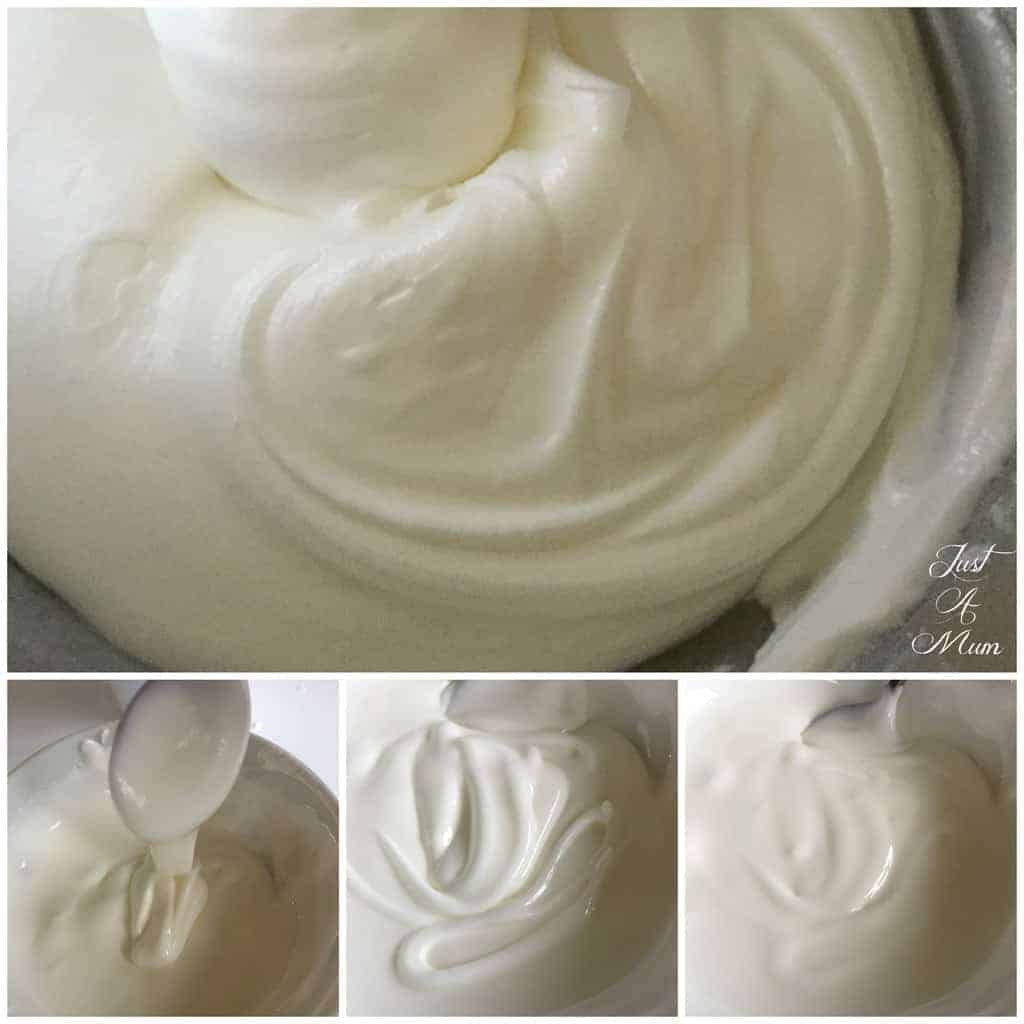
Simply whip up the egg whites and lemon juice with some beautiful soft Icing Sugar until you have formed soft peaks. I then used small bowls to divide the mixture needed for each colour, added half a teaspoon of warm water at a time and stirring in between.
I wanted to use my Royal Icing to do a technique called “Flooding” so I needed it to have what they call a “15-second consistency”, meaning that when the icing drips back onto itself it will smooth out within 15 seconds. To test this, simply hold up a spoonful of icing, dribble it back into the icing in the bowl and watch it dissolve until smooth within 15-20 seconds.
It sounds tricky but since you are adding so little water each time, I got the hang of it in no time. You then colour it – gel colours work well as they do not change the consistency – and then add the icing to a small ziplock that has the tiniest corner cut of it – like less than 1mm! Very tiny, so I could use this for piping, and then I repeated with the remaining colours and white.
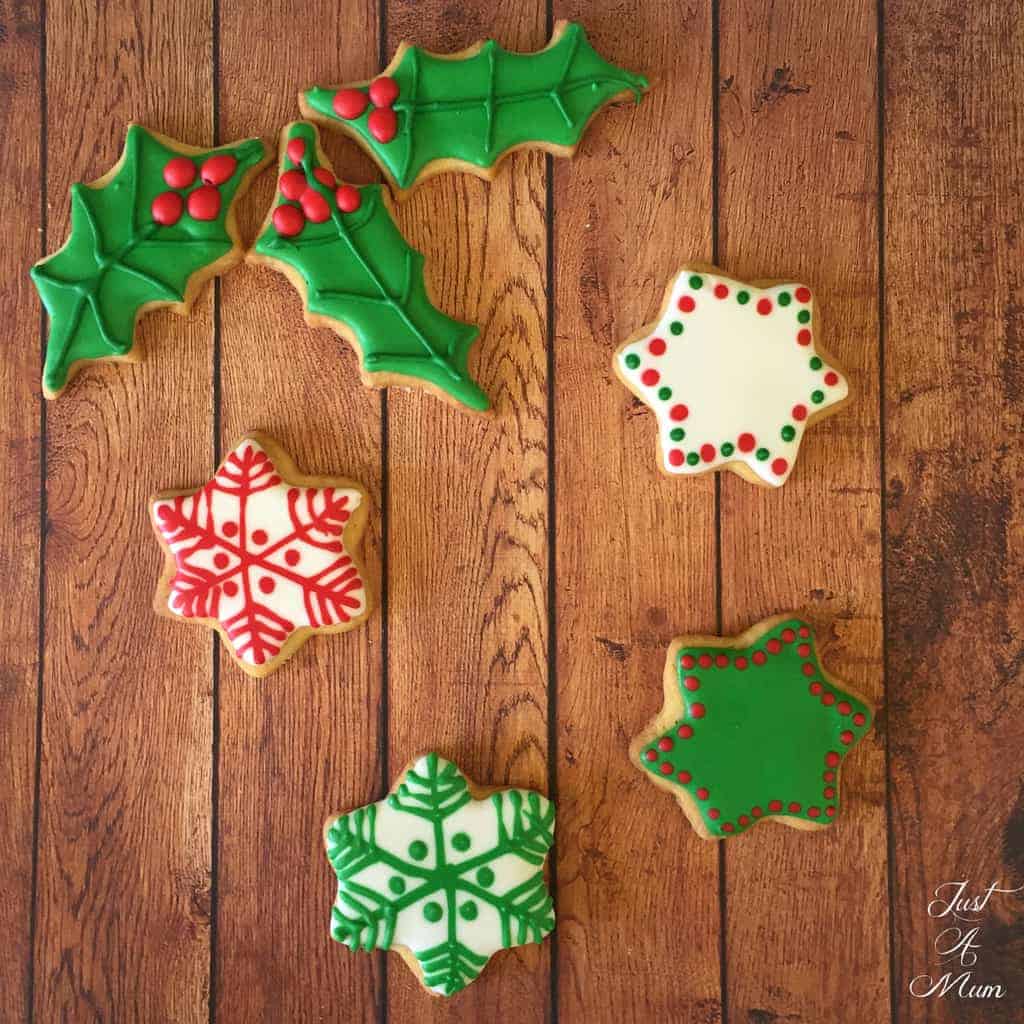
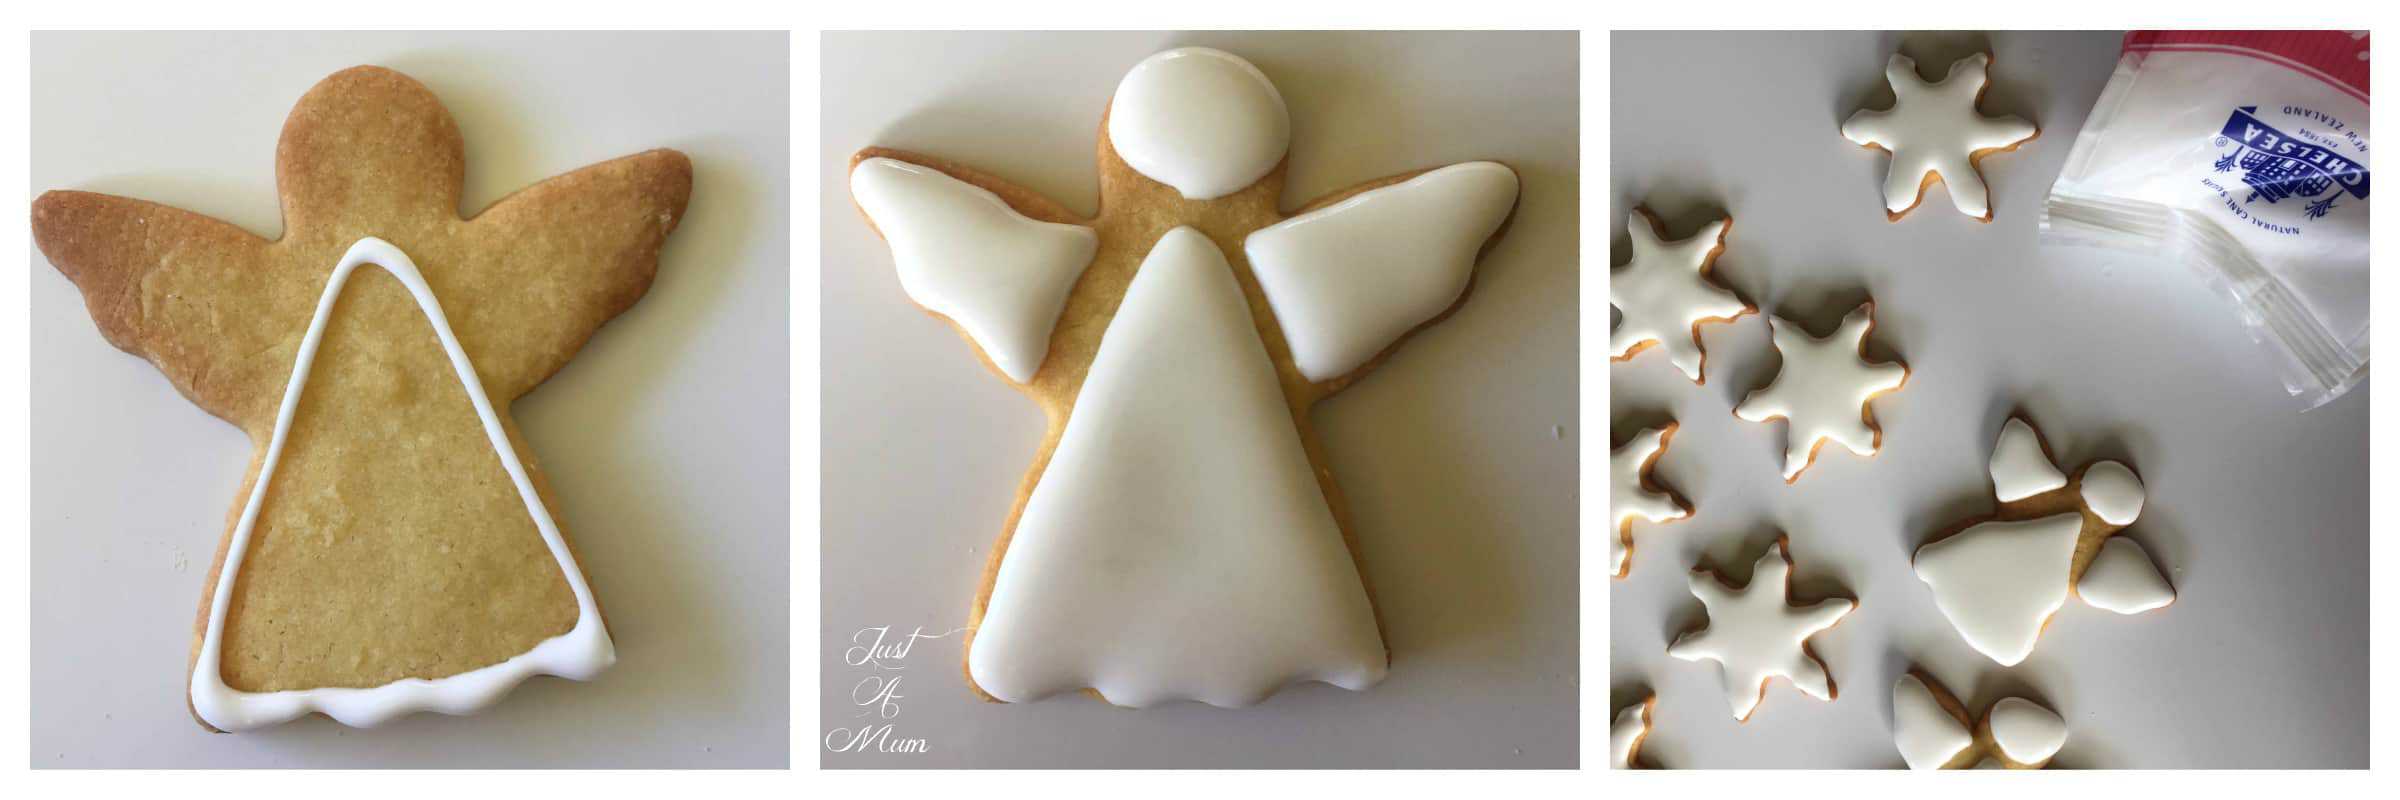
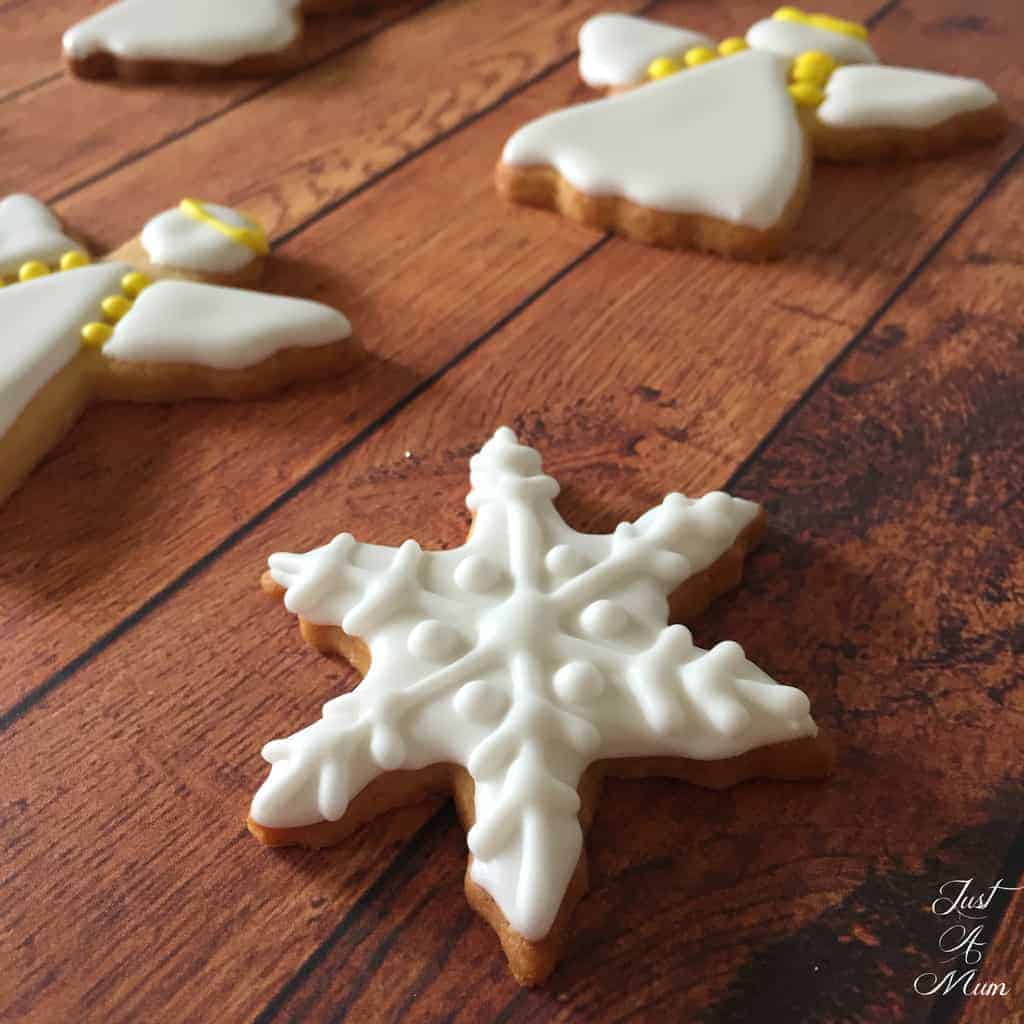
The lovely part of using Royal icing with a 15-second consistency is being able to flood the cookie – you simply create a border around the cookie in the shape you desire, then begin to fill the shape, using a toothpick to smooth any holes. Give the whole thing a good shake to settle the icing then, while still wet, you can add more detail. With a few more shakes it all settles down to give a smooth finish when dried.
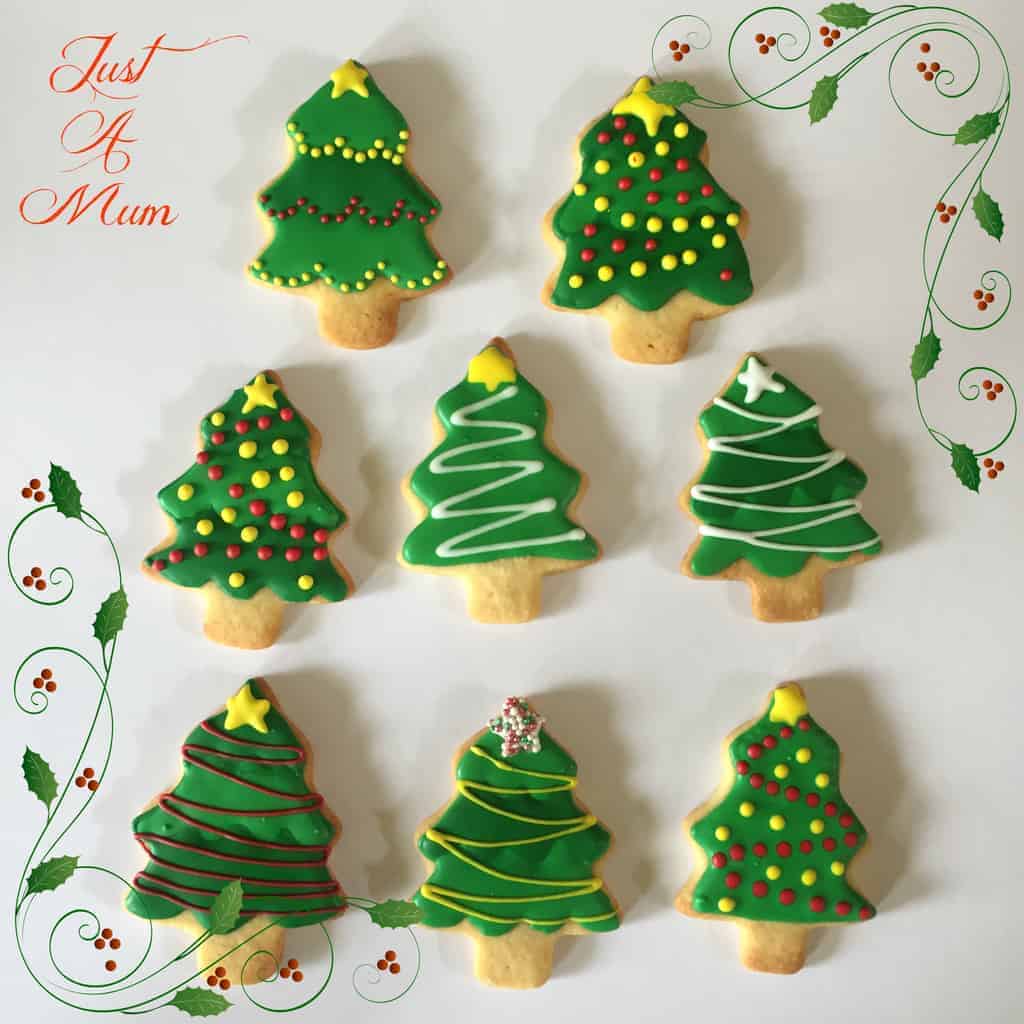
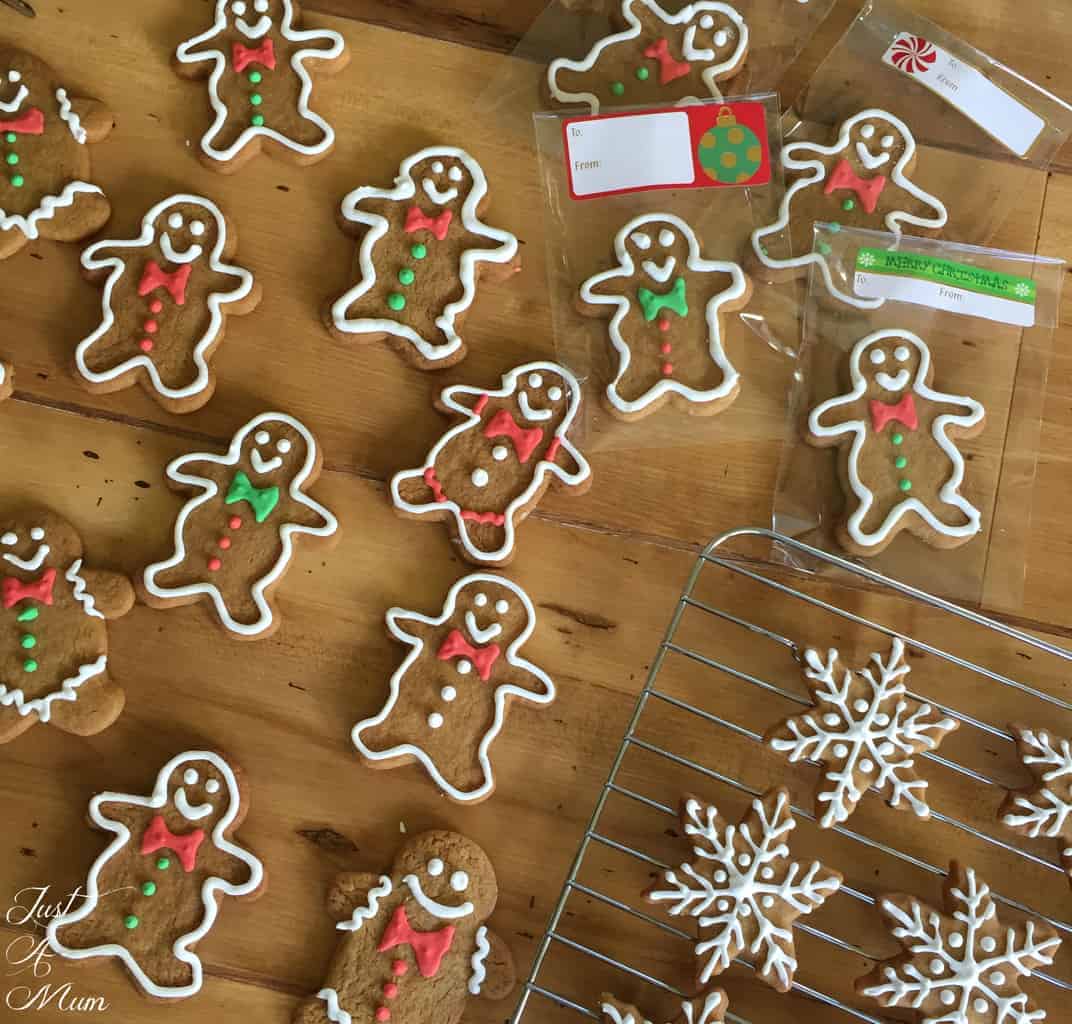
Also this time I let the first layer dry and then added more detail such as on the snowflakes and some of the Christmas trees, so you can really have a good play! These make beautiful gifts for friends, teachers and neighbours, or just a fun lazy afternoon activity
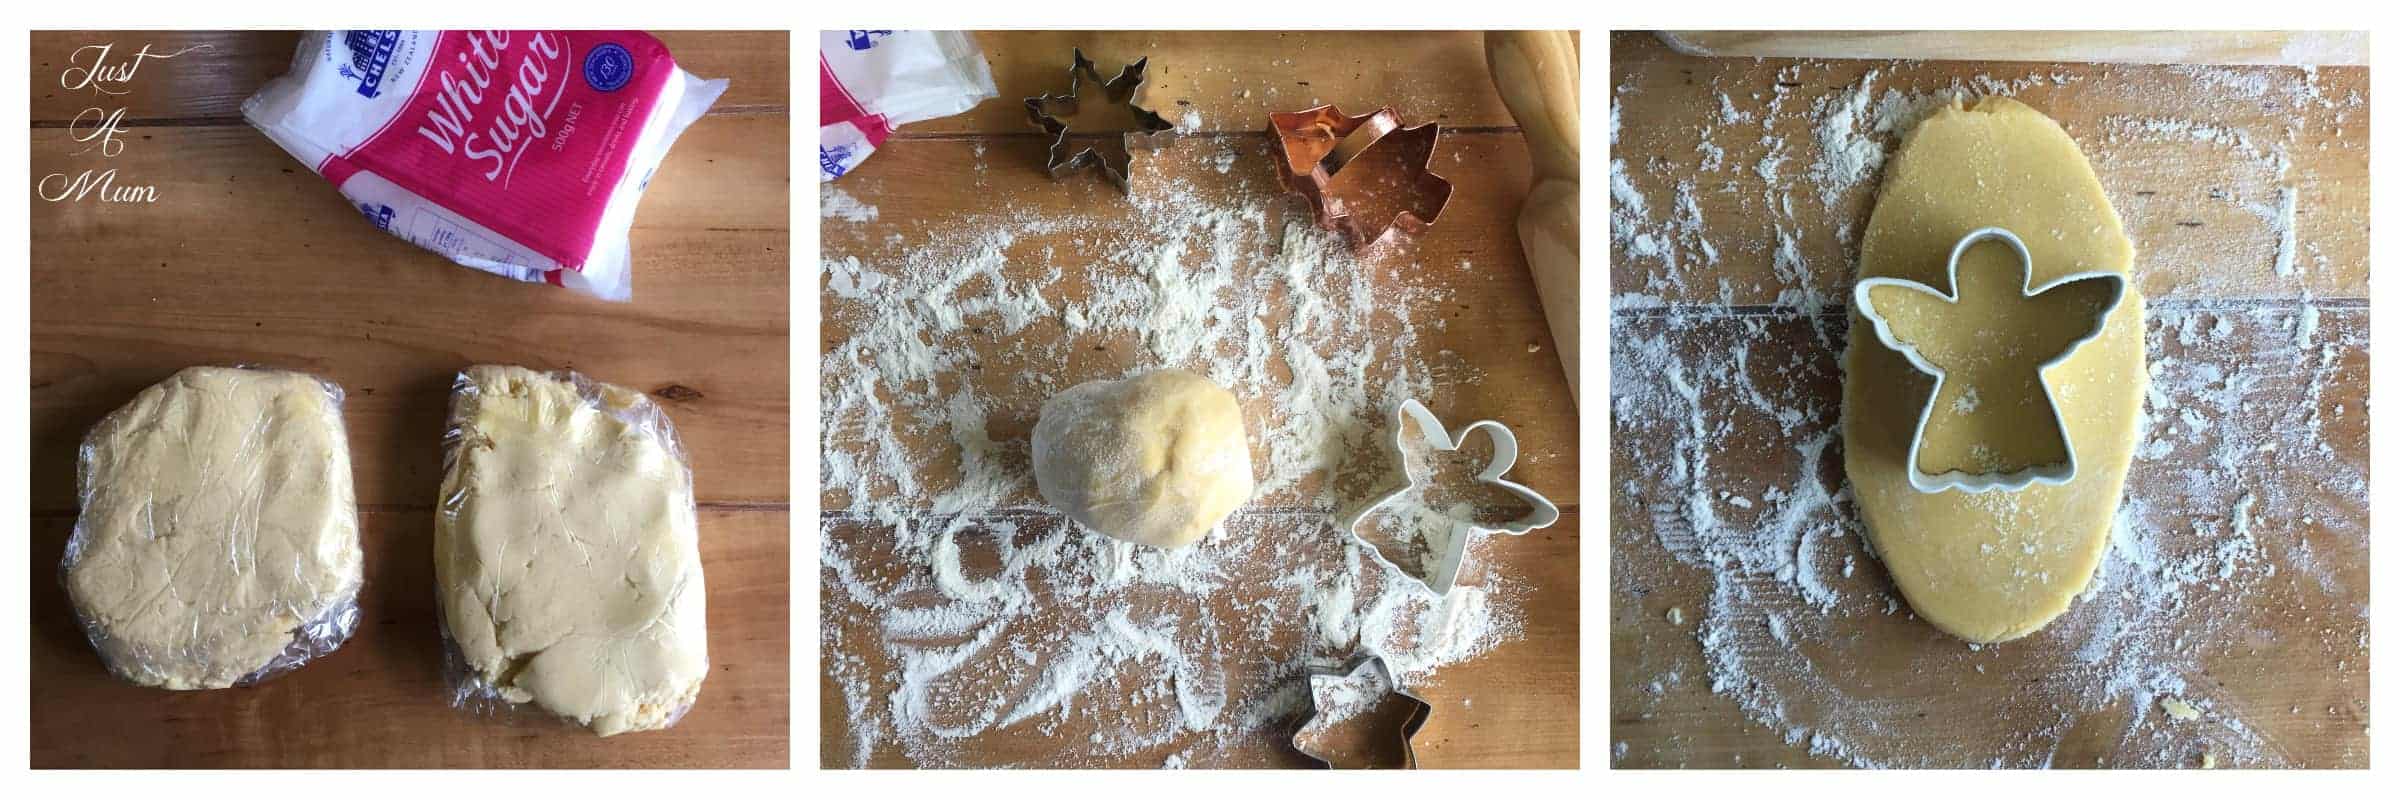
The dough is so simple to make, but it does need to chill for 2 hours, and then rest on the bench for around 20 minutes before you work with it. Be generous with the flour on the bench, rolling pin and hands. Just go with the mess and you’ll be delighted with the results!
If you love doing this sort of activity then you definitely need to check out my Gingerbread Men, super tasty and so easy to make.
So onto the recipe, I hope you love these easy steps to make Christmas Shape Cookies and it becomes a special tradition in your home.
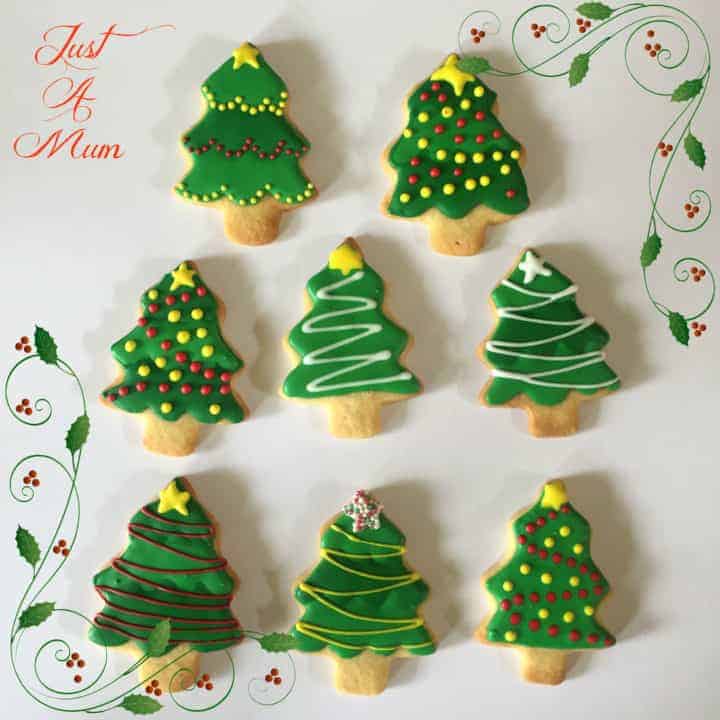
Christmas Shape Cookies
Step by step Instructions to make delicious Christmas Shape Cookies and Royal Icing
Ingredients
Cookies
- Butter - Room Temp, 225 grams
- ¾ Cup White Sugar, 165 grams
- ¼ teaspoon Salt
- 1½ teaspoon Vanilla
- 1 Large Egg
- 2 Cups Plain White Flour, 300 grams
Royal Icing
- 2 Egg Whites, 70 grams
- 1 Teaspoon Lemon Juice (strained so no pulp or fibres)
- 3½ Cups Icing Sugar (see instructions), 490 grams
- Warm Water
Instructions
Cookies
- Combine the butter and White Sugar together in food mixer until it is pale and creamy, scraping down the sides of the bowl occasionally and then mix the salt and vanilla well into this mixture.
- Add the egg and beat well.
- Slowly add the flour and mix until only just combined.
- Place some plastic wrap on the bench and tip the mixture into this, slightly flatten into an oval shape.
- Cover well in plastic wrap and refrigerate for at least two hours
- Split the dough into two portions to make it easier to work with. Knead the dough gently using well floured hands, then on a well floured bench roll the dough to the desired thickness, 5mm works well.
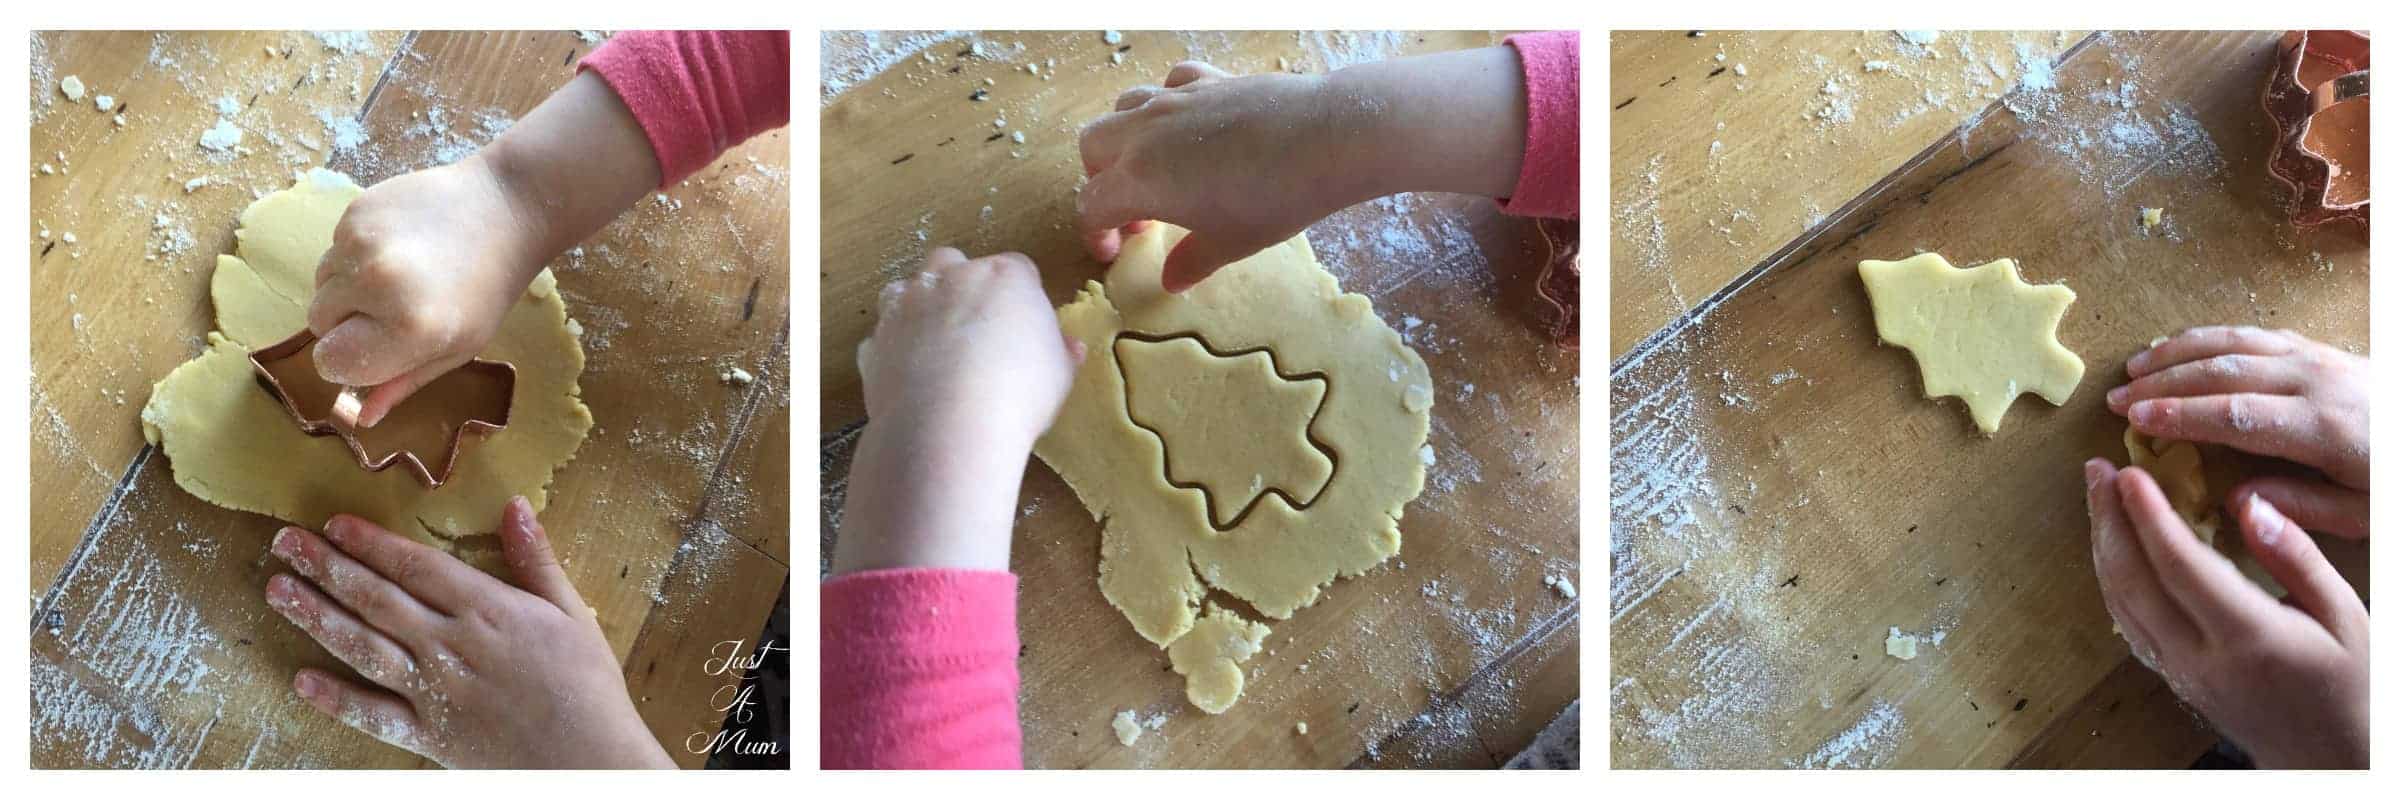
- Use the cookie cutter to cut the shape and gently transfer to a baking tray lined with baking paper.
- Continue to create shapes, and kneading the scraps back together to create more shapes until all dough used.
- Cook at 160C (Bake) for 13-15 minutes. Keep an eye on them from about 12 minutes on to ensure that they do not begin to brown at the edges, they should be pale golden underneath when done.
- Cool on the tray for 3 minutes then transfer to a wire rack to cool completely.
Royal Icing
- In a large mixing bowl add the egg whites and lemon juice and gently combine.
- Add the Icing Sugar one cup at a time, mixing well in between until fully incorporated with electric beaters, reserving last ½ cup as you wish to get to soft peaks, you may or may not need this last half cup.
- Split the icing into small bowls if you wish for different colours, add water half a teaspoon at a time until you get the consistency you desire (see above for explanation)
- Add food colour if desired - gel colours work best
- Spoon into a ziplock plastic bag ready for icing.
- Enjoy!
Notes
For additional tips please read the blog post for more in depth information.
Nutrition Information:
Yield: 40 Serving Size: 1Amount Per Serving: Calories: 154Total Fat: 0gSaturated Fat: 0gUnsaturated Fat: 0gCholesterol: 14mgSodium: 19mgCarbohydrates: 36gFiber: 0gSugar: 27gProtein: 2g
JustAMumNZ.com, occasionally offers nutritional information for recipes contained on this site. This information is provided as a courtesy and is an estimate only. This information comes from online calculators. Although justamumnz.com attempts to provide accurate nutritional information, these figures are only estimates.
Thank you so much for stopping by to check out this fun recipe. As always, if you are not already, please subscribe to my email list so you can receive all my recipes as I publish them; simply scroll down to find this below. And pop over to Facebook & Instagram to check me out there too!
Happy Baking!
Anna





I love hearing from you! What do you think of this recipe?