These delicious Savoury Bread nests are so easy to make, they have been a family favourite for years

I have been making this recipe since I was a little girl, variations of this have been a brunch staple for years for many families around New Zealand.
We are white bread lovers, as are many families around New Zealand. You just cannot go past it for the softness and freshness. So to be able to still have that and know we are getting the fibre we need is so good!
So with this in mind I wanted to share an easy way to make this soft delicious bread part of your weekly rotation and of course make it tasty and popular with the whole family.
This recipe is incredibly versatile, the basic ingredients are what I have shared below, but you can be more adventurous and add many extras such as tomatoes and capsicum, to herbs and onion! But I have to admit basic is really really good!
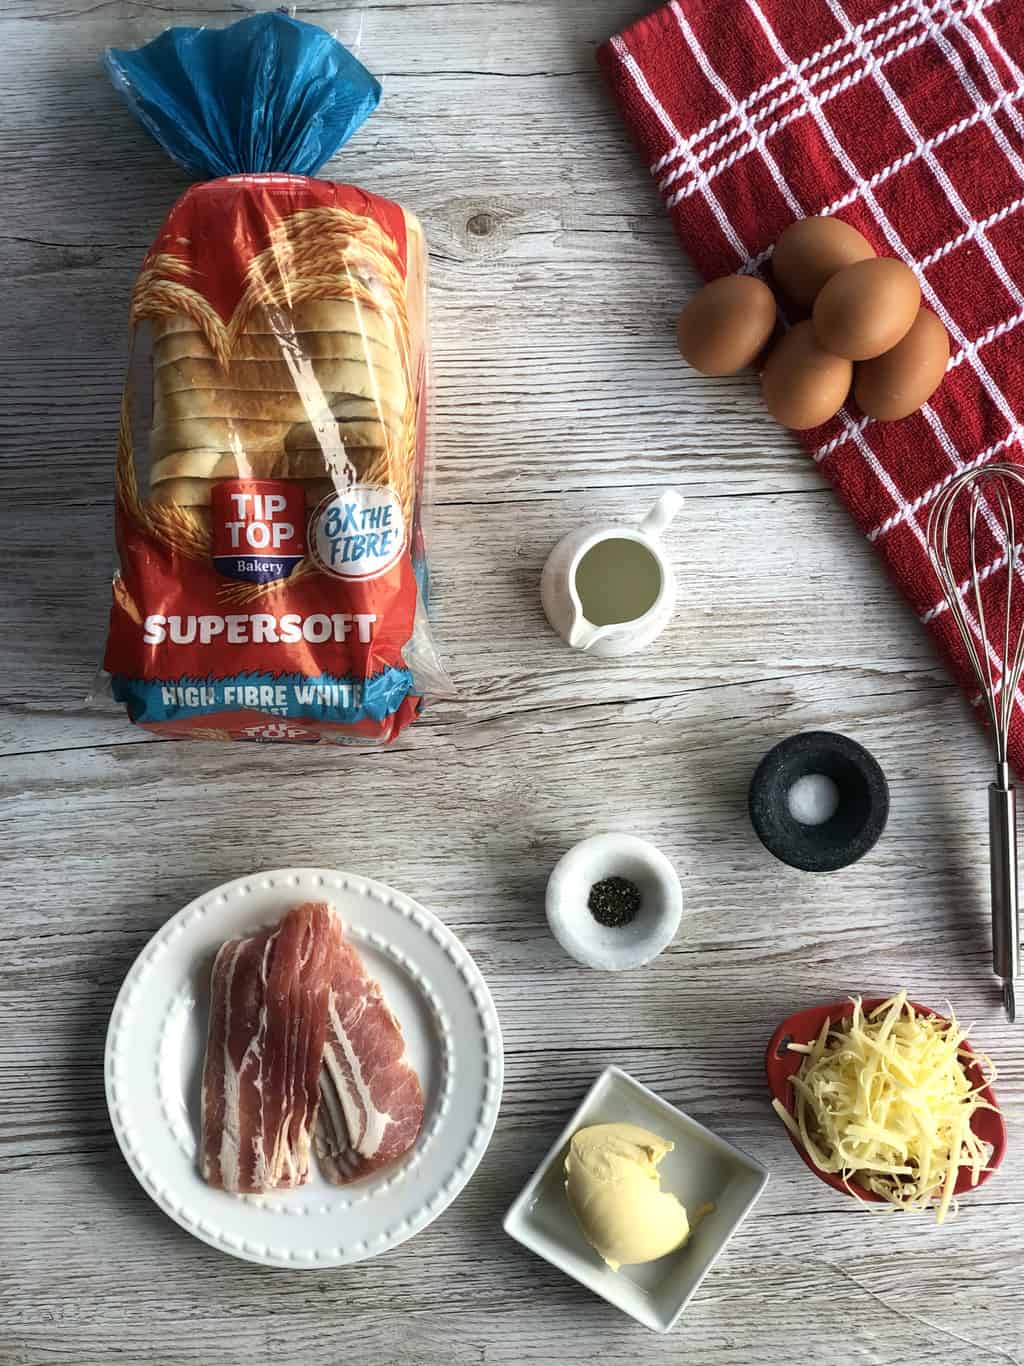
All you need to recreate these Savoury Bread Nests is:
-
White Toast or Sandwich Bread
-
Butter or Margarine
-
Eggs
-
Bacon or Ham
-
Milk
-
Cheese
-
Salt & Pepper
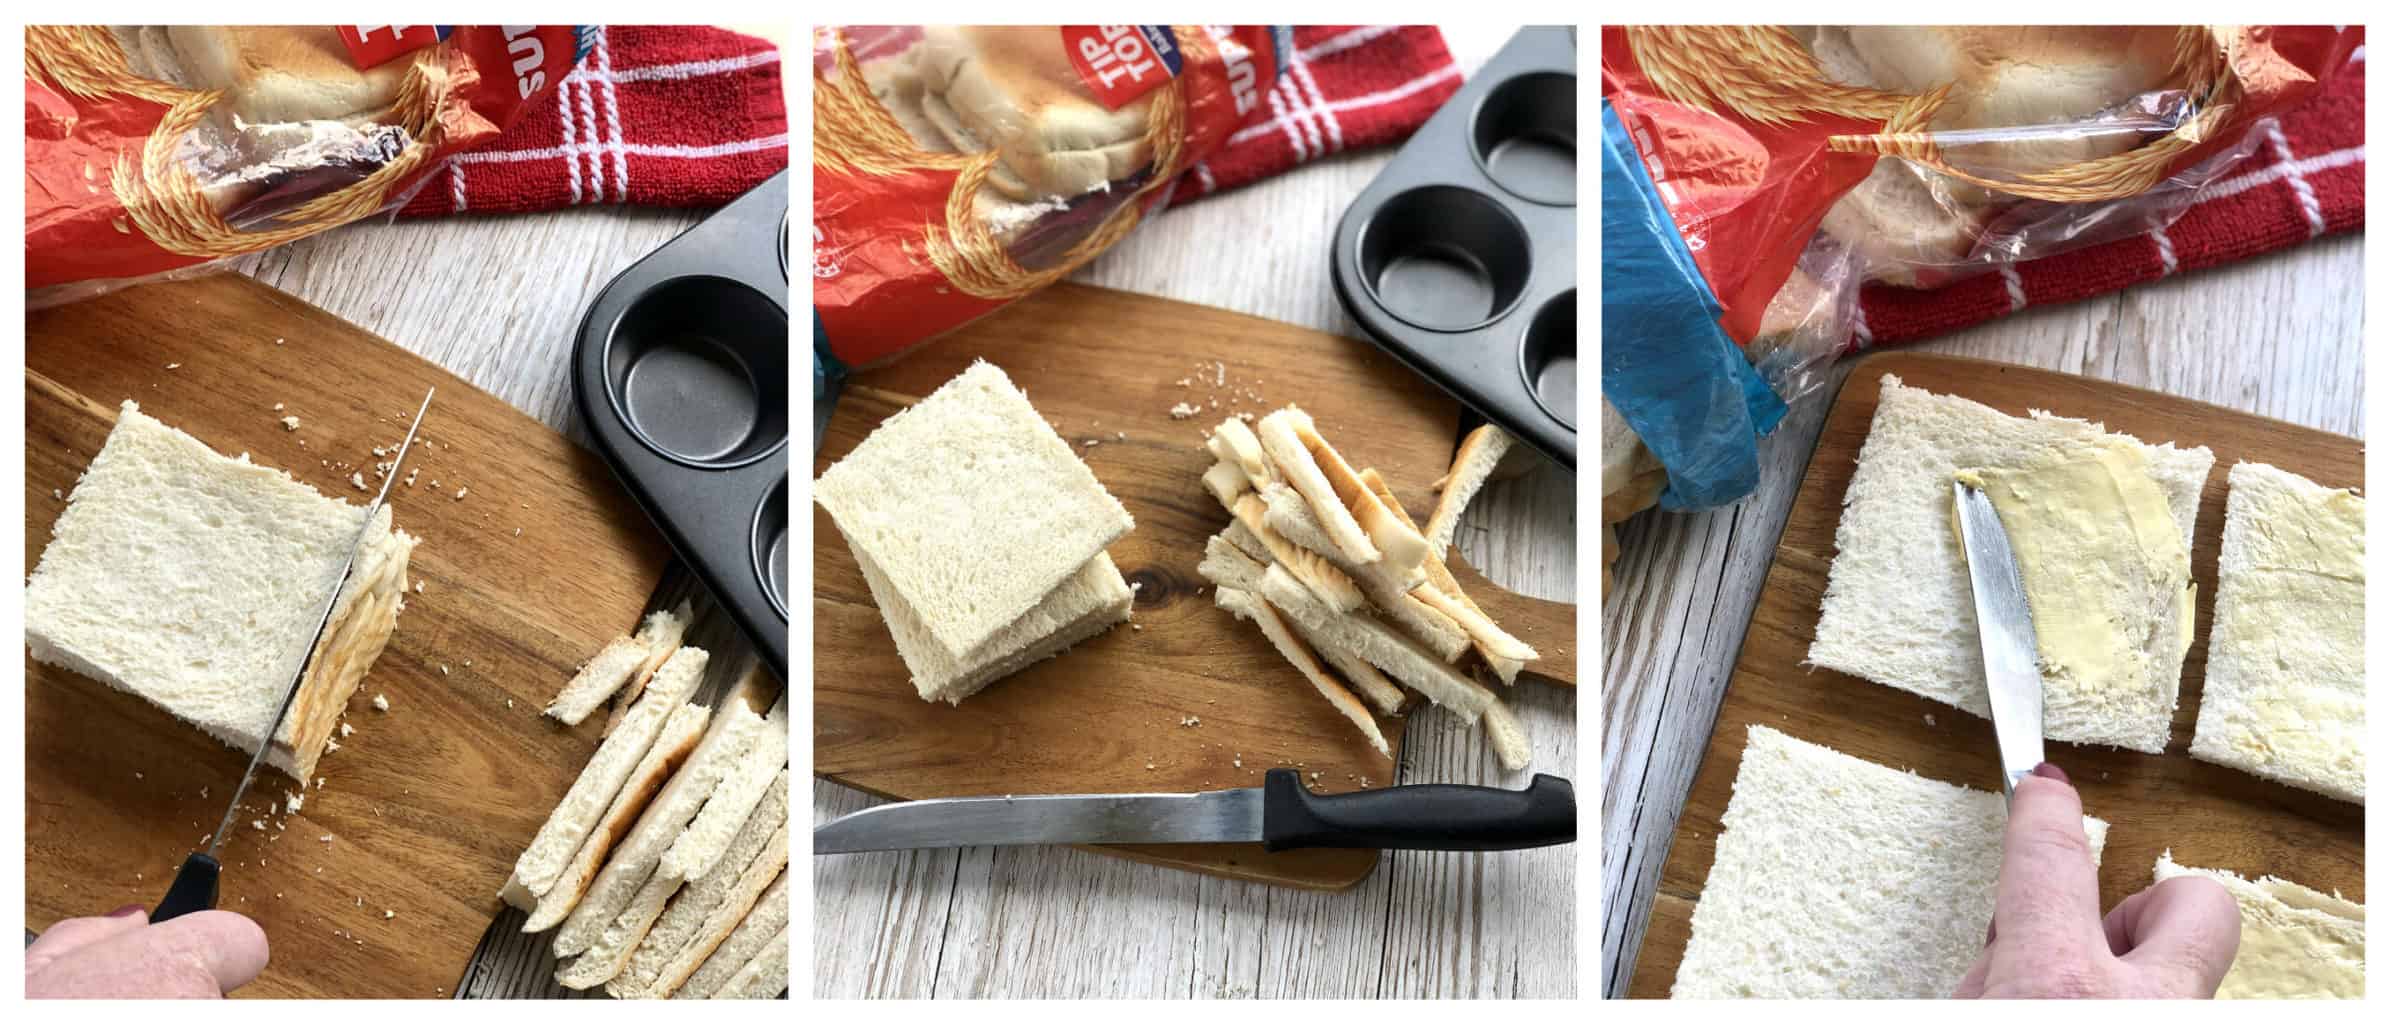
These are pretty quick and easy to bring together, the first step is to remove the crusts from the bread, you can of course leave them on but they sit better being removed.
Never fear though, there are lots of uses for the leftover crusts if you like, from cheesy sticks, french toast fingers, to croutons and more!
Butter these and place into a non stick muffin tray then prepare the rest of the ingredients, basically making an omelette mixture. You can use bacon or ham, whichever you have on hand.
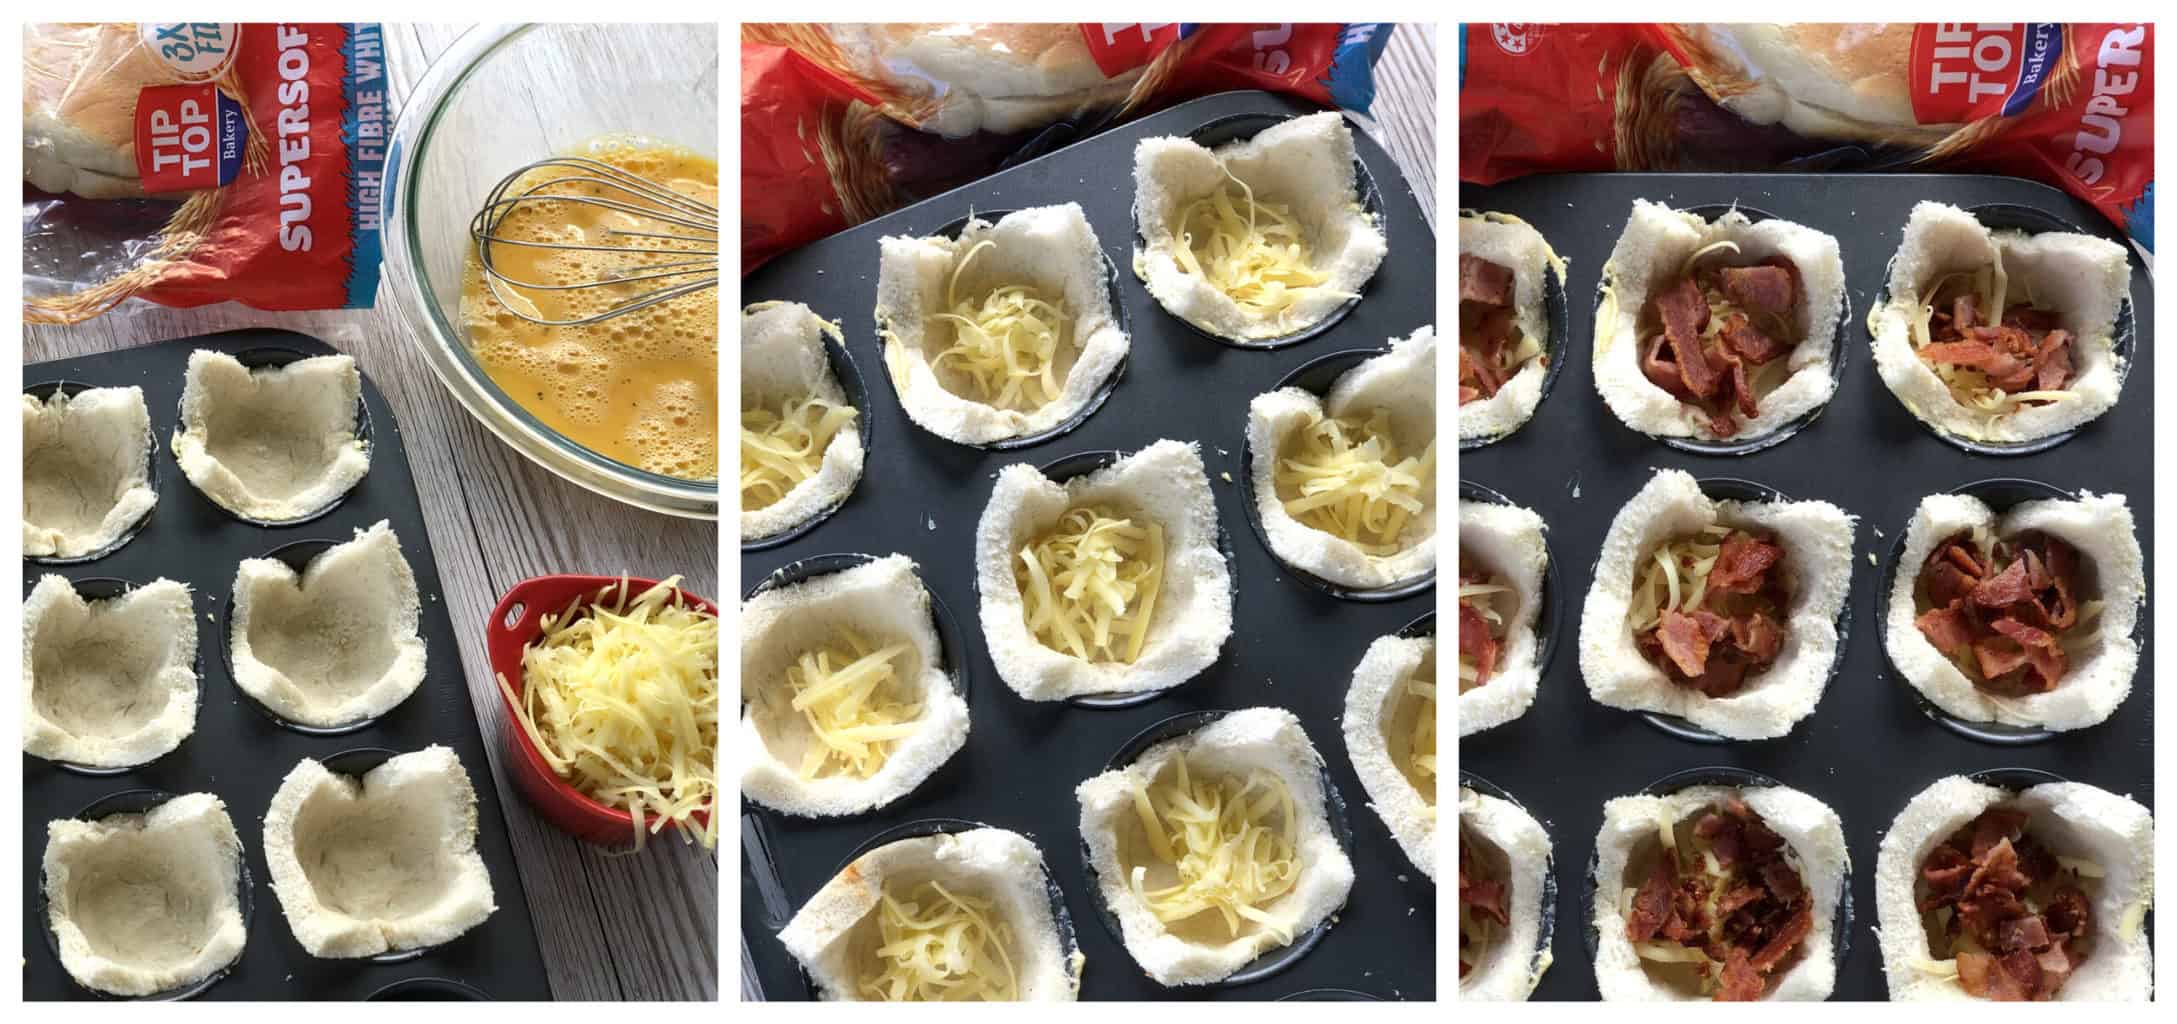
I like to layer the bacon and cheese and pour over the egg mixture to ensure every mouthful is tasty!
The great thing about this recipe is you can make just a few or a whole 12 hole tray. The quantities below are for 8 slices of bread, simply reduce or increase the ingredients depending on how many you are making.
We find for kids 1-2 is a great serving, for adults, well I recommend 2-3 as a good size serving but we have been known to indulge in more!
Once you have poured over the egg mixture you simply bake until golden brown, serve and enjoy.
So onto the recipe, I hope you love these Savoury Bread Nests as much as we do

Savoury Bread Nests
Delicious bread baskets filled with soft egg mixture, bacon and cheese
Ingredients
- 8 Slices Tip Top Supersoft High Fibre White Toast Bread
- Butter or Margarine to Spread
- 5 Eggs
- 2 Tablespoons Milk, 30 mls
- 1 Cup Cheese, grated, 115 grams
- 125 grams Bacon, cooked until crispy (approx 6 rashers) or Ham
- Pinch Salt & Pepper
Optional
- Sliced Cherry tomatoes or capsicum
- Mixed Herbs or Fresh finely diced parsley
Instructions
- Preheat the oven to 200C Bake, 395 F
- Set aside a non stick 12 hole muffin tray
- If using bacon, cook this first in a hot oven, an air fryer or frying pan until golden and crispy. If using Ham finely dice this now and set aside
- Allow the bacon to cool slightly before dicing into small pieces
- To prepare the bread nests, remove the crusts from each piece of bread
- Using soft butter or margarine spread a generous layer over each piece of bread
- Place the buttered side down into the muffin tray and press gently but firmly to mold to the shape of the muffin hole, pressing both the base and sides
- Repeat with the remaining pieces of bread
- Add a small amount of grated cheese into each bread nest
- Then add equal portions of the diced bacon (or ham if using)
- In a medium sized bowl or jug add the eggs, milk, salt & pepper and whisk together thoroughly.
- If using other optional ingredients add these now
- Carefully pour the egg mixture into each bread nest until it reaches just under the top edge of the bread
- Top each one with a small amount of remaining cheese
- Place in the preheated oven and bake for 20-25 minutes, or until the nests are golden brown
- Remove from the oven and allow to stand for 2 minutes
- Using a knife, carefully remove each nest from the muffin tray
- Serve warm
- Enjoy
Notes
What sized muffin tin should I use?
A standard muffin tray, not mini or texas style
Can I reheat these?
Yes definitely, allow them to completely cool before you place them in an airtight container and refrigerate. Best reheated within 24 hours.
How can I reheat these?
The best way to reheat these is in a preheated oven to keep them crispy and hot. But they can be reheated in a microwave but will not be as crisp. Reheat for 10 minutes or until piping hot but not burnt in a 160C oven
Can I freeze these?
Yes you can. They are best eaten fresh but you can freeze, allow these to completely cool before placing them in an airtight container. They will freeze up to 2 months. Allow to thaw and reheat as above.
Can they be eaten cold?
Yes they can, as long as they have been stored properly. Allow to cool before placing them in an airtight container and popping them in the refrigerator. They are great in lunch boxes. Best eaten within 24 hours.
So easy! I hope this recipe will be enjoyed by your family for many years to come. Let me know in the comments if you make it and any modifications you would add.
Thank you so much for stopping by to check out my latest recipe and others on my blog. If you are not already be sure to follow me on Facebook or Instagram for more deliciousness, and you can register your email in the subscription box below to receive all my recipes as I publish them.
Happy Cooking!
Anna






Joanne Taylor says
Any tips on how to possibly make this for a crowd of 25 people??
Anna From Just A Mum says
Easiest way would be tripling the recipe, made much easier if you have more muffin trays!! Thanks for your comment. Anna
Wendy R says
I made these for the first time today for a party. Easy and fun to make, can use whatever fillings you like in with the egg.
I chopped up and pre fried Chorizzo sausages and red onion. Then added chopped parsley, salt, pepper and cheese. So happy with the result.
Watch your baking time carefully because depending on your oven may brown up by 15 minutes. Highly recommend. Yummy.
Zoe says
what equipment do I need to use?
justamumnz says
All that information is in the printable recipe card just above the comment section
Elaine says
Hi there, this recipe sounds so easy and tasty. I am wondering what temperature the oven should be at to cook them?
justamumnz says
Preheat the oven to 200C Bake, 395 F
Helen Lambert says
My grandmother made these bread cases with curried banana. Does anyone remember this recipe pls.
Yvonne Roach says
I really enjoyed these and did them for family they went down a storm I added some red onion to mine. Thank you so much.
Jayne Downes says
They tasted good but how many nests did you get out of each slice of bread? I made my nests too small and egg overflowed.
justamumnz says
One piece of bread per nest with the edges cut off. That usually fits into the muffin pan and then I don’t overfill them too much.
Colleen KING says
About 35 years ago, a friend used to make bread cases that were very fine and crunchy. Usually filled with oysters or smoked fish in white sauce. I’m sure she even rolled the bread even thinner. I’m a bit hesitant to try these with toast bread. Are they crispy?
justamumnz says
Yes, they are lovely and crispy once baked, use thin sandwich bread if you prefer.