A New Zealand bakery classic, this Louise Slice or Cake is lovely and easy to make.
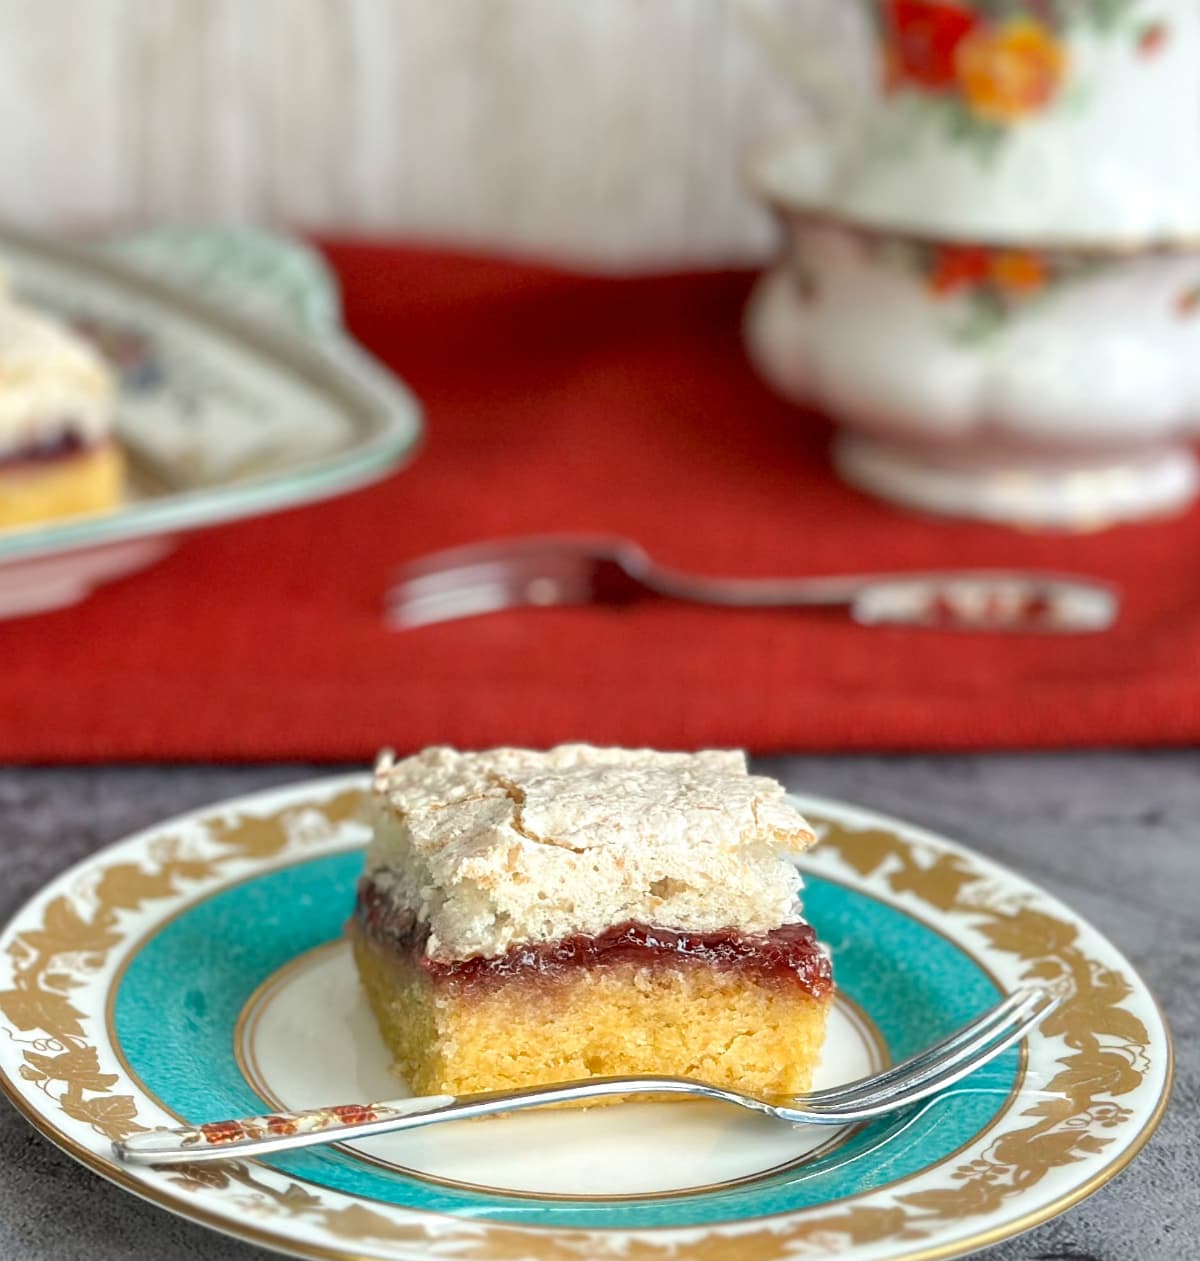
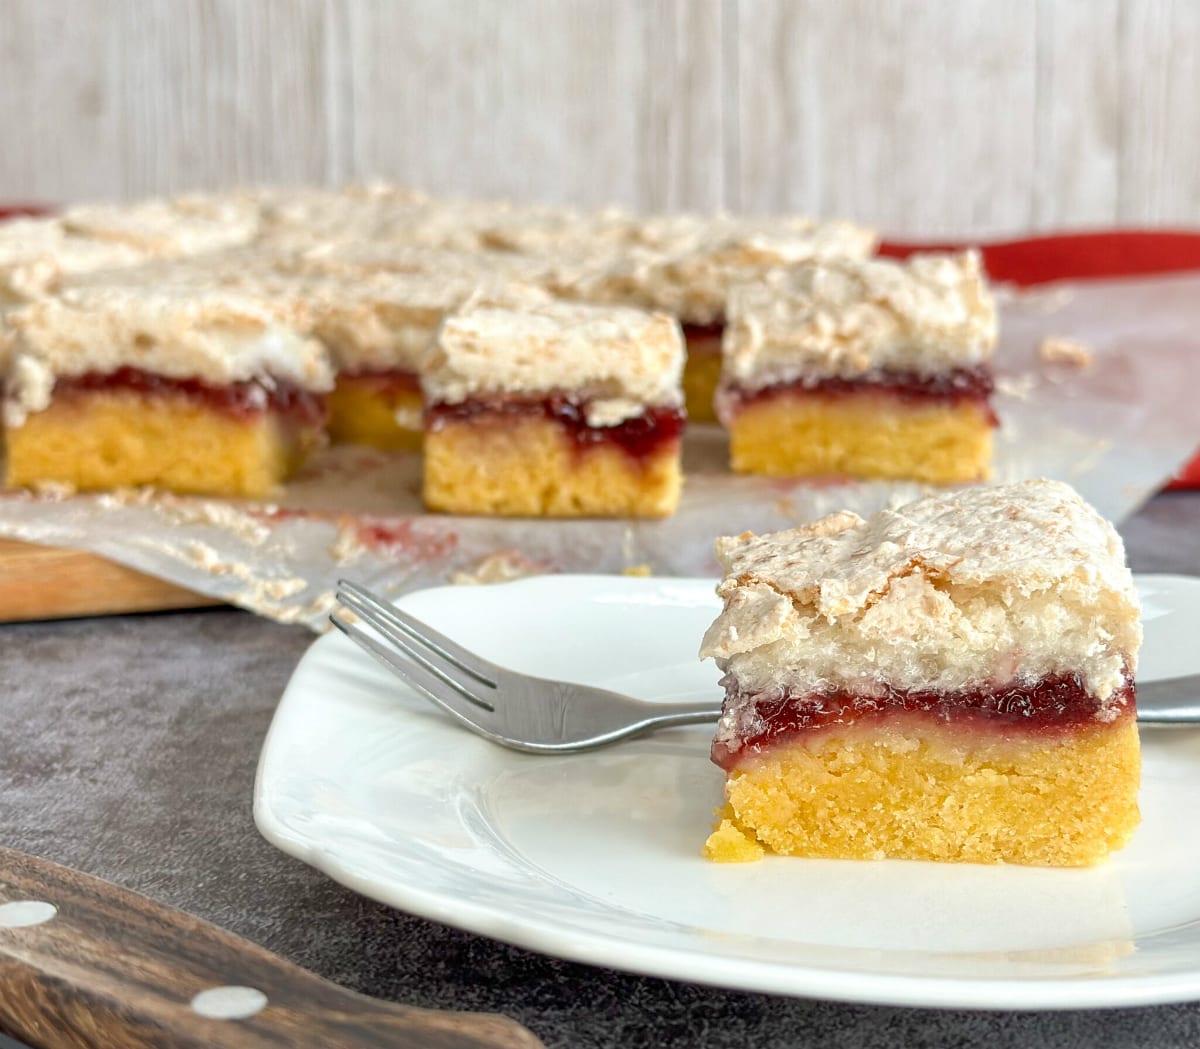
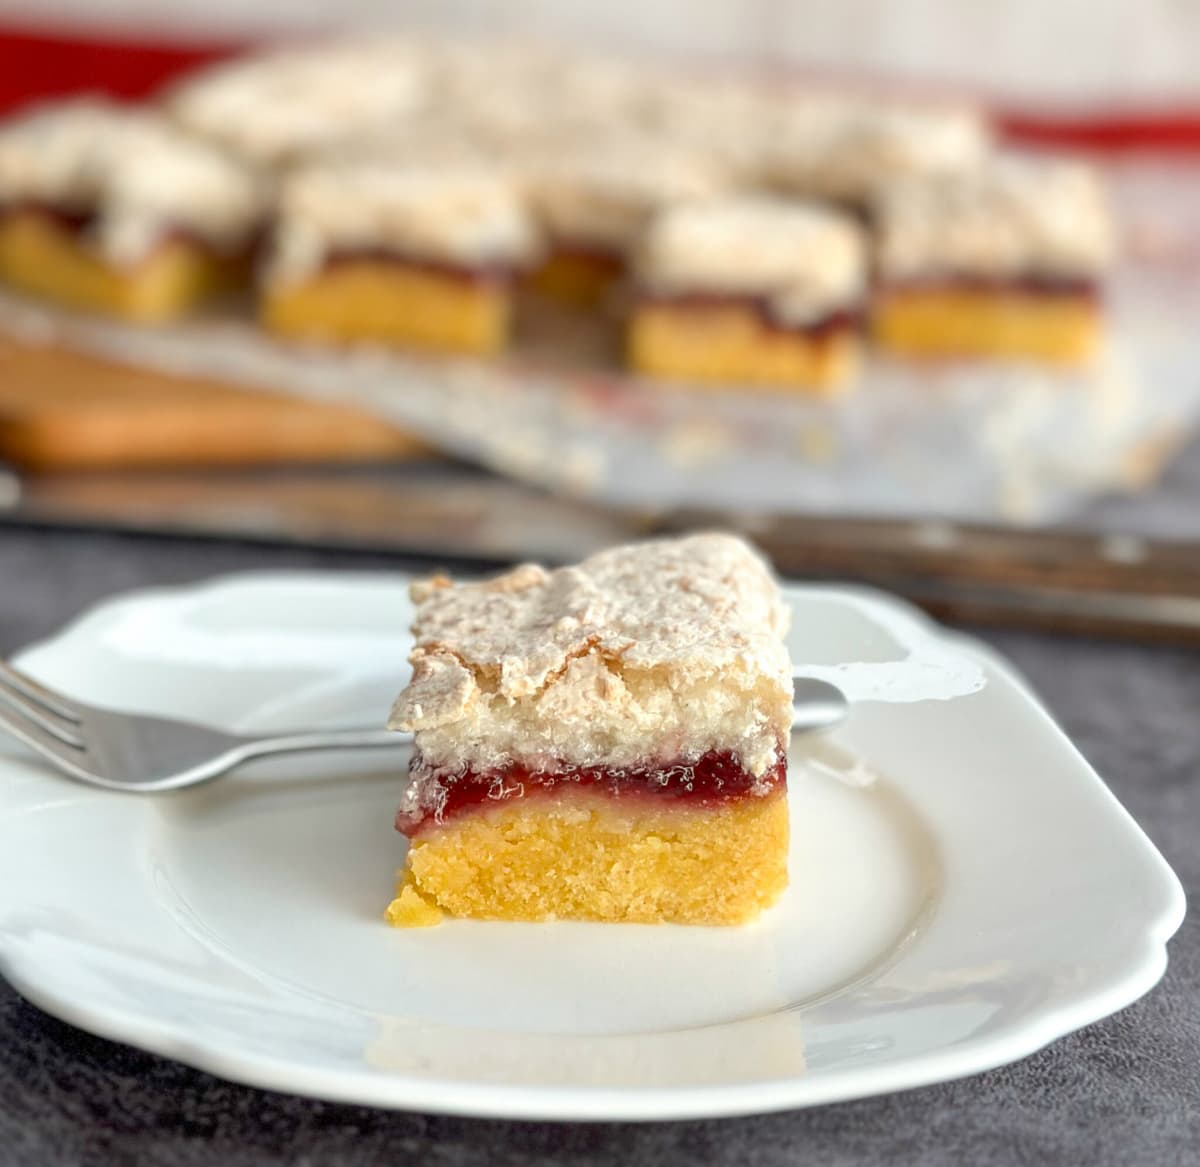
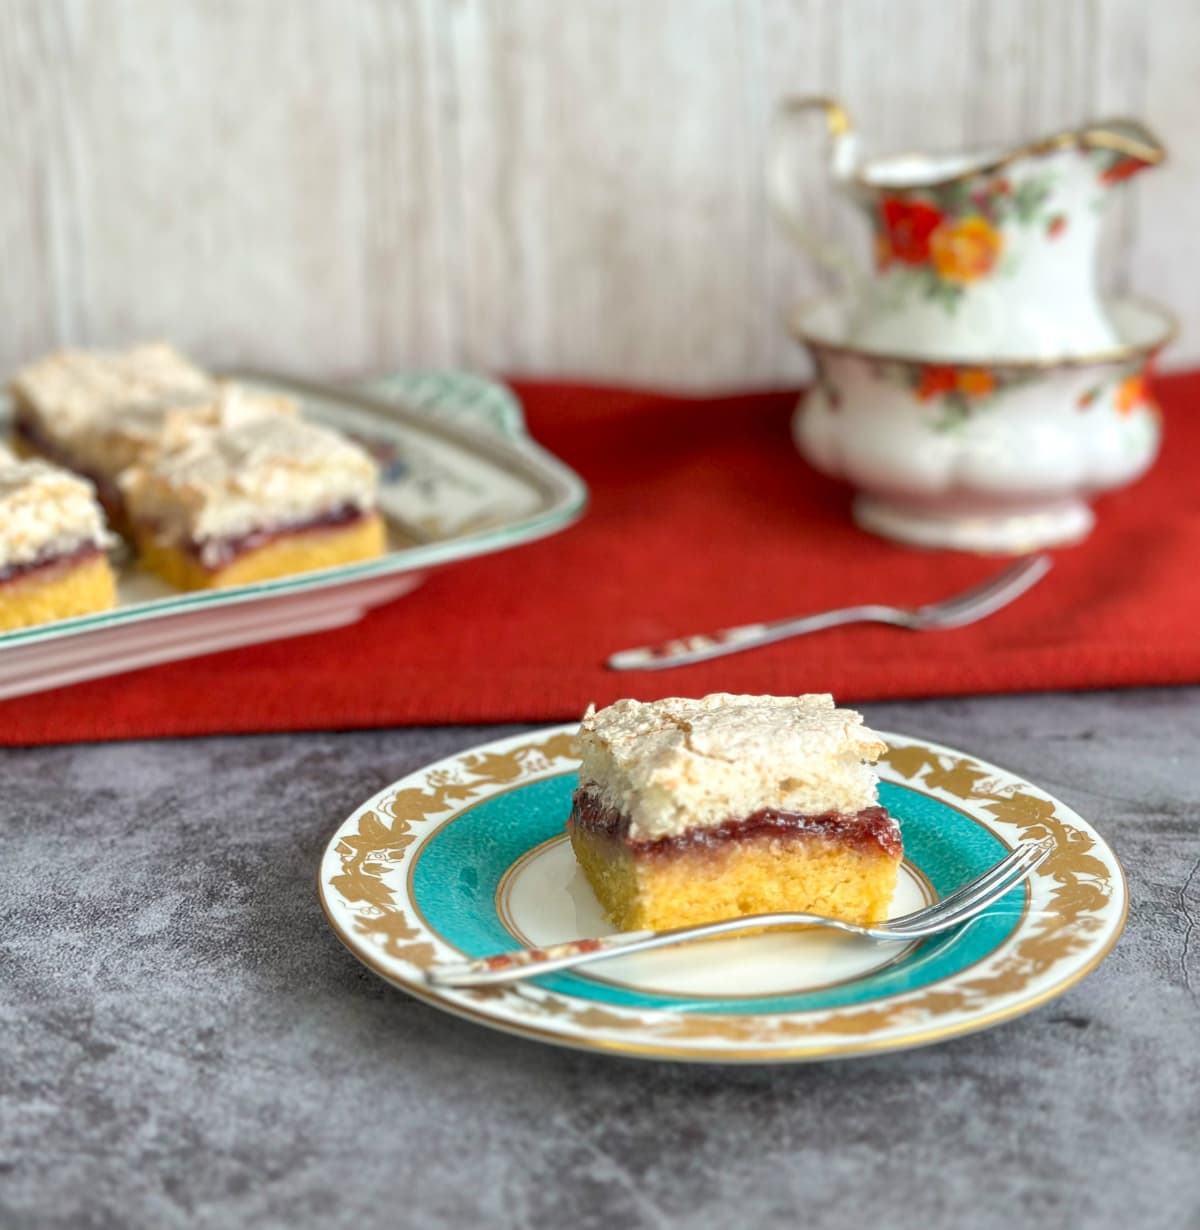
There are so many recipes we remember fondly from growing up, Louise Slice or Cake as it is often called, is a Kiwi bakery regular and one people love! It is a combination of a shortbread base, a jam filling and a lovely coconut meringue topping.
Traditionally thought of as a Kiwi recipe, likely its origins are British and there is a rumour that it was named for Queen Victoria’s daughter Princess Louise, however no one truly knows.
Either way, it is definitely a popular recipe and one I wanted to have stored here. There are three layers, but it does not take too long to put them together and I have shared a few tips to make the process nice and easy.
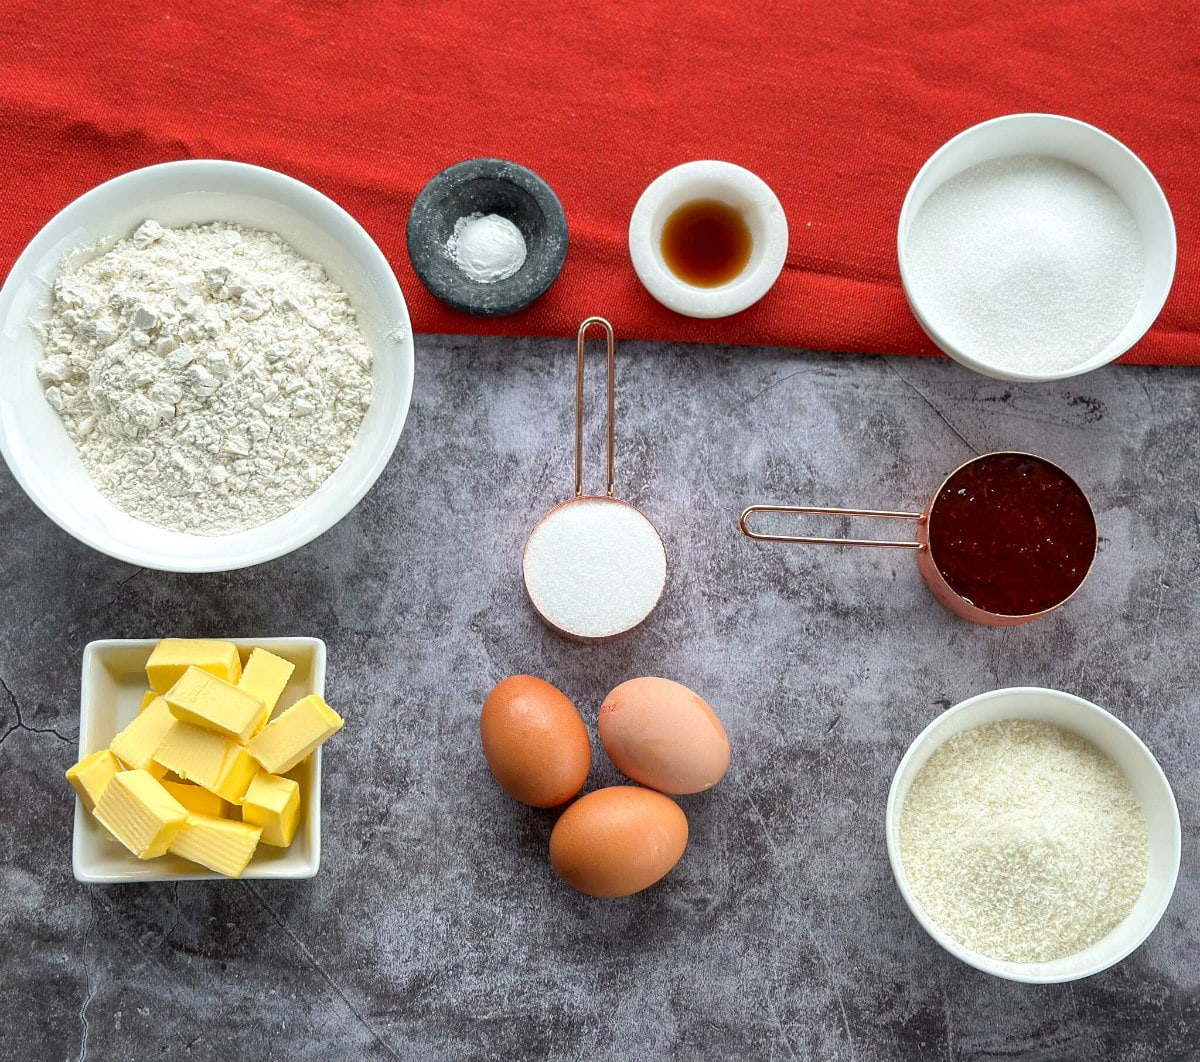
The ingredients are all pantry staples (please see the recipe card below for full ingredients list, measurements and method)
-
Butter
-
Sugar
-
Eggs
-
Vanilla Essence
-
Plain White Flour
-
Baking Powder
-
Raspberry or Jam of your choice
-
Coconut, desiccated or shredded
All three of the layers are prepared before you bake it. Some methods bake the base first, but I find it just as good to leave it until the end. If you bake the base first it will be a little firmer than doing it my way.
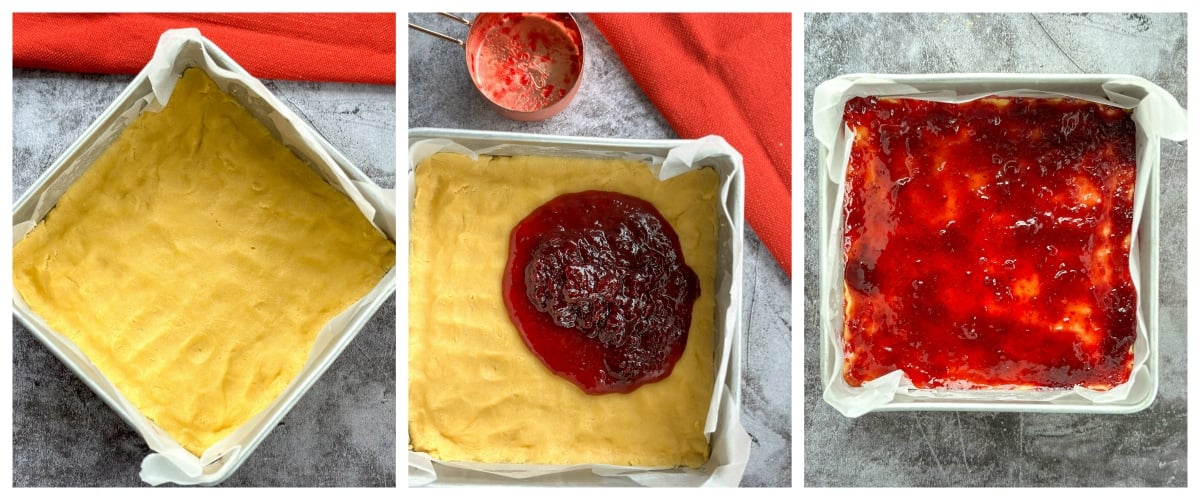
First you create the base, in a food mixer creaming the butter, sugar then adding to this the other ingredients until you form a lovely soft dough. You want to carefully press this into a baking tin lined well with baking paper with an overhang of paper to assist in removal later.
Originally this called for a slice tin, which is usually rectangular in shape, I have simply used my square baking tin here as that is what I had on hand. Either will be lovely.
Then spread on the jam, I use around half a cup. Any jam will do, traditionally raspberry jam is used, today I have used a combination of strawberry and raspberry, but any berry or even a plum jam will be lovely.
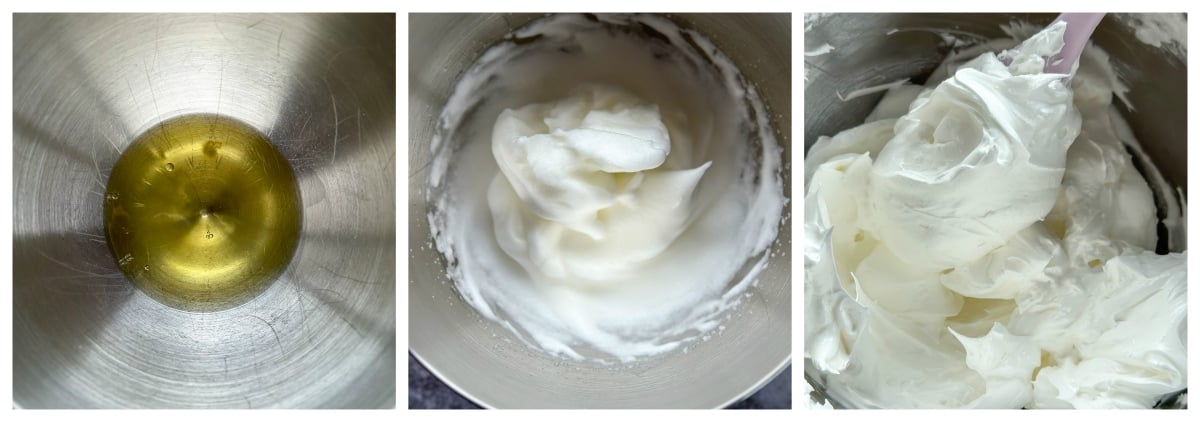
Then clean your food mixer bowl to prepare the meringue topping. There are a few tips to getting a lovely soft meringue. The first being to ensure that the mixing bowl is completely clean.
Once I have washed it I rinse it with hot water, dry it with a clean towel then wipe the inside of the bowl and the whisk attachment with some white vinegar to remove any other residue.
Start the meringue by beating the egg whites until they form soft white peaks, then while whisking on a high speed, add a tablespoon of sugar slowly, mixing well between each addition. Scrape down the sides of the bowl often too with a clean wiped spatula.
Once all of the sugar has been slowly added mix until it is thick and glossy, there should be no sugar crystals remaining when you rub the mixture between your fingers.
For the coconut you can use desiccated or shredded. It is completely personal preference, some like the texture of having the longer strings of coconut in the topping others the taste without too much of the texture. If you absolutely cannot cope with having coconut just leave it out.
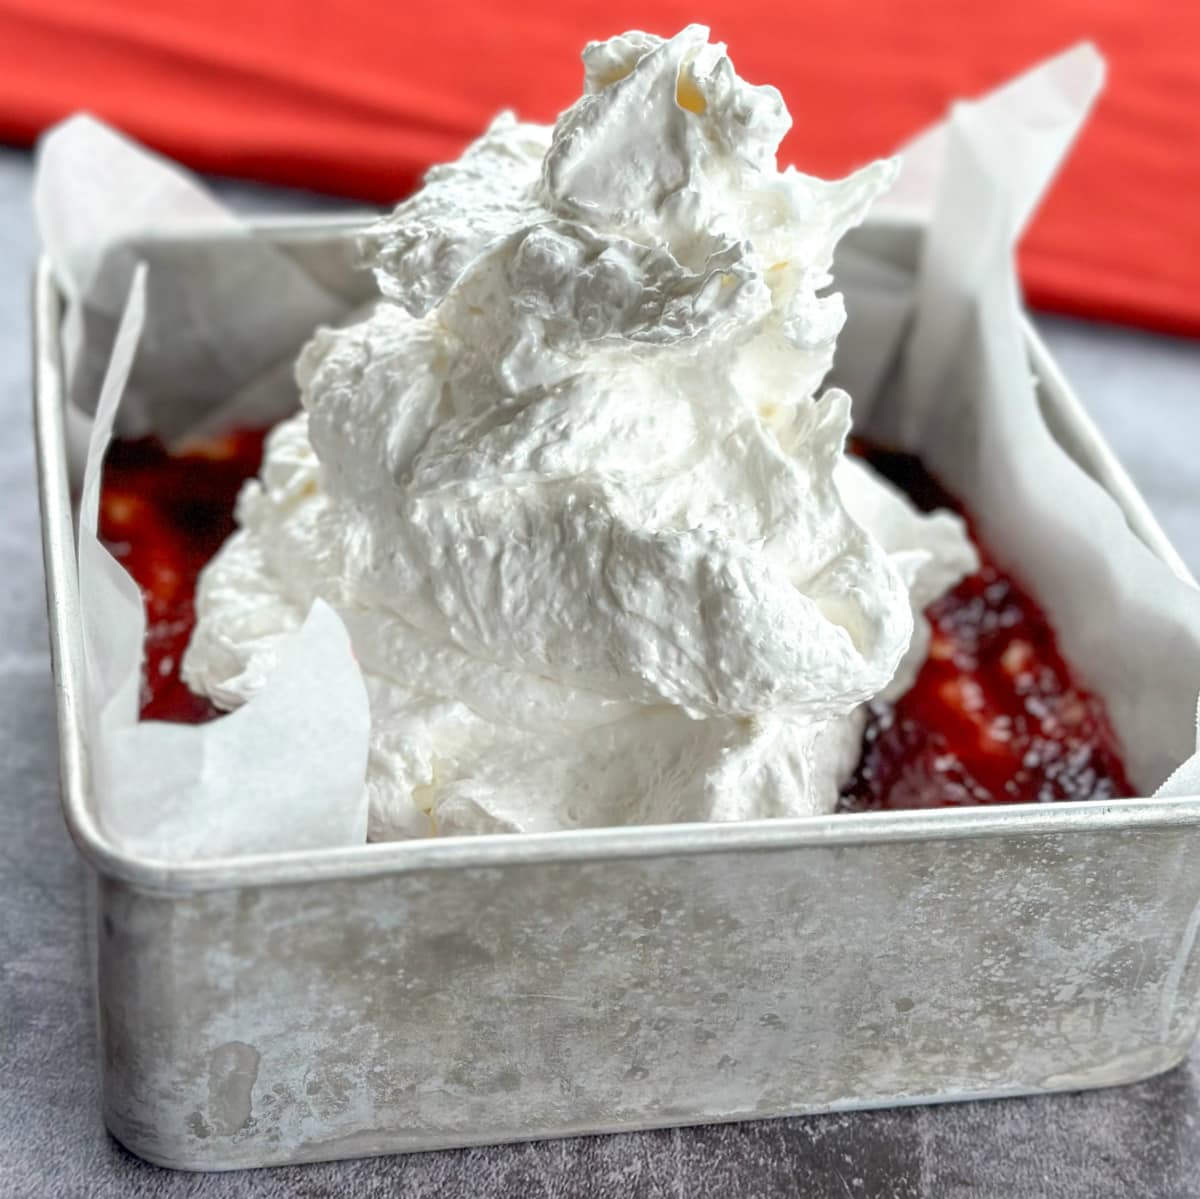
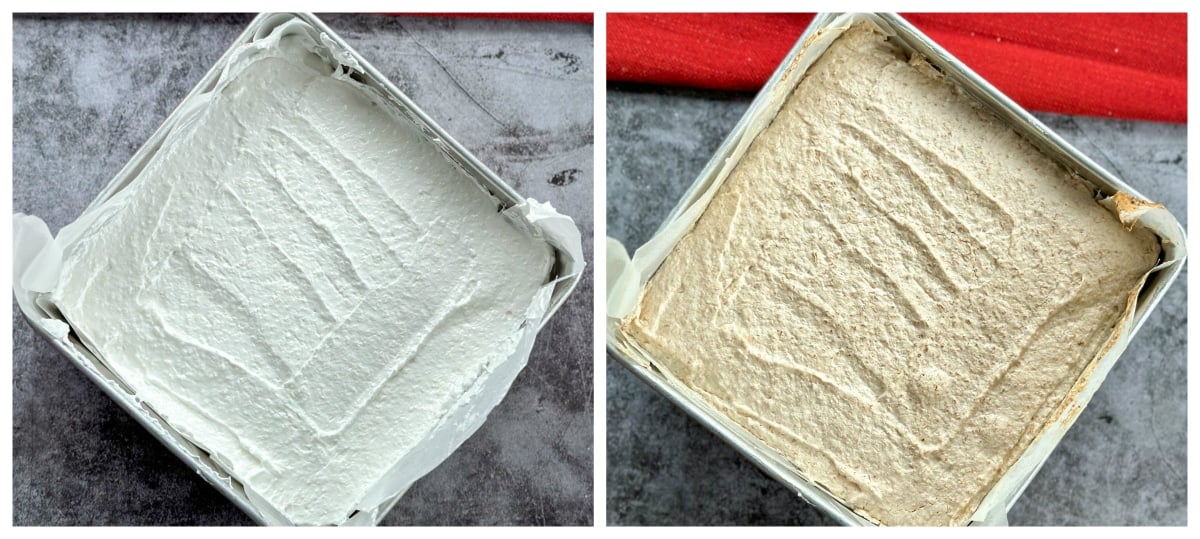
Carefully fold through the coconut into the meringue until well blended then spoon this onto the base and spread in a smooth even layer, ensuring it is flat so that it bakes evenly. Then bake for around 30 minutes until the top of the meringue is a lovely light golden brown.
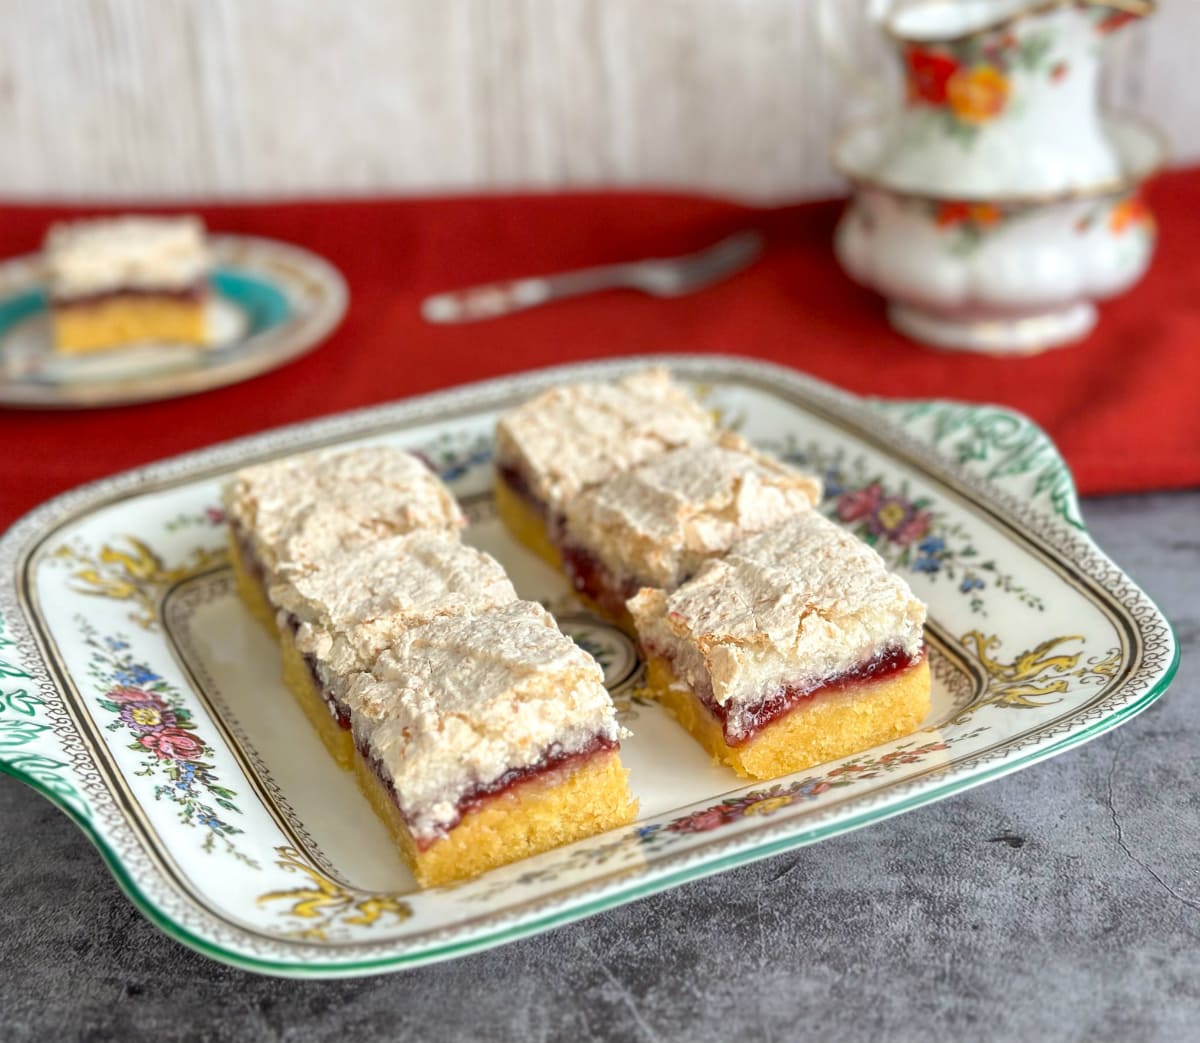
This needs to be completely cool before slicing. Expect the top of the meringue to sink slightly as it cools. Slice with a hot sharp knife. How I like to cut slices like this is I dip a very sharp knife in hot water, dry with a cloth then slice and repeat for each slice. This works well with most slices.
Then serve or store in an airtight container at room temperature. I hope you love this classic recipe. Definitely one we want remembered forever.
I hope you enjoy this version of Louise Cake Slice
Louise Cake Slice
Delicious shortbread base with a jam filling and a light coconut meringue topping. A classic NZ recipe
Ingredients
Base
- 125 grams Butter, cubed, room temperature
- 1/3 Cup White Sugar, 70 grams
- 3 Egg Yolks, medium
- 1 teaspoon Vanilla Essence
- 1 1/2 Cups Plain White Flour, 225 grams
- 1 teaspoon Baking Powder
Filling
- 1/2 Cup Raspberry Jam, 160 grams (or jam of your choice, strawberry, plum etc)
Topping
- 3 Egg Whites, medium
- 3/4 Cup Plain White Sugar, 155 grams
- 3/4 Cup Coconut, 68 grams, desiccated or shredded
Instructions
- Preheat the oven to 180 Bake, set oven rack height to the lower middle portion of your oven
- Prepare a 23 cm square tin or 18cm x 28cm slice tin and line well with baking paper with high sides to make lifting out easier later on, I like to spray a little cooking spray on the sides of the tin to help the paper stick.
- Carefully separate the eggs, with the egg yolks in one bowl and the whites only in another. Ensure no egg yolk is in the egg whites, set aside
- In a food mixer with a paddle or scraper attachment, cream together the butter and sugar until it is pale, light and fluffy, approx 4 minutes, scraping the sides once.
- Add to this the egg yolks and vanilla and mix well for a further 2 minutes until well combined.
- In a small bowl sift together the flour and baking powder then add this to the butter mixture and mix until it comes together to form dough.
- Spoon the dough into the prepared baking tin, press the dough into the tin to form an even layer. Use floured hands to assist with getting a smooth finish.
- Spread the jam of your choice in an even layer across the base right to the edges and set aside.
- Ensure your food mixer bowl is clean (see tips above and below in notes) and use the whisk attachment.
- Add the egg whites and whisk in high until the egg whites are white and soft peaks form. No loose egg white should remain at the bottom of the bowl.
- Add the sugar to this a tablespoon at a time. While the beaters are running on high slowly sprinkle the sugar off the end of the spoon into the egg white mixture, then mix well between additions.
- Repeat a tablespoon at a time, slowly, until no sugar remains, scraping the sides often with a clean rubber spatula. The mixture will become thick and glossy, stir for a few extra minutes after the last of the sugar is added.
- Ideally you want no sugar crystals to remain when you rub the meringue mixture together between your fingers.
- Remove the bowl from the food mixer and add the coconut, fold it through carefully with the rubber spatula until well combined.
- Spoon the meringue onto the base and carefully spread into an even layer. Ensure the meringue is smooth so that it bakes evenly.
- Place in the preheated oven and bake for 35-40 minutes or until the meringue is lightly golden brown and firm. The larger the slice tin you use the less time you will need to cook.
- Remove from the oven and place the whole pan on a wire rack. Leave in the pan until completely cool.
- Once cold then remove the slice carefully from the pan using the baking paper to transfer it to a cutting board.
- Slice using a hot sharp knife into squares. Dip the knife in hot water, wipe dry and slice the cake, repeating each time you slice for a cleaner cut.
- Store in an airtight container for up to 4 days.
- Enjoy!
Notes
How to prepare the mixer bowl before making egg white meringue
Ensure that the mixing bowl is completely clean by washing with hot soapy water.
Once washed, rinse it with hot water, dry it with a clean towel then wipe the inside of the bowl and the whisk attachment with some white vinegar to remove any other residue.
Nutrition Information:
Yield: 12 Serving Size: 1Amount Per Serving: Calories: 295Total Fat: 11gSaturated Fat: 7gTrans Fat: 0gUnsaturated Fat: 3gCholesterol: 63mgSodium: 142mgCarbohydrates: 46gFiber: 1gSugar: 27gProtein: 4g
JustAMumNZ.com, occasionally offers nutritional information for recipes contained on this site. This information is provided as a courtesy and is an estimate only. This information comes from online calculators. Although justamumnz.com attempts to provide accurate nutritional information, these figures are only estimates.
I hope you love this recipe, be sure to let me know in the comments below once you make it! What bakery classic should I add to my recipes?
Thank you so much for stopping by to check out my latest recipes on my blog. If you are not already be sure to follow me on Facebook or Instagram for more deliciousness, and you can register your email in the subscription box below to receive all my recipes as I publish them.
Happy Baking
Anna
Pin It! Pinterest


I love hearing from you! What do you think of this recipe?