I have been wanting to perfect a classic Chocolate Lamington recipe for such a long time. The sponge part was sorted, but surprisingly it was the chocolate coating that took the most work.
The chocolate coatings in recipes I had tried in the past were thick, tricky to work with and, more importantly, tasted nothing like the store-bought versions I had always loved!
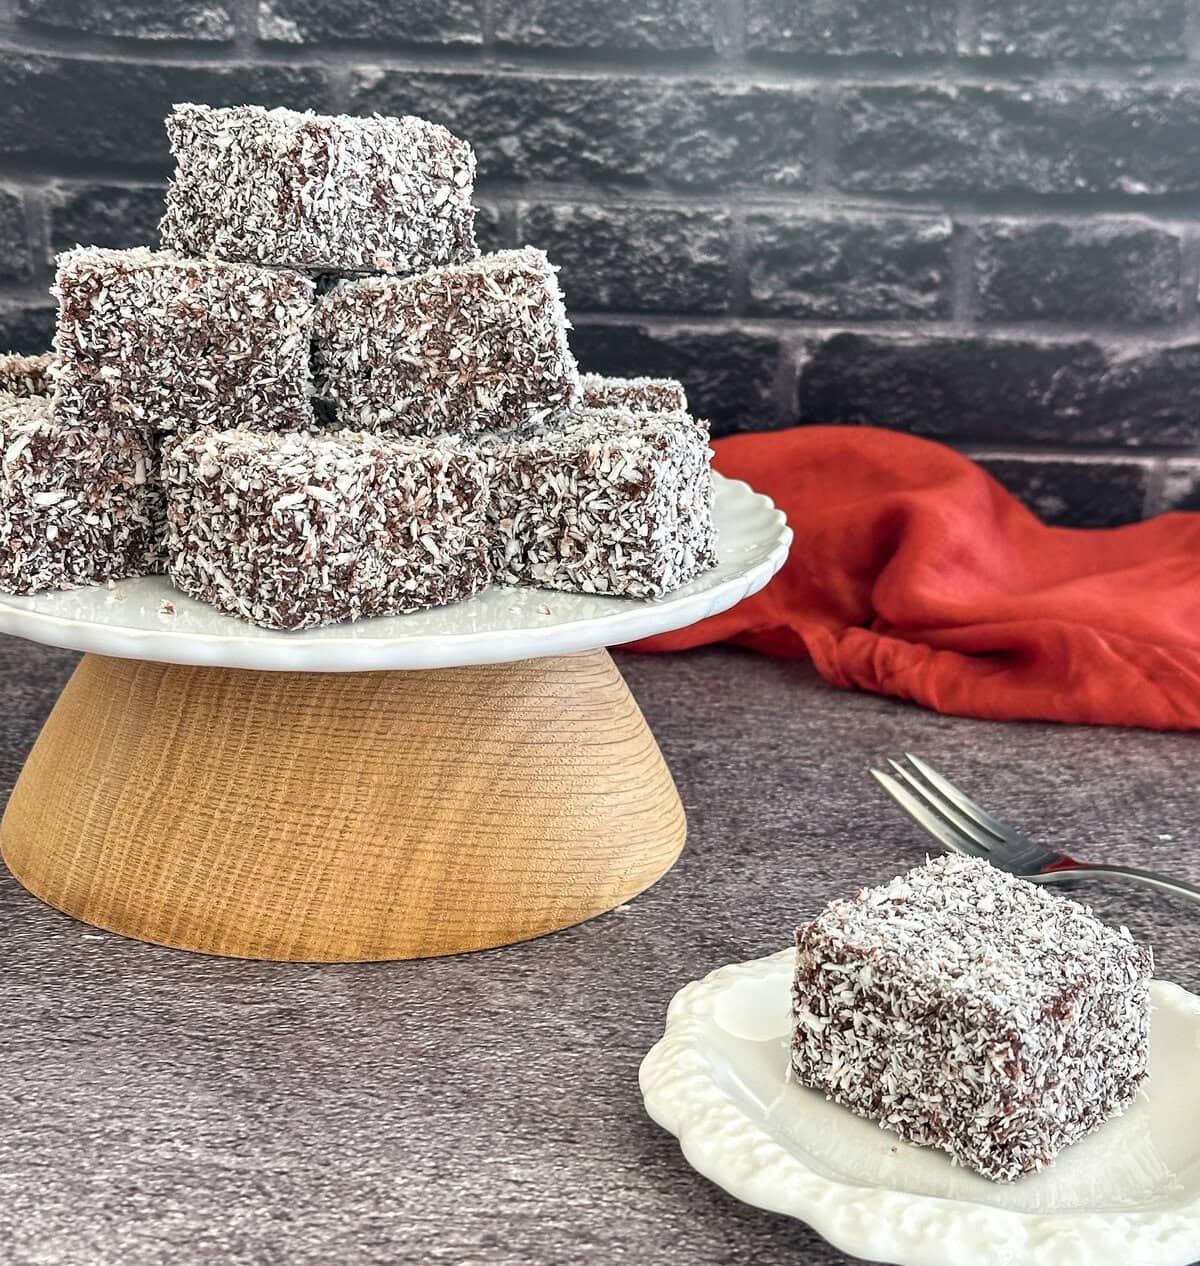
After lots of experimenting and testing, I can confirm these are the Chocolate Lamingtons I had always wanted to make. In fact, they have been the most popular of all the versions I have shared around the neighbourhood.
The difference is in the chocolate coating. Rather than a thick chocolate icing, I wanted a light chocolate syrup that was easy to dip the sponge into, coated it evenly and had that lovely chocolate flavour I remembered.
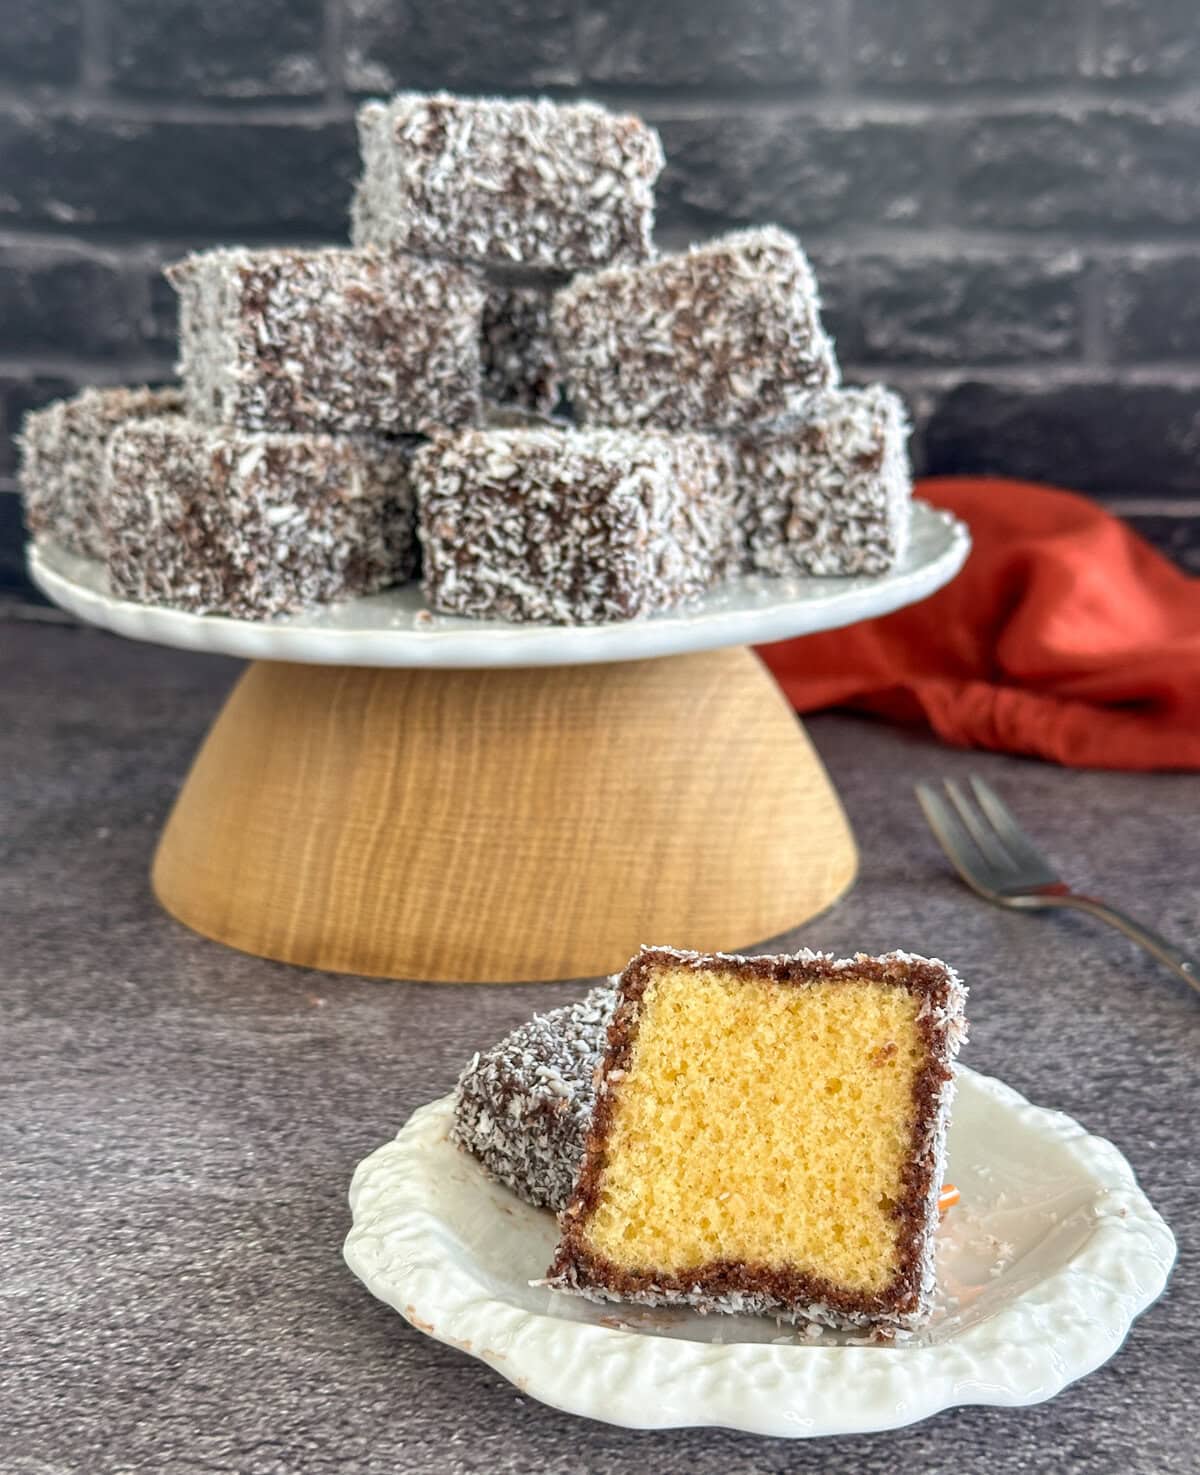
What Makes a Good Chocolate Lamington?
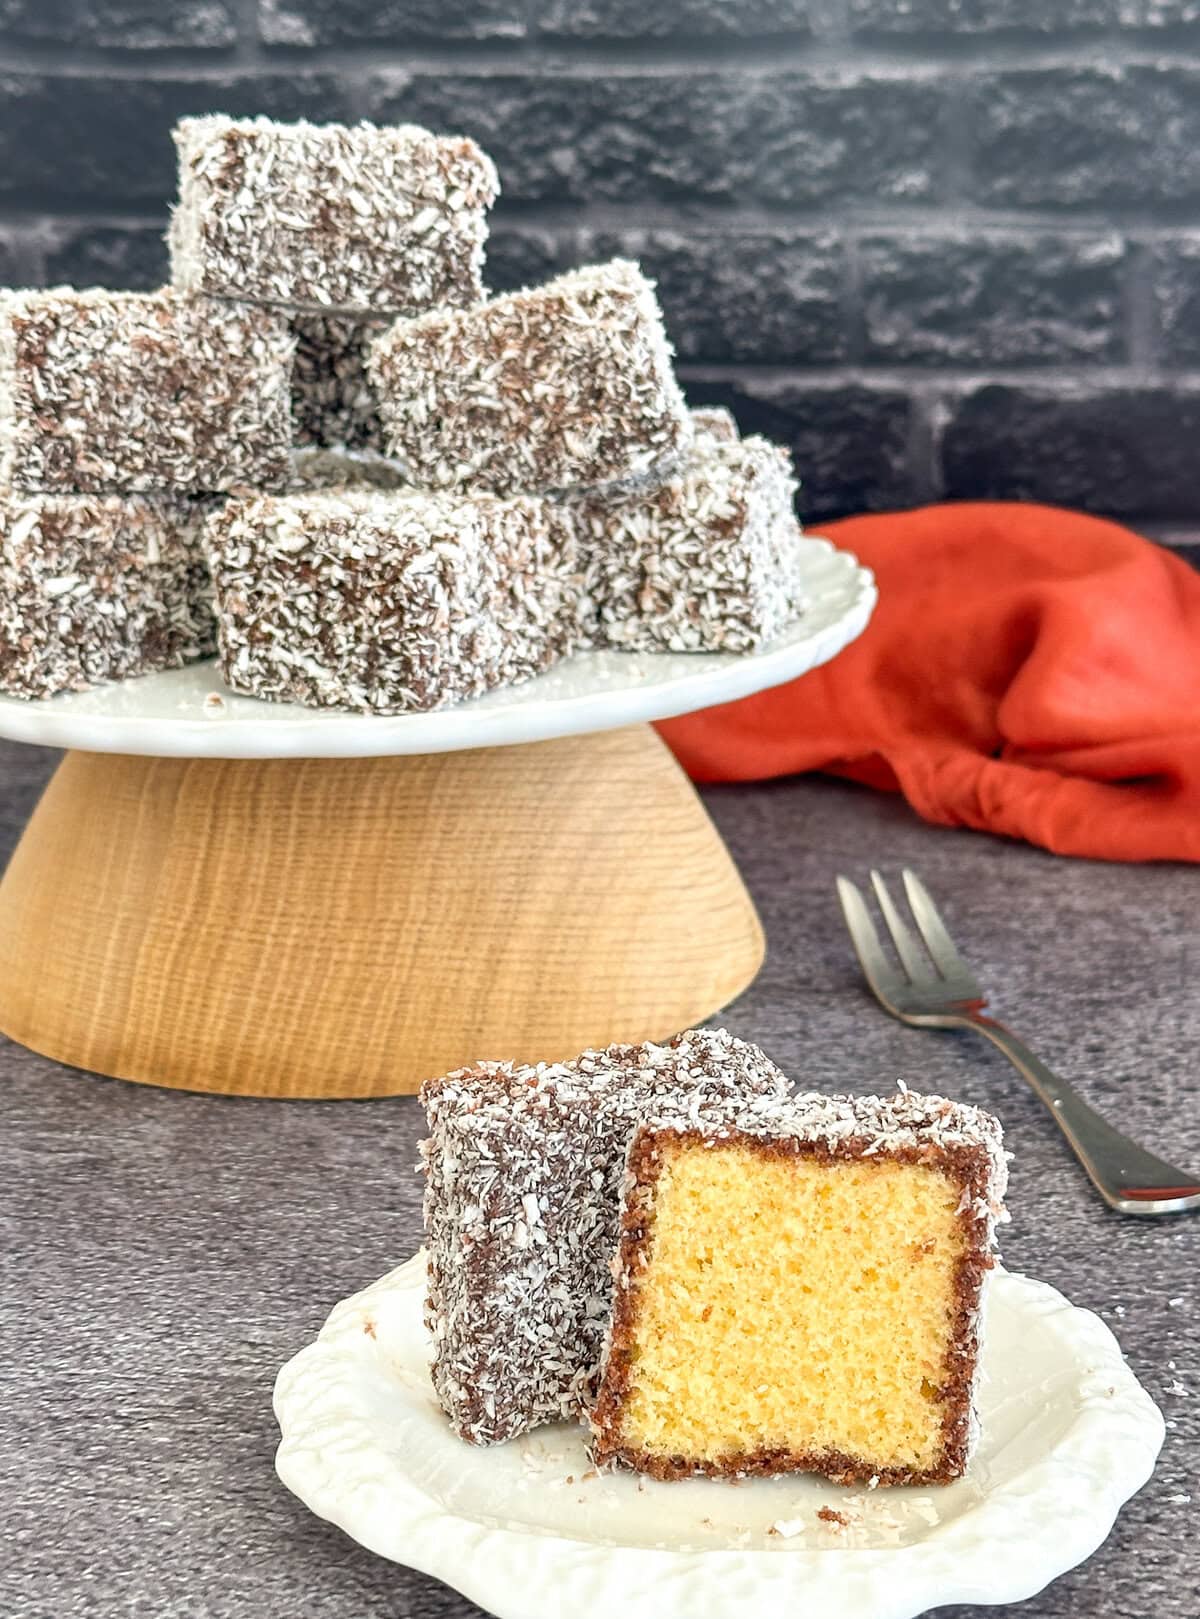
For me, a really good chocolate lamington starts with a light, tender sponge that is still sturdy enough to hold its shape once cut, dipped and coated.
Then there is the chocolate coating. You want plenty of chocolate flavour, but a coating that is light, thin and syrupy rather than thick like an icing. It needs to coat the sponge easily without overwhelming it, with just enough body to hold onto the coconut.
Finally, the dipping technique is important. The sponge only needs a quick coating on each side before being gently tossed in the coconut. This gives you that lovely balance of soft sponge, chocolate and coconut in every bite.
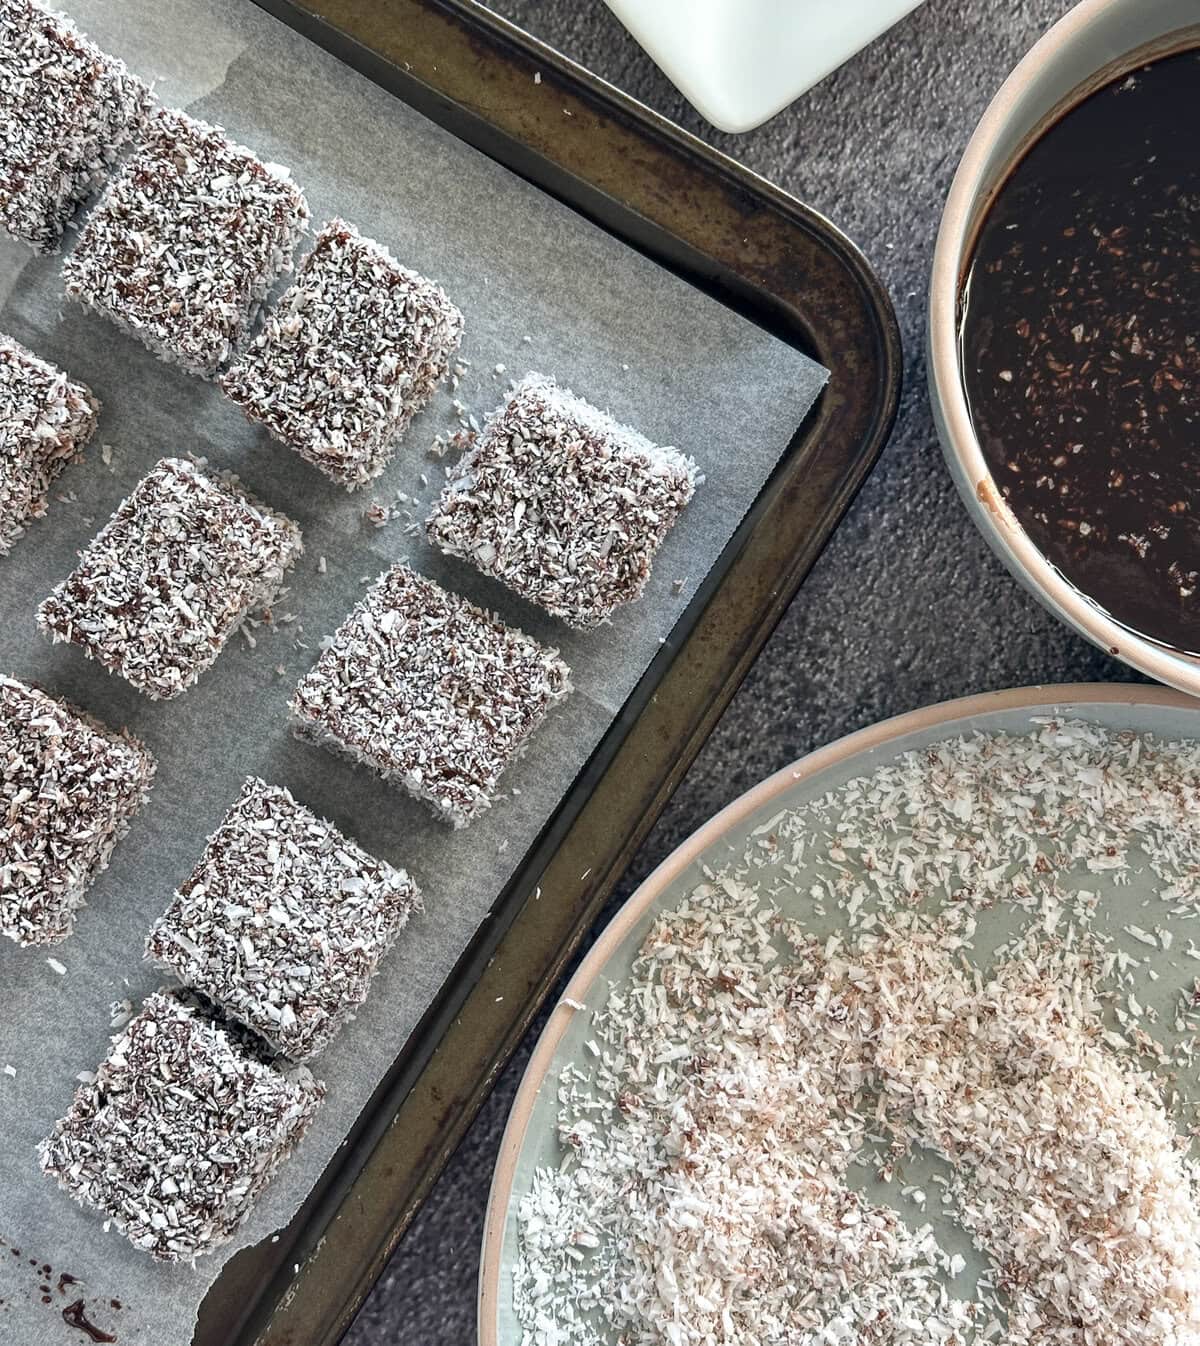
Why I use a Chocolate Syrup Rather Than Icing
In the past, using a chocolate icing has made for some rather disappointing outcomes. The sponge would get stuck in the icing when I tried to dip it, or I would end up trying to spread the icing onto each piece with a knife. It just never worked! Plus, it tasted like icing on a piece of sponge, rather than that special chocolate lamington taste I was after.
So I set about trying to recreate the lighter coating I had noticed on store-bought chocolate lamingtons and worked back from there. That has resulted in this recipe, where the coating is more of a chocolate syrup than simply a thin icing.
Using a combination of cocoa, sugar, water and small amounts of gelatine and cornflour creates a delicious chocolate coating that is thin enough to dip into easily, but has enough body to lightly coat the sponge and hold onto the coconut.
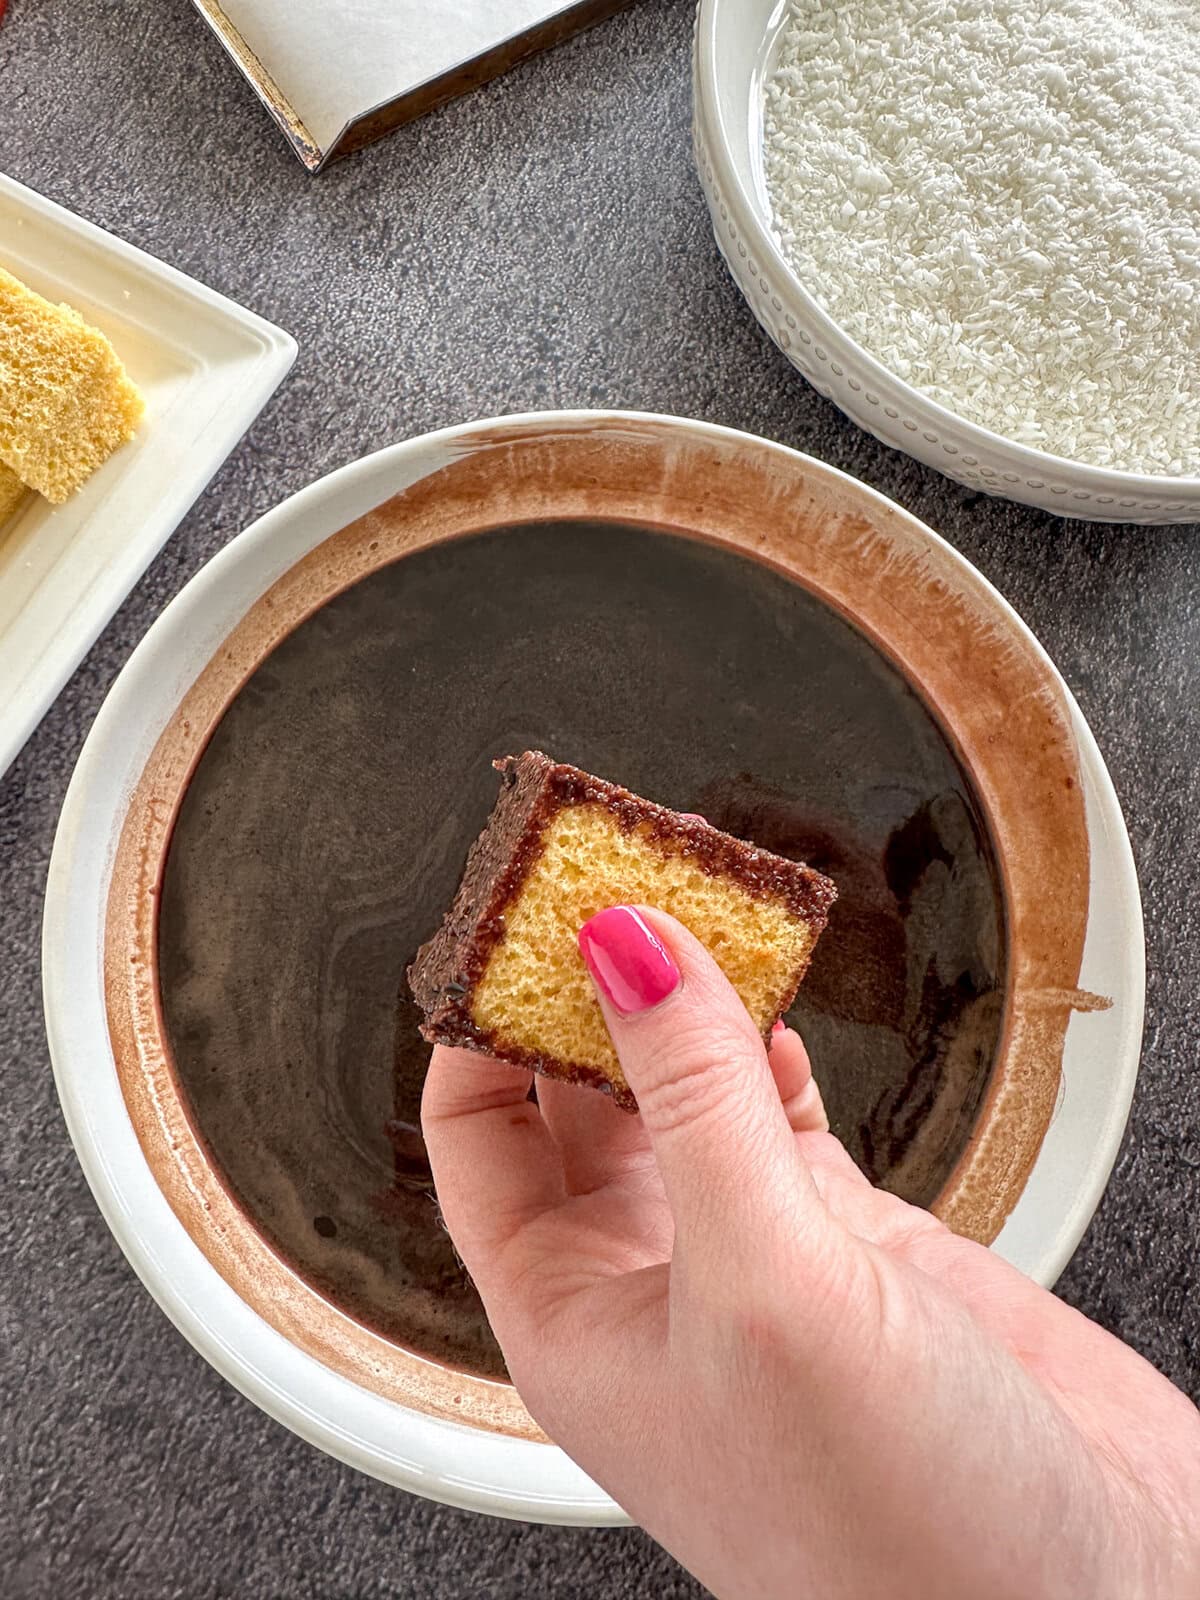
Ingredients for Chocolate Lamingtons
The first step is the sponge. You can use store-bought sponge, or make the sponge I have developed specifically for this use. It is best made the day ahead so that it is easier to cut and dip. You can find my Sponge Cake Recipe for Lamingtons and Trifles here.
For a gluten-free option, you can use my Gluten-Free Sponge Cake for Lamingtons and Trifles. It is slightly more tender, so chilling the cut pieces before dipping is really helpful.
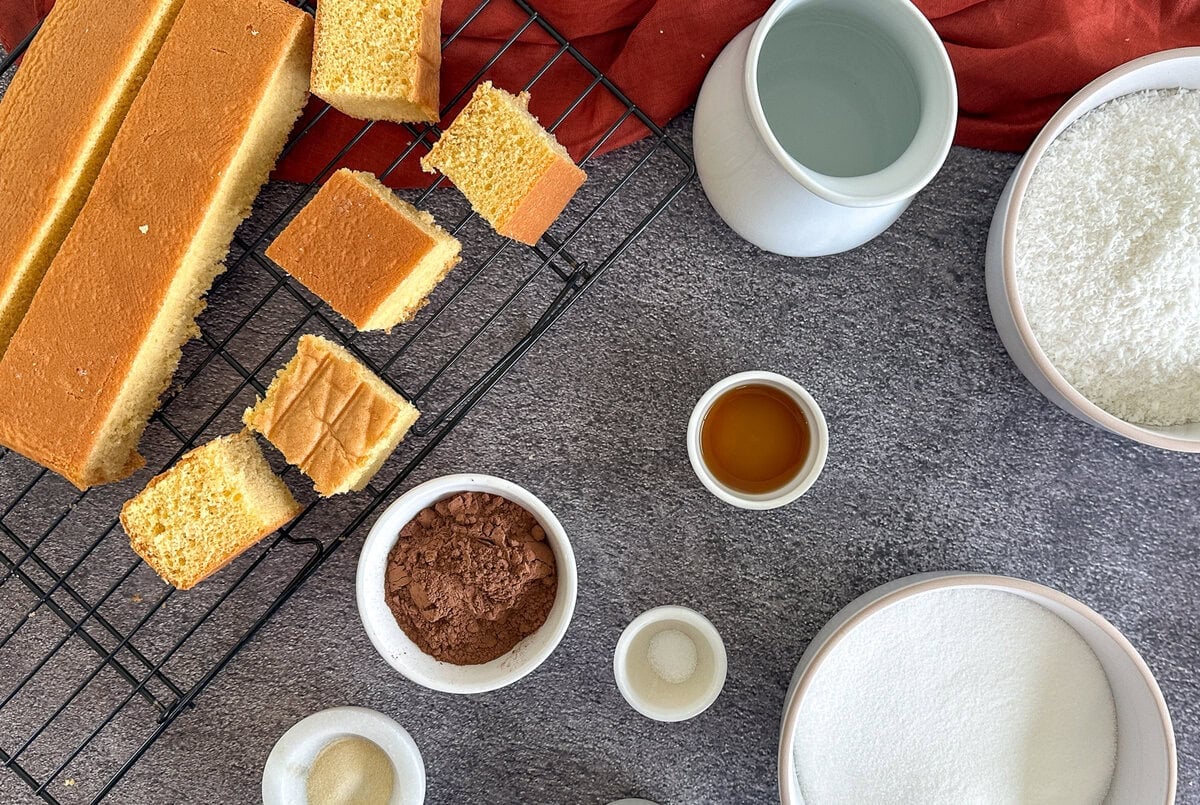
The chocolate syrup is where things get a little more fun. It uses just a few simple ingredients, but they work together to create a coating that is thin and easy to dip into, sets well and tastes delicious.
I use Dutch cocoa for a lovely rich chocolate flavour and colour. It gives the coating plenty of chocolate flavour while still allowing it to remain light and fluid.
The caster sugar and water form the base of the syrup. It may seem like quite a lot of water, but we are deliberately making a thin chocolate coating rather than an icing. The finished syrup should remain fluid and easy to dip into.
There is just a small amount of cornflour, which lightly thickens the syrup as it cooks. We don’t want it to become thick like a chocolate sauce, which is why there is only a small amount.
I also add a small amount of powdered gelatine. This gives the cooled syrup a little more body and helps the coating set once the lamingtons are chilled, without turning it into a thick or jelly-like coating.
Finally, a little salt and vanilla round out the chocolate flavour.
Finely desiccated coconut is the final ingredient. You want a generous amount ready for coating each piece, and I like to have a little extra on hand to top up the bowl as I go.
How to Make Chocolate Lamingtons
If making your own sponge, preparations begin the day before. On the day, allow around 30-40 minutes of hands-on preparation, plus cooling and chilling time.
Prepare the Sponge
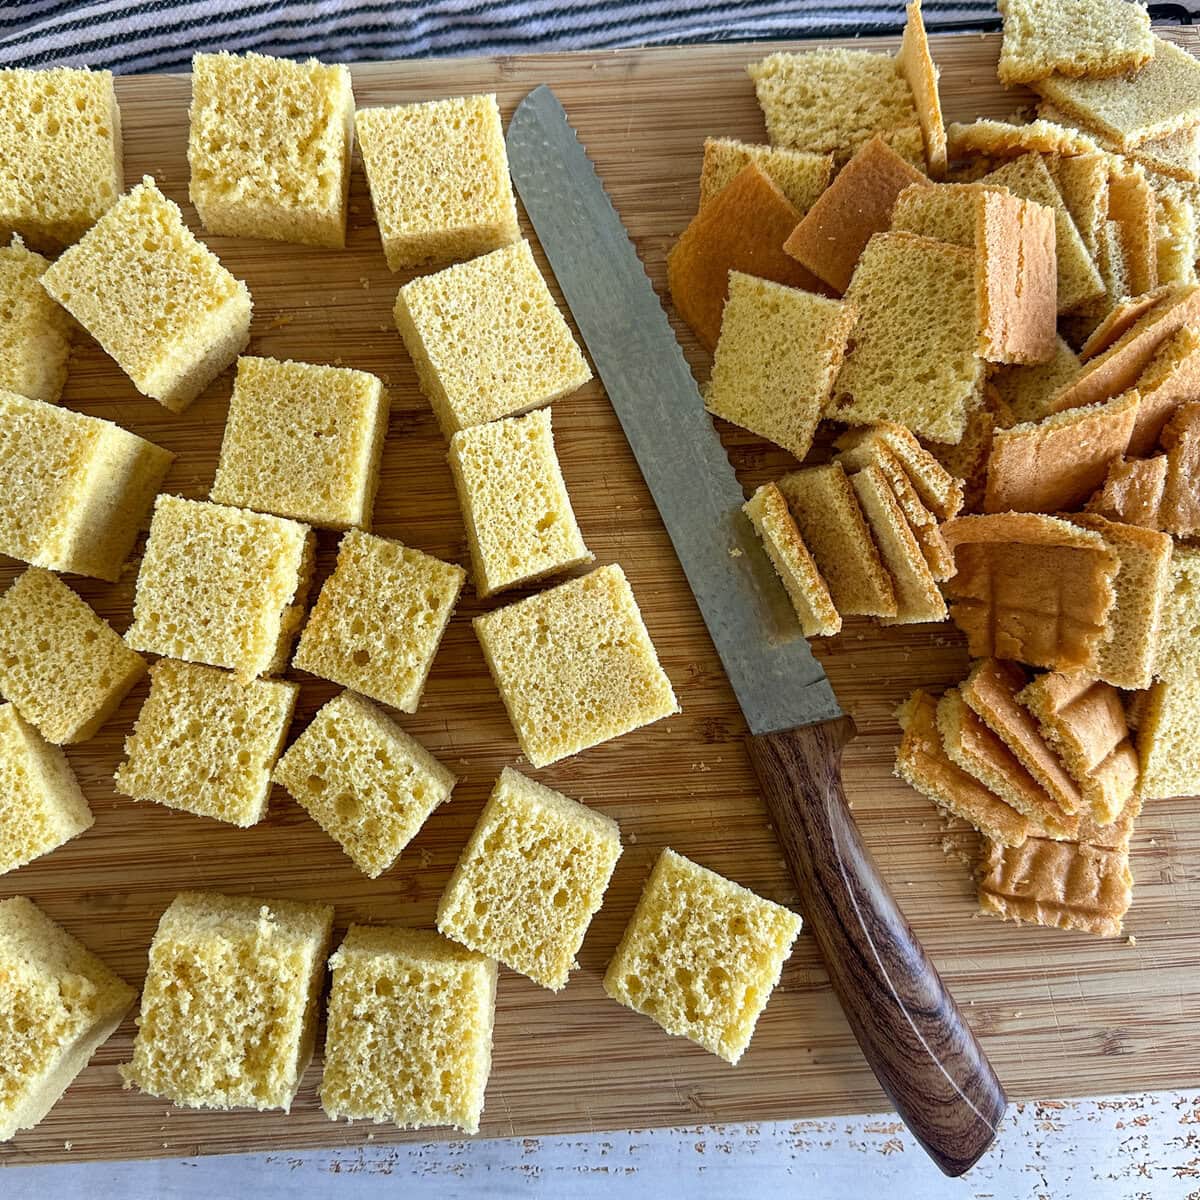
Make the sponge a day ahead using my recipe for Sponge Cake for Lamingtons and Trifles or Gluten-Free Sponge Cake for Lamingtons and Trifles. This makes enough for 25 square pieces. On the day, trim the crusts if you wish, cut the sponge into squares and refrigerate the pieces while you prepare the chocolate syrup.
Prepare the Chocolate Dipping Syrup
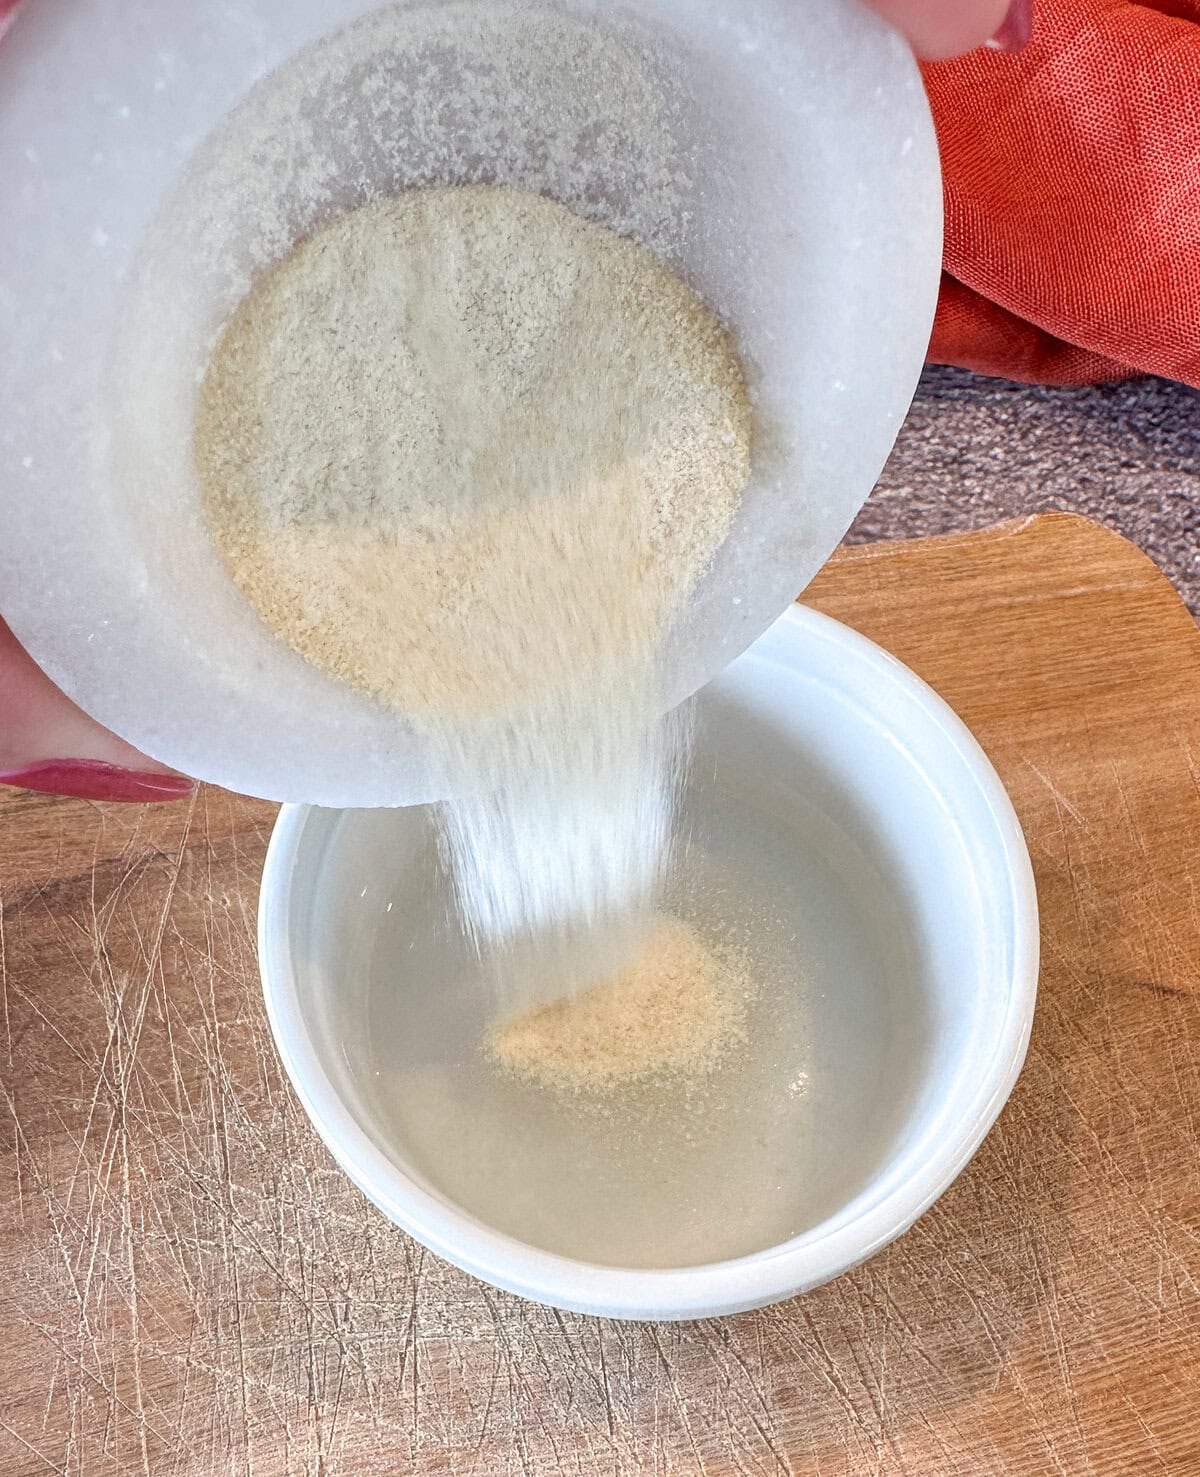
The chocolate syrup is really easy to make. I first bloom the gelatine by sprinkling it over a small amount of cold water and leaving it to sit for five minutes while I prepare the rest of the ingredients. It will become very thick and gel-like as it sits, which is exactly what you want.
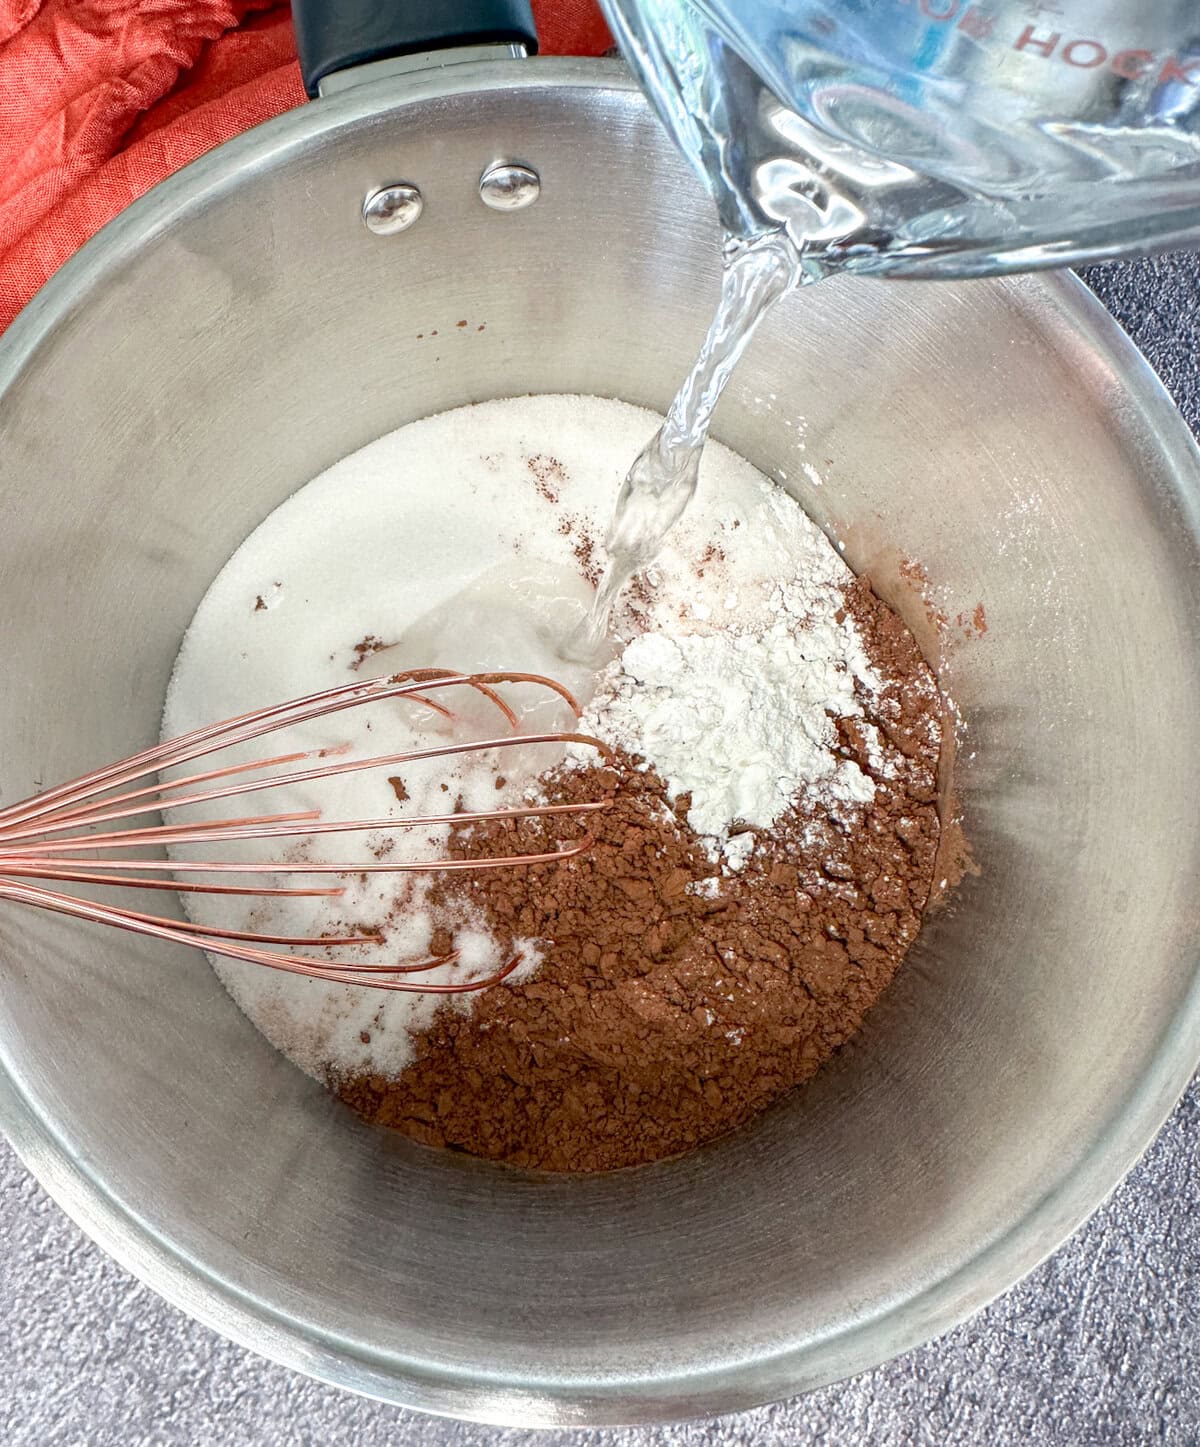
In a medium saucepan I combine the caster sugar, Dutch cocoa, cornflour and salt, then gradually whisk in the remaining water. I like to add just a little water at first to create a smooth paste, then slowly add the rest. This makes it much easier to get a lovely smooth chocolate syrup without lumps.
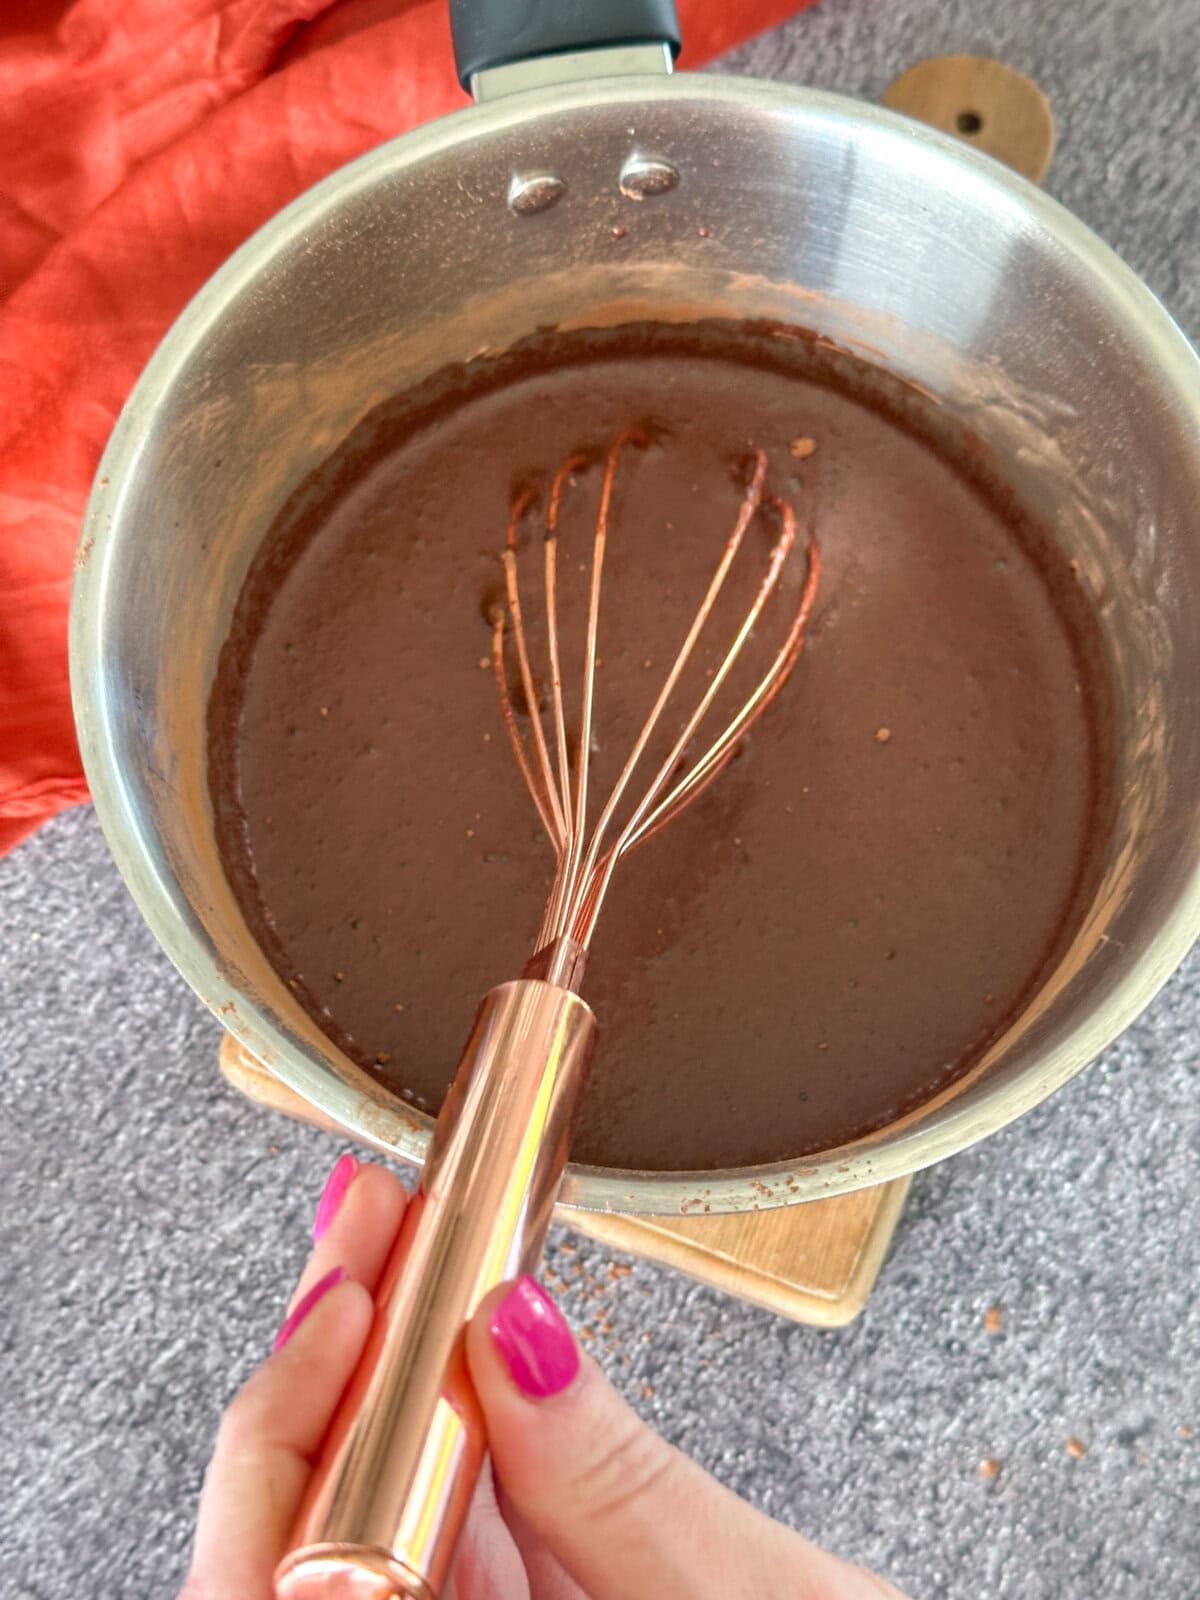
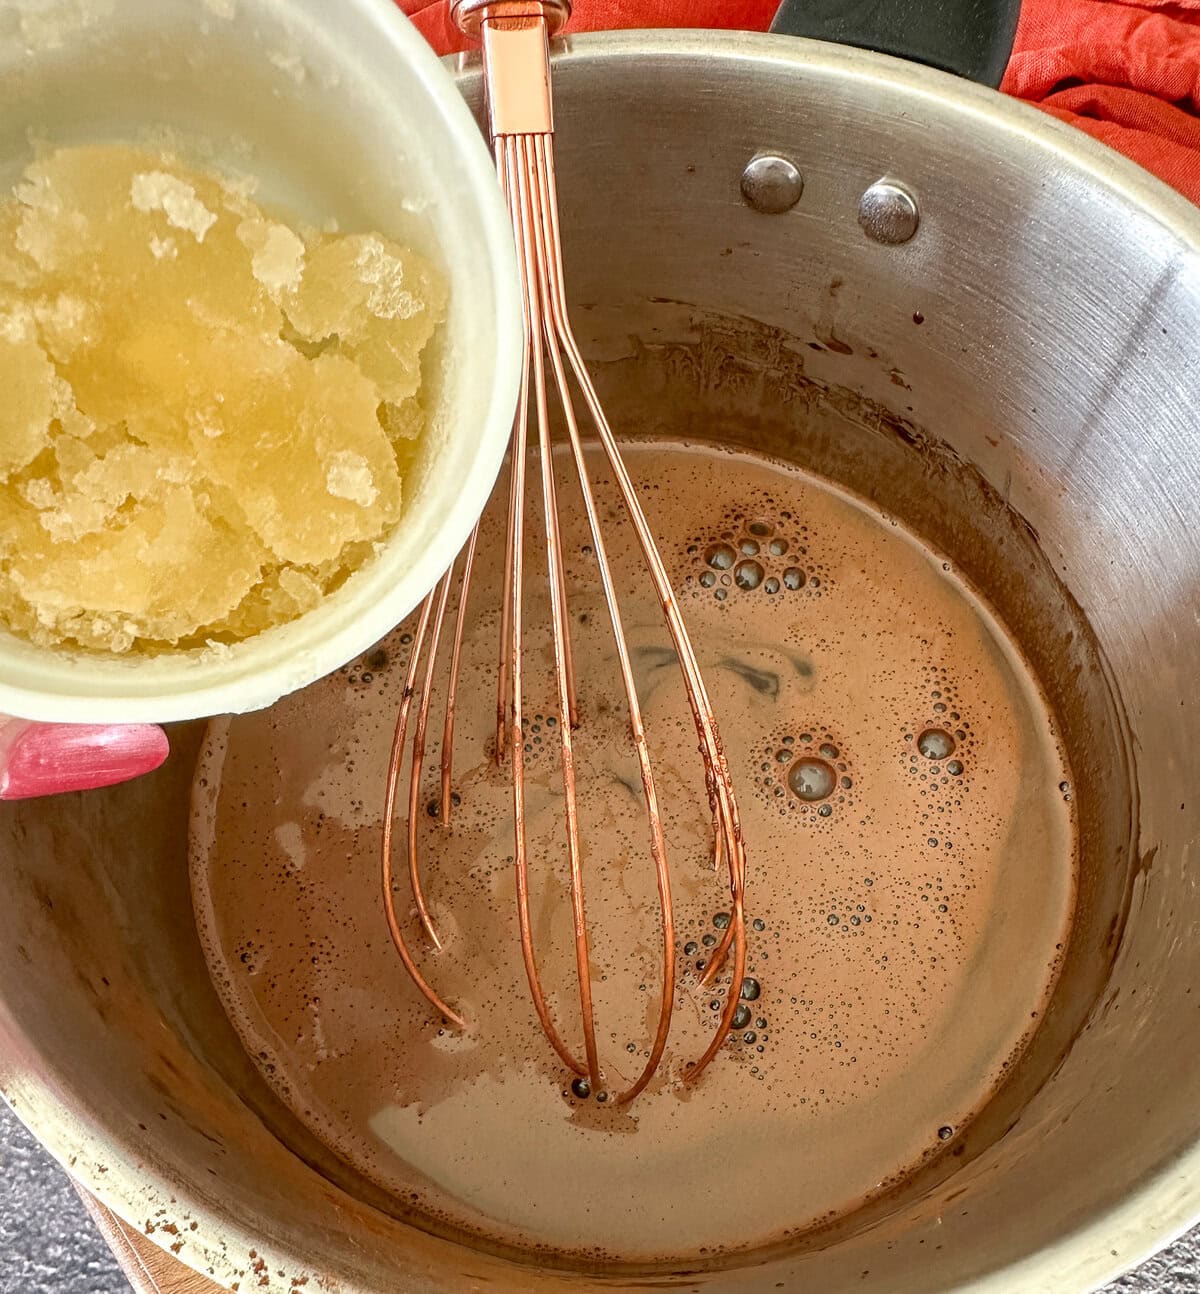
Bring this mixture just to the boil, then gently simmer for less than a minute before removing it from the heat and stirring through the bloomed gelatine and vanilla. The syrup will still seem quite thin at this stage, which is exactly what you want. Pour it into a wide, shallow bowl and allow it to cool for approximately 20 minutes before dipping.
Getting the Chocolate Syrup Consistency Right
The chocolate syrup is deliberately much thinner than a traditional chocolate icing. Don’t be tempted to cook it for longer or add extra cornflour because it seems too thin when it is hot.
As it cools it will develop a little more body. After approximately 20 minutes you want it to be just slightly warm and still completely fluid, so it lightly coats the sponge when dipped without being thick or gloopy. The timing is a guide, so look for the consistency rather than relying only on the clock.
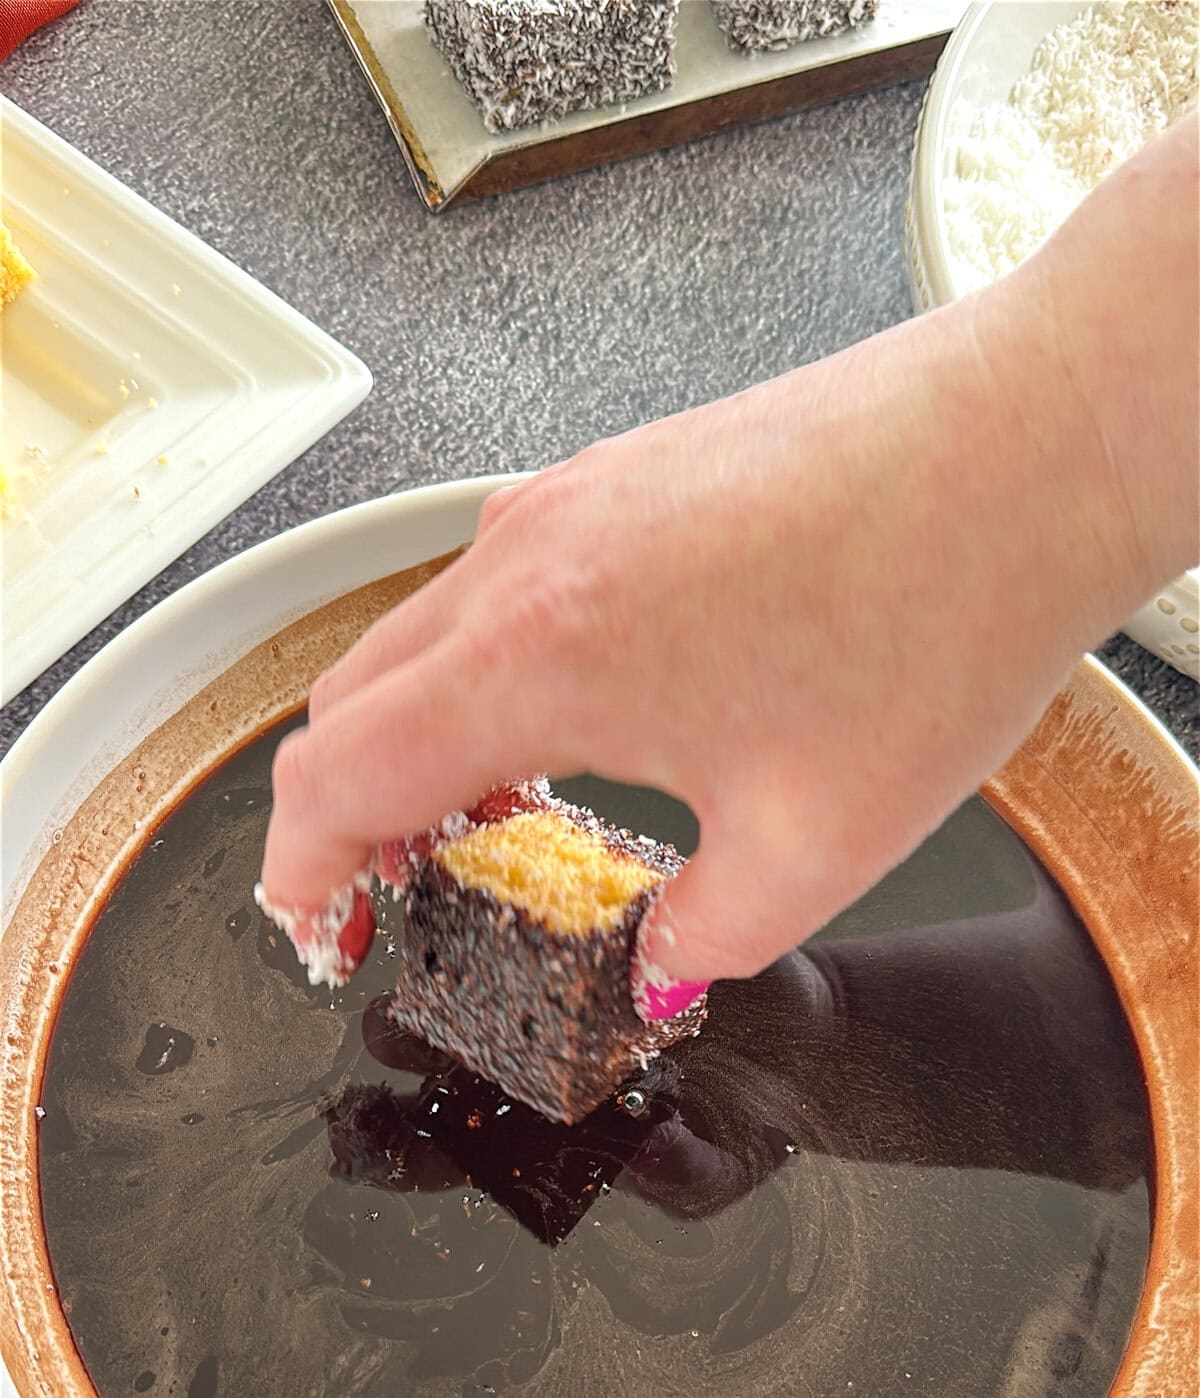
Prepare the Dipping Station
I like to prepare everything while the chocolate syrup is cooling. Add the coconut to a wide, shallow bowl and line a large tray for the finished lamingtons. Get the chilled sponge pieces from the fridge just before you are ready to begin dipping.
How to Dip Chocolate Lamingtons
The dipping step is a little messy but fun. You take the first piece of cut sponge and very quickly dip one side in and out of the syrup. Not a moment’s rest, just dip and lift! Then turn and repeat quickly with the remaining five sides, then place it in the coconut bowl.
Coat in Coconut
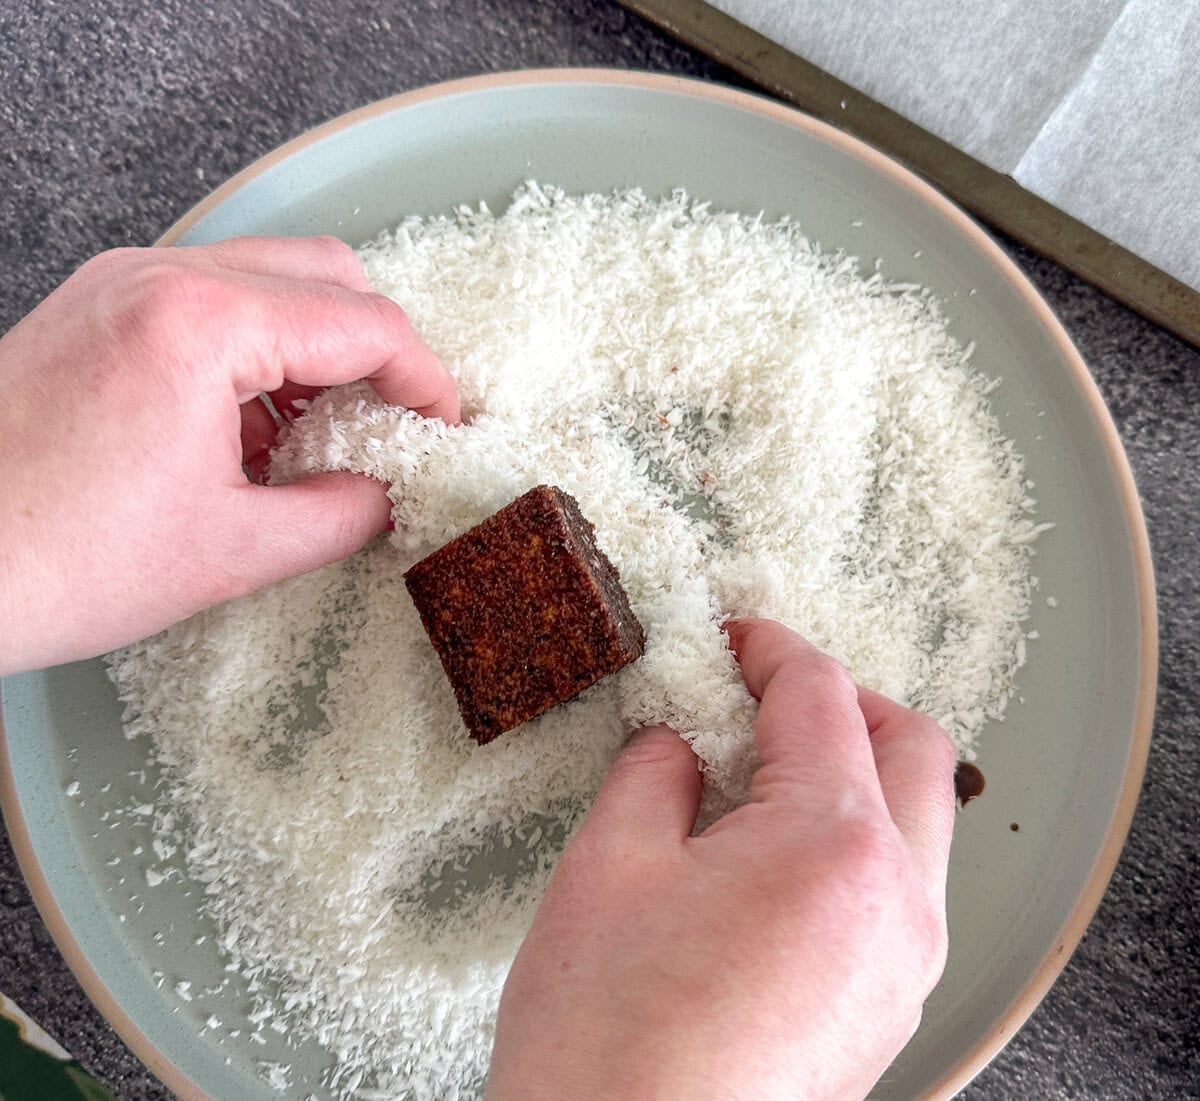
Gently place the dipped sponge in the coconut, then turn to lightly coat all six sides. Scoop coconut over any areas that haven’t picked up enough rather than pressing firmly into the sponge. Give it one final gentle turn, then transfer to the prepared tray.
Chill and Serve
Once all the pieces of sponge are coated, place the tray in the refrigerator for at least 30 minutes to help the chocolate syrup set. Then enjoy straight away, or store in an airtight container in the fridge for up to 4 days. I like to take them out of the fridge a little before serving so the sponge isn’t fridge-cold.
My Tips for Perfect Chocolate Lamingtons
Use day-old sponge – it’s firmer and easier to cut and dip.
Chill the cut pieces – this makes them easier to handle while coating.
Don’t overcook the chocolate syrup – it is supposed to remain thin and liquid rather than becoming a thick chocolate sauce.
Watch the syrup as it cools – after approximately 20 minutes it should be slightly warm and completely fluid.
Dip and lift – lightly coat each side rather than allowing the sponge to soak in the syrup.
Don’t worry about leftover syrup – the recipe deliberately makes a generous amount so there is enough to easily coat all 25 pieces.
If you are a fan of lamingtons, you will want to try my Raspberry Lamingtons next!
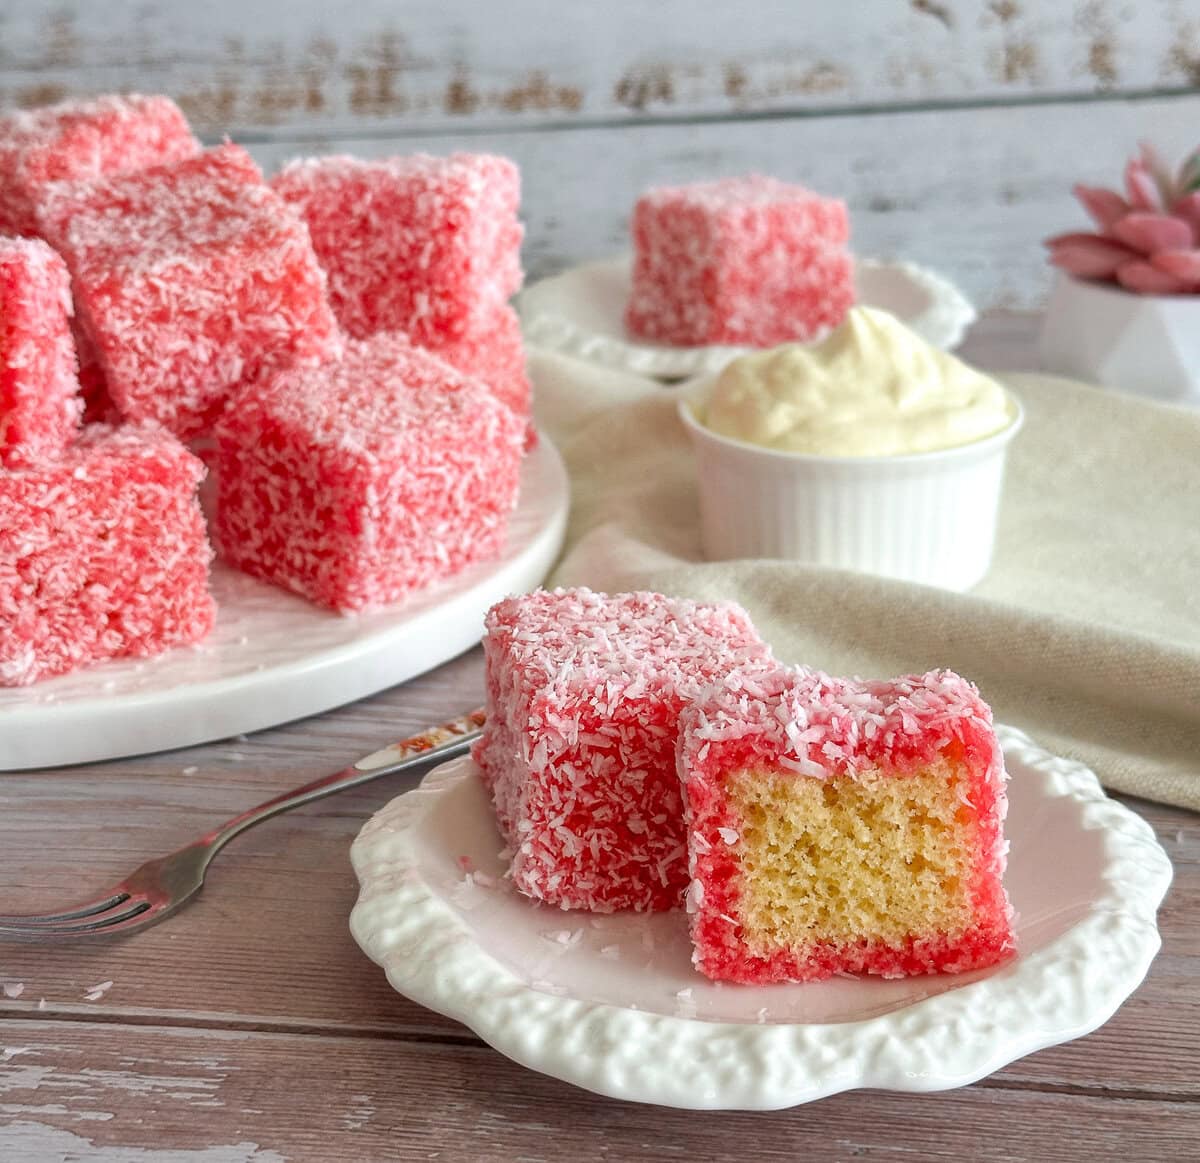
My Recipe for Chocolate Lamingtons
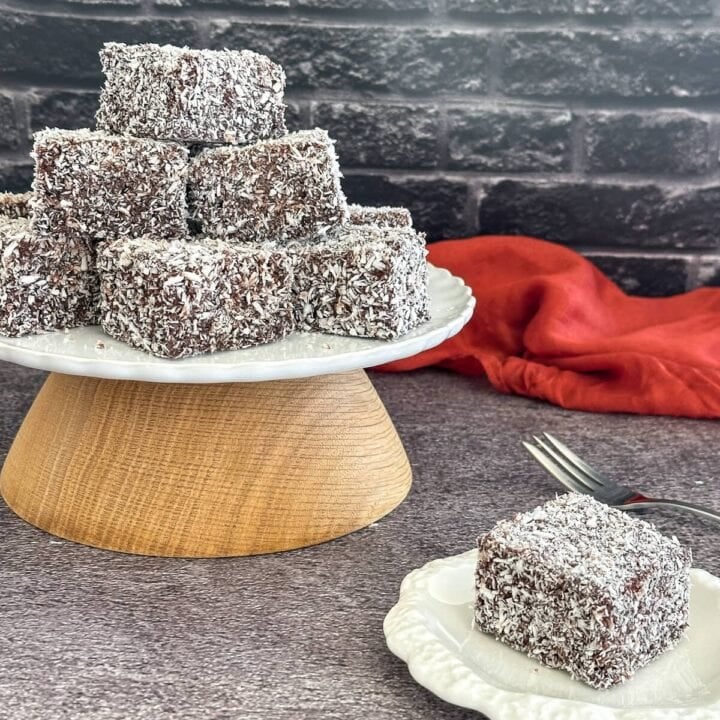
Chocolate Lamingtons
Classic Chocolate Lamingtons made with a light, tender sponge dipped in an delicious chocolate syrup and coated in desiccated coconut. Better than storebought!
Ingredients
- 1 quantity Sponge Cake for Lamingtons*, baked the day before
- 300 ml cold water, divided
- 1 teaspoon (3 g) powdered gelatine
- 300 g caster sugar
- 40 g Dutch cocoa
- 2 teaspoons (6 g) cornflour
- ¼ teaspoon fine salt
- 1 teaspoon vanilla essence
- 150 g desiccated coconut , plus more as needed
- Make ahead: This recipe uses one quantity of Sponge Cake for Lamingtons and Trifles, which is best prepared the day before. The time required to make the sponge is not included in the preparation time above.
Instructions
- Using a sharp serrated knife, cut the day-old 23 cm square sponge into 25 even squares, approximately 4.5 cm each. If you wish, slice off the darker crusts from the top, bottom and sides for more uniform colouring.
- Place the cut sponge pieces on a tray and refrigerate while you prepare the chocolate syrup.
- Place 30 ml of the cold water into a small bowl. Sprinkle the gelatine evenly over the surface and leave to stand for 5 minutes to bloom, it will become very thick.
- In a medium saucepan, combine the caster sugar, cocoa powder, cornflour and salt. Whisk briefly to combine.
- Gradually add the remaining 270 ml water, adding a small amount at first and whisking to create a smooth paste. Gradually whisk in the remaining water until smooth.
- Place the saucepan over medium heat and cook, whisking regularly, until the sugar has dissolved and the mixture just comes to the boil, approximately 6 minutes.
- Reduce the heat and gently simmer for 30–60 seconds, whisking continuously to cook the cornflour.
- The mixture should remain thin and fluid rather than becoming thick like a chocolate sauce.
- Remove from the heat. Add the bloomed gelatine and stir until completely dissolved.
- Add the vanilla essence and stir to combine.
- Pour the chocolate syrup into a wide, shallow heatproof bowl and allow it to sit for approximately 20 minutes until just slightly thickened, warm but still completely fluid.
- Place the desiccated coconut into a separate wide, shallow bowl or dish and set up a tray covered with baking paper.
- Working with one piece of cold sponge at a time, quickly dip one side into the chocolate syrup, then turn and repeat with the remaining sides until all six sides are lightly coated. Don't allow the sponge to sit or soak in the syrup, dip and lift!
- Lift the sponge from the syrup and immediately transfer to the coconut and gently turn until completely coated, sprinkling coconut over any uncovered areas rather than pressing firmly into the sponge.
- Transfer to the prepared tray and repeat with the remaining sponge pieces, topping up the coconut as required.
- Refrigerate for at least 30 minutes to set the coating. Store the finished lamingtons in an airtight container in the refrigerator until ready to serve.
- Serve as they are, or split and fill with whipped cream if desired.
Notes
Sponge: I recommend using my Sponge Cake for Lamingtons and Trifles, made the day before. Day-old sponge is firmer and easier to cut, dip and coat. Chill the cut pieces while preparing the chocolate syrup.
Chocolate syrup: The syrup is deliberately thin and fluid rather than thick like a traditional chocolate icing. Don't be tempted to cook it for longer or add extra cornflour to thicken it. It will develop a little more body as it cools.
Gelatine: When bloomed in the cold water, the gelatine will become very thick and gel-like. This is exactly what you want. It will dissolve into the hot chocolate syrup once added.
Extra chocolate syrup: This recipe intentionally makes a generous amount of chocolate syrup, so you will have some left over. Having plenty of syrup in the dish makes it much easier to evenly coat all 25 lamingtons, right through to the last few pieces.
Gluten-free option: Use my Gluten Free Sponge for Lamingtons and Trifles in place of the regular sponge. It is slightly more tender, so chilling the cut pieces before dipping is especially helpful. Check that all other ingredients used are gluten-free.
Storage: Store the finished lamingtons in an airtight container in the refrigerator for up to 4 days. If filling with whipped cream and jam, keep refrigerated.
Nutrition Information
Yield 25 Serving Size 1Amount Per Serving Calories 88Total Fat 2gSaturated Fat 2gUnsaturated Fat 0gCholesterol 2mgSodium 50mgCarbohydrates 17gFiber 1gSugar 15gProtein 1g
JustAMumNZ.com, occasionally offers nutritional information for recipes contained on this site. This information is provided as a courtesy and is an estimate only. This information comes from online calculators. Although justamumnz.com attempts to provide accurate nutritional information, these figures are only estimates.
Frequently Asked Questions
Why is my chocolate lamington coating so thin?
It is meant to be! This recipe uses a light chocolate syrup rather than a thick chocolate icing. It will develop a little more body as it cools, but should still be completely fluid when you begin dipping. Don’t be tempted to add extra cornflour or cook it for longer to make it thick.
How do I stop lamingtons falling apart when dipping?
Day-old sponge works best as it is a little firmer and easier to handle. I also chill the cut pieces while making the chocolate syrup. Most importantly, dip each side very quickly rather than leaving the sponge to soak in the syrup. Dip and lift!
Why do you use gelatine in the chocolate coating?
I use just a small amount of powdered gelatine to give the cooled syrup a little more body and help the chocolate coating set once chilled. It won’t make the coating jelly-like. The gelatine will become very thick when you first bloom it in cold water, which is completely normal.
Can I make Chocolate Lamingtons gluten-free?
Yes. I have developed and tested a Gluten-Free Sponge Cake for Lamingtons and Trifles specifically for this. It is slightly more tender than my regular sponge, so I recommend chilling the cut pieces before dipping. Also check that the cocoa, cornflour, gelatine and other ingredients you use are gluten-free.
How long do Chocolate Lamingtons keep?
I store my finished Chocolate Lamingtons in an airtight container in the refrigerator for up to 4 days. I like to take them out a little before serving so the sponge isn’t fridge-cold. If you fill them with whipped cream, keep them refrigerated.
Can you freeze Chocolate Lamingtons?
I haven’t tested freezing the finished coated lamingtons, so I prefer to freeze the sponge instead. The sponge can be made ahead and frozen, then thawed before adding the chocolate syrup and coconut coating.
I hope you enjoy this recipe. I cannot wait to hear what you think of it! Also be sure to check out the full variety of flavours of lamingtons I have so far
Happy Baking
Anna xox

Leave a Reply