
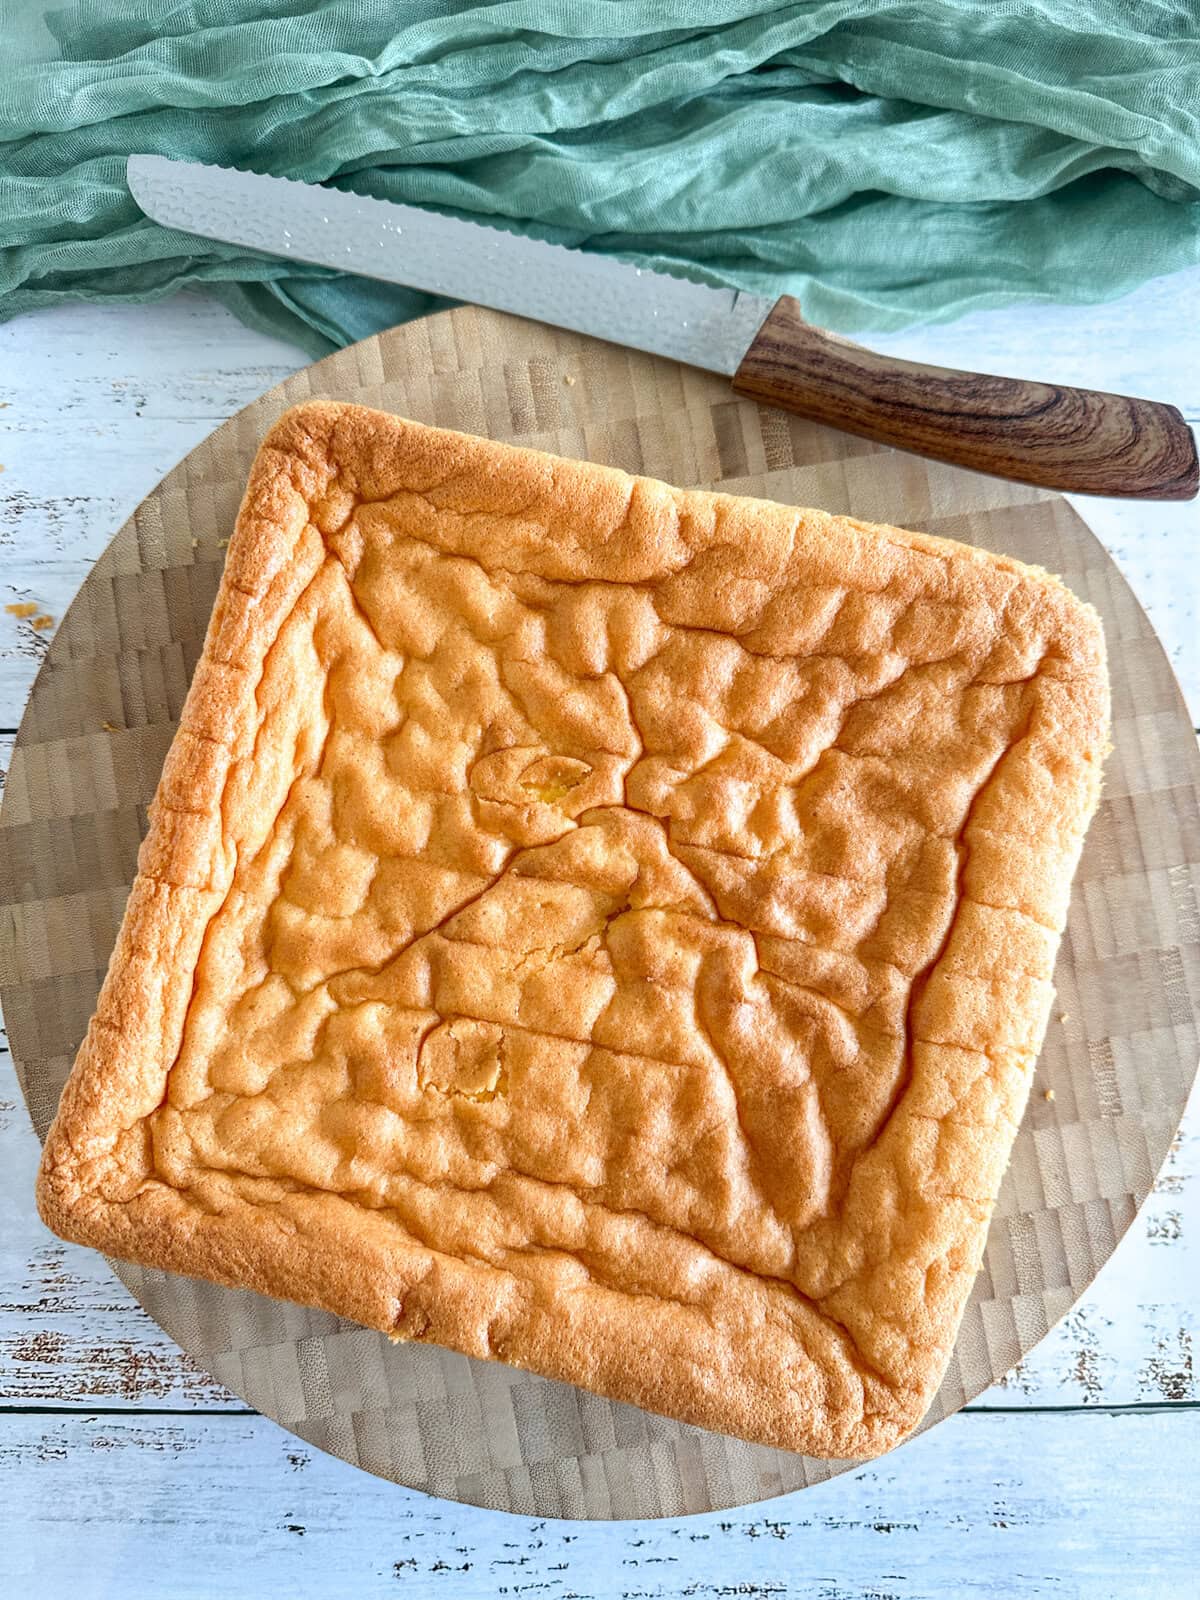
I am delighted to bring you the gluten-free version of my sponge cake, that is ideal for use in lamingtons and trifles. This recipe creates a light, delicious sponge that still holds up to the handling required for making these treats.
After developing my basic sponge for lamingtons and trifles, I wanted to also share a gluten free one, as it’s not fair for my GF friends to miss out on these classic recipes.
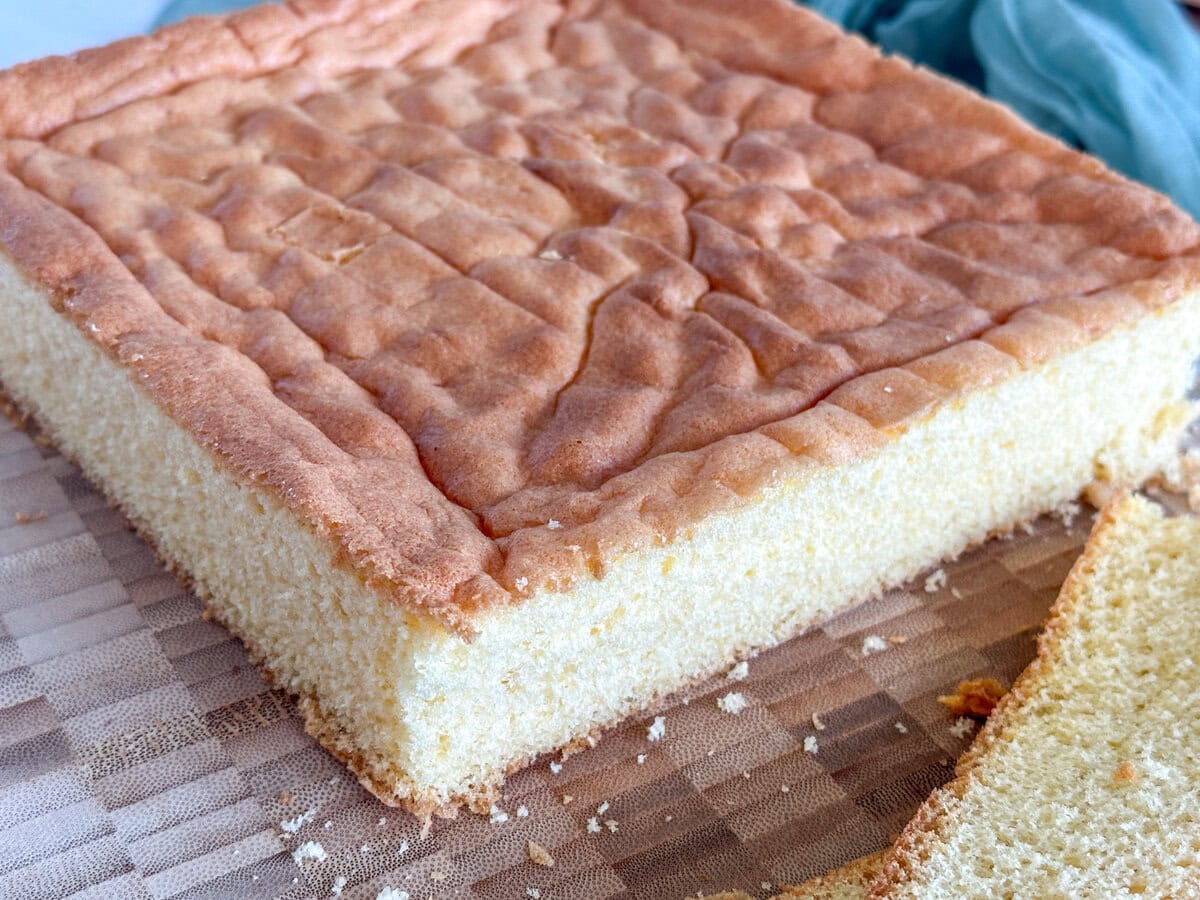
Of course the two are slightly different in the finished results, but close enough that I call this a success! The gluten-free version is noticeably more tender and delicate, but not crumbly and stood up really well to cutting, dipping, layering and chilling.
I found that once cut and chilled the gluten-free version was as easy to handle as the original.
As with all sponges, the technique and ingredients used are so important to the final outcome. Here I will go into a little more detail to ensure you have success with your gluten-free sponge every time.
What makes a Good Gluten Free Sponge Cake for Lamingtons and Trifles?
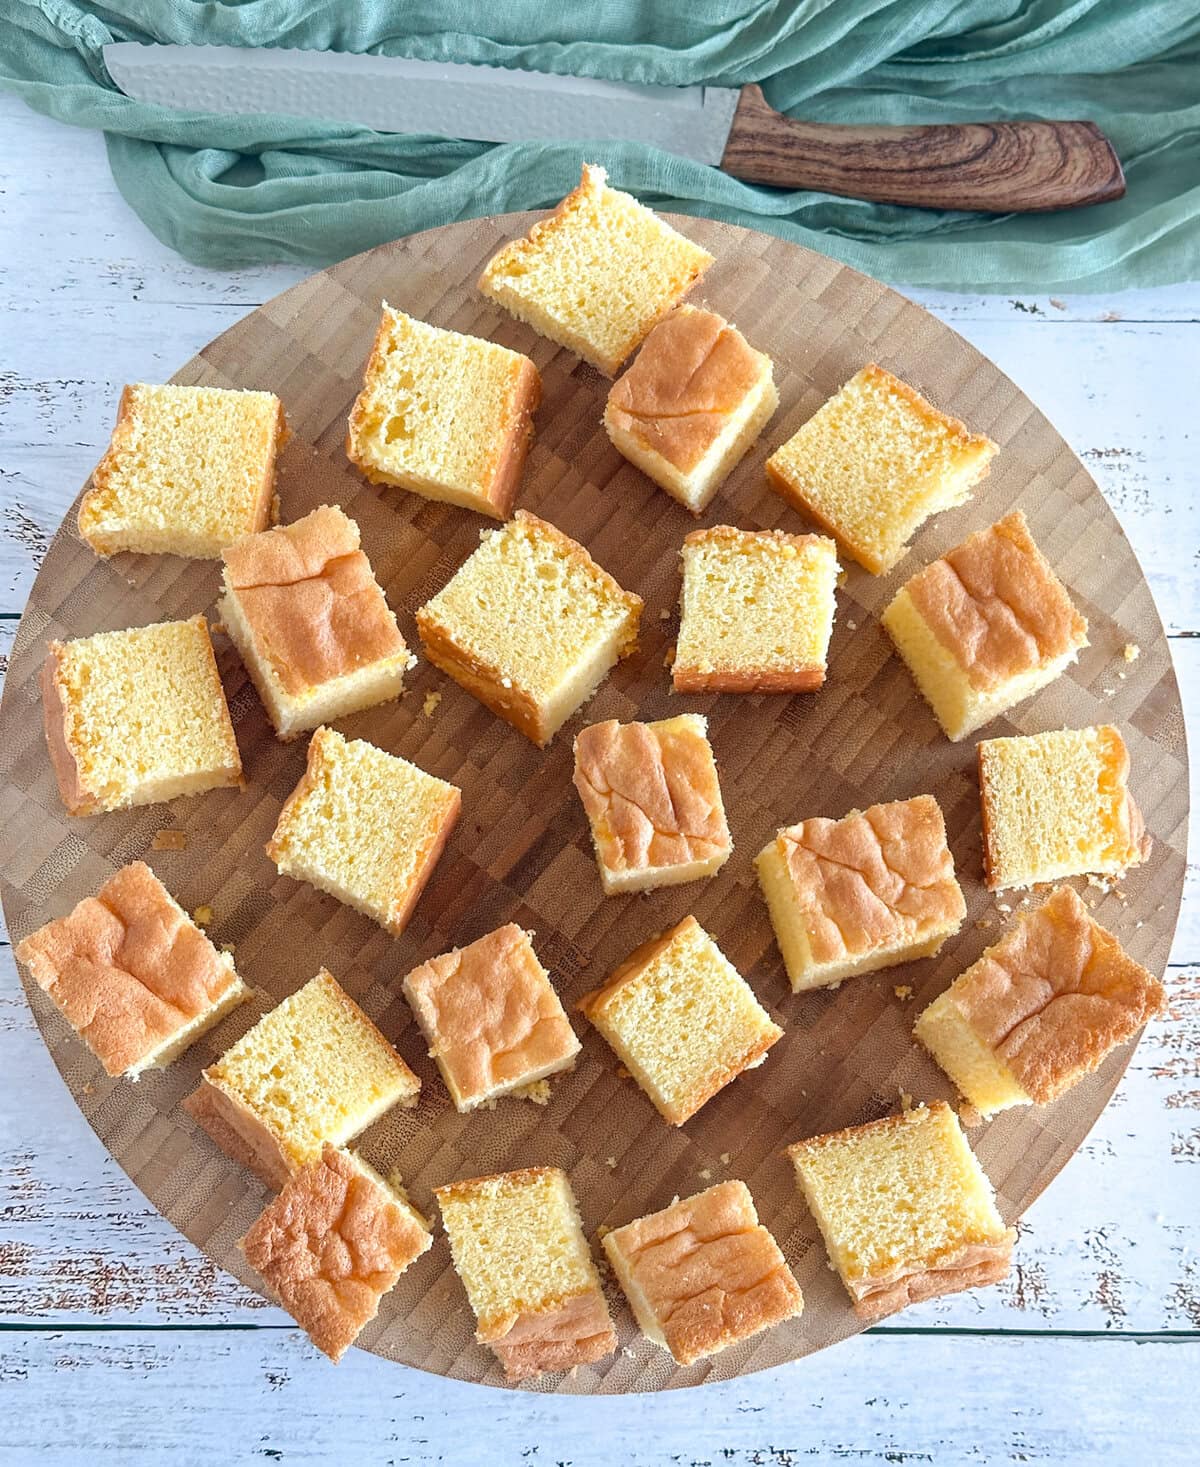
The perfect sponge for the purpose of making lamingtons and trifles needs to be light and airy, while still being sturdy enough to hold up to cutting, dipping in liquids without falling apart, rolling in coconut, or holding up under layers in a trifle.
I found this gluten-free sponge to be slightly more tender and delicate than the original but I have found this version to work just as well, and on taste testing no one was the wiser!
Choosing the right gluten free flour
I chose to use Edmonds Gluten Free Plain Flour for this sponge, as it is already a blend of rice flour and starches, with added vegetable gums to help with binding.
This made it a good option to use in place of the combined flour and cornflour in my original recipe, without needing to add any other special ingredients.
If you cannot find Edmonds Gluten Free Plain Flour, look for a gluten-free plain flour blend that contains rice flour and starches, such as maize or tapioca starch, as well as an added gum or binder. However, as gluten-free flour blends can vary considerably, I cannot guarantee the same result with a brand I haven’t tested.
Ingredients for this gluten-free sponge cake
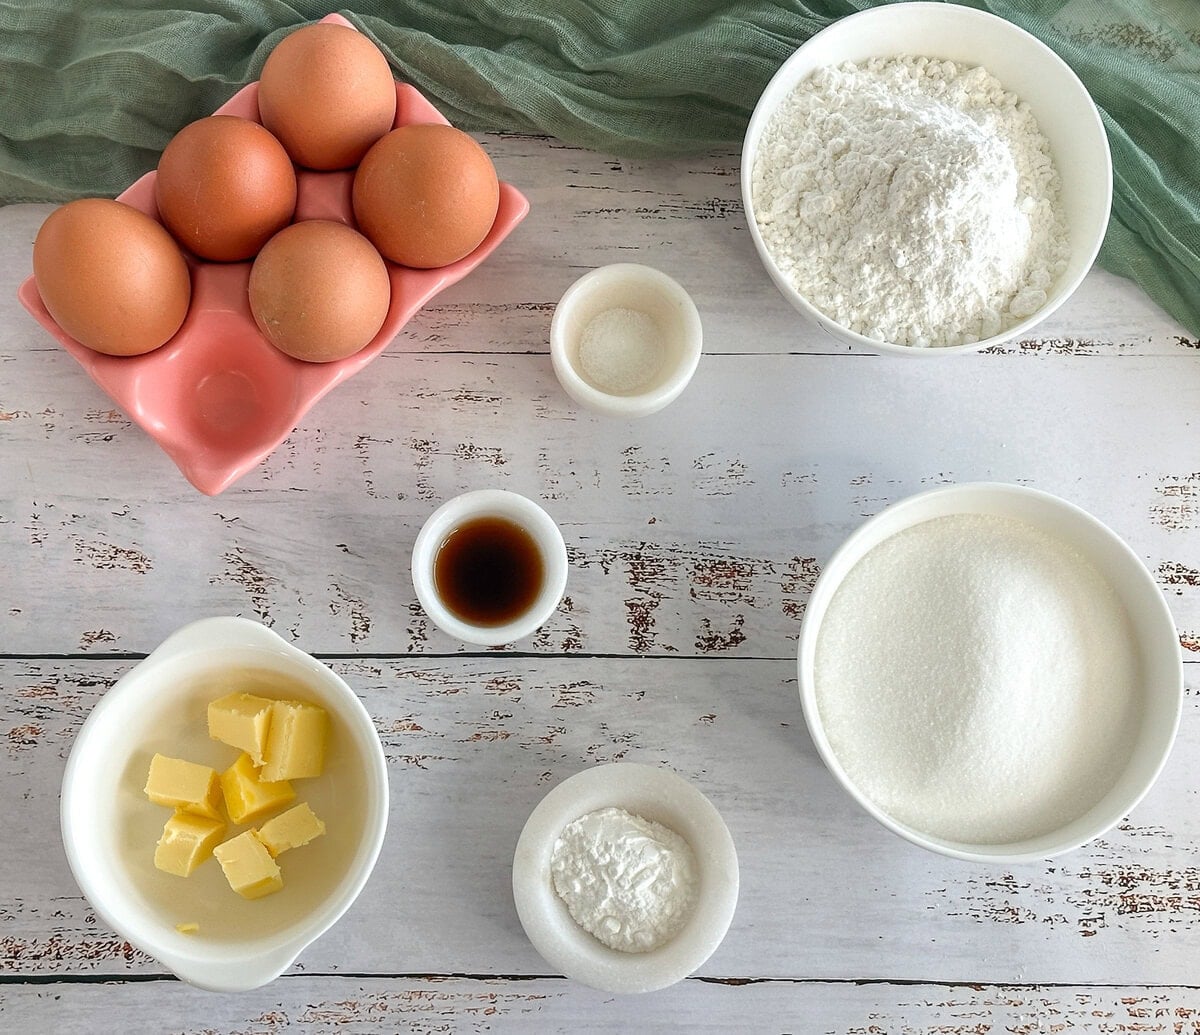
Eggs form much of the structure and height for this sponge. I use five large eggs (size 7), at room temperature. My eggs are around 63 grams with the shell, so if you want to ensure you are on the right track, or are using eggs from your own chickens, weigh your eggs before you start.
I use caster sugar because it has a lovely fine texture that dissolves well into the eggs.
For the flour I use Edmonds Gluten Free Plain Flour. I found this gave the finished sponge a lovely soft, tender crumb, while still giving it enough structure to use for lamingtons and trifles. Of course, ensure all of your other ingredients are gluten-free before you begin.
You will see there is only a small amount of butter, as this style of sponge is low in fat. It’s just there to help a little with the flavour and tenderness of the finished result.
The boiling water melts the small amount of butter and creates a warm mixture that can easily be folded into the batter.
The baking powder gives a little extra lift, while the vanilla and salt are there for flavour.
How to Make Gluten-Free Sponge Cake for Lamingtons and Trifles
With just a few simple ingredients, the technique for this recipe is really important. I use a stand mixer for the initial stages, or electric handheld beaters will work well.
Prepare the Tin
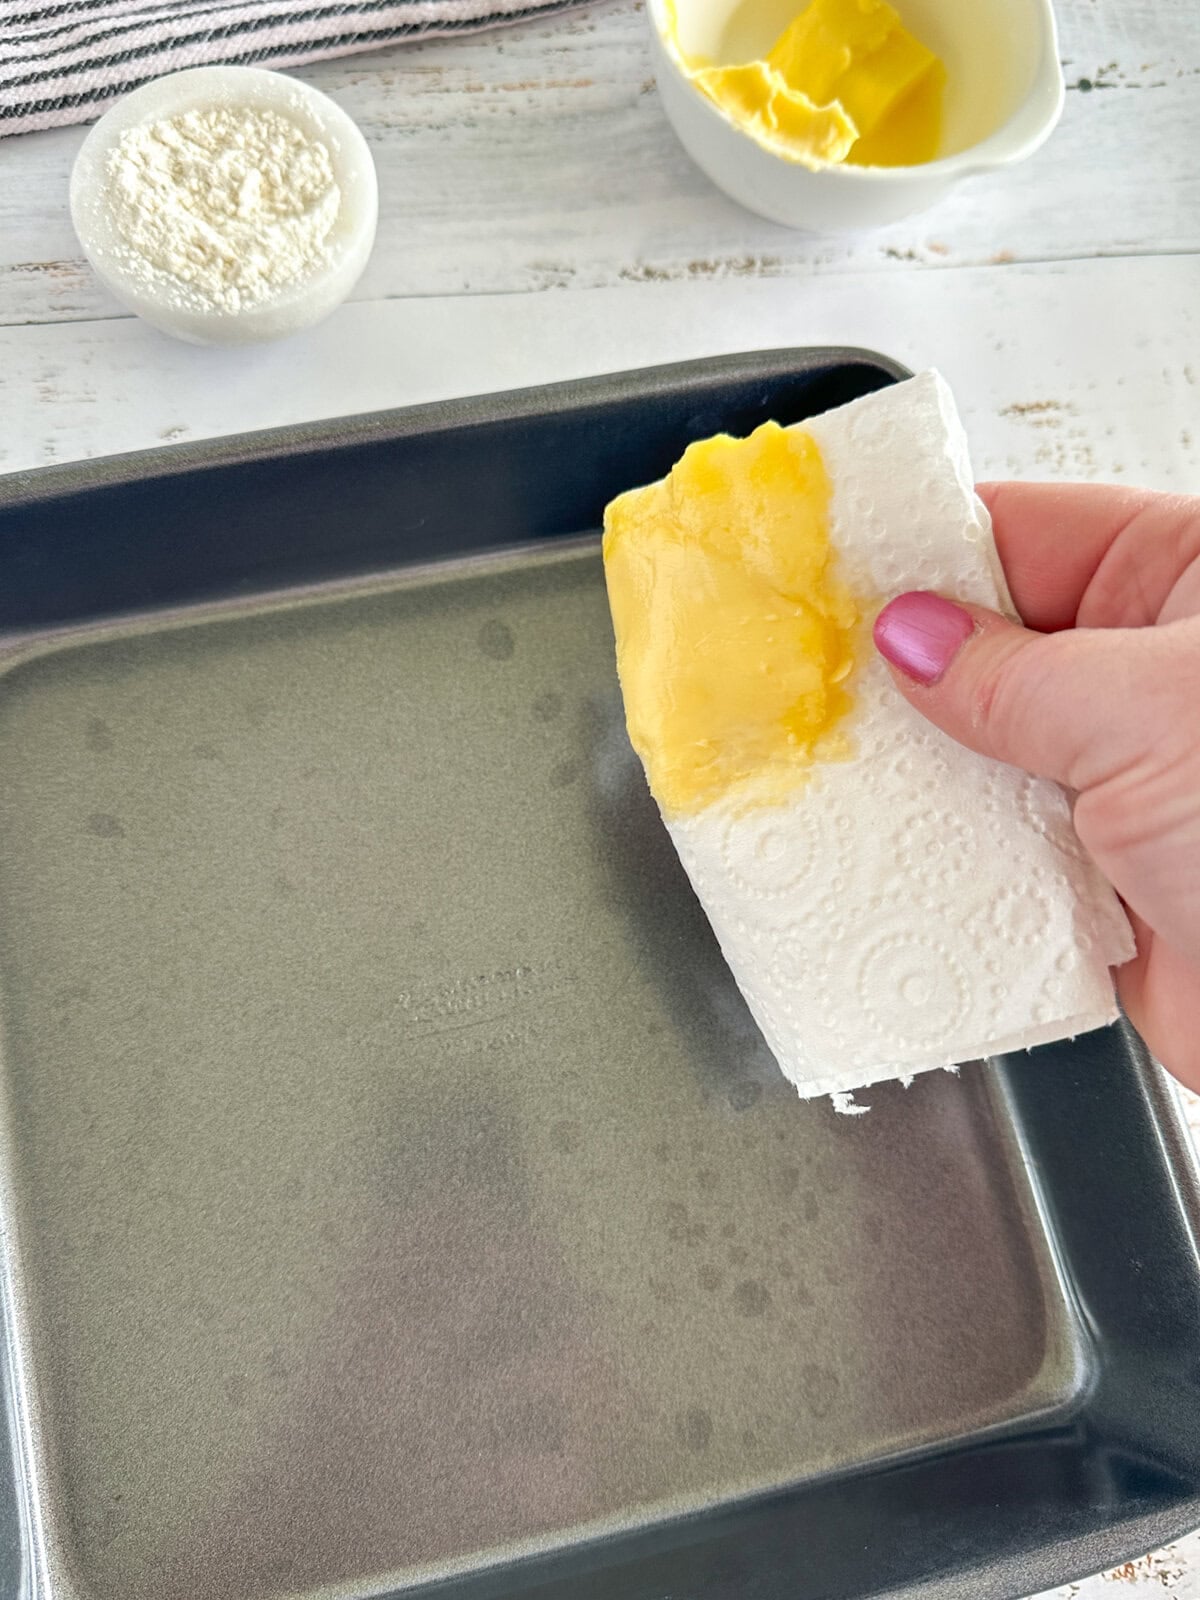
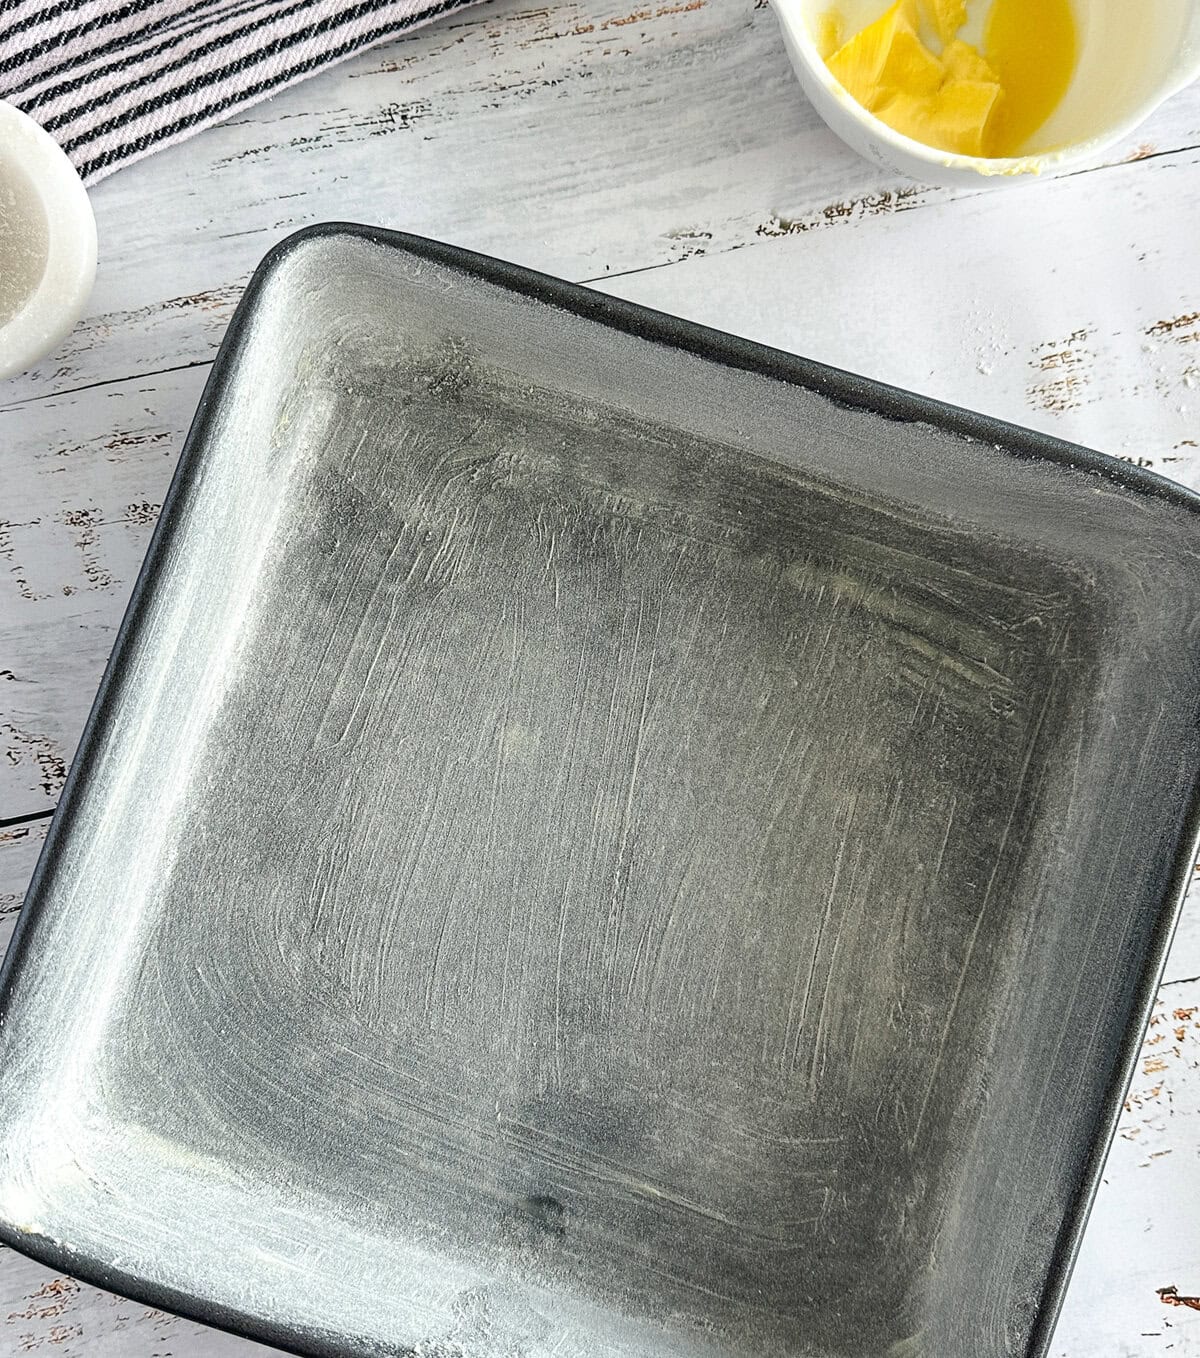
The first step is preparing the baking tin. I use a 23 cm square tin for this. I spread softened butter with a paper towel around the inside of the tin, ensuring every corner and surface is covered. Then I use a tablespoon or two of gluten-free flour, spreading this around by holding the tin at various angles (over the kitchen sink) and tapping it on one side at a time to dust the surface. Tip out the excess.
Sift the Dry Ingredients
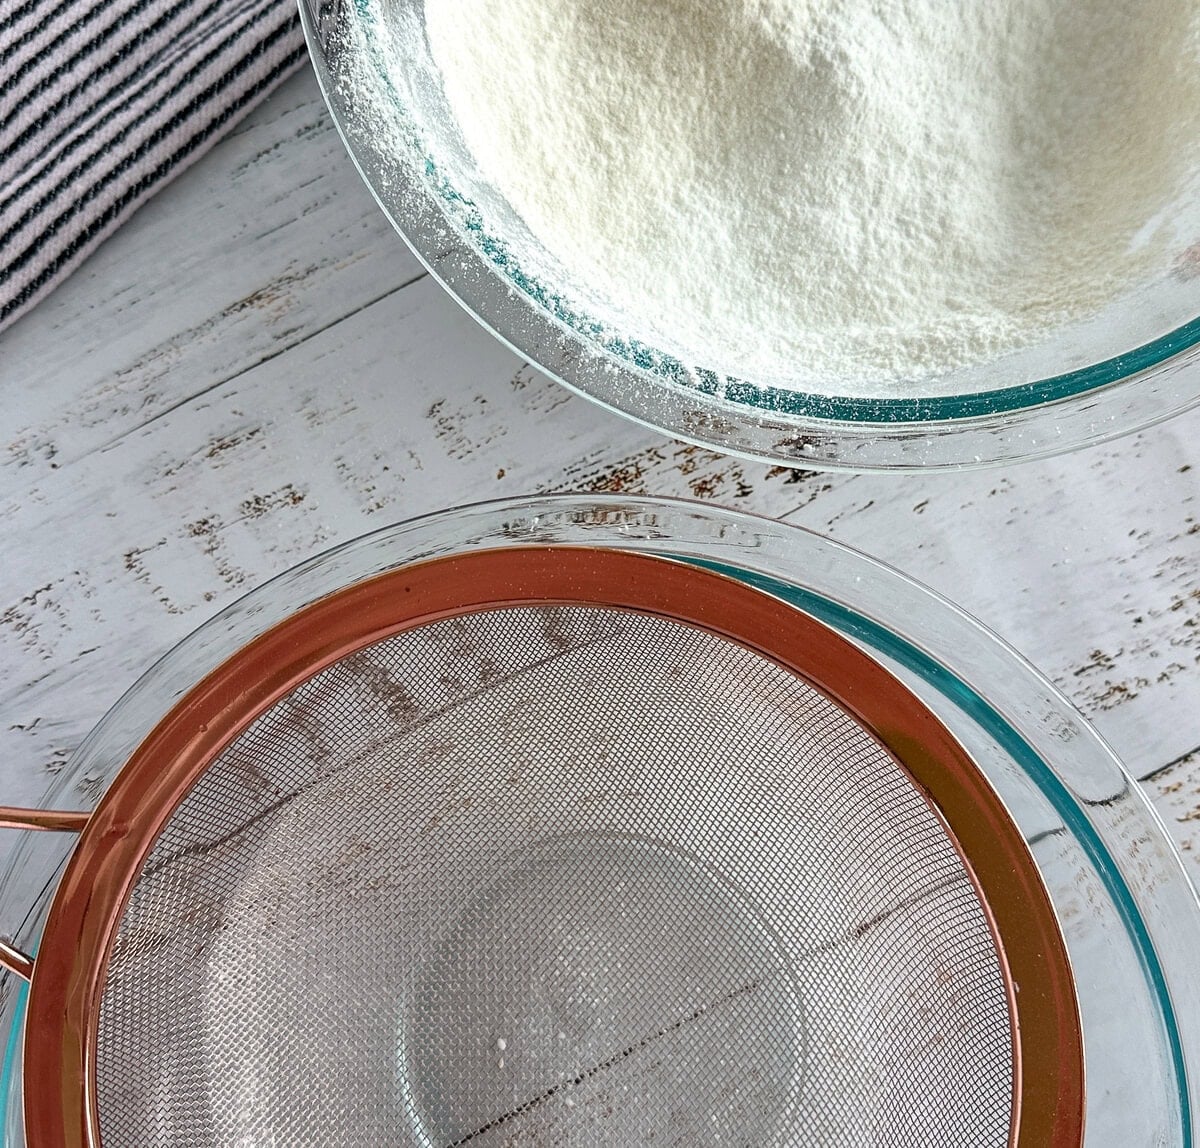
You will note that I triple sift the dry ingredients as the first step; I do this for all of my sponges. This ensures that the gluten-free flour and baking powder are well combined before being folded into the batter. I then sift the mixture once more as I add it to the egg mixture.
Whisk the Eggs and Sugar
The initial step of whisking the eggs is the most important. You want to take your time here and watch for the visual cues rather than relying only on the timings I give you.
I use the whisk attachment on my stand mixer, initially whisking the whole eggs on medium-high speed until they are starting to become aerated. I then reduce to medium speed and slowly add the caster sugar over the next few minutes. This gives the caster sugar time to incorporate and makes it easier to dissolve.
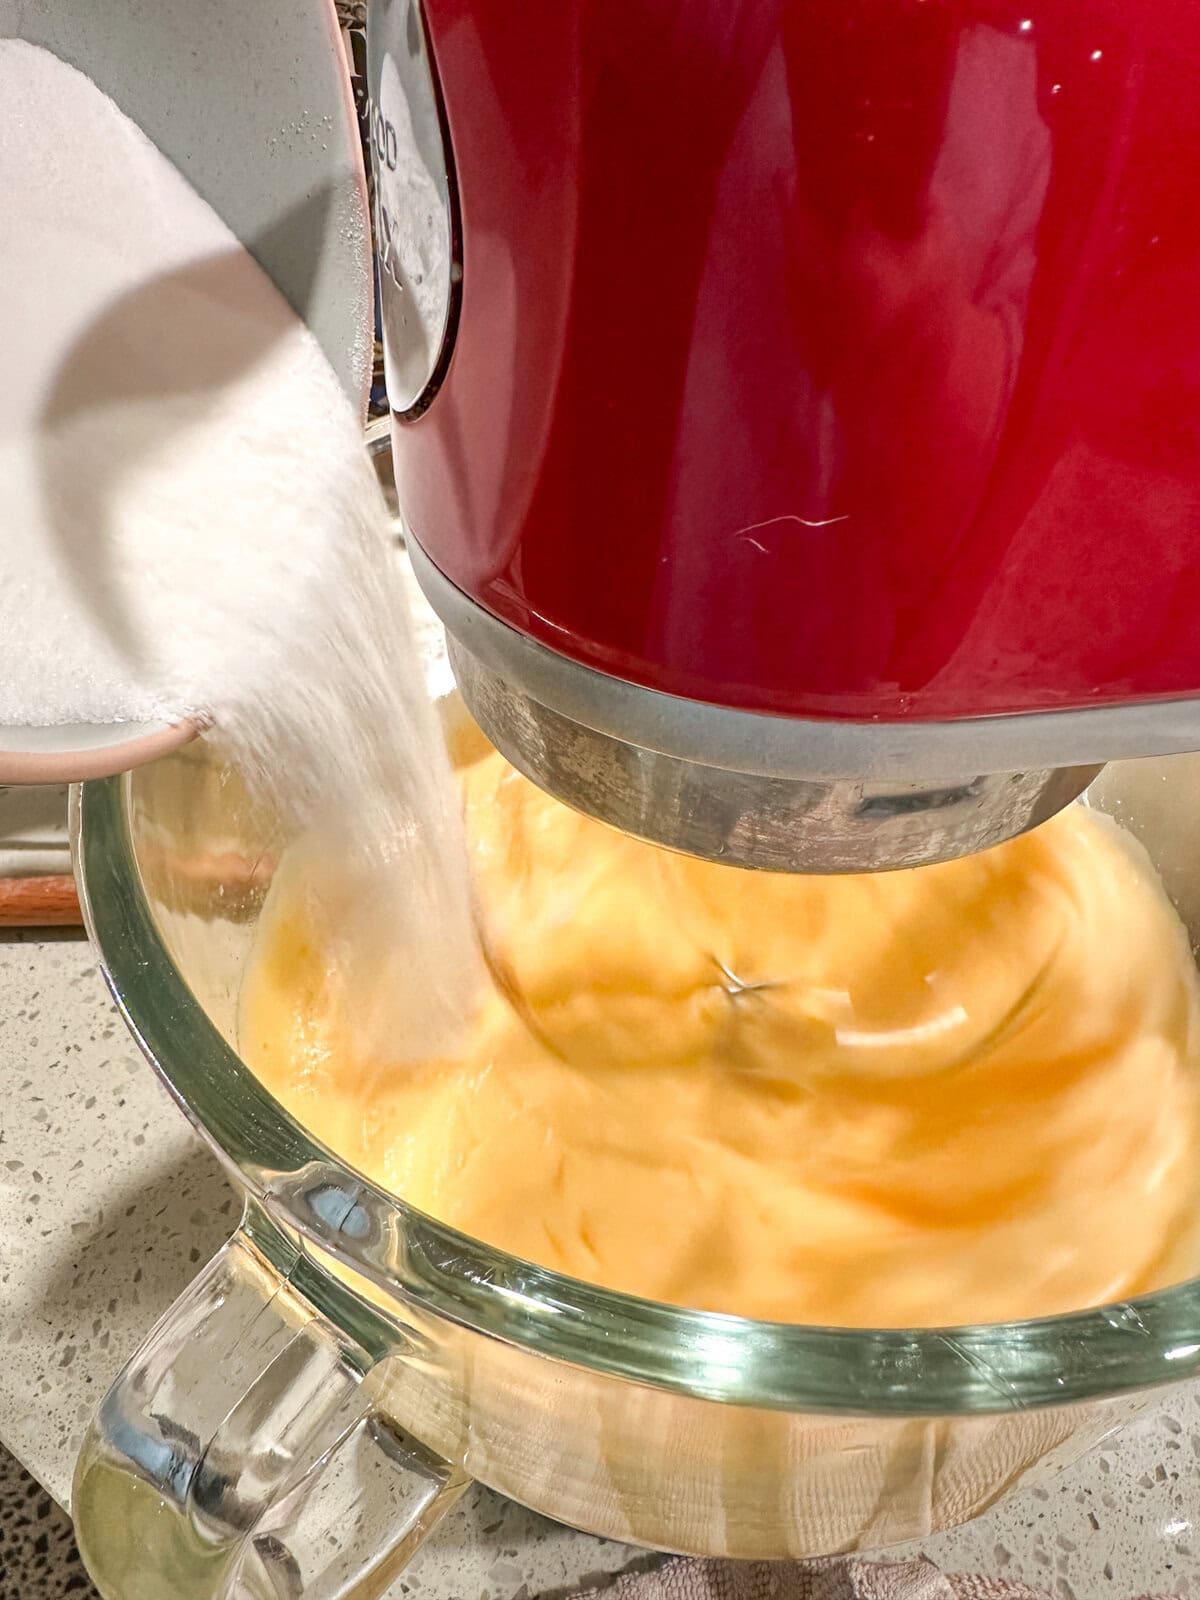
Once the sugar has been added, increase to medium-high speed and continue whisking until the eggs and sugar are very pale, thick and voluminous. When you lift the whisk, the mixture should fall in a thick ribbon that stays visible on the surface for a few seconds before slowly disappearing.
Take care not to continue whisking well beyond this point. More whipping isn’t necessarily better; you want to stop once you have reached that lovely thick ribbon stage.
Fold in the Dry Ingredients
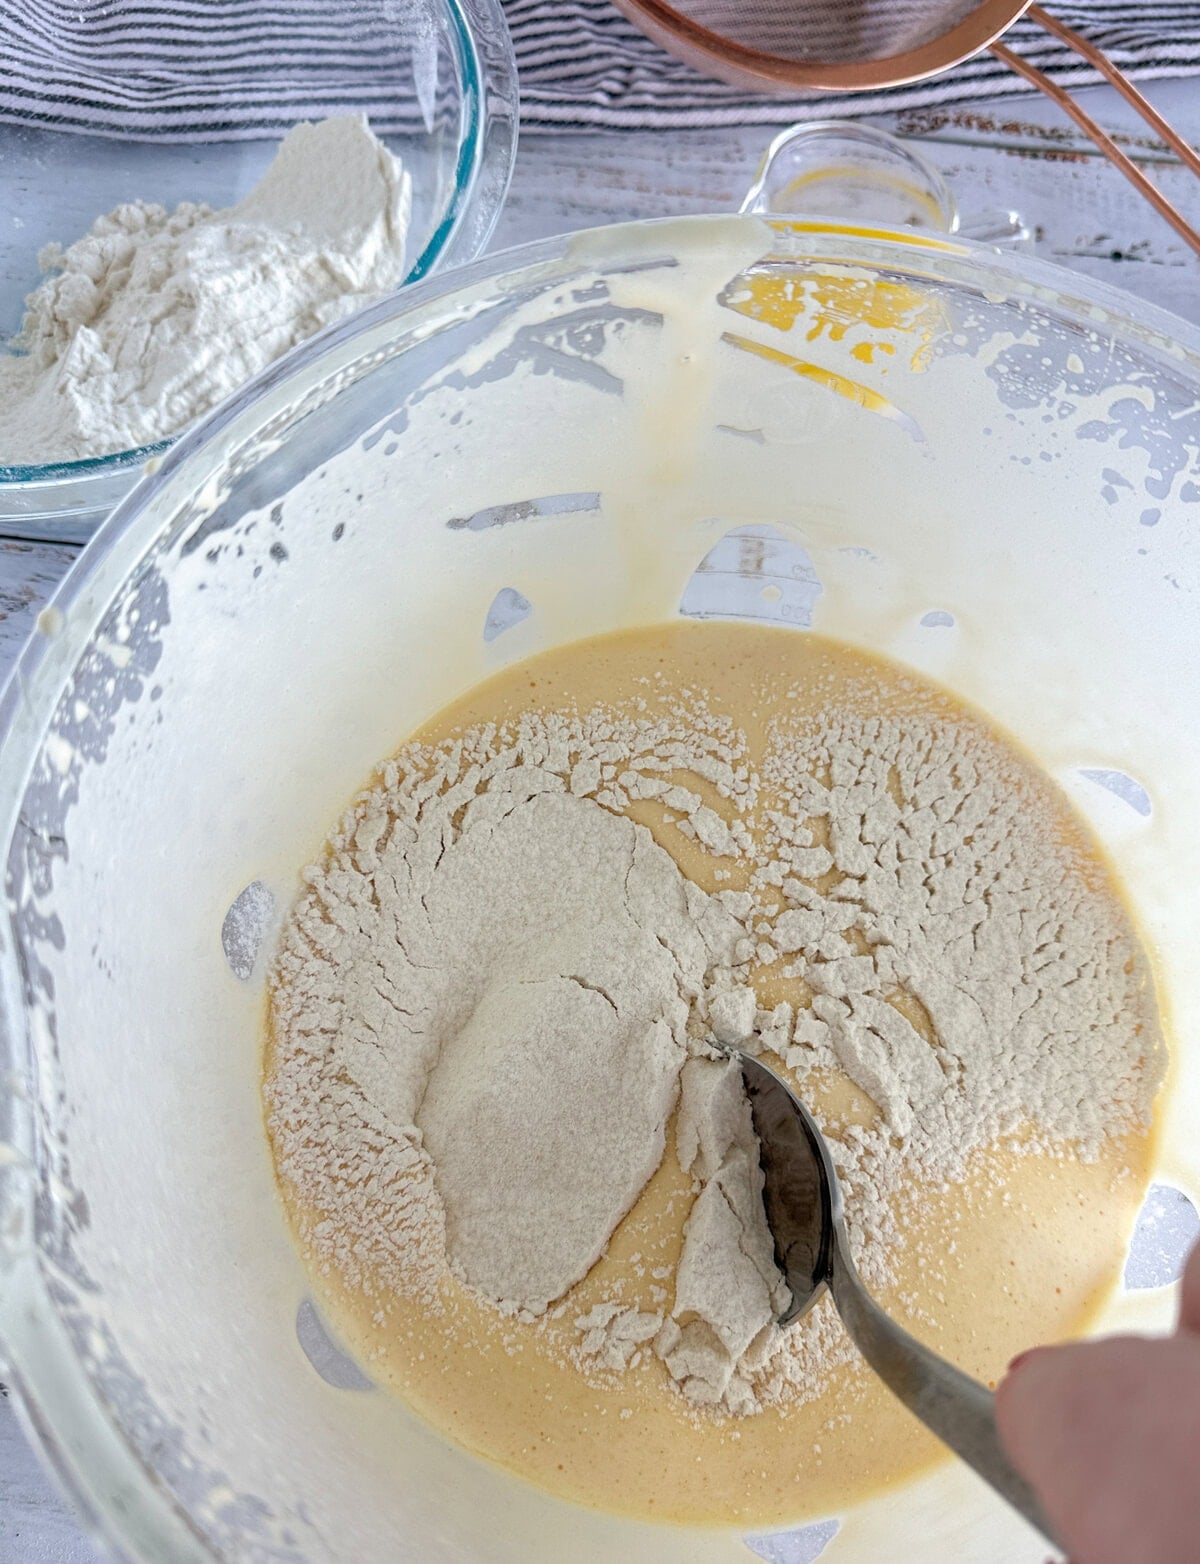
I use a large metal spoon for folding in the dry ingredients. I use a cut-and-fold technique where I cut the spoon through the middle, fold the mixture from the edge into the centre, then turn the bowl and repeat.
Sift approximately one-third of the flour mixture over the egg mixture and gently cut and fold until almost fully incorporated. Repeat with the remaining flour in two additions until no flour is visible, checking the bottom of the bowl and underside of the spoon for any pockets of flour.
Use a light hand here to retain as much of the air you have created as possible, while still ensuring all of the gluten-free flour is fully incorporated.
Add the Butter
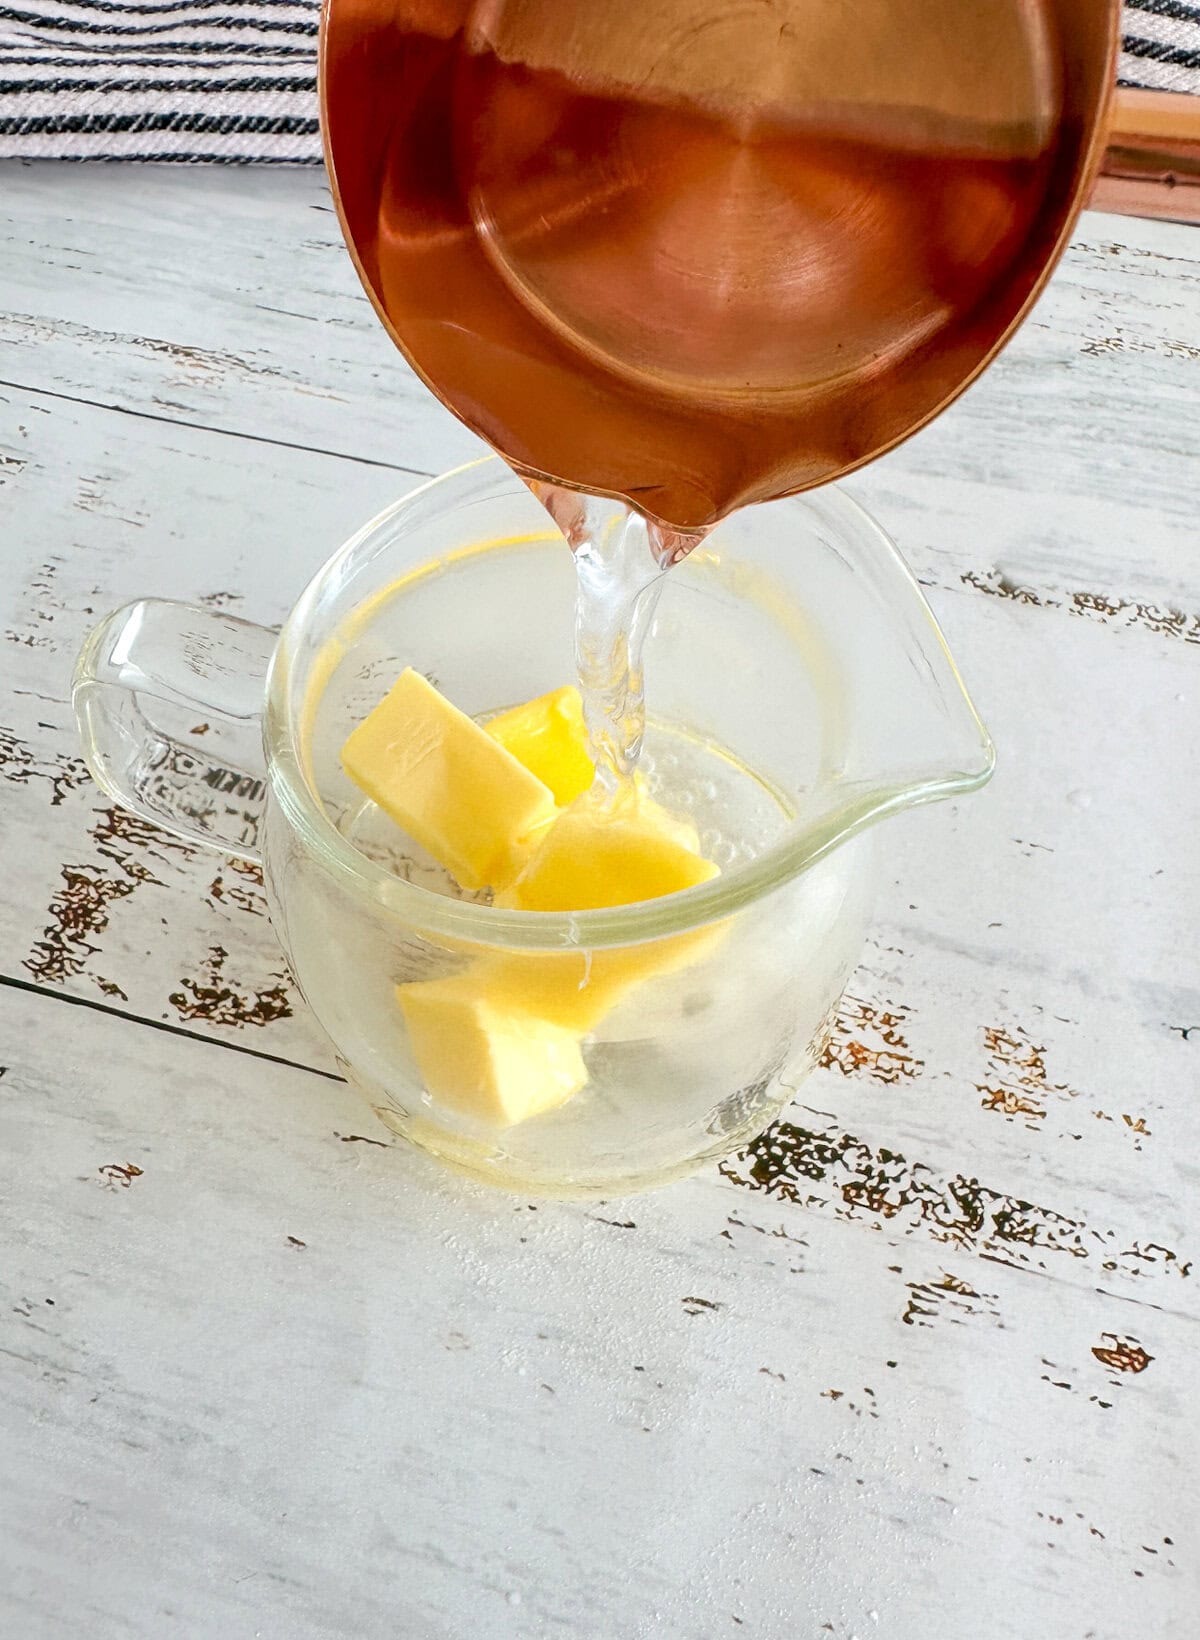
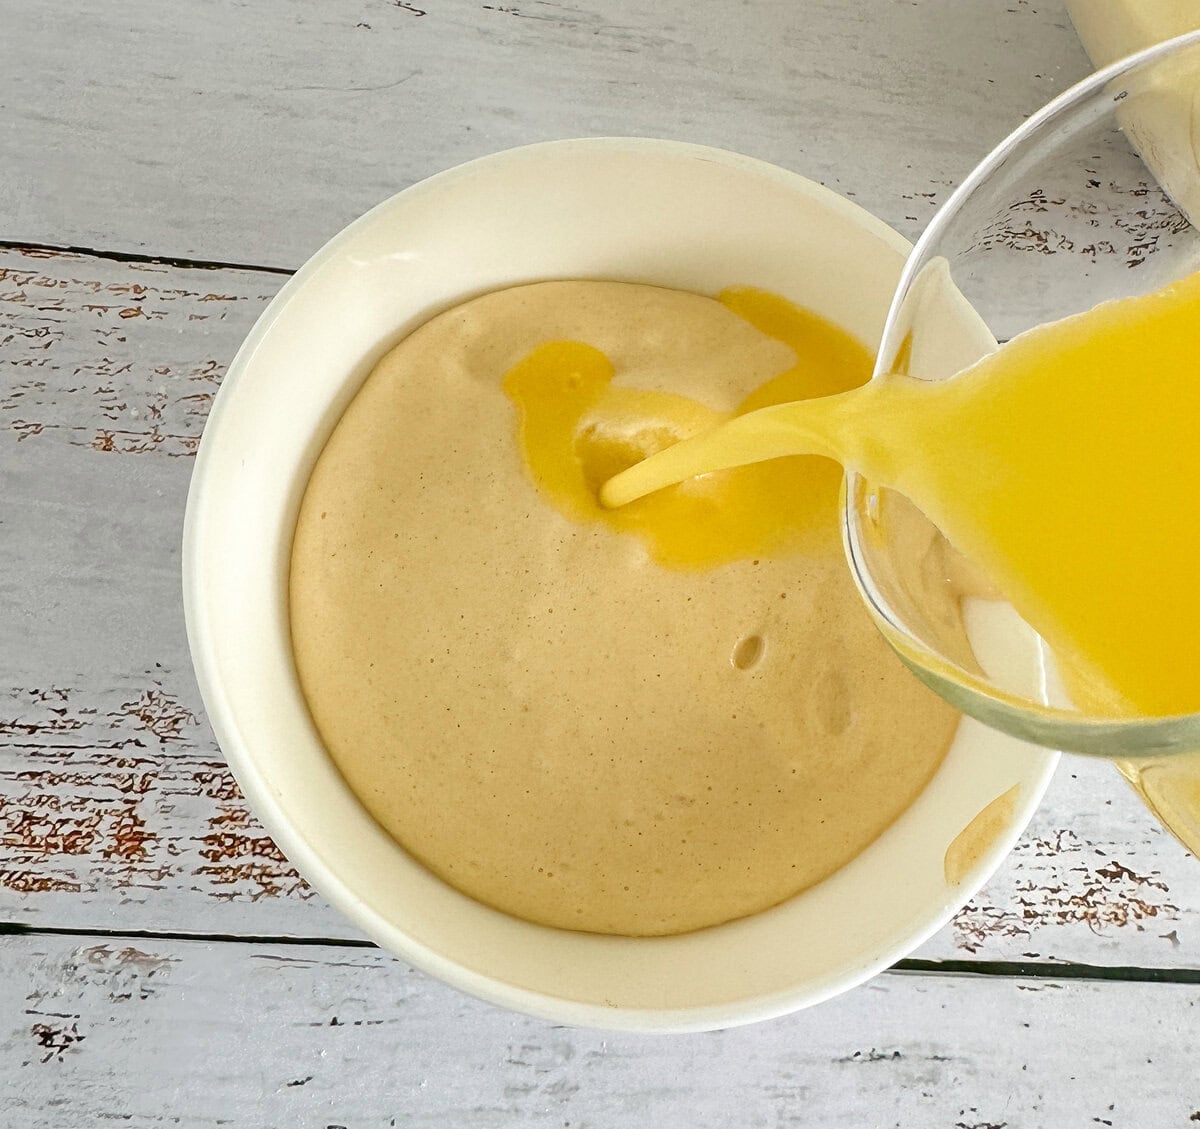
Adding boiling water to butter helps to melt it for the next stage. Then I scoop out a little of the batter into a bowl and add the warm butter and water mixture. Gently mix this together before pouring it back into the main batter, then lightly cut and fold again until completely combined. This helps incorporate the butter without knocking out too much of the air.
Transfer and Bake
Gently pour the batter into the prepared tin and carefully place it in the oven. Avoid opening the oven door during the first 25 minutes of baking.
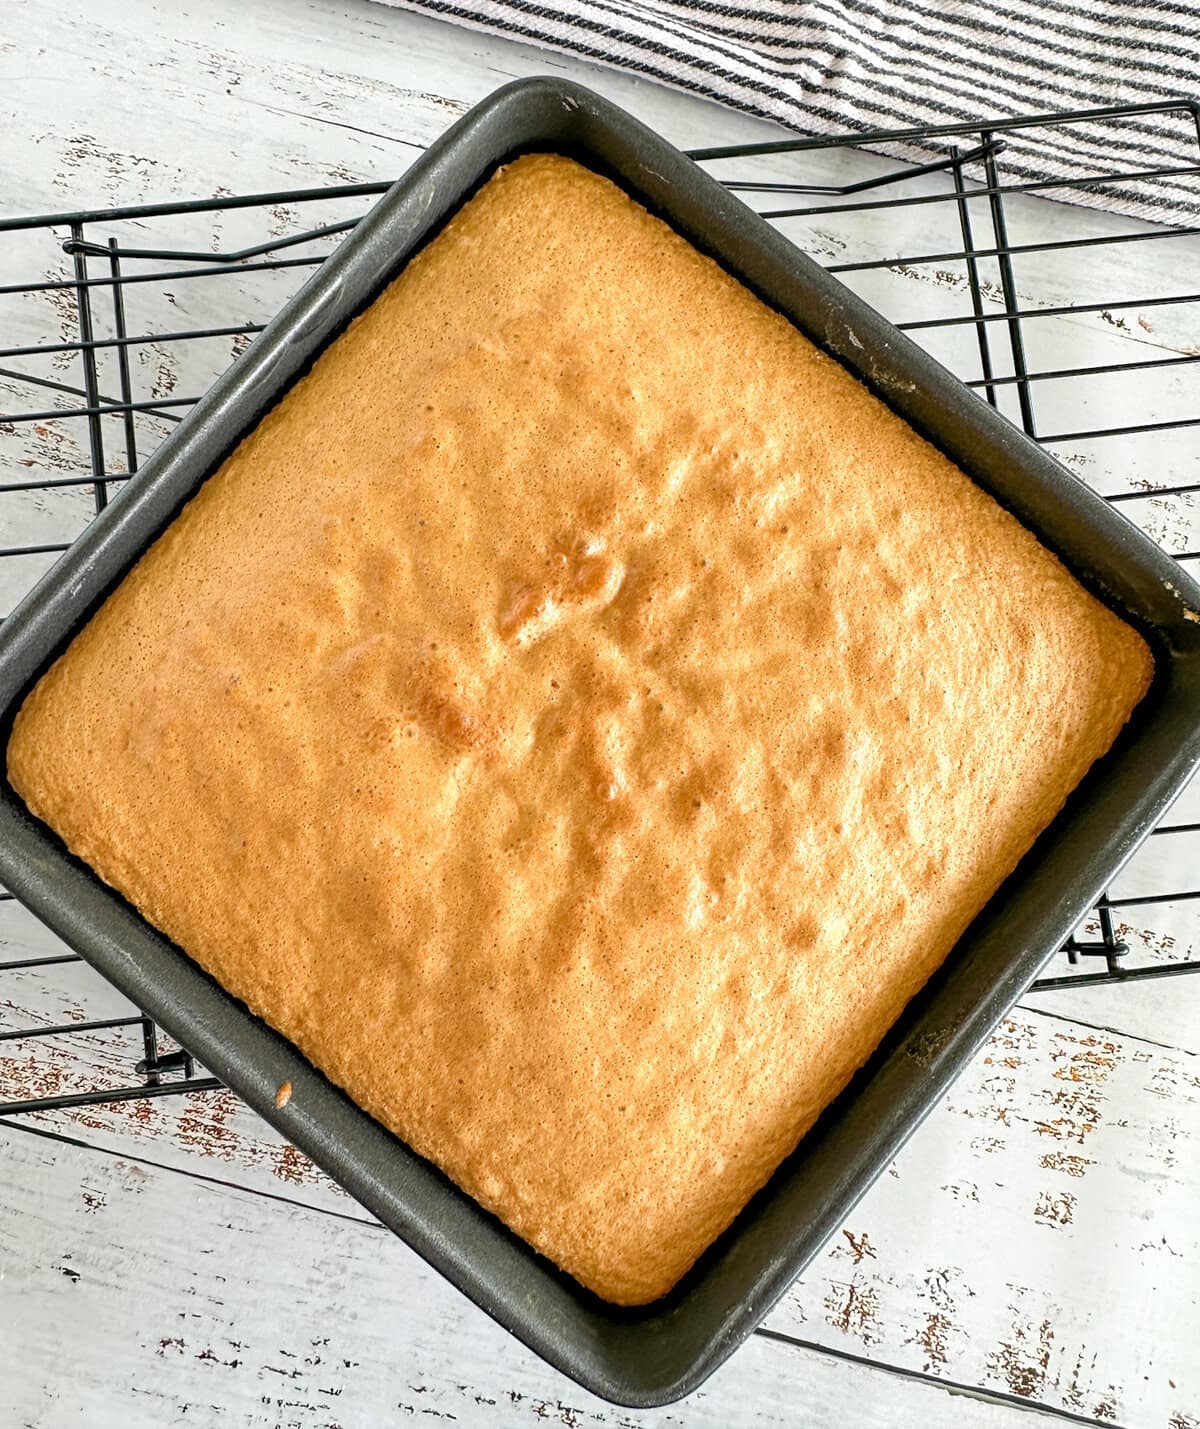
The sponge is cooked once the top is uniformly golden, the centre springs back when lightly touched and a skewer inserted into the middle comes out clean. You may also notice the edges of the sponge starting to come away from the tin.
Remove it from the oven and allow it to stand in the tin for five minutes before turning it out.
Place a wire rack over the top and invert the sponge. It should come loose easily if the tin was prepared well. If not, a few gentle taps should help loosen it.
Making Ahead, Storing and Freezing Gluten-Free Sponge Cake
Allow the sponge to cool completely on the bench before covering it well. I leave it at room temperature overnight to work with the next day.
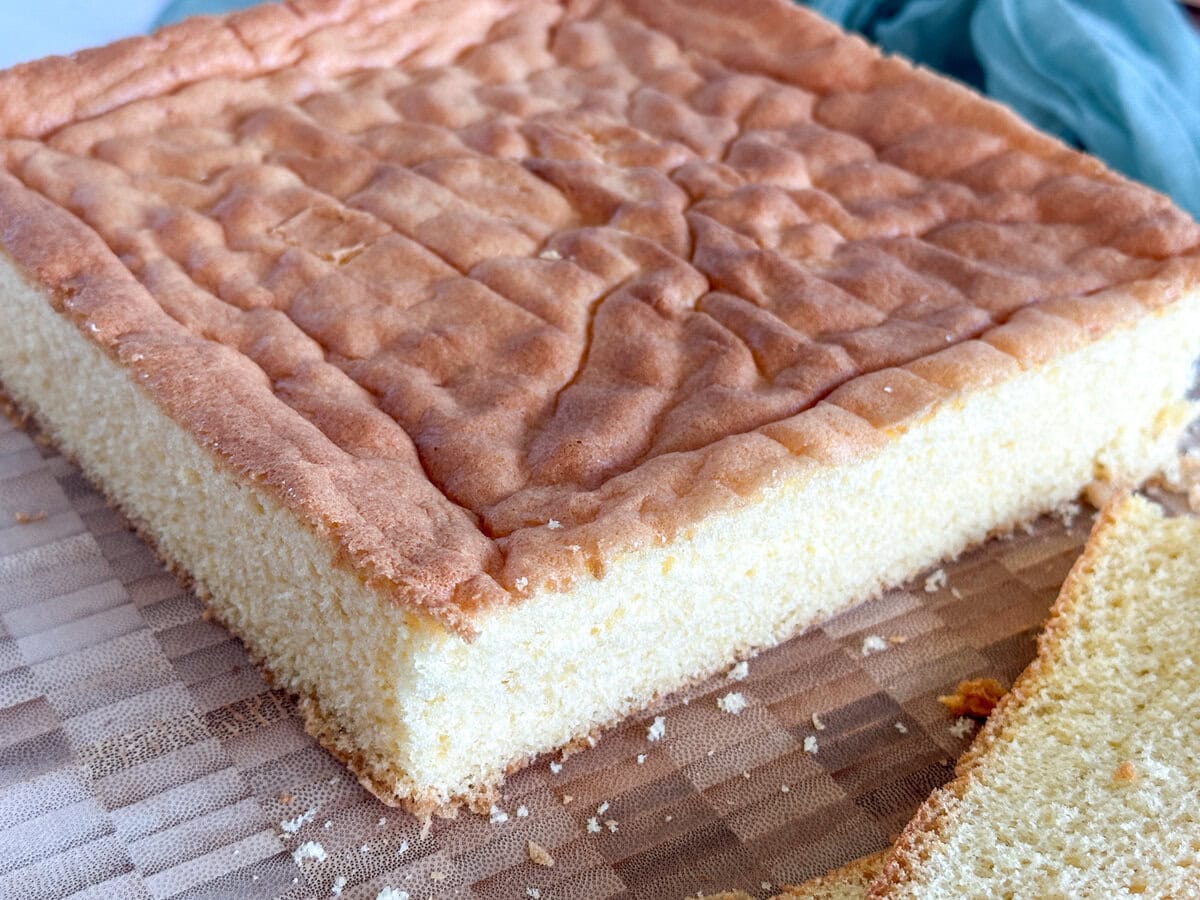
I found this gluten-free sponge to be slightly more tender and delicate than my original sponge, so if using it for lamingtons I recommend cutting the sponge into pieces and chilling them before dipping. The chilled pieces are firmer and much easier to handle.
You can absolutely freeze this sponge. Cool completely, wrap well in plastic wrap, then place in an airtight container and freeze for up to 3 months. Thaw completely before using.
How to use this gluten-free sponge for Lamingtons
Now onto the best bit! The cutting, dipping and eating parts.
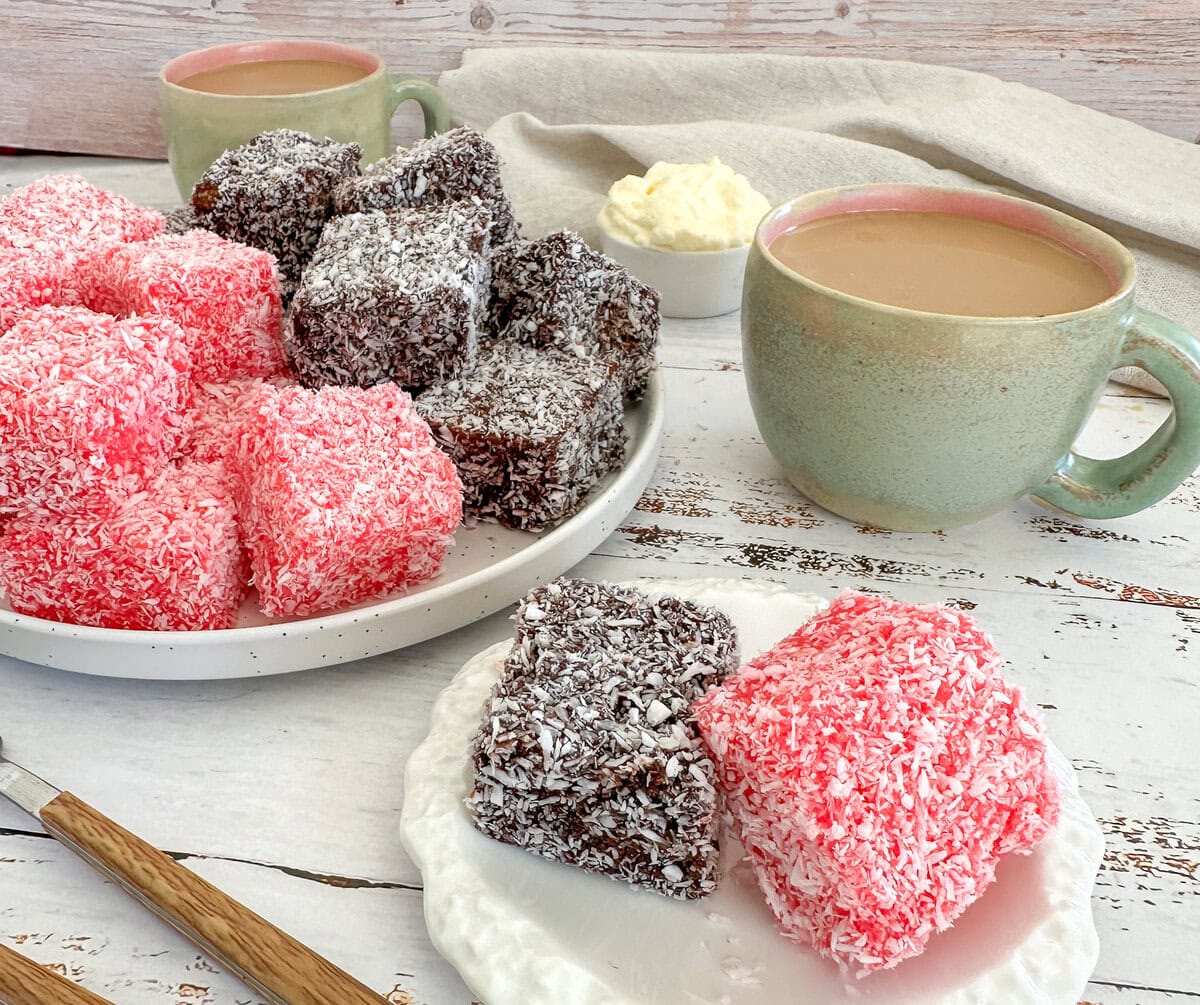
This gluten-free sponge is a little more tender and delicate than my original sponge, so I found that chilling the cut pieces before dipping made them much easier to handle. Use this sponge with your chosen lamington recipe, ensuring all of the coating and filling ingredients are also gluten-free.
I currently have a few variations of lamingtons for you to choose from: classic Raspberry Lamingtons and Chocolate Lamingtons, then two special ones for Lemon Cheesecake Lamingtons and Passionfruit Lamingtons with Mascarpone Cream.
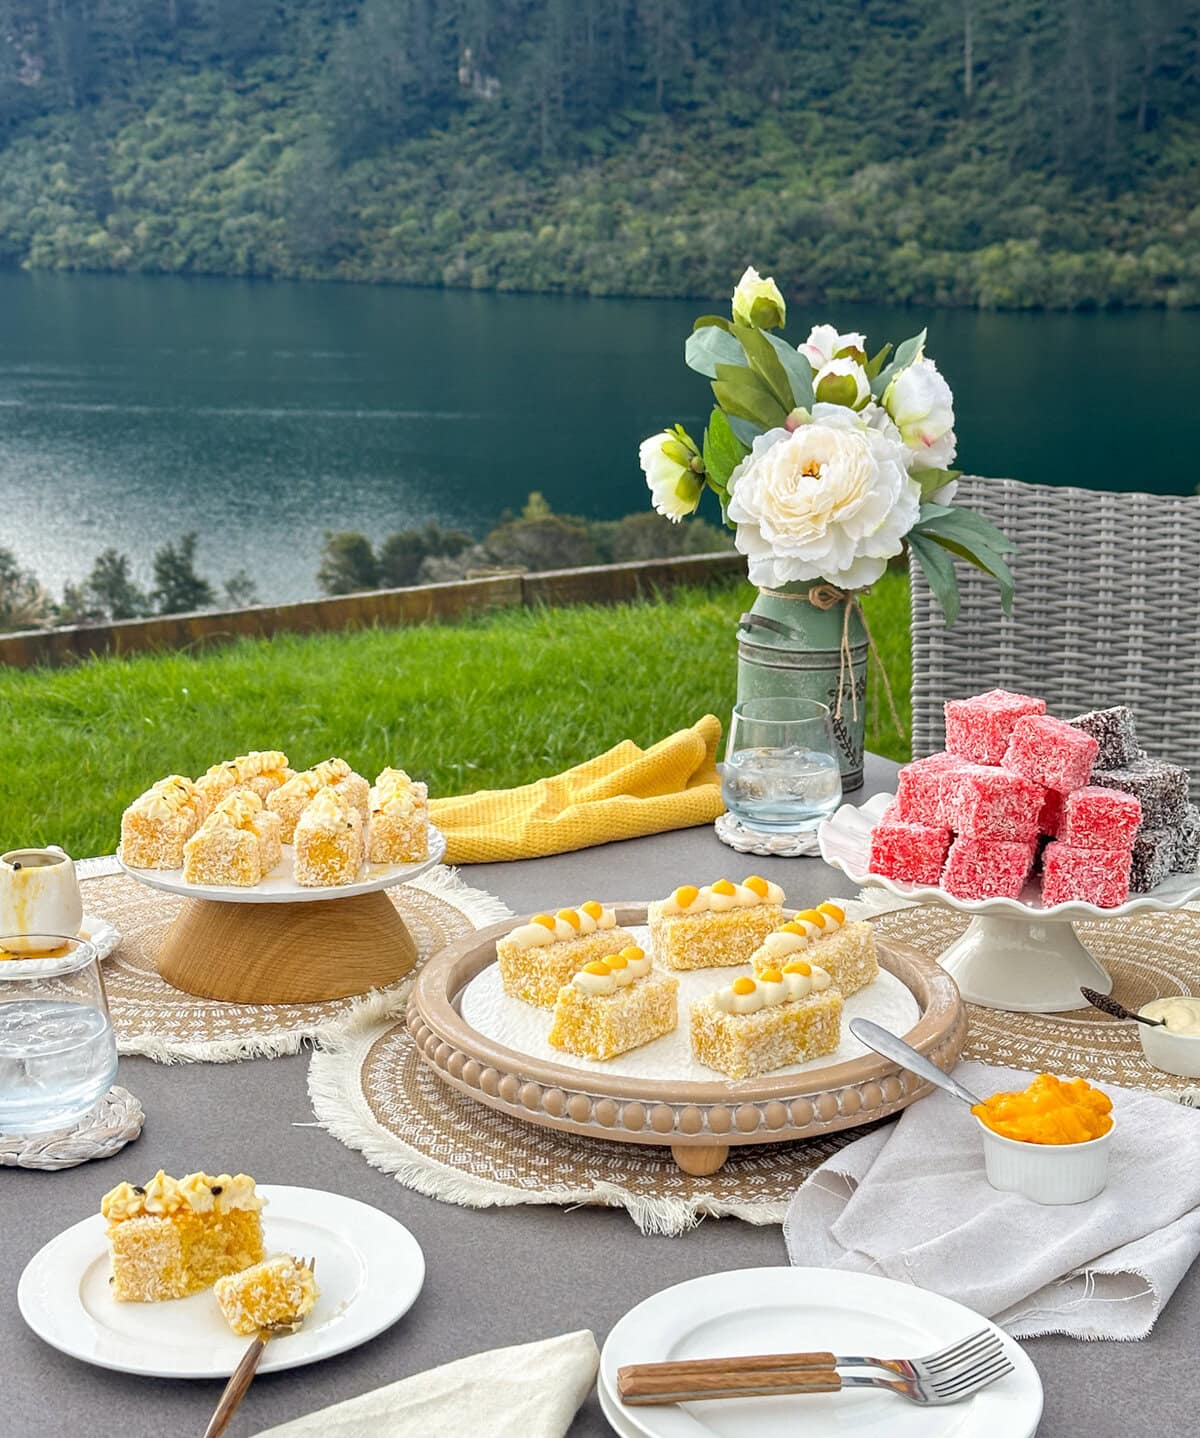
You can cut the sponge into squares or rectangles at whatever size you prefer. I like to cut 25 squares or 15 rectangles from this recipe. Whether you remove the crust is up to you, but I find it gives the finished lamingtons a more uniform look.
Once cut, pop the sponge pieces into the fridge to firm up while you prepare your dipping liquid. Then follow your chosen lamington recipe for dipping and coating.
How to use this gluten-free sponge for Trifles
This gluten-free sponge also works beautifully in trifles. Its slightly softer, more tender texture works particularly well here, as the sponge doesn’t need to withstand the same dipping and handling as it does for lamingtons.
I prefer to use the sponge the following day, then cut it into squares or rectangles ready for layering. You can also cut the sponge to fit your trifle bowl and slice it horizontally into two layers if you prefer.
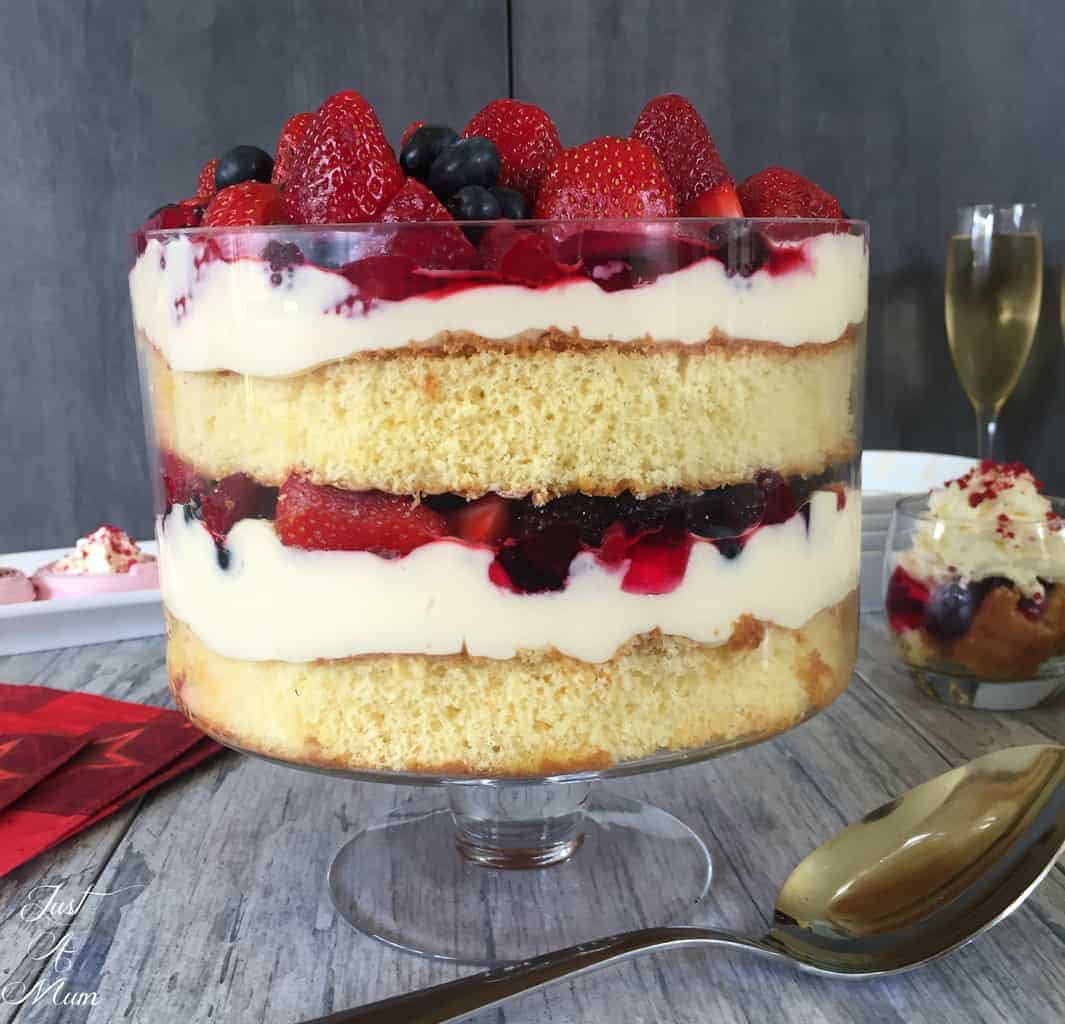
You can remove the crust for a more uniform look or simply leave it as is. If leaving the crust on, I like to place the neatest cut sides against the glass and use the remaining pieces towards the centre.
You can find plenty of ideas in my collection of delicious trifle recipes.
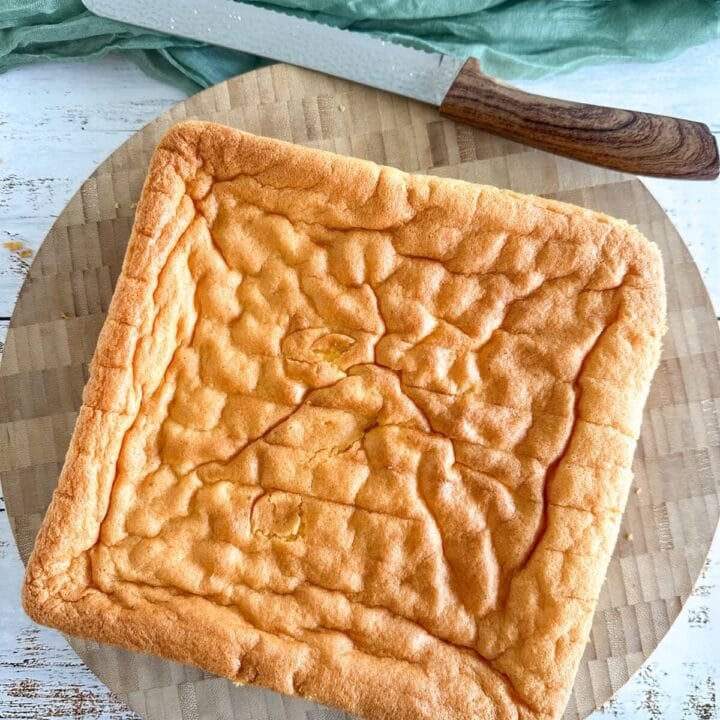
Gluten Free Sponge Cake for Lamingtons and Trifles
A light and tender gluten-free sponge cake, perfect for making lamingtons and trifles. The sponge has a lovely soft crumb while still holding its shape for cutting, layering and dipping. Best made a day ahead.
Ingredients
- 160 g Gluten-Free Plain White Flour (I used Edmonds)
- 1 1/2 teaspoons Baking Powder
- 1/4 teaspoon Salt
- 5 large size 7 Eggs, room temperature
- 3/4 Cup (165 g) Caster Sugar
- 1 teaspoon Vanilla Essence
- 20 g Butter
- 1/4 cup (60 ml) Boiling Water
Instructions
- Preheat the oven to 180°C conventional bake
- Grease the entire inside of the 23 cm square tin, at least 5.5cm deep, with softened butter using a paper towel in a thin even layer, dust evenly with a tablespoon or two of gluten-free flour, then tap out all excess flour.
- Sift the gluten-free flour and baking powder together three times, from one bowl to another through a fine sieve. Add the salt to the sifted ingredients and whisk gently to distribute evenly. Set aside.
- Crack the eggs into the bowl of a stand mixer or a large mixing bowl. With the whisk attachment, beat on medium-high speed for 2 minutes, until foamy and increased in volume.
- With the mixer running on medium speed, gradually add the caster sugar, a little at a time over approximately 2 minutes. Then add the vanilla.
- Continue beating on medium-high speed for approximately 2-4 minutes, or until the mixture is very pale, thick and voluminous. When the whisk is lifted, the mixture should fall in a thick ribbon that sits on the surface for several seconds before slowly disappearing. Take care not to overwhip.
- Place the butter in a small heatproof jug. Pour over the 60 ml boiling water and stir until the butter has completely melted and set aside, keeping warm.
- Sift approximately one-third of the flour mixture over the egg mixture. Using a large metal spoon, gently cut and fold through until almost fully incorporated.
- Repeat with the remaining flour in two additions until no flour is visible, checking the bottom of the bowl and underside of the spoon for any pockets of flour.
- Take approximately ½ cup of the sponge batter and add it to a small bowl, then pour over the warm butter and water mixture. Gently mix until combined.
- Pour this lightened butter mixture over the main batter. Gently fold through until just combined, taking care to retain as much air as possible and make sure no visible streaks of liquid are left at the bottom.
- Gently pour the batter immediately into the prepared tin, and carefully place in the preheated oven.
- Bake for approximately 25–28 minutes, without opening the oven door during the first 25 minutes. The sponge is ready when it is golden, springs back when lightly pressed in the centre and a skewer inserted into the middle comes out clean. The edges may also be just starting to pull away from the tin.
- Remove from the oven and leave in the tin for only 5 minutes, then carefully invert it onto a wire rack. Allow it to cool completely.
- Once completely cold, store the sponge in an airtight container at room temperature overnight before using for lamingtons or trifles.
Make ahead and storage: This sponge is ideal made the day before you need it.
To freeze: Allow the sponge to cool completely, then wrap well in plastic wrap and place in an airtight container. Freeze for up to 3 months. Thaw at room temperature before using.
To make lamingtons: A day-old sponge is easier to cut and handle when dipping. Use it to make my classic raspberry lamingtons, chocolate lamingtons, lemon cheesecake lamingtons or passionfruit cream lamingtons.
To make trifle: Cut the sponge into pieces or layers as required and use in your favourite trifle recipe. See my collection of trifle recipes for ideas.
Notes
Gluten-free flour: I tested this recipe using Edmonds Gluten Free Plain Flour. I used 160 g in place of the combined 125 g plain flour and 35 g cornflour used in my original sponge recipe. No additional gums or binders are needed when using this flour blend.
Using another gluten-free flour: If you cannot find Edmonds Gluten Free Plain Flour, look for a gluten-free plain flour blend containing rice flour and starches, such as maize or tapioca starch, as well as an added gum or binder. Gluten-free flour blends vary considerably, so I cannot guarantee the same result with a brand I haven't tested.
Check your ingredients: If you need this recipe to be strictly gluten-free, check the labels of all ingredients you use, including the baking powder and vanilla, to ensure they are suitable for your needs.
Eggs: I use large size 7 eggs, approximately 63 g each with the shell. Have the eggs at room temperature before beginning.
Texture: This gluten-free sponge is slightly more tender and delicate than my original sponge, but still works really well for lamingtons and trifles.
For lamingtons: I recommend making the sponge a day ahead. Once cut into squares or rectangles, chill the pieces before dipping. I found the chilled sponge firmer and much easier to handle.
Lamington Recipes: Click here to find my Chocolate Lamingtons and Raspberry Lamingtons
Storage: Once completely cold, store the sponge in an airtight container at room temperature overnight.
Freezing: Once completely cool, wrap well in plastic wrap and place in an airtight container. Freeze for up to 3 months and thaw at room temperature before using.
Nutrition Information
Yield 25 Serving Size 1Amount Per Serving Calories 73Total Fat 2gSaturated Fat 1gUnsaturated Fat 1gCholesterol 39mgSodium 78mgCarbohydrates 13gFiber 0gSugar 8gProtein 2g
JustAMumNZ.com, occasionally offers nutritional information for recipes contained on this site. This information is provided as a courtesy and is an estimate only. This information comes from online calculators. Although justamumnz.com attempts to provide accurate nutritional information, these figures are only estimates.
Frequently Asked Questions
Can I use a different gluten-free flour blend?
You can try another gluten-free plain flour blend, however I have only tested this recipe with Edmonds Gluten Free Plain Flour. If using another brand, look for a blend containing rice flour and starches, such as maize or tapioca starch, as well as an added gum or binder. Gluten-free flour blends can vary considerably, so the final result may be slightly different.
Do I need to add xanthan gum to this gluten-free sponge cake?
No, you do not need to add xanthan gum when using Edmonds Gluten Free Plain Flour. The flour blend I tested already contains vegetable gums to help with binding, so I did not add any extra gums or binders to this recipe. If using another gluten-free flour, check the ingredients in the blend before you begin.
Is gluten-free sponge more delicate than regular sponge?
I found this gluten-free sponge to be a little more tender and delicate than my original sponge, but it still worked really well for both lamingtons and trifles and was not crumbly at all. Once the sponge was cut and chilled it firmed up beautifully and was much easier to handle.
How do I stop gluten-free lamingtons falling apart when dipping?
My best tip is to make the sponge the day before, then cut it into your squares or rectangles and chill the pieces before dipping. I found the chilled gluten-free sponge was firmer and much easier to handle. Also work quickly and very lightly when dipping.
Why is my gluten-free sponge cake dense or flat?
There can be a few reasons. Make sure the eggs and sugar are whipped until very pale, thick and at the ribbon stage, but take care not to over-whip them. Fold the gluten-free flour and butter mixture through gently so you retain as much of that lovely air as possible, while still making sure everything is completely incorporated. Also avoid opening the oven door during the first 25 minutes of baking.
Can I make gluten-free sponge cake ahead of time or freeze it?
Yes, I actually prefer to make this sponge the day before I need it. Once completely cold, store it in an airtight container at room temperature overnight. You can also wrap the cooled sponge well, place it in an airtight container and freeze for up to 3 months. Thaw at room temperature before using.
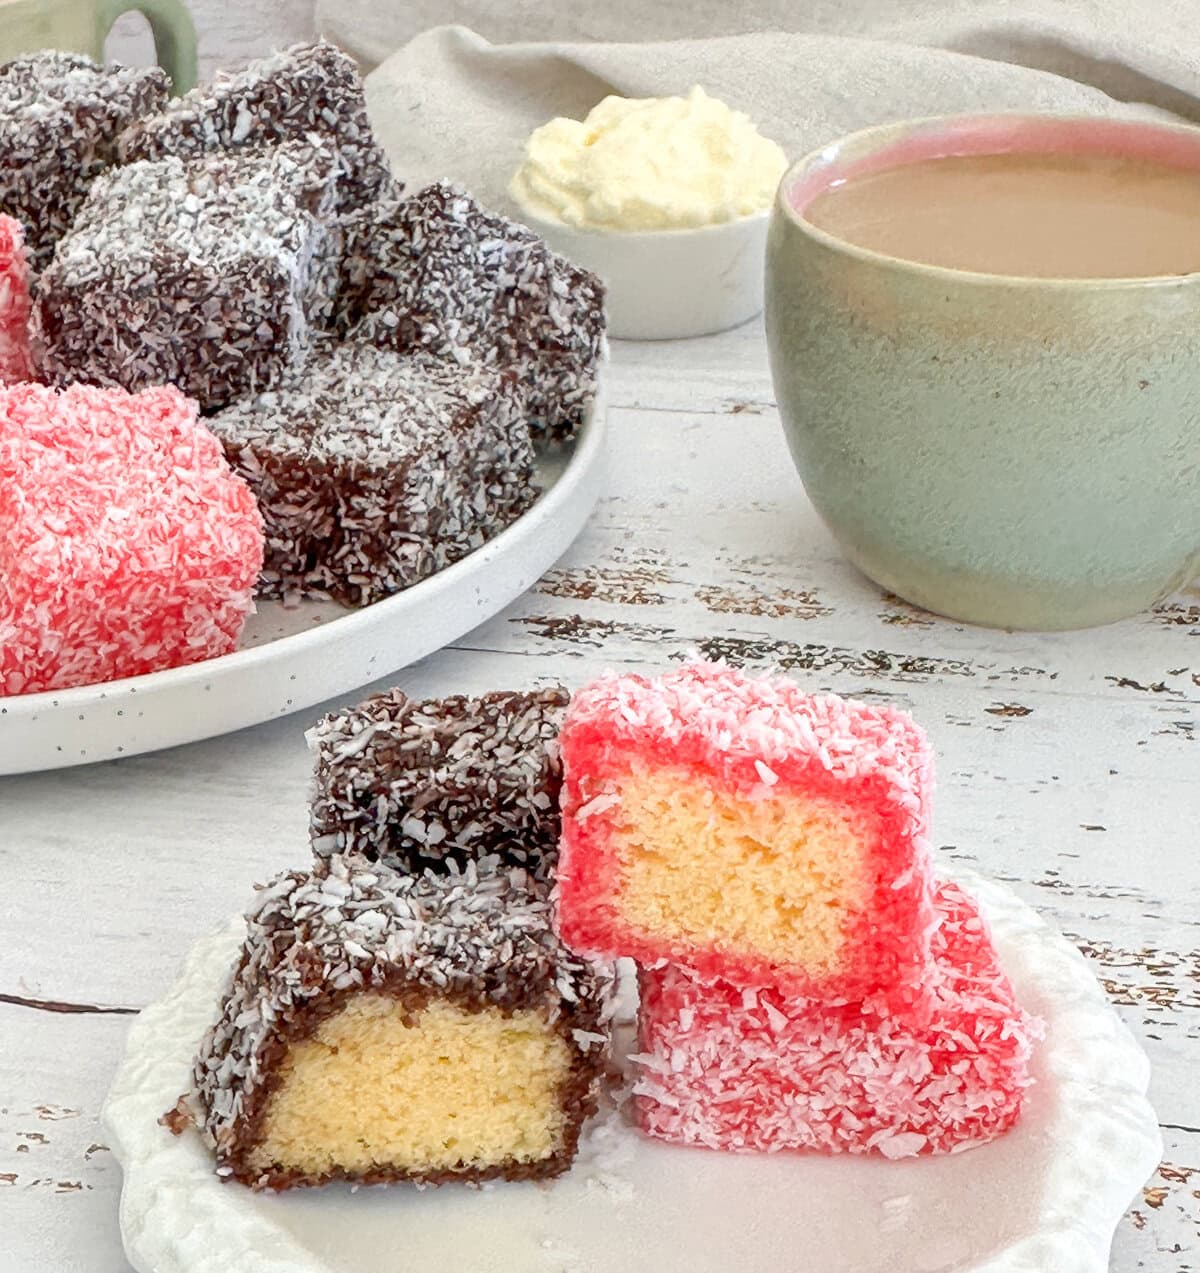
I hope you have great success with this gluten-free sponge recipe! I cannot wait to see what you make with it.
Happy Baking
Anna xox
Leave a Reply