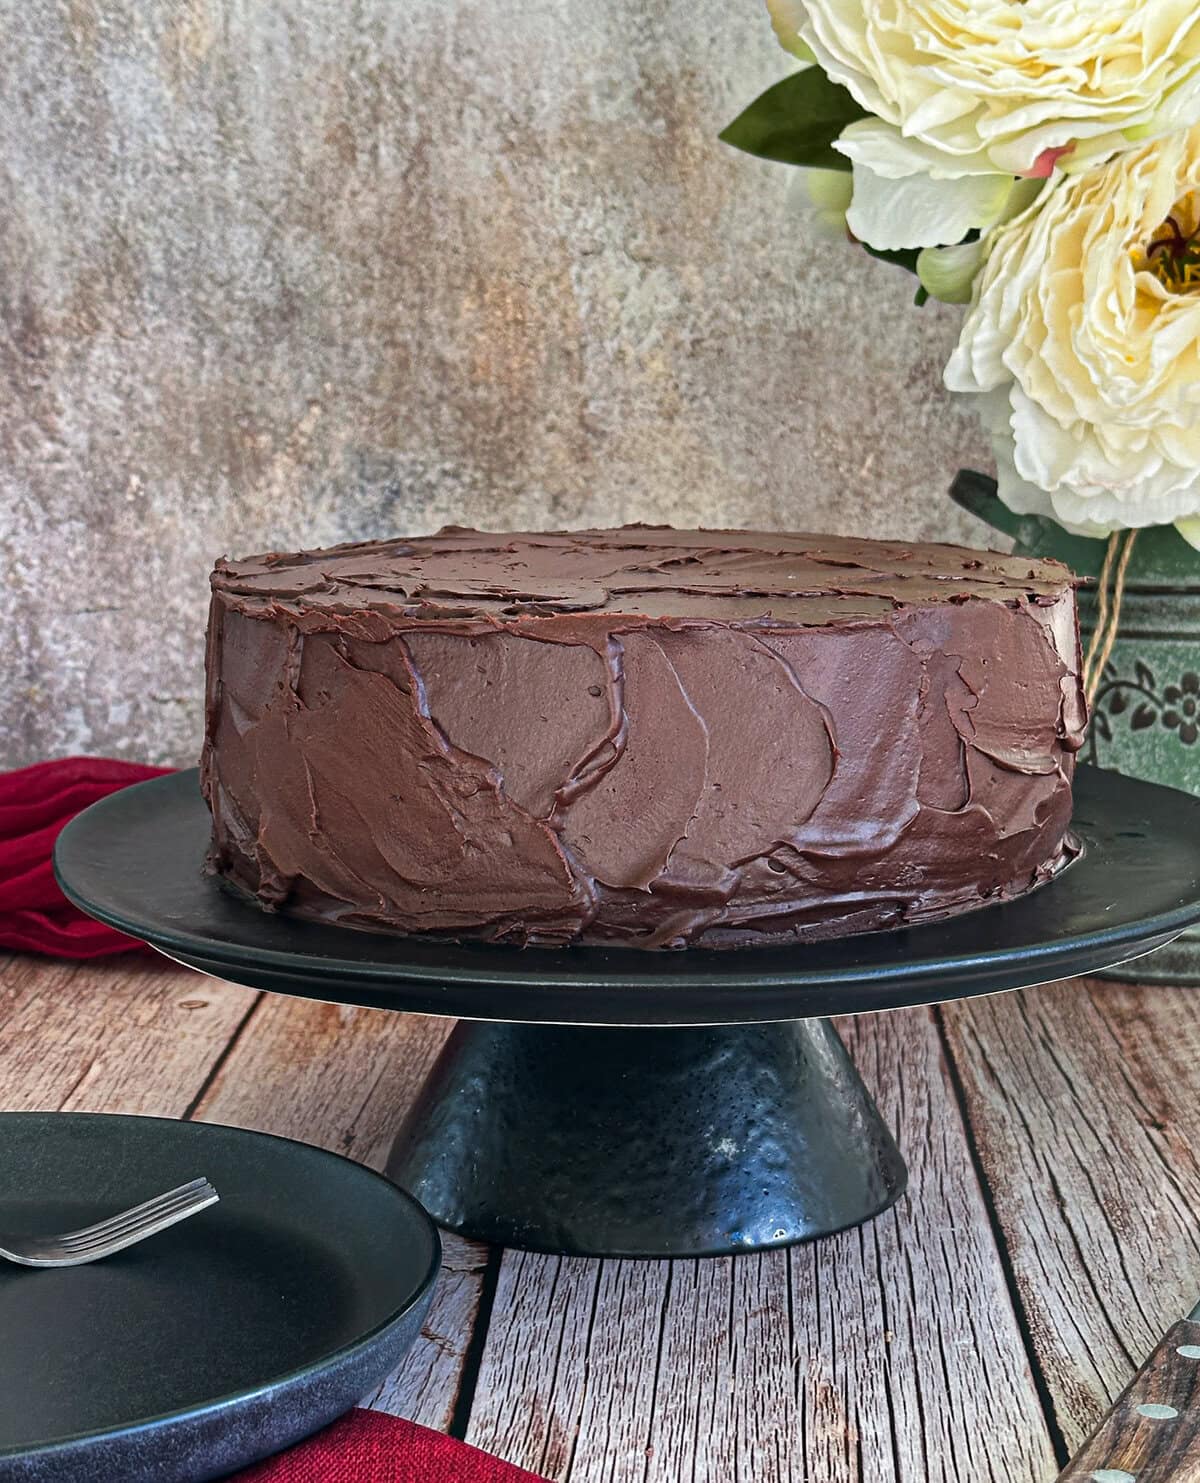
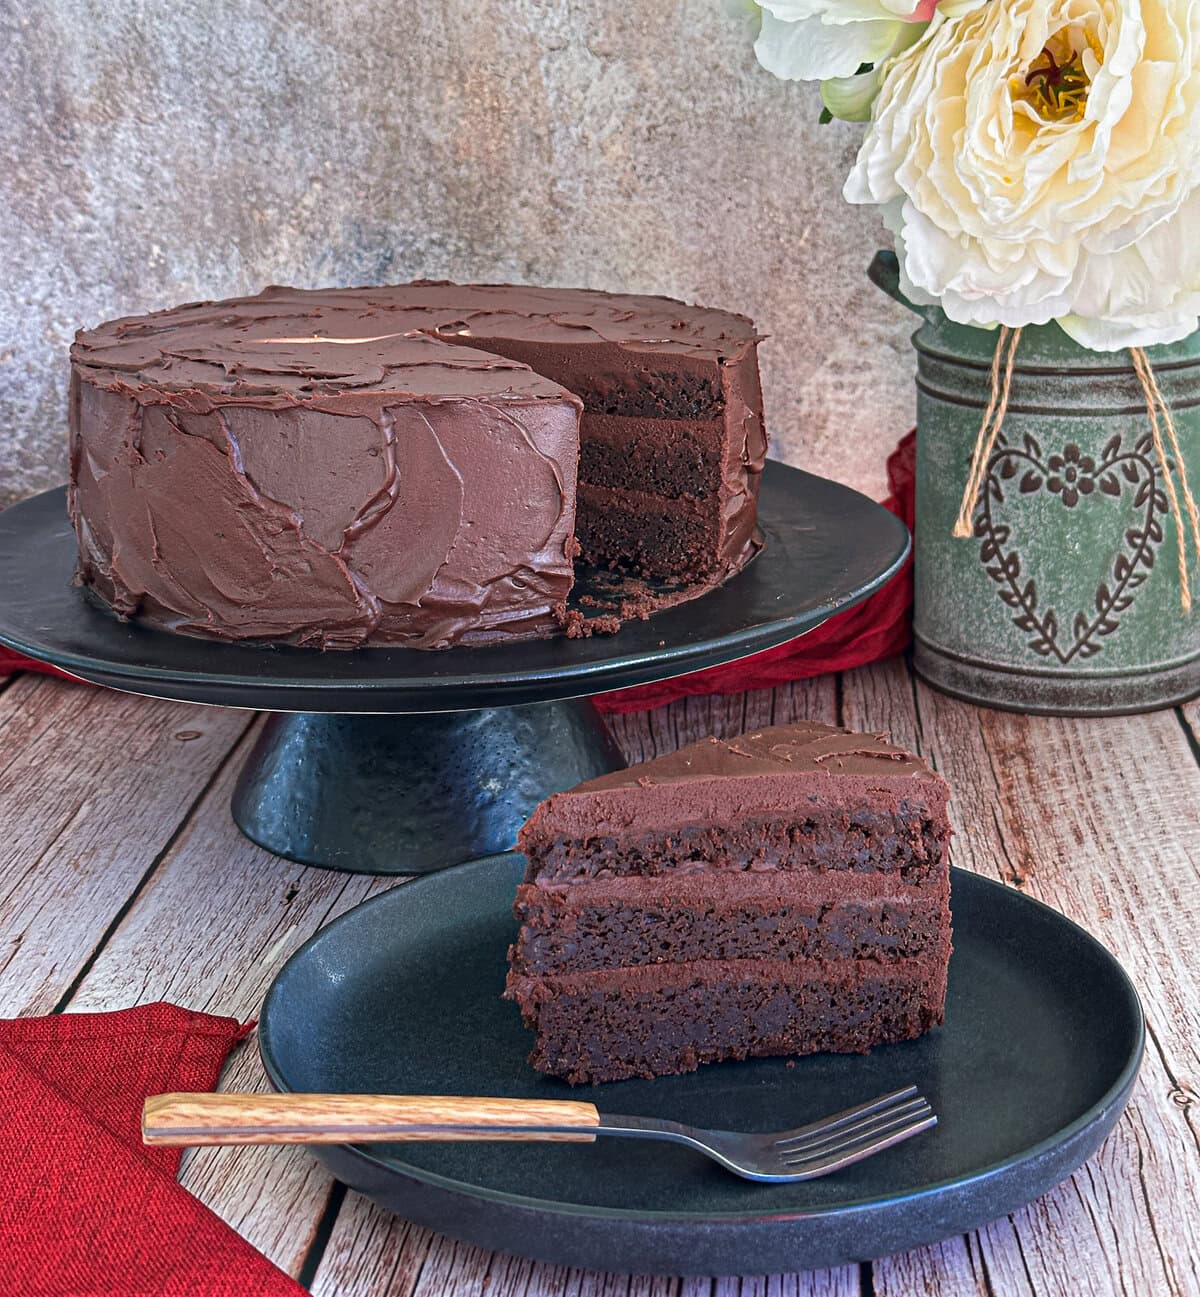
I have been testing this recipe for such a long time, and I have finally created the rich, dense and fudgy Chocolate Mud Cake I have always wanted to make!
While I have several delicious chocolate cake recipes on my website, a true mud cake needs slightly different ingredients and techniques to achieve that lovely rich texture we all know and love.
Perfect for special occasions, and of course, topped with the most divine chocolate ganache, if I do say so myself! I think you’ll love it.
My Tips for the Best Chocolate Mud Cake
Choosing the right chocolate
The chocolate you choose makes a big difference to the flavour. I found my favourite combination was equal amounts of Whittaker’s 50% and 72% dark chocolate, giving a lovely rich flavour without too much bitterness.
You could also use a good-quality dark chocolate around 60–70% if you cannot find both varieties. My advice is to choose a chocolate you enjoy eating rather than compound cooking chocolate.
Getting the balance of ingredients right
Not all mud cakes are created equal! Dark, white and caramel chocolate have different properties, so the balance of ingredients really matters.
After plenty of testing, I settled on a combination of caster sugar and soft brown sugar for sweetness, depth of flavour and moisture. I also adjusted the sour cream, flours and cocoa to create a dense cake that is still lovely and tender.
Melting and mixing
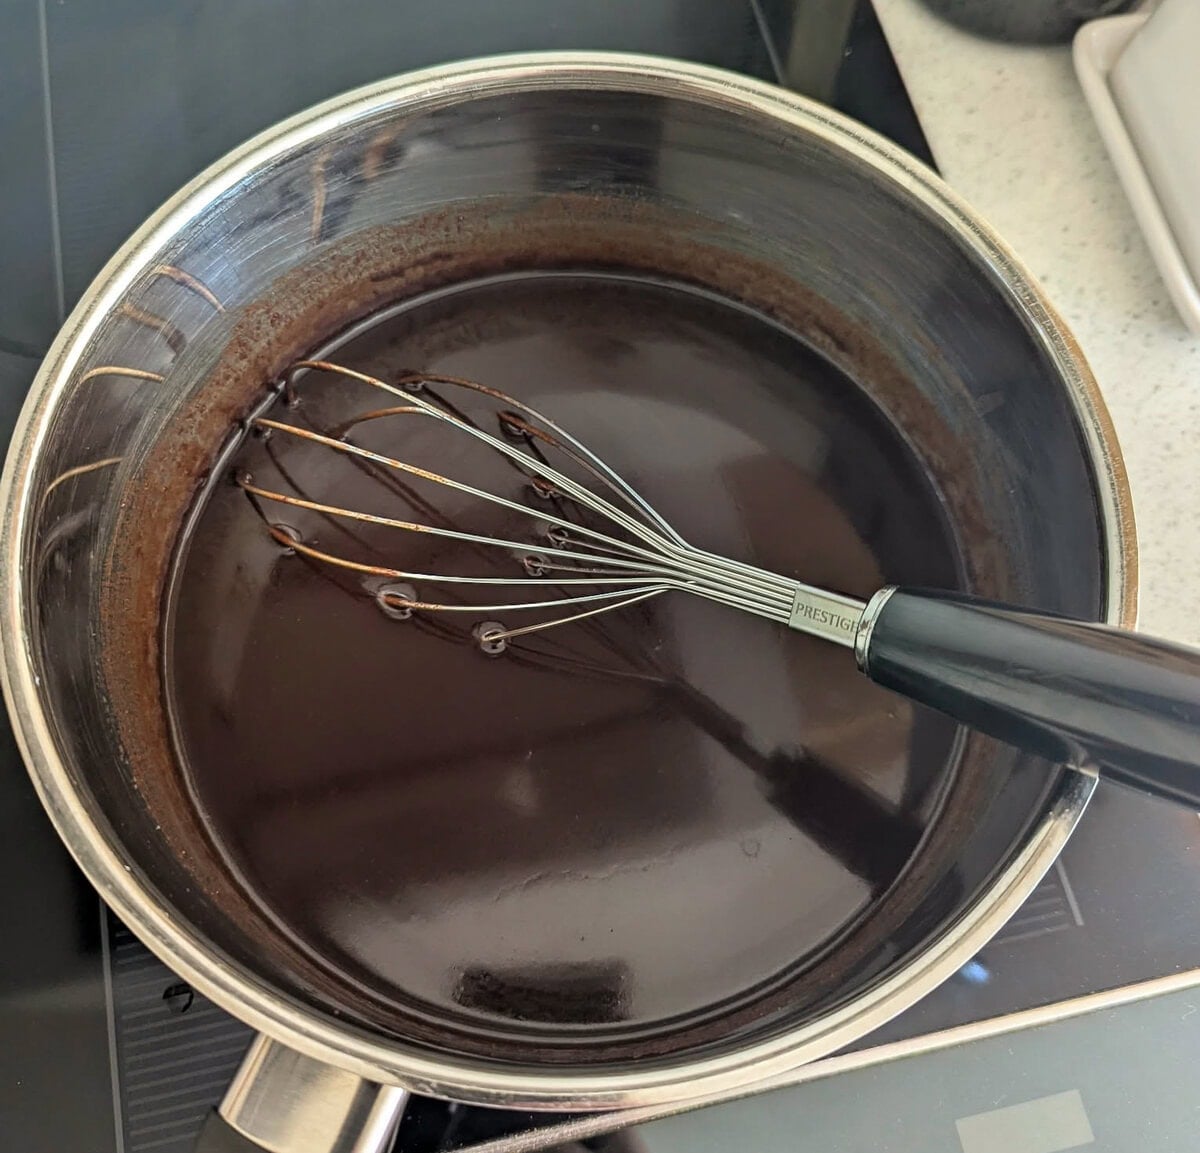
Melt the chocolate, butter and sugars slowly over a low heat, stirring regularly without letting it boil. The sugar may still feel slightly grainy, and that’s fine.
Allow it to cool until lukewarm before adding the eggs and sour cream. Once you add the dry ingredients, mix gently until just combined to avoid making the cake tough.
Use the right cake tin
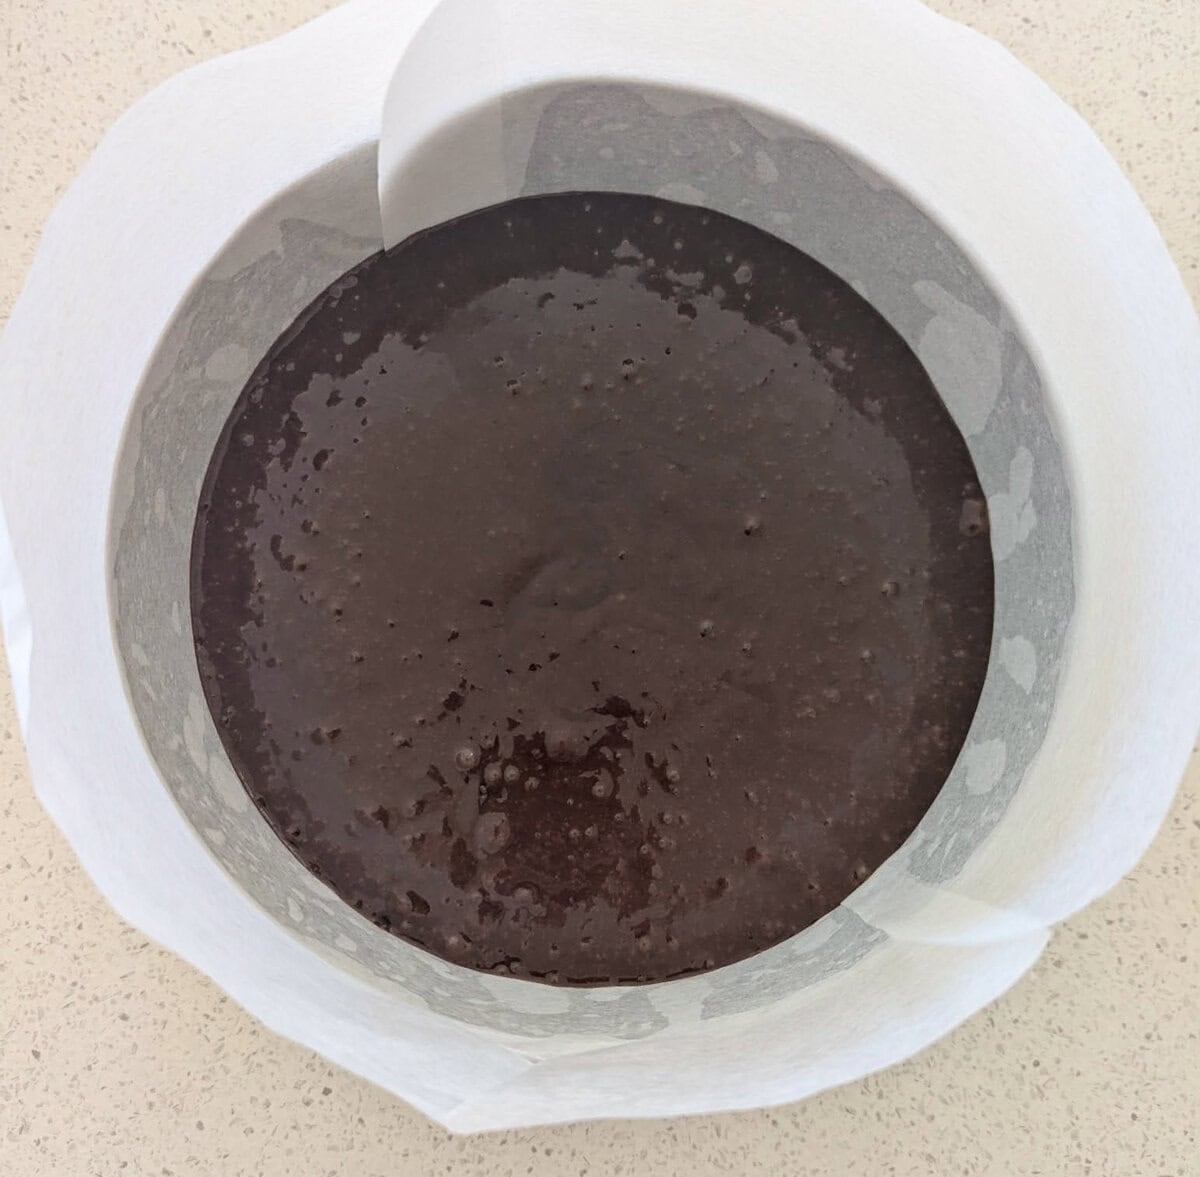
This recipe is designed for a deep 20 cm round cake tin. Line the base and sides with baking paper, extending approximately 5 cm above the rim. Make sure your tin is deep enough to comfortably hold the batter.
Knowing when your mud cake is baked
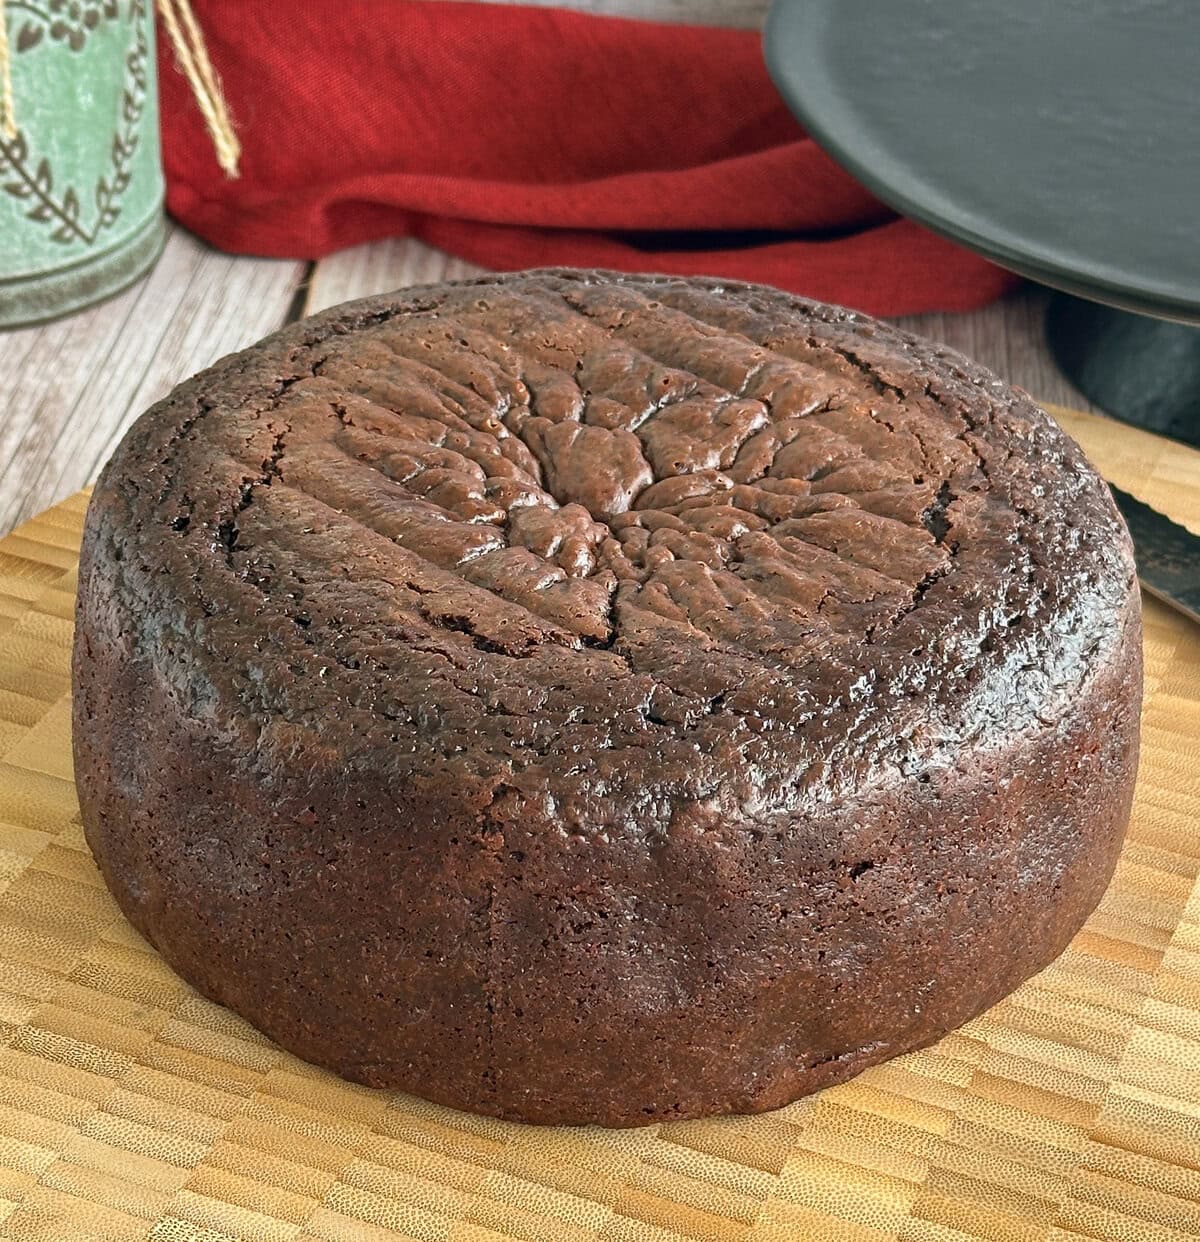
Mud cakes can look underdone for quite some time, so avoid opening the oven during the first 90 minutes. Mine took approximately 1 hour 45 minutes at 150°C conventional Bake, although ovens vary and yours may take up to 2 hours.
The centre should be set, with no wet batter on top. Insert a long skewer into the middle; a few moist crumbs are perfect, but there should be no wet batter. Don’t keep baking simply to get a completely clean skewer. If the top is browning too quickly, loosely tent it with foil.
Cooling, Resting and Making Your Mud Cake Ahead
One of the lovely things about mud cakes is that they are perfect for making ahead. I recommend baking mine approximately 2-3 days before serving, allowing the crumb time to settle and develop that lovely dense, fudgy texture.
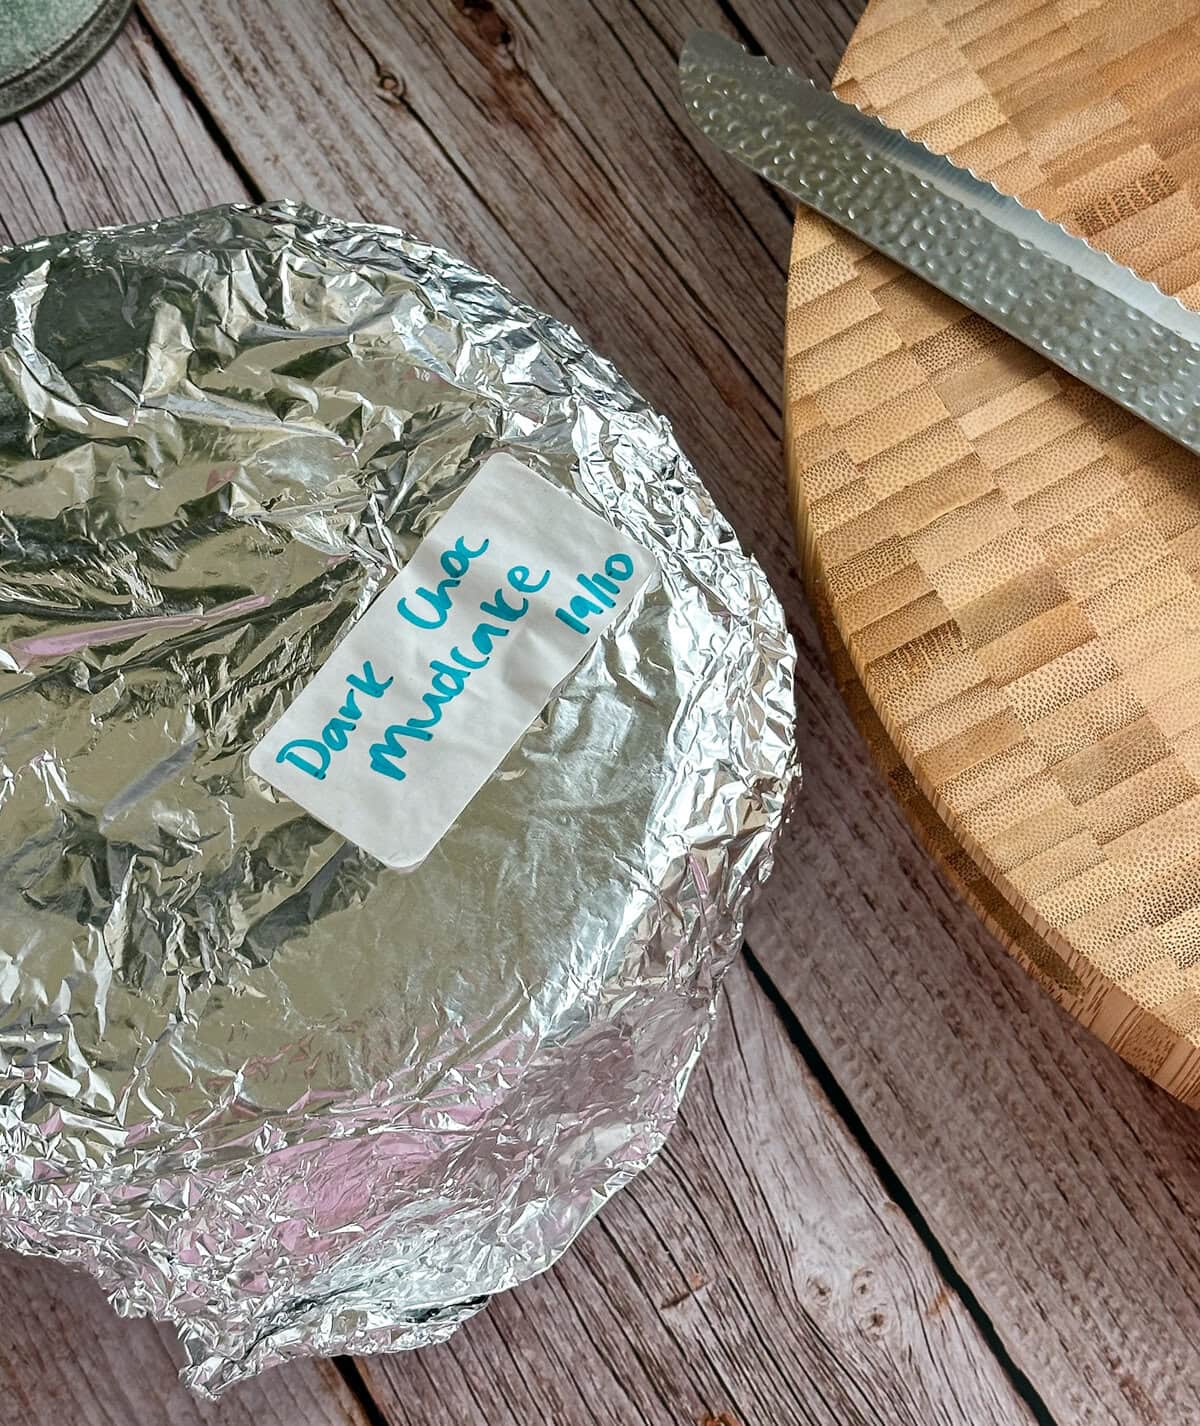
Once baked, cover the cake in its tin with a clean, lightly damp tea towel for 30 minutes. Carefully remove the cake from the tin and allow it to cool on a wire rack for a further 30 minutes, then wrap well in cling film and foil while still slightly warm.
The unfilled cake can rest, well wrapped, in a cool, dry place at room temperature for 2–3 days, provided the conditions are suitable. In warmer weather, refrigerate it.
Making it further ahead? I like to rest the cake for approximately 48 hours before wrapping it well and freezing for up to 3 months. Thaw completely in the fridge before decorating.
For the neatest layers, chill the cake until firm before slicing.
How to Cut a Chocolate Mud Cake into Layers
This recipe makes a lovely deep cake in a 20 cm tin, perfect for cutting into three layers.
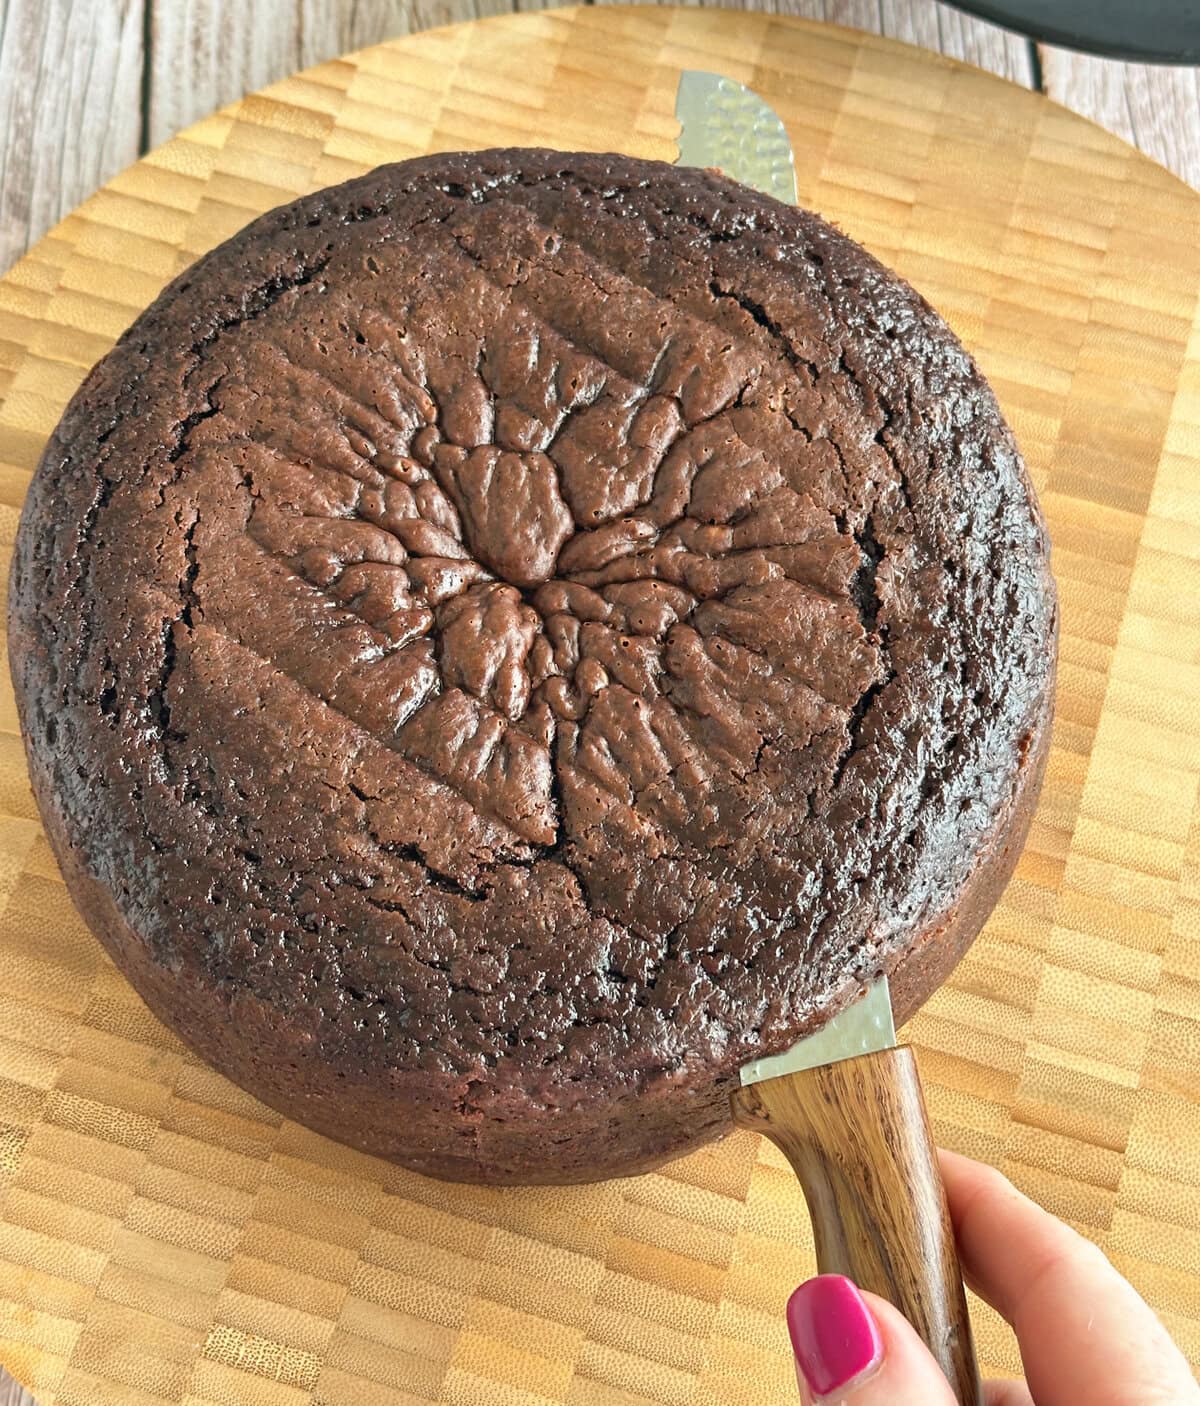
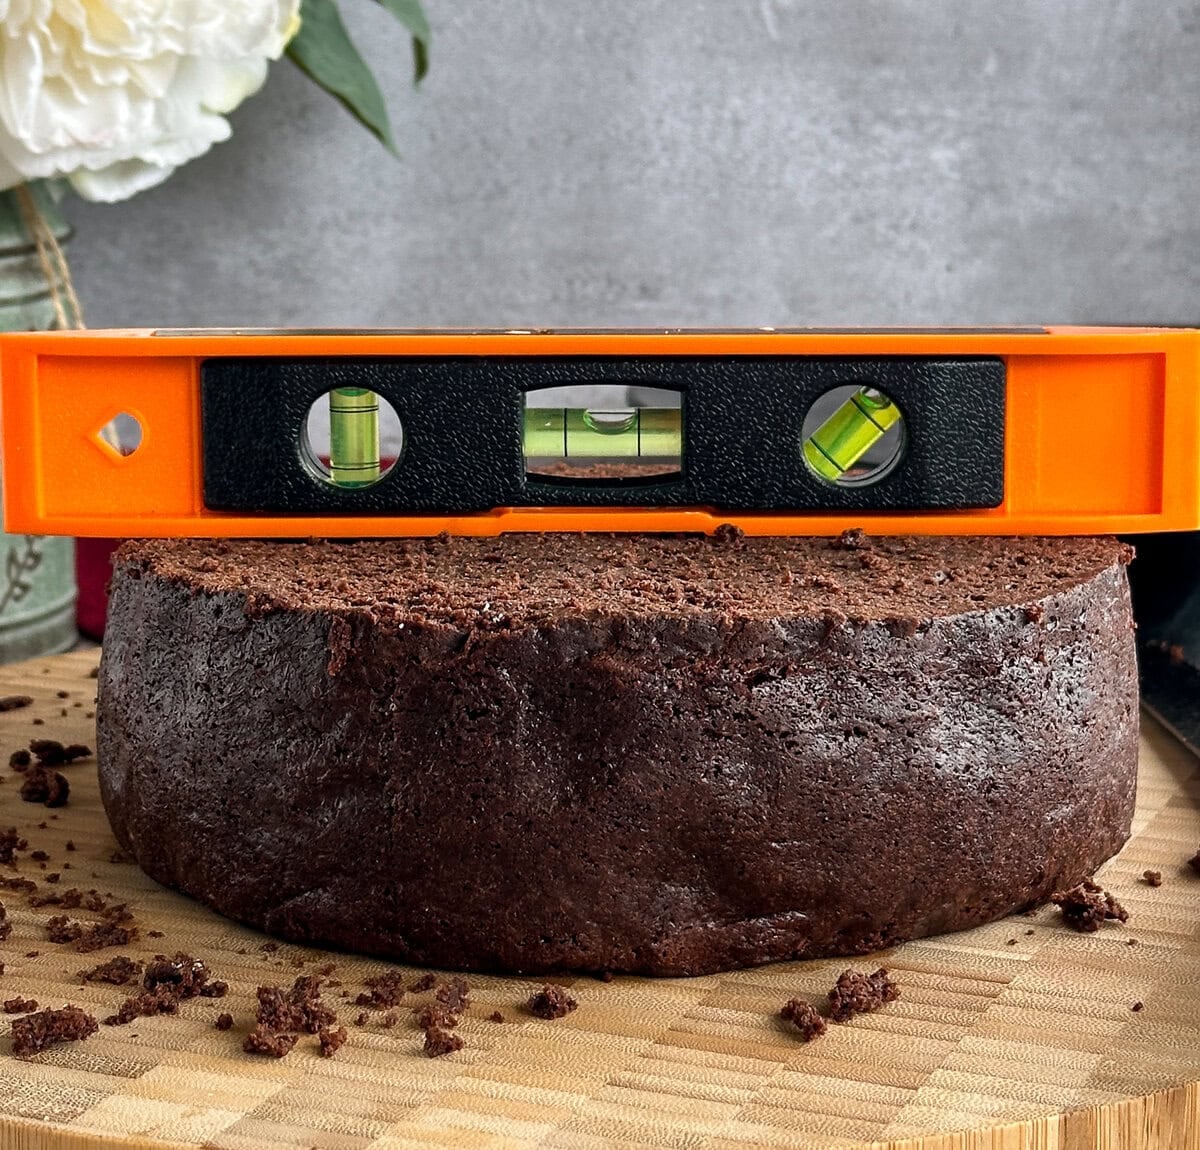
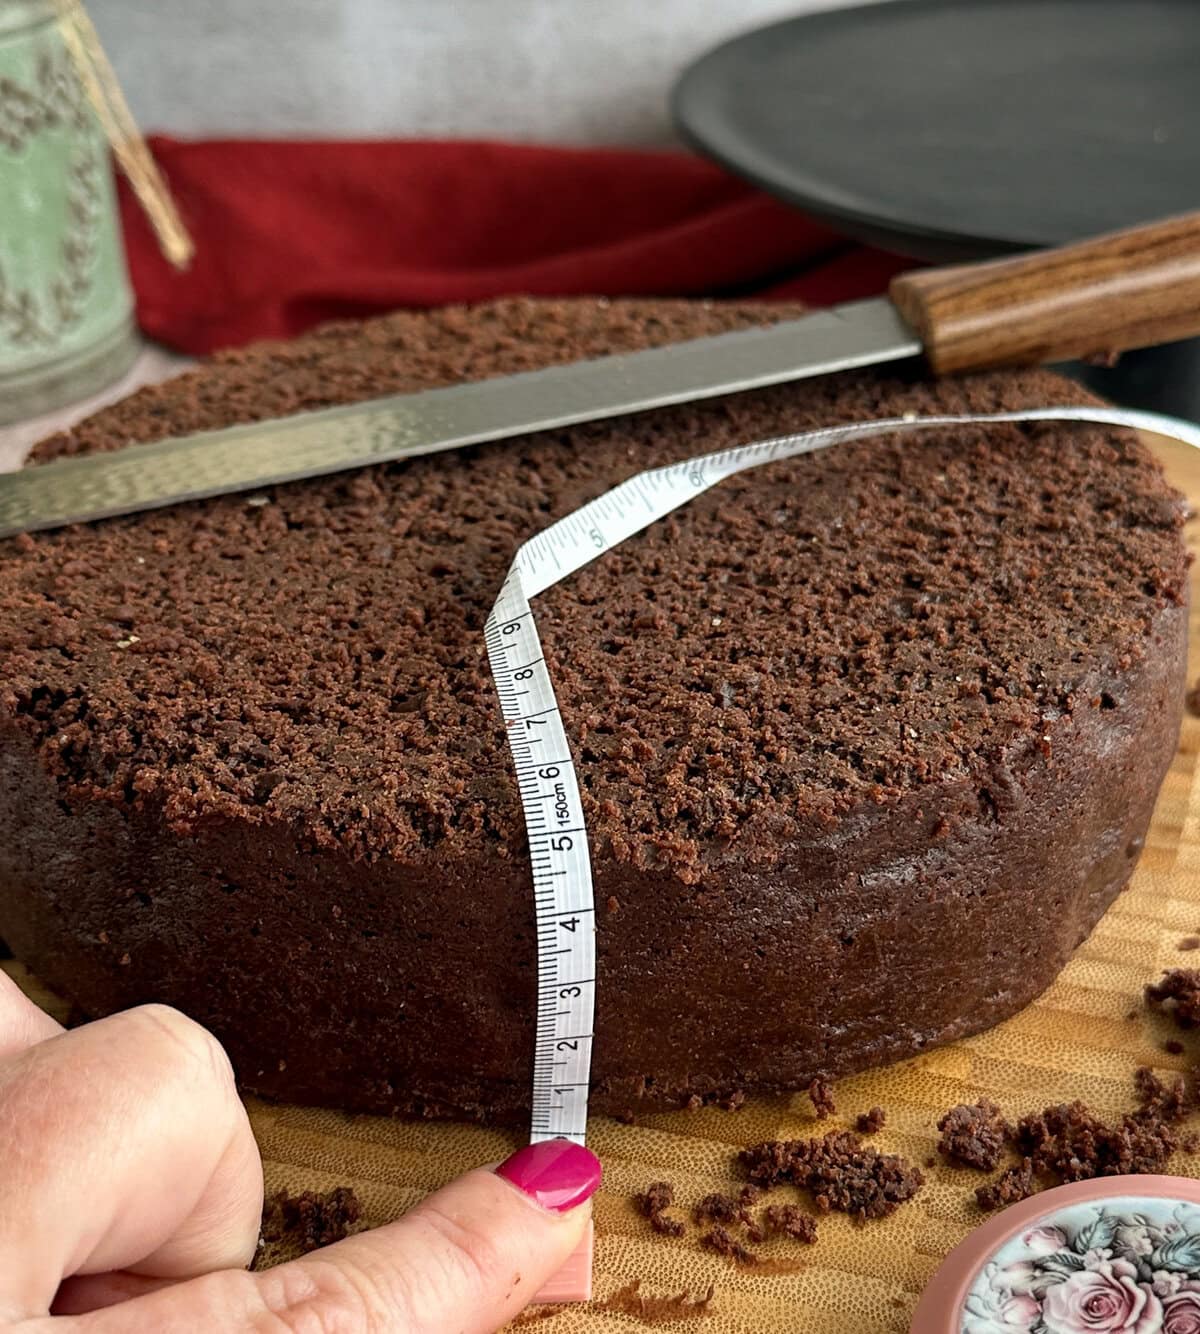
I start by trimming any dome from the top, then measuring the height of the cake so I can divide it evenly. I even get the tape measure out to make sure I’m cutting in the right place all the way around, then adding small cuts into the cake at the correct height – some people use toothpicks for a similar technique. And if it’s for a special occasion, you might even find me getting out the spirit level!
Handle the layers gently to prevent them breaking, and keep them chilled until you’re ready to fill with ganache.
My Tips for Chocolate Ganache
Chocolate ganache is one of the stars of this recipe. Made with dark chocolate, cream and a small pinch of salt, it pairs beautifully with the mud cake.
The recipe below includes one batch of ganache, enough to create a lovely generous coating over the cake. If you wish to create a layered cake like I have done here, you will need to double the recipe.
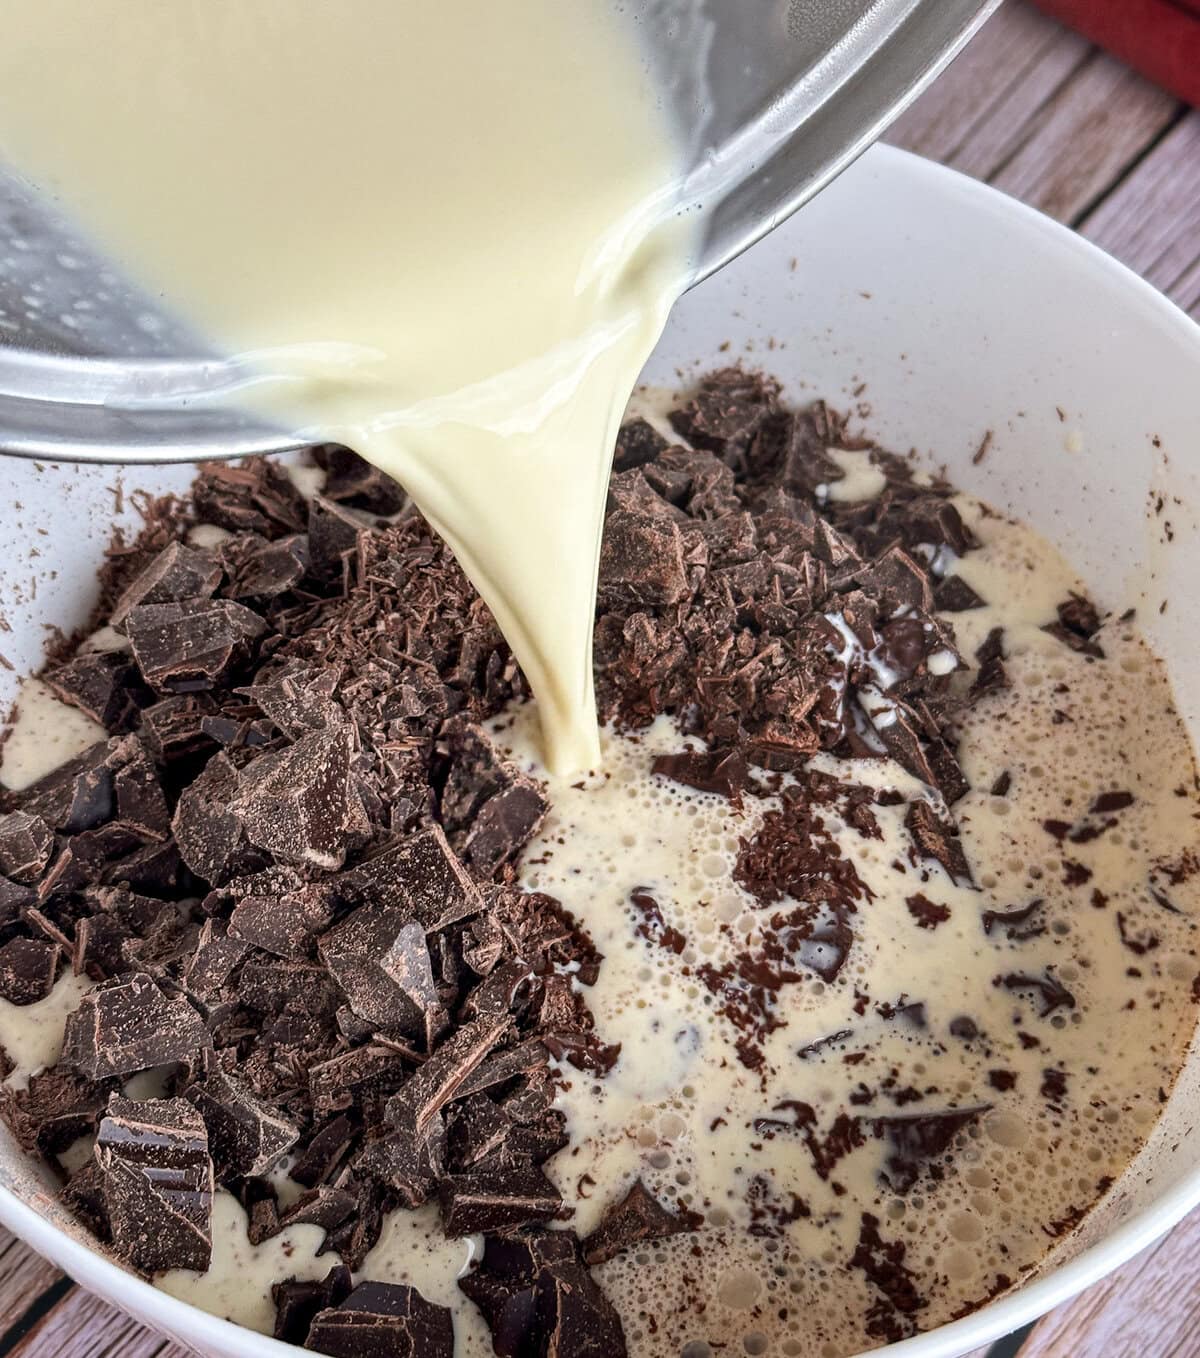
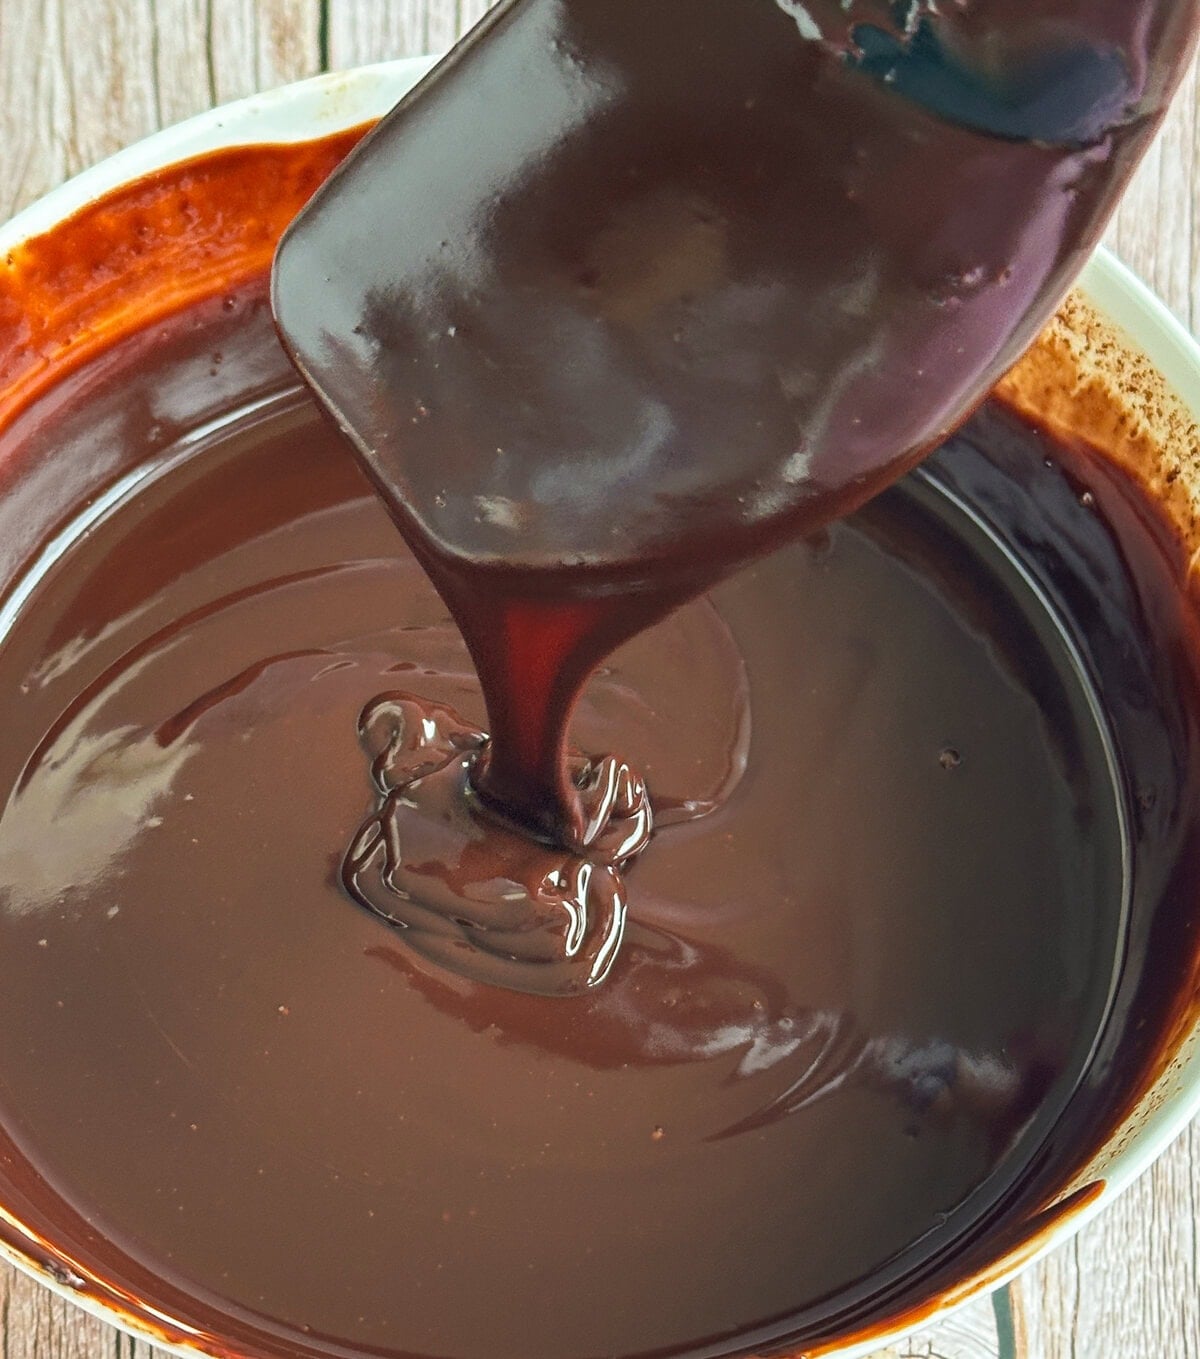
The key is getting the right consistency. Allow the prepared ganache to cool until thick but spreadable, similar to thick, creamy peanut butter. You can pop it in the fridge to help it firm up, stirring occasionally.
If it becomes too firm, warm it in very short bursts in the microwave on low power, stirring between each, until spreadable again.
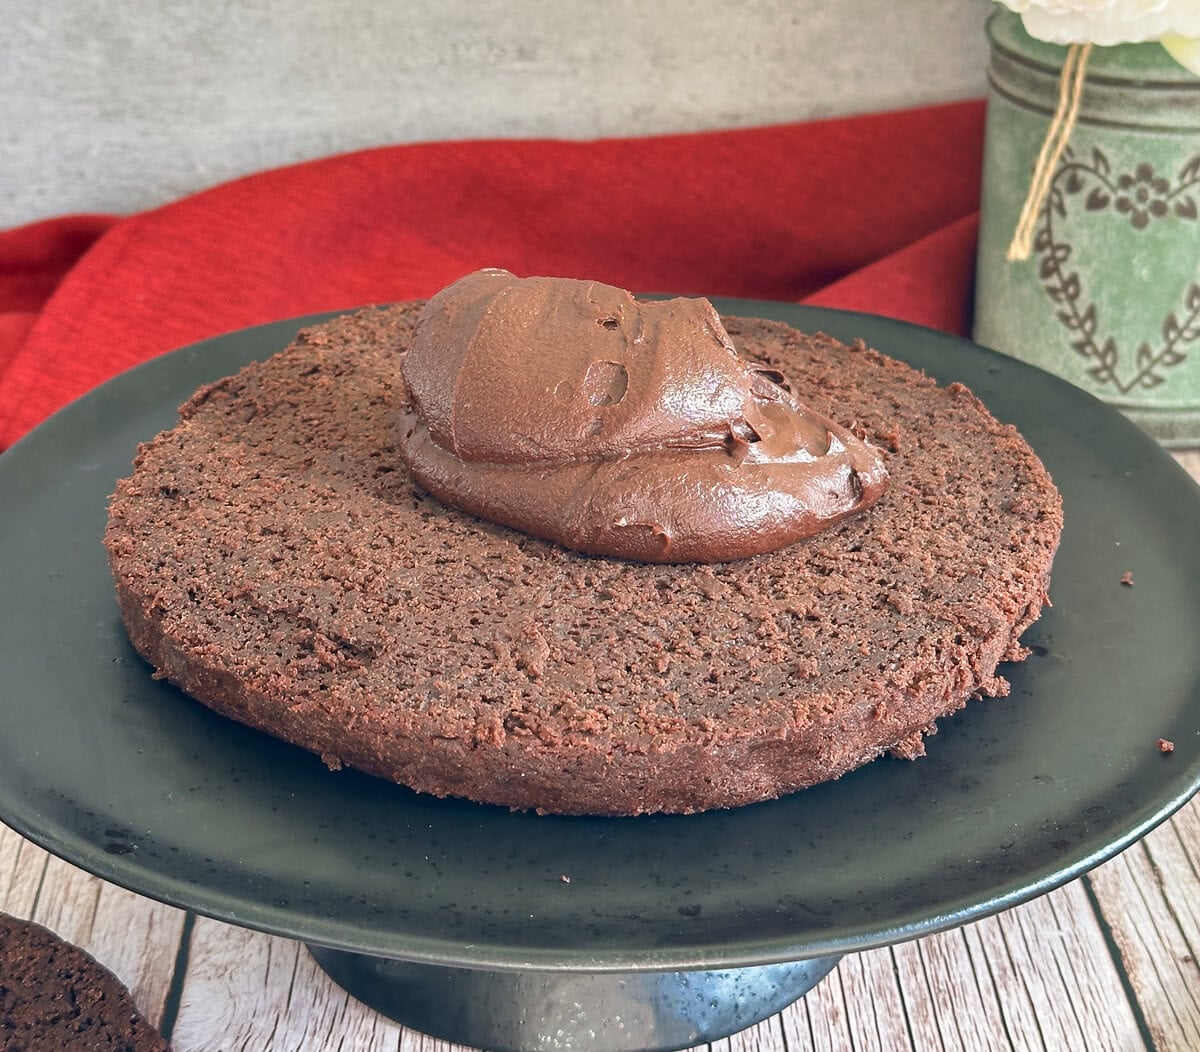
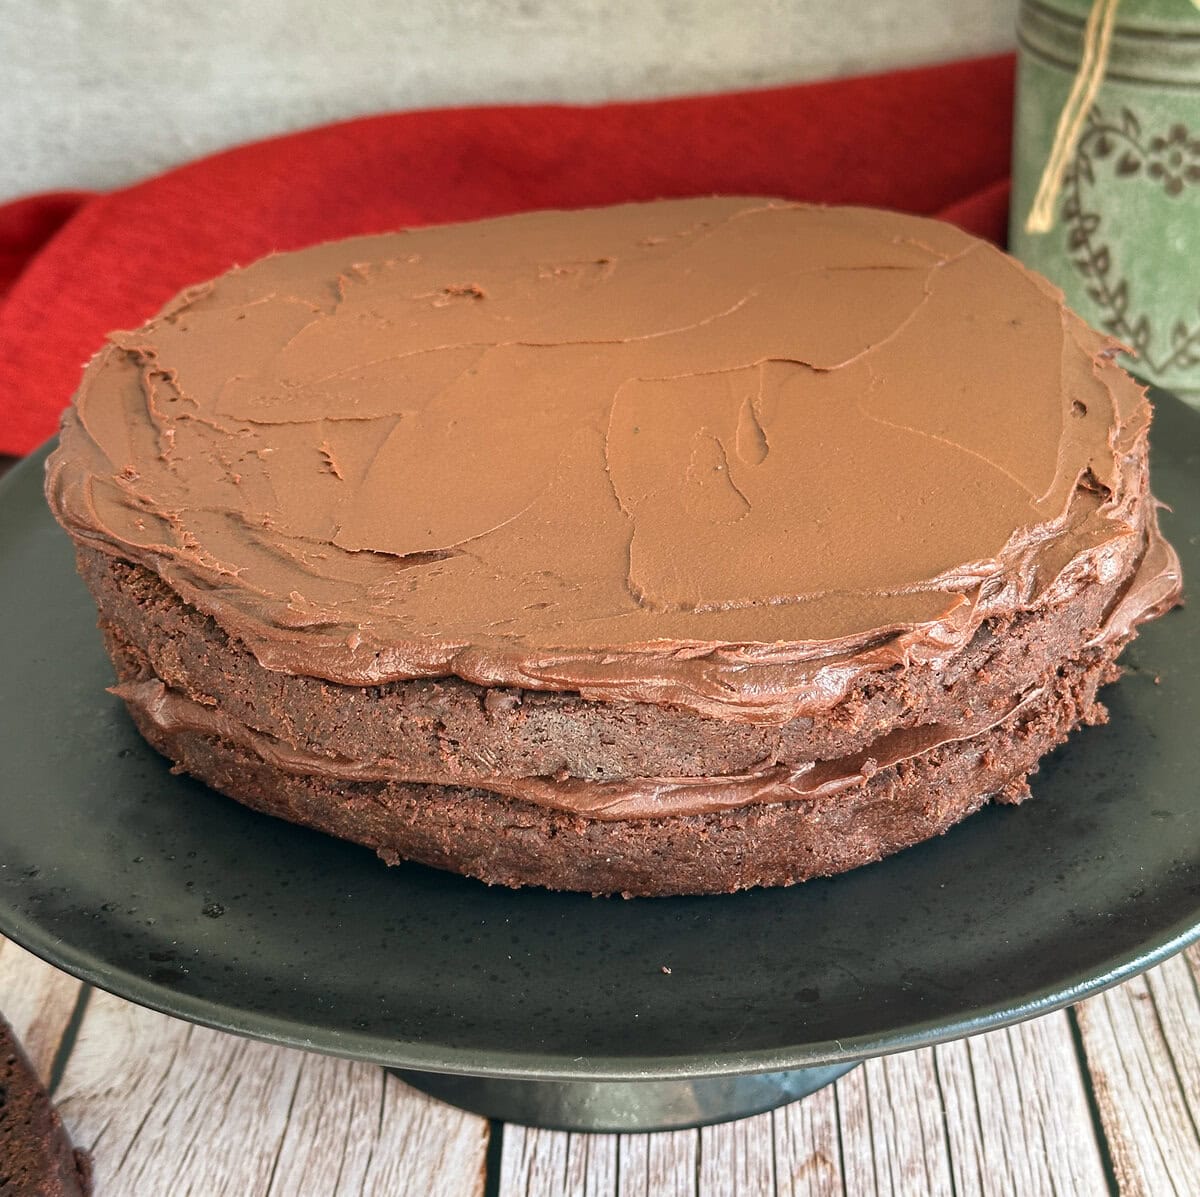
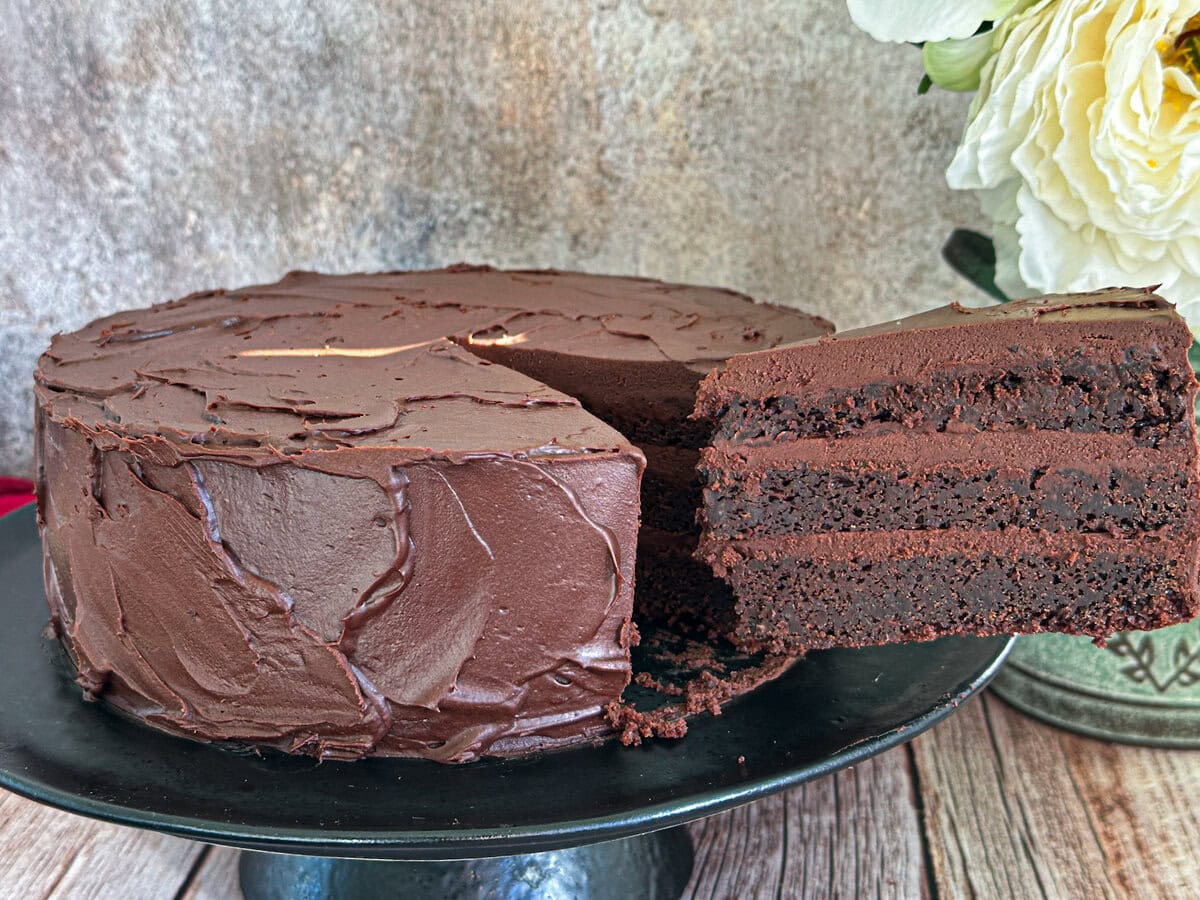
Make sure your cake is completely cool before decorating. I cut mine into three layers, spread ganache between each, then applied a thin crumb coat and chilled the cake until firm. Never worry what the crumb coat looks like! Its job is to be a thin layer to prevent the crumb of the cake from affecting the outside “pretty” layer.
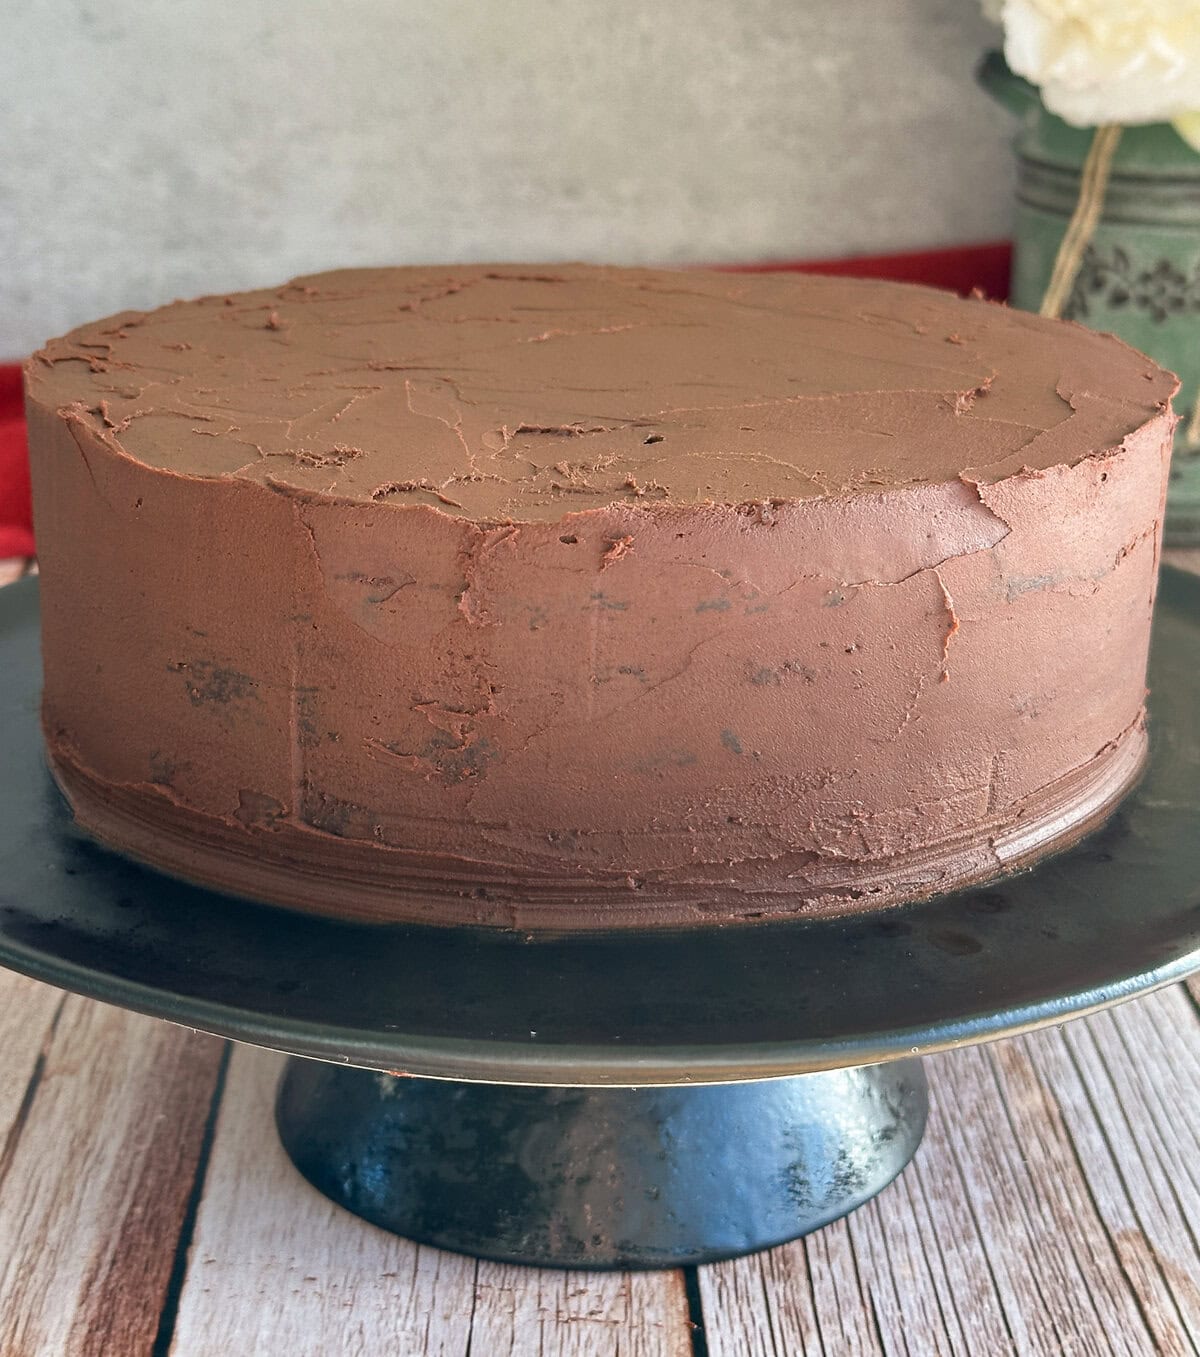
How to Create the Ganache Swooshes
To create these lovely textured swirls, start with a chilled, crumb-coated cake and ganache that is thick enough to hold its shape, but still lovely and spreadable.
Using the back of an offset spatula or spoon, gently press a little ganache against the cake, then pull away with a quick flick or curved motion to create a raised swirl.
Repeat this around the sides and top, overlapping the swirls slightly and changing direction as you go. Don’t worry about making them perfect! You can always go over them again, or simply embrace the lovely rustic finish.
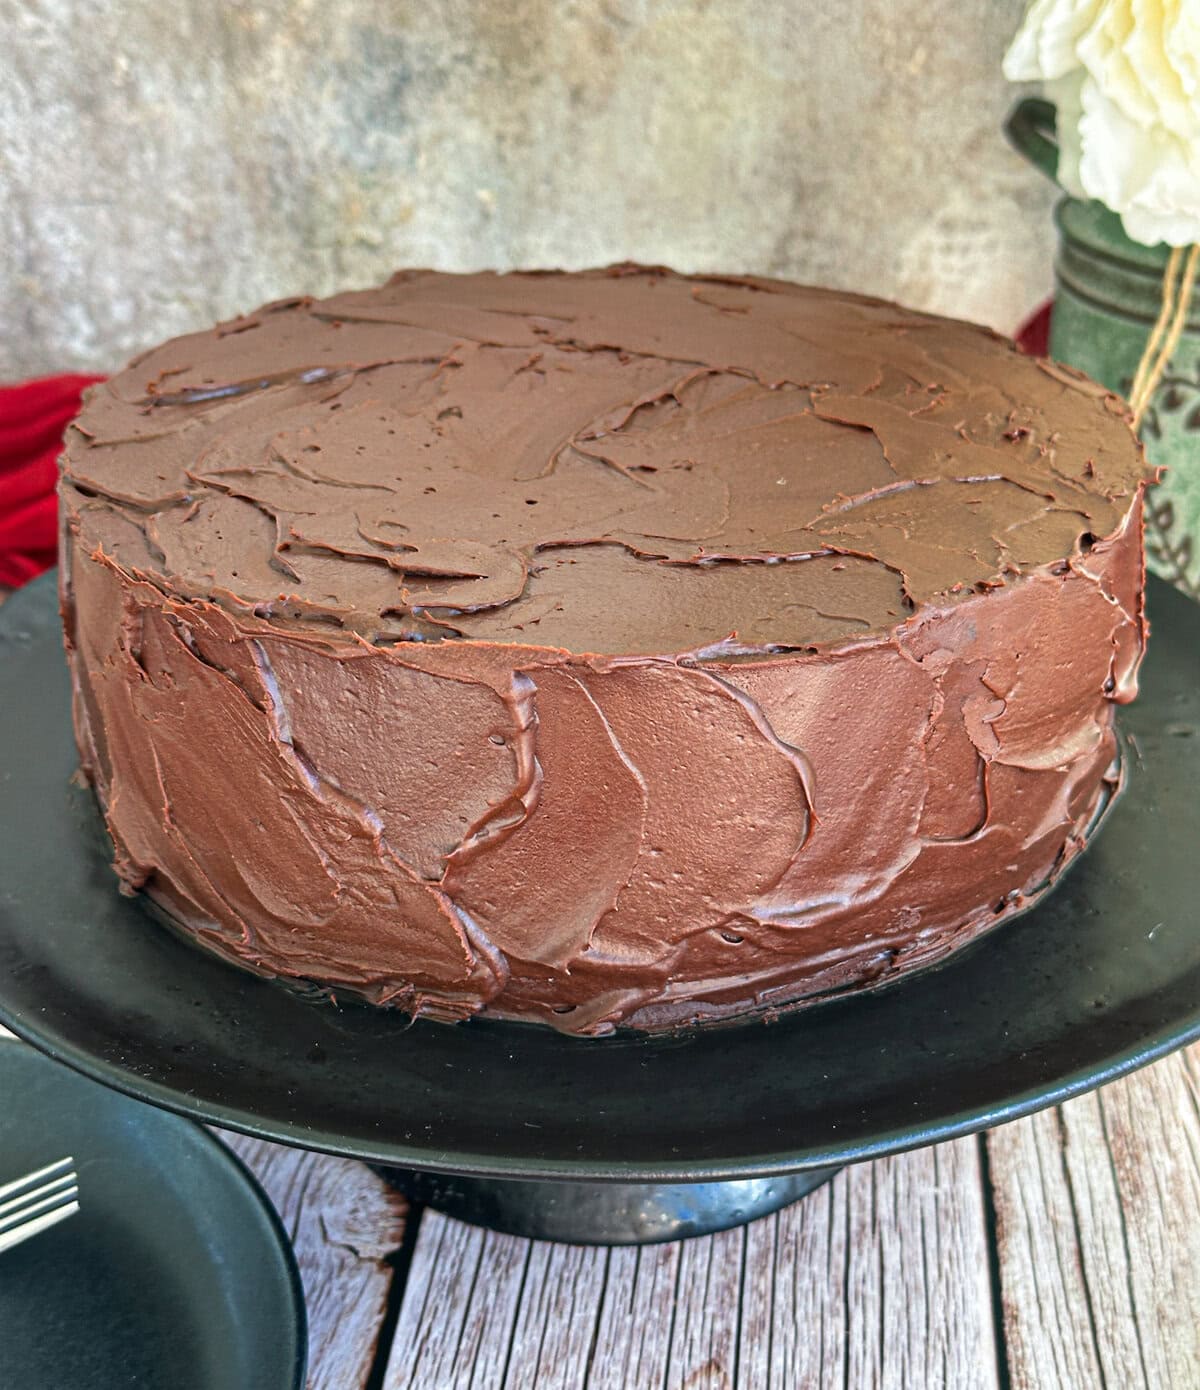
Keep the finished cake refrigerated, removing it approximately 1–2 hours before serving, depending on the room temperature. This allows the cake and ganache to soften slightly for the best eating texture. In hot weather, keep this time shorter.
I Think You’ll Also Like These Recipes
My Recipe for Chocolate Mud Cake
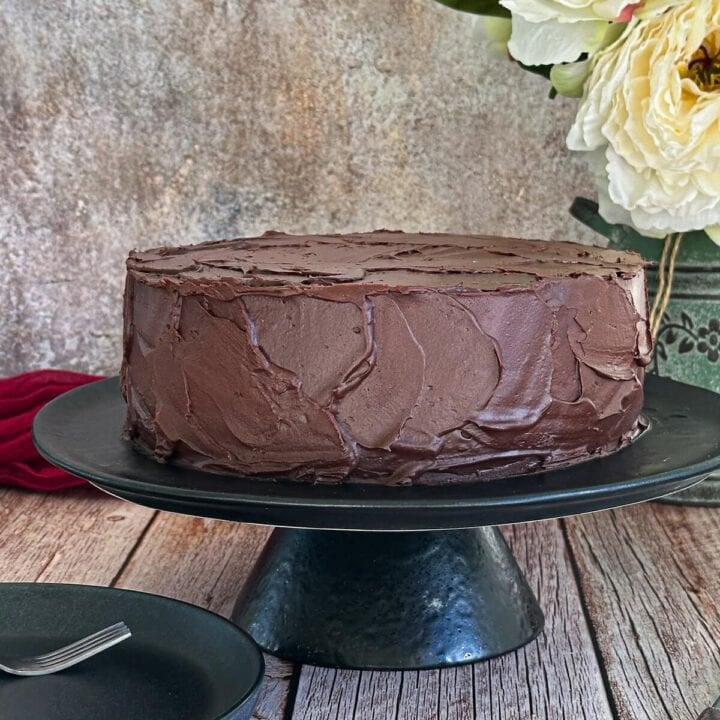
Chocolate Mud Cake
A rich, dense and moist Chocolate Mud Cake made with a blend of dark chocolates and finished with smooth dark chocolate ganache. Perfect for special occasions, with the option to create a beautiful three-layer celebration cake.
Ingredients
- 200 grams butter, diced
- 125 grams dark chocolate (50% cocoa), roughly chopped
- 125 grams dark chocolate (70–72% cocoa), roughly chopped
- 1 cup (200 grams) caster sugar
- ½ cup (100 grams) soft brown sugar, firmly packed
- 200 ml water
- ½ teaspoon instant coffee granules
- 3 eggs, large size 7, lightly beaten
- 100 grams full-fat sour cream, at room temperature
- 2 teaspoons vanilla extract
- 1 cup (150 grams) plain flour
- ⅔ cup (100 grams) self-raising flour
- ½ cup (55 grams) Dutch-processed cocoa powder, sifted
- ¼ teaspoon baking soda
- ½ teaspoon fine salt
Dark Chocolate Ganache – For a Single Coating
- 300 g dark chocolate (approximately 50% cocoa), finely chopped
- 200 ml full-fat cream
- Tiny pinch of fine salt
Instructions
- Preheat the oven to 150°C conventional Bake. Grease and line the base and sides of a deep 20 cm round cake tin (approximately 10 cm deep) with baking paper, allowing the paper to extend approximately 5 cm above the rim.
- Remove the sour cream from the fridge ahead of time to bring it to room temperature.
- In a large saucepan, add both dark chocolates, butter, caster sugar, brown sugar, water and instant coffee. Place over a low heat, stirring regularly, until the chocolate and butter have melted and the mixture is well combined. Do not allow it to boil.
- Remove from the heat and allow the chocolate mixture to cool for approximately 20–25 minutes, until lukewarm.
- Add the lightly beaten eggs and vanilla extract to the cooled chocolate mixture and gently whisk until combined.
- In a separate small bowl, stir or whisk the sour cream until smooth. Add to the chocolate mixture in two additions, gently whisking until fully incorporated.
- In a separate bowl, sift together the plain flour, self-raising flour, Dutch-processed cocoa powder, baking soda and salt.
- Add the dry ingredients to the chocolate mixture in three additions, gently whisking between each addition until just combined and no dry flour remains. Take care not to overmix.
- Pour the mixture into the prepared cake tin and smooth the surface.
- Bake for approximately 1 hour 45 minutes, avoiding opening the oven during the first 1 hour 30 minutes. The cake is ready when the centre is set and a long skewer inserted into the middle comes out with a few moist crumbs but no wet batter. The centre should not wobble when the tin is gently moved. Baking may take up to 2 hours, depending on your oven. If the top begins to brown too quickly, loosely tent with foil.
- Remove the cake from the oven and leave it in the tin, covered with a clean, lightly damp tea towel, for 30 minutes.
- Carefully remove the cake from the tin and allow it to cool on a wire rack for a further 30 minutes.
- While still slightly warm, wrap the cake well in cling film, followed by foil, and allow it to cool completely.
- For the best flavour and texture, I recommend making this cake 2–3 days before serving, allowing the rich, moist crumb time to settle and develop its lovely fudgy texture. Keep the unfilled cake well wrapped in a cool, dry place, refrigerating if conditions are warm.
- If making the cake further ahead, I prefer to let it rest for approximately 48 hours before freezing. Wrap well in cling film and two layers of foil, then freeze for up to 3 months. Thaw completely in the fridge before decorating.
- For the neatest layers, chill the wrapped cake until firm before slicing. Trim any dome from the top, then carefully cut into three even layers. Fill and coat with dark chocolate ganache as desired.
Dark Chocolate Ganache
- Place the finely chopped dark chocolate in a medium heatproof bowl.
- Heat the cream in a small saucepan until steaming and just beginning to simmer around the edges. Do not allow it to boil vigorously.
- Pour the hot cream over the chocolate, ensuring it is covered. Leave undisturbed for 2–3 minutes to allow the chocolate to soften.
- Using a spatula, gently stir from the centre outwards in small circles until the ganache is smooth and glossy. If a few chocolate lumps remain, microwave on low power in 5–10 second bursts, stirring well between each, until completely smooth. Stir in the salt.
- Allow the ganache to cool slightly, then place it in the fridge for 10–15 minutes at a time, stirring thoroughly between intervals. Scrape the firmer ganache from the sides and bottom of the bowl into the centre to ensure it thickens evenly.
- Continue until the ganache is thick and spreadable, similar to soft, creamy peanut butter.
- If the ganache becomes too firm, allow it to soften at room temperature, stirring occasionally. Alternatively, microwave on low power in 5-second bursts, gently stirring from the outside towards the centre between each, until smooth and spreadable again.
- Use the ganache to coat the completely cooled cake. For the three-layer version shown in my photographs, double the ganache ingredients. Spread ganache between the layers, apply a thin crumb coat and refrigerate until firm. Finish with the remaining ganache, smoothing or decorating as desired.
- Store the finished cake in the refrigerator until ready to serve. Remove it approximately 1–2 hours before serving, depending on the room temperature, allowing the cake and ganache to soften slightly for the best eating texture.
- The finished cake can also be frozen. Once the ganache has set, wrap the cake or individual slices well in cling film followed by foil. Thaw completely in the refrigerator before serving.
- Enjoy!
Notes
Choosing the Chocolate: I use equal amounts of Whittaker's 50% Dark Chocolate and 72% Dark Ghana for a lovely rich flavour without too much bitterness. You could also use a good-quality dark chocolate around 60–70% cocoa, although I haven't tested every variation. Choose chocolate you enjoy eating rather than compound cooking chocolate.
Making Ahead: I recommend baking this cake 2–3 days before serving to allow the texture to settle. If making it further ahead, I prefer to rest it for approximately 48 hours before freezing. Keep the unfilled cake well wrapped and stored appropriately.
Ganache Quantity: The standard quantity is for a single coating. For three layers with filling, a crumb coat and final coating, double the ganache ingredients to 600 g chocolate and 400 ml cream.
Storing and Freezing: Keep the finished ganache-covered cake refrigerated and bring towards room temperature before serving, allowing less time in hot weather. The unfilled cake or finished cake can be frozen, well wrapped, for up to 3 months. Thaw completely in the fridge.
Nutrition Information
Yield 20 Serving Size 1Amount Per Serving Calories 352Total Fat 19gSaturated Fat 11gUnsaturated Fat 8gCholesterol 56mgSodium 162mgCarbohydrates 42gFiber 3gSugar 31gProtein 4g
JustAMumNZ.com, occasionally offers nutritional information for recipes contained on this site. This information is provided as a courtesy and is an estimate only. This information comes from online calculators. Although justamumnz.com attempts to provide accurate nutritional information, these figures are only estimates.
I hope you love this Chocolate Mud Cake as much as I do! I am so pleased with how it has turned out after all that testing.
If you give it a try, I’d love to hear how you get on. Leave a comment or a star rating below, and let me know if you make it for a special occasion.
Happy Baking!
Anna xox
Leave a Reply