Do you want to build a snowman, or bake Frozen Snowflake Shape Cookies with the kids……
Posted July 20, 2014, Updated December 11, 2025
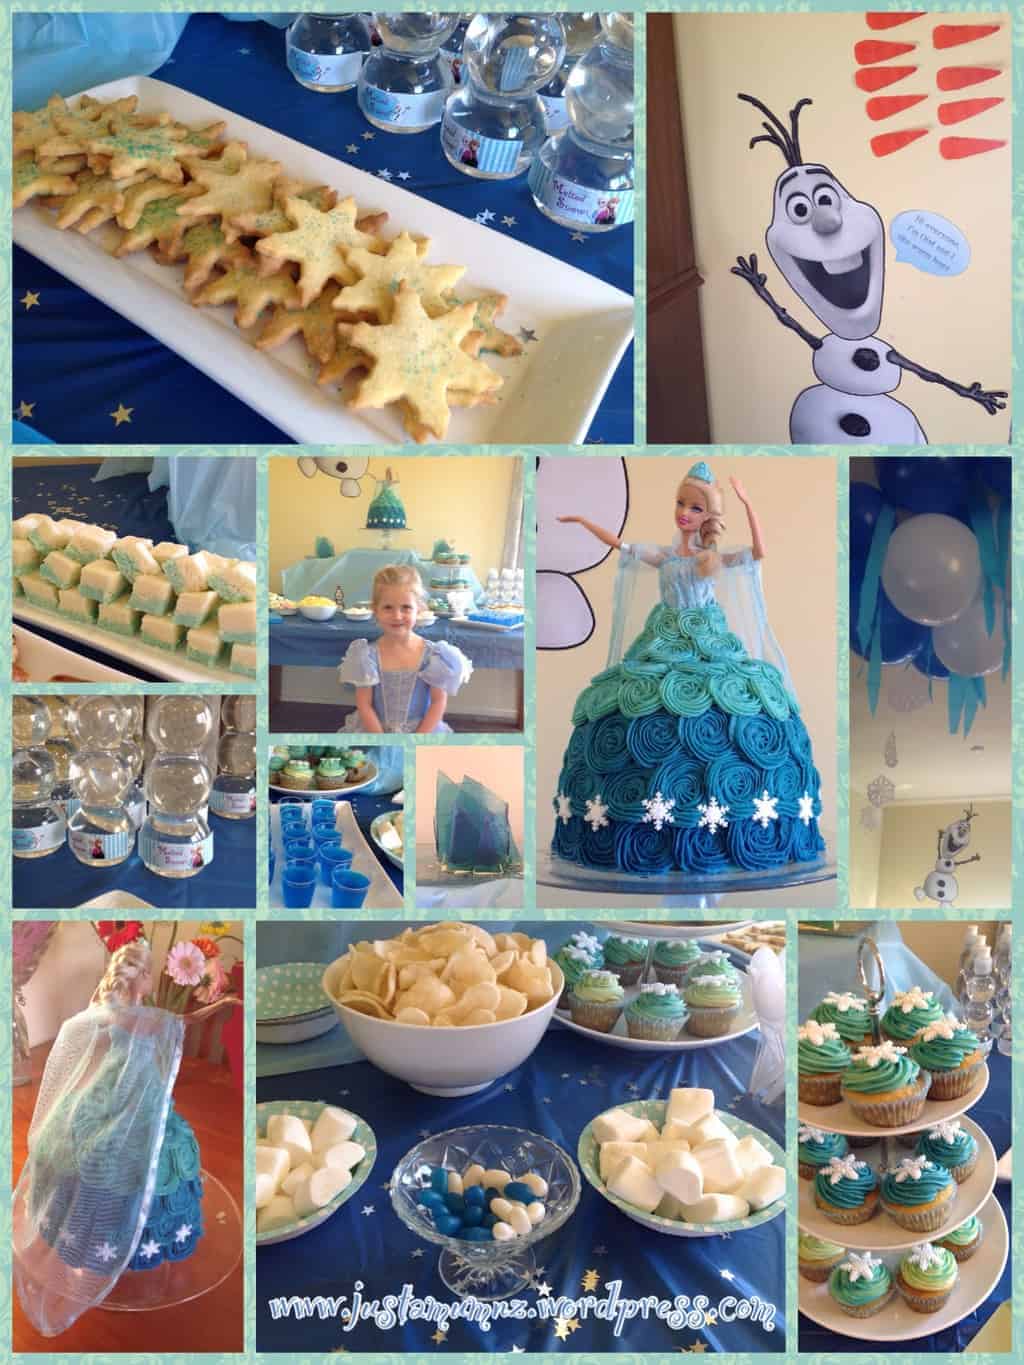
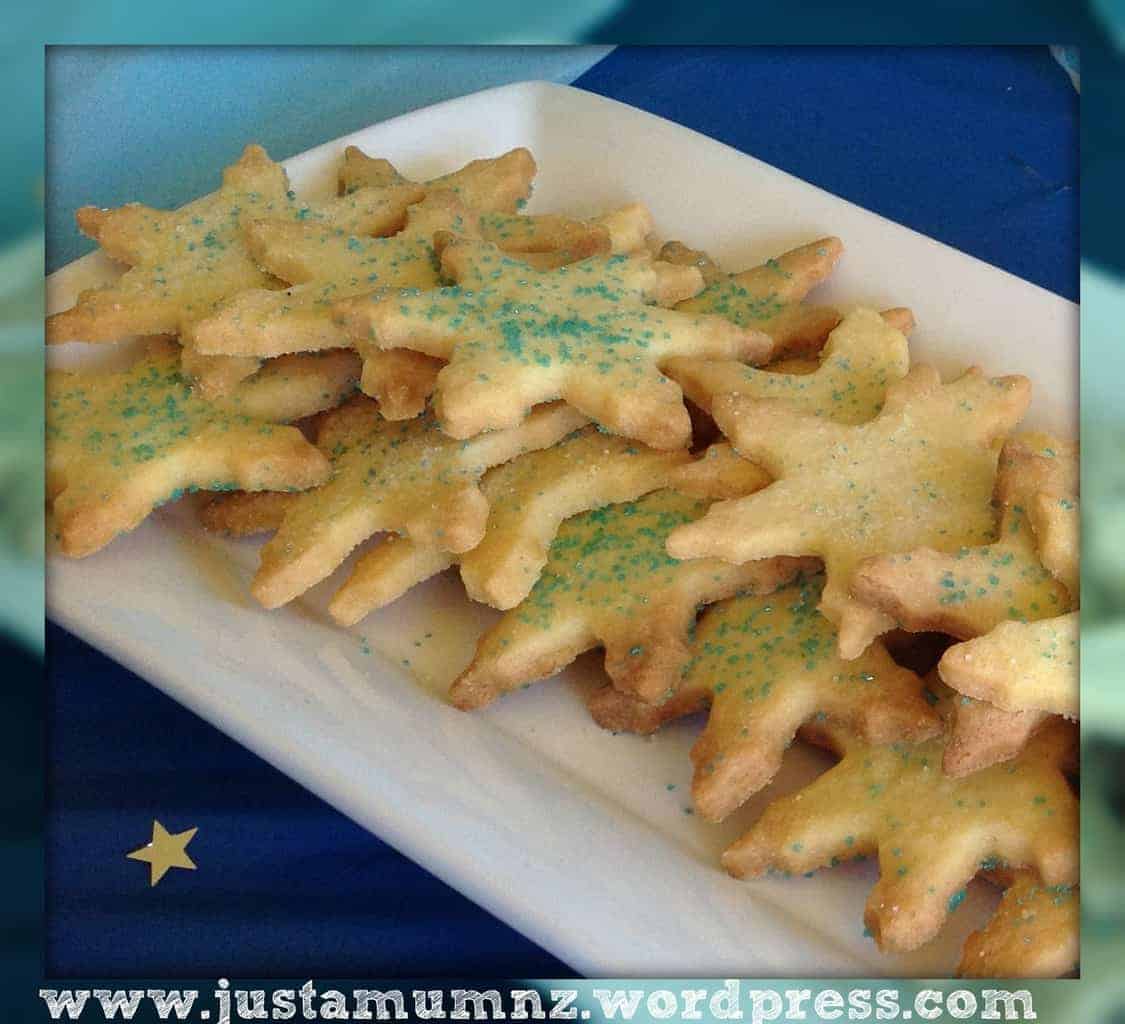
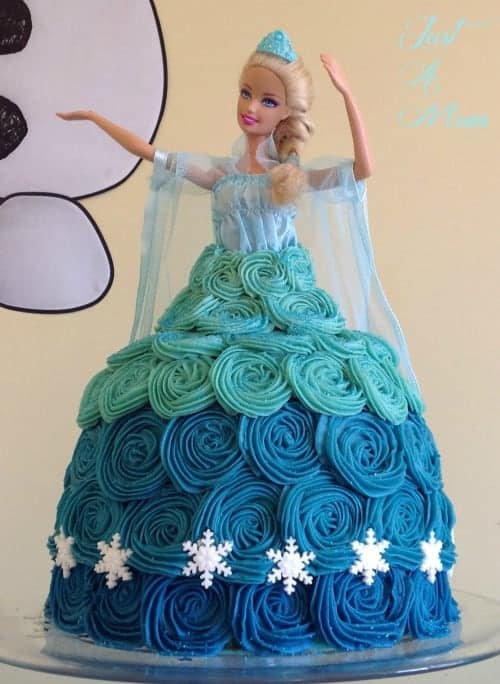
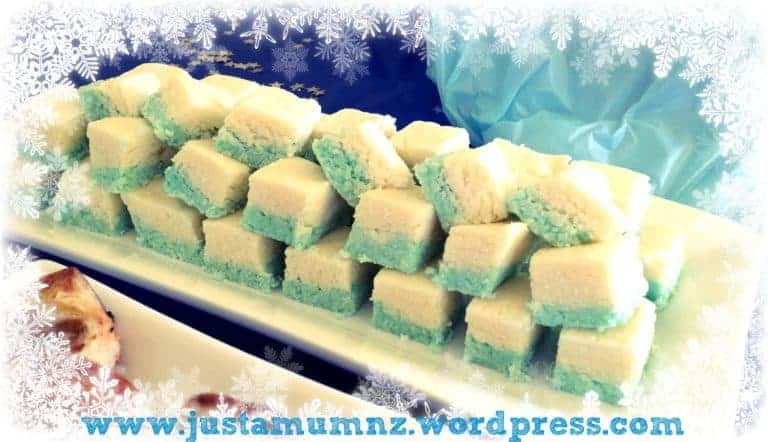
For our recent Frozen Birthday Party I wanted cookies to fit the theme so snowflakes were perfect! So many kids seem to be Frozen crazy so there is lots of inspiration online. I also created an Elsa Cake, frozen Coconut Ice and an entire party for the occasion!
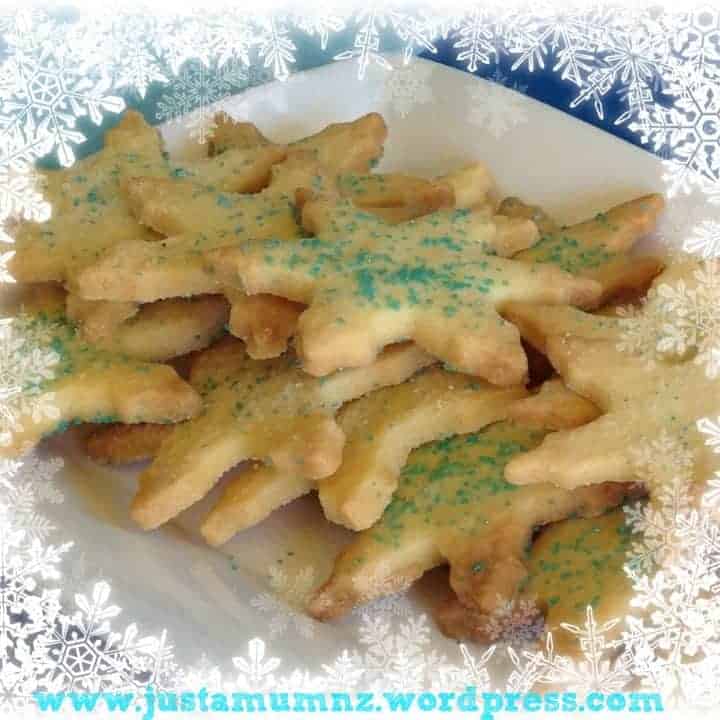
It is not easy finding a great cookie recipe to use shape cutters with, some are too crumbly, dry, and a pain to work with but this one works really well. It is a really tasty biscuit on its own at any thickness so could be used as a basic cookie or rolled out and used with any shape cookie cutter, it is lovely and buttery and crisp – like a nice shortbread.
You can have the cookie on its own, or with coloured sugar sprinkled on top, with pretty icing, dipped in chocolate or sandwiched with jam or icing!
The recipe is simple but you will need to make it in advance as the dough needs to be refrigerated for a few hours before it is hard enough to work with. Do not be alarmed when its first made as it is super soft and hard to imagine it will come together to use with a cookie cutter or hold its shape!
I also shared an Elsa cake, using simple techniques that you can change to suit any theme. With the new Frozen 2 coming out in November 2019 I thought it was a great time to reshare these easy recipes for any Frozen lovers in your family
Check out my Frozen Coconut Ice, no bake, absolutely delicious and very very cute!
So onto the recipe for my Frozen Snowflake Shape Cookies, so easy and delicious, you can use this for so many of my royal icing cookies, or they are delicious on their own.
'Frozen' Snowflake Shape Cookie Recipe
Delicious simple butter cookies, perfect for any little Frozen movie fan.
Ingredients
- 225g Butter, room temperature
- 3/4 Cup White Sugar
- 1/4 tsp Salt
- 1 1/2 tsp Vanilla Essence
- 1 Egg
- 2 Cups Plain White Flour
Instructions
In a food mixer combine the butter and sugar together until it is pale and creamy, scraping down the sides of the bowl occasionally
Add to this the salt and vanilla and mix well.
Add the egg and beat well.
Slowly add the flour and mix until only just combined.
Place some plastic wrap or gladwrap on the bench and tip the mixture into this.
You can either gently mould it into a flat ball shape if you wish to roll it out later for cookie cutters, or you can manipulate it into a roll in the wrap to later cut into 1 cm slices.
Cover and refrigerate for at least two hours to several hours if you wish to cut slices off it.
When ready to bake preheat the oven to 160C Bake and prepare two baking trays with baking paper and set aside
Once out of the fridge gently knead the dough until it comes together as a soft pastry
On a well floured surface roll out the dough to the desired thickness, we went quite thin but could also be thicker and just cooked longer. You may need to flour the rolling pin too to ensure nothing sticks.
Use the cookie cutter to cut the shape and gently transfer to a baking tray lined with baking paper.
Bake the cookies for 13-15 minutes
Keep an eye on them from about 12 minutes on to ensure that they do not begin to brown at the edges, they should be pale golden underneath when done.
Cool on the tray for 3 minutes then transfer to a wire rack to cool completely. Store in an airtight container for up to 5 days.
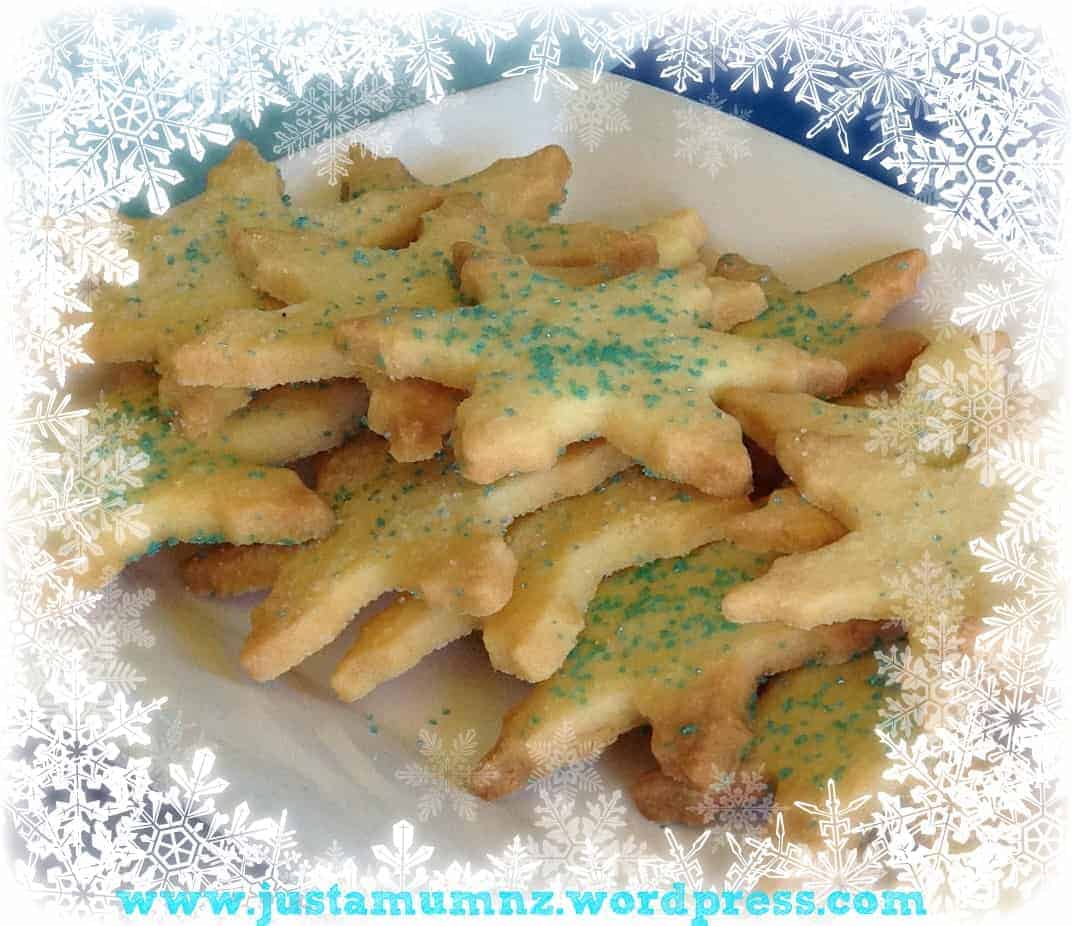
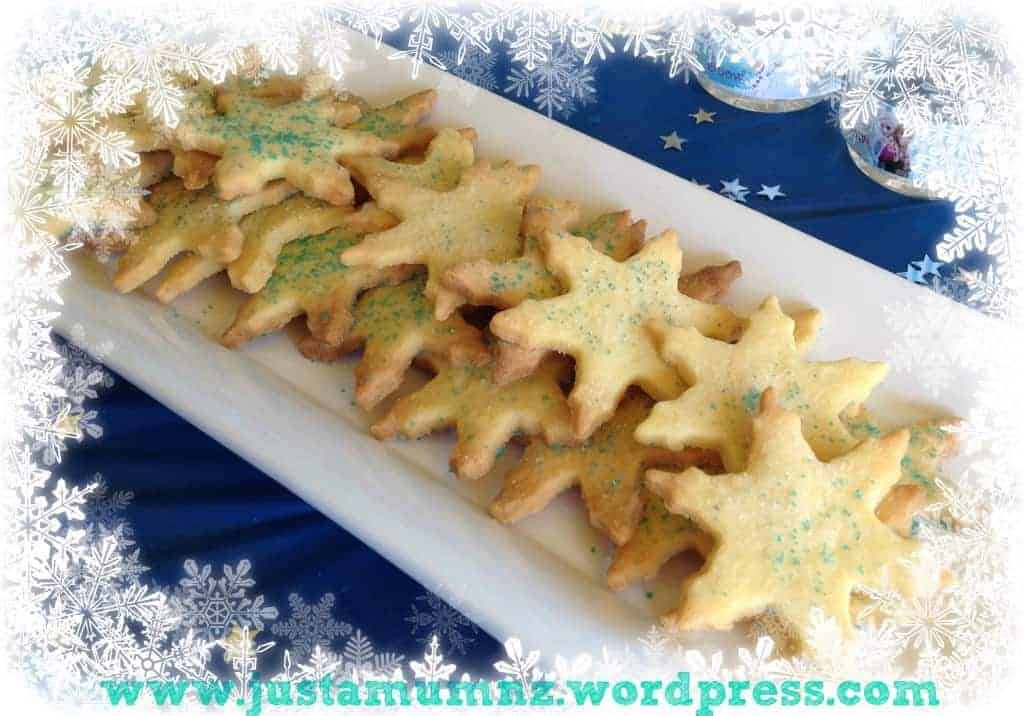
For the Frozen Party Snowflake I added blue sugar crystals to the top for the icy effect before I baked them, you could add red or green for Christmas, or even add some food colouring to the recipe to make cookie shapes for whatever theme you need.
These were very popular at the party with kids and adults alike.
So easy, I would love to hear if you have made any Frozen themed recipes? Let me know in the comments below.
Thank you so much for stopping by to check out my latest recipes on my blog. If you are not already be sure to follow me on Facebook or Instagram for more deliciousness, and you can register your email in the subscription box below to receive all my recipes as I publish them.
Happy Baking
Anna
Jacqui says
My girls would love this! Thank you for linking up to Party Time and we hope to see you again next week!