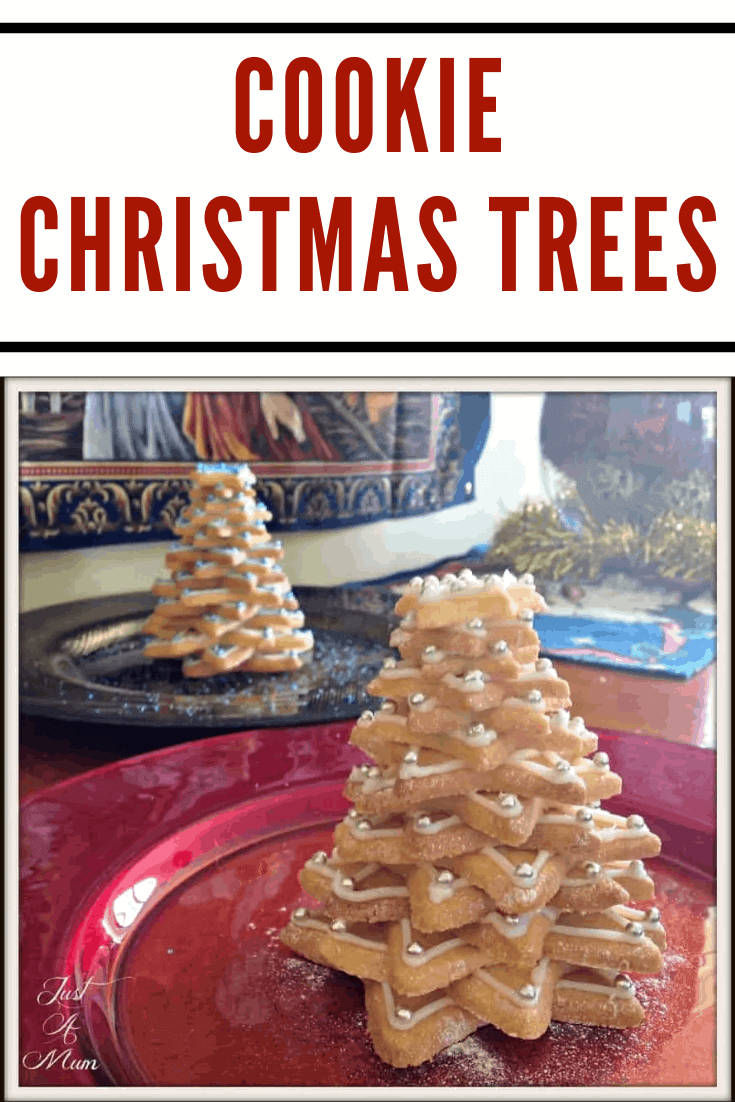
The lovely thing about having a foodie website is the excuse to make lots of recipes that I have only admired in the past. These Cookie Christmas Trees are definitely something I have admired from afar!
Posted December 11, 2014, Updated November 26, 2025
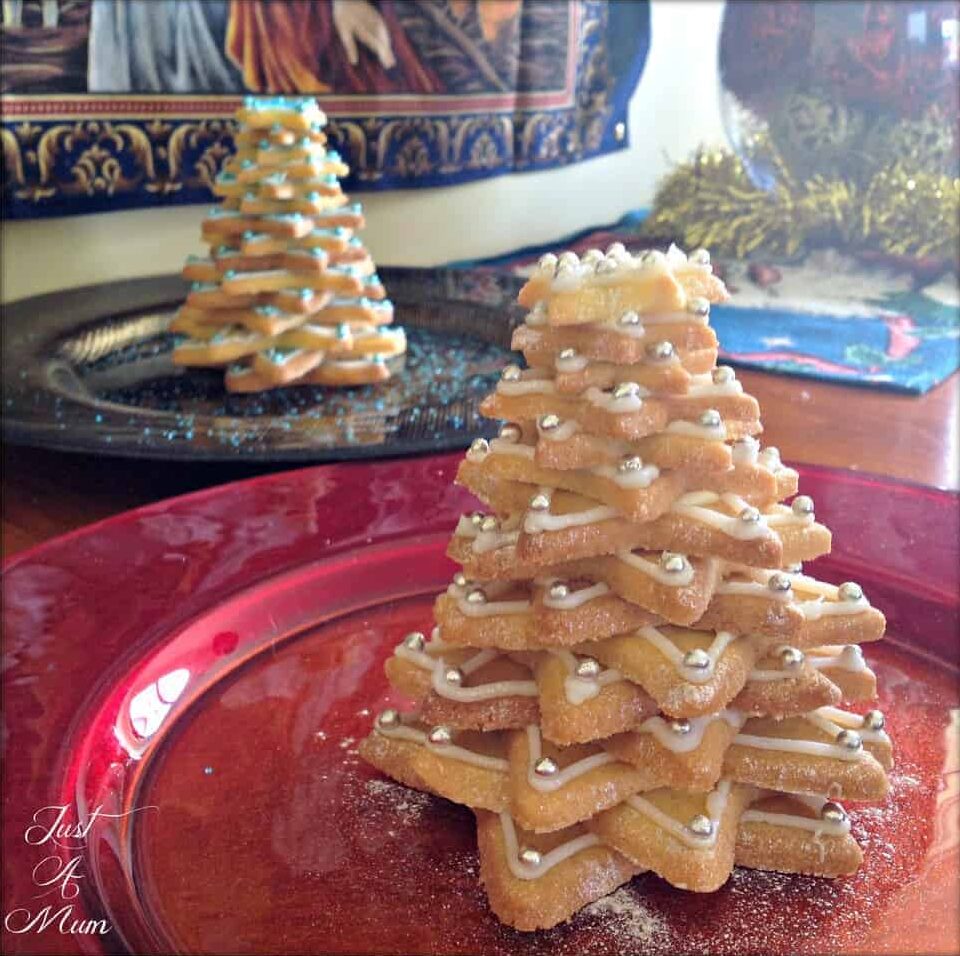
So I was delighted to find just how easy they are! I already have a cookie recipe that I love using for cookie cutter shapes. This recipe is lovely buttery and short and so easy to work with.
I love a basic butter biscuit for these sorts of shape cookies, they are both delicious and super easy to make. There is a bit of patience involved as you do need to allow the dough time to chill before working with it. That can easily be done the day before, or make the biscuits ahead of time and store.
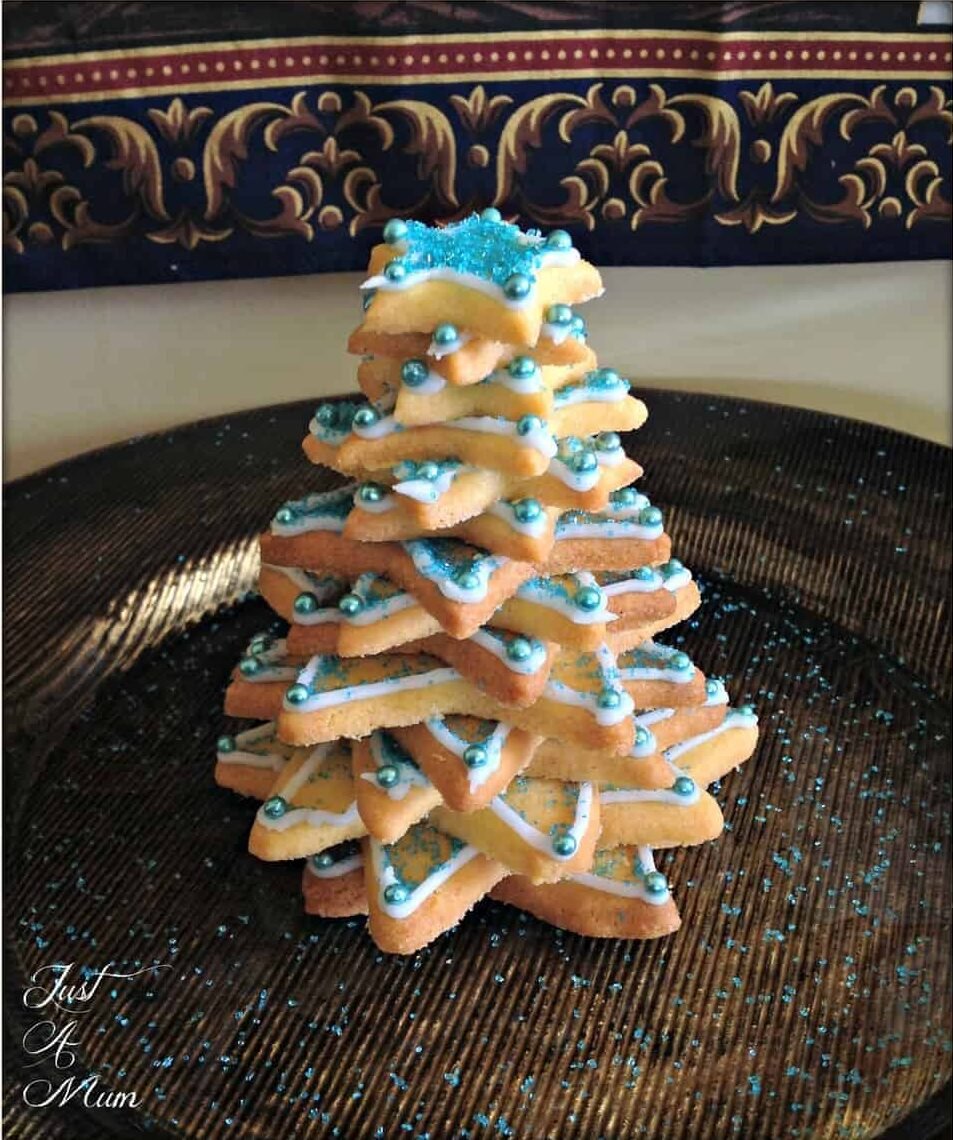
We kept the icing of the trees to a simple minimum so my daughter could help me but you could make these as simple or as elegant as you like. We had a Wilton ready made white icing tube in the cupboard so this made it a breeze to ice – we just added a little narrow circle tip to it and away you go.
You can also make up some basic white royal icing and use a piping bag and a small nozzle tip, that way you can ice it any colour you like – I will add in a link to a good royal icing recipe below for you to use. Or alternatively you could use melted white chocolate – fiddlier to use but delicious.
It is best to make up the cookie dough ahead of time as it has to sit for 2 hours minimum – I made mine on a super humid day so I needed to pop it back in the freezer between rolling & cutting to make sure it is not too soft – if it sticks to the bench its too soft so 15 minutes in the freezer will sort that out.
I made my dough the day before I needed it so it was ready to go when I was the next day.
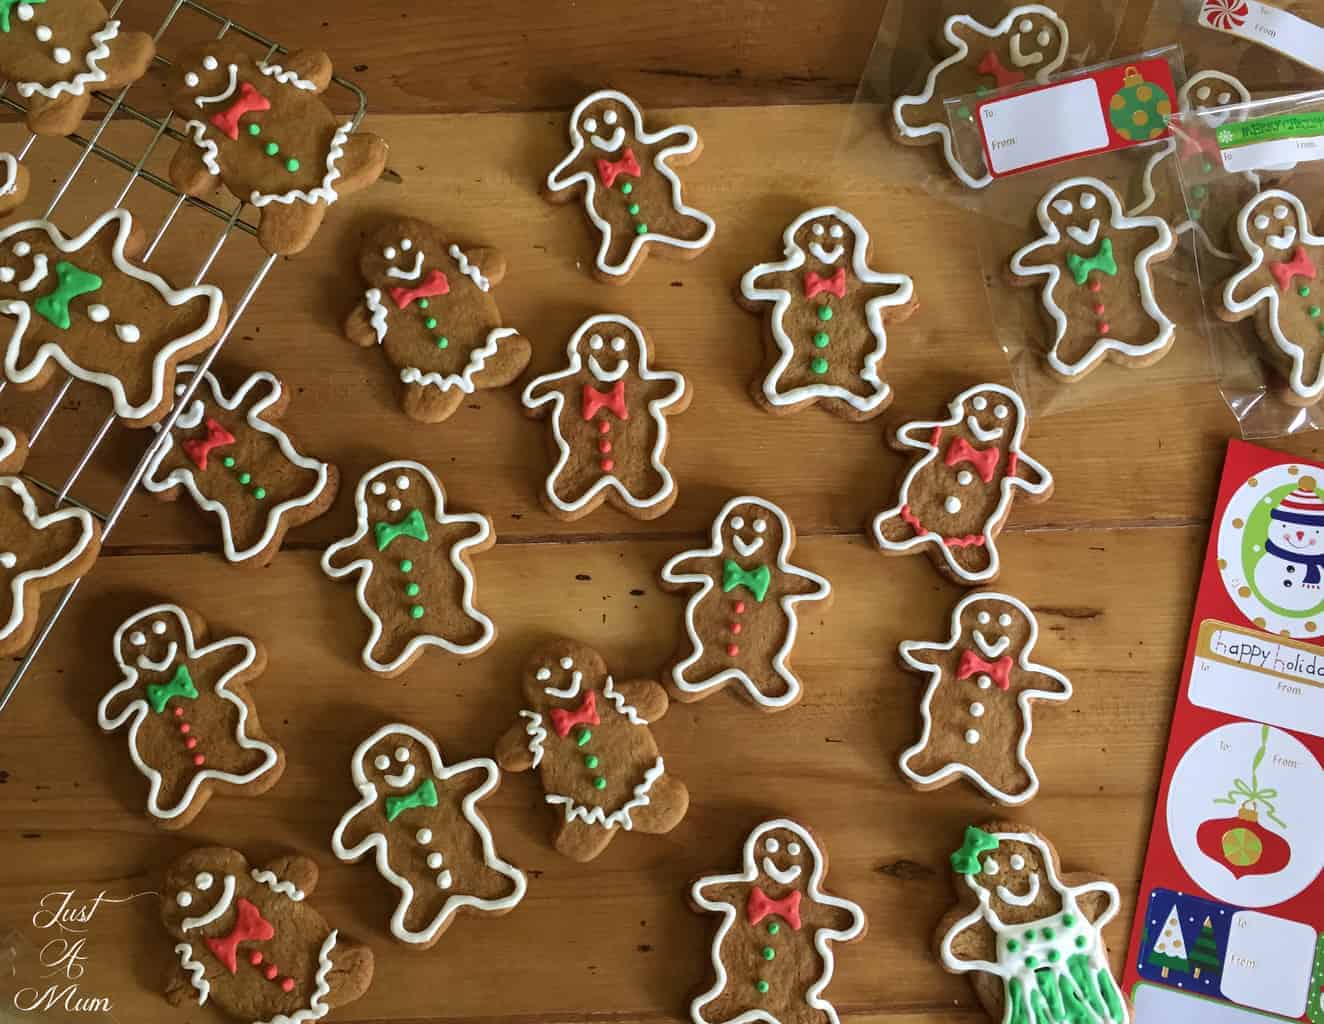
If you love creating fun memories and baking at Christmas be sure to check out these two wonderful recipes for festive biscuits
Gingerbread Men
Christmas Shape Cookies
And now onto the recipe, I hope you enjoy these lovely simple Cookie Christmas Trees
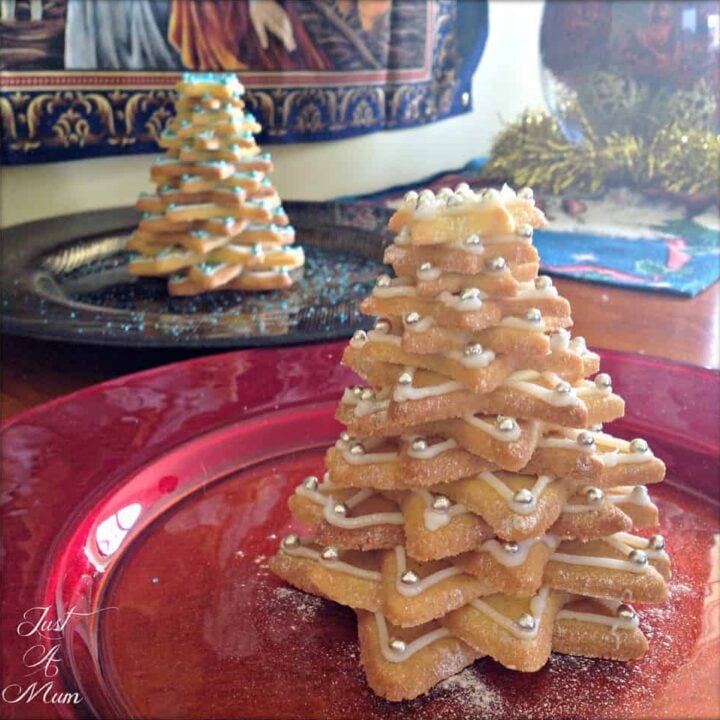
Cookie Christmas Tree
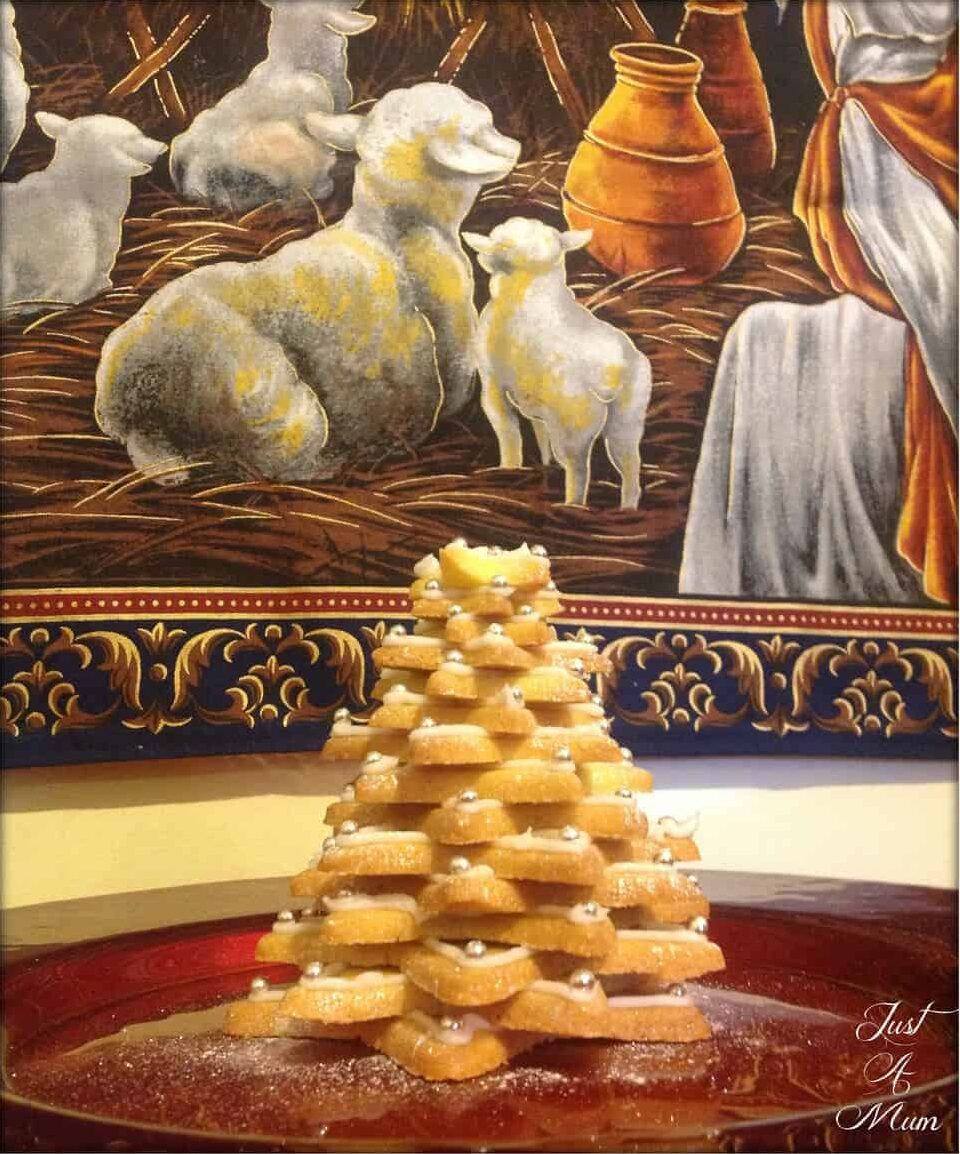
Delicious and so pretty - these easy Cookie Christmas Trees will look stunning as a table centre piece.
Ingredients
- Unsalted Butter (I used normal and it was fine), 225 grams
- 3/4 Cup White Sugar, 220 grams
- 1/4 tsp Salt
- 1 1/2 tsp Vanilla
- 1 Large Egg
- 2 Cups Plain White Flour, 300 grams
To Decorate Tree
- White Chocolate, 50 grams
- Royal Icing or ready made white icing
- Decorative sprinkles or cachous
- Icing Sugar, Sugar Sprinkles or edible glitter to finish
Instructions
- Combine the butter and sugar together in food mixer until it is pale and creamy, scraping down the sides of the bowl occasionally and then mix the salt and vanilla well into this mixture.
- Add the egg and beat well.
- Slowly add the flour and mix until only just combined.
- Place some plastic wrap or gladwrap on the bench and tip the mixture into this. Gently mould it into a rough flat ball shape
- Cover and refrigerate for at least two hours until firm enough to knead and roll out.
- Once out of the fridge gently knead the dough and on a well floured surface roll out the dough to the desired thickness, we went quite thin but could also be thicker and just cooked longer. You may need to flour the rolling pin too to ensure nothing sticks.
- Preheat oven to 160C
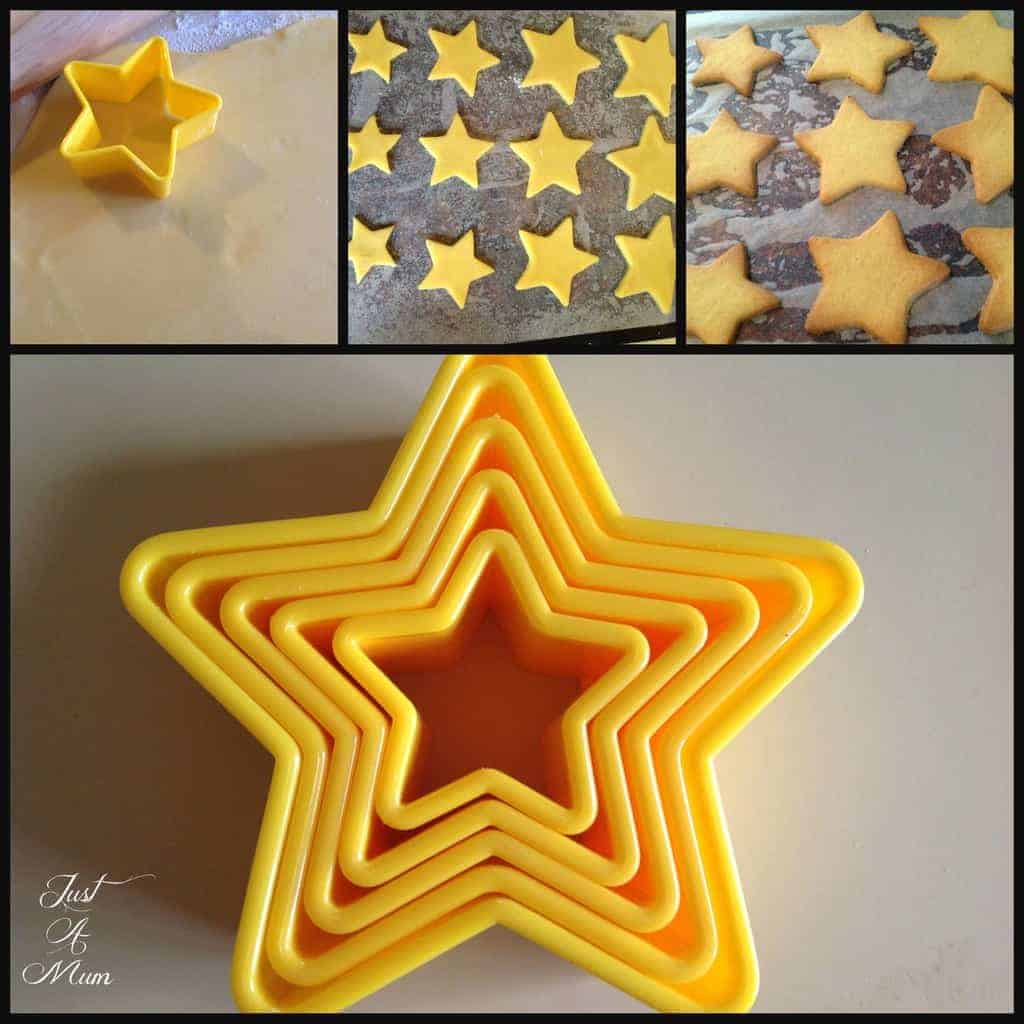
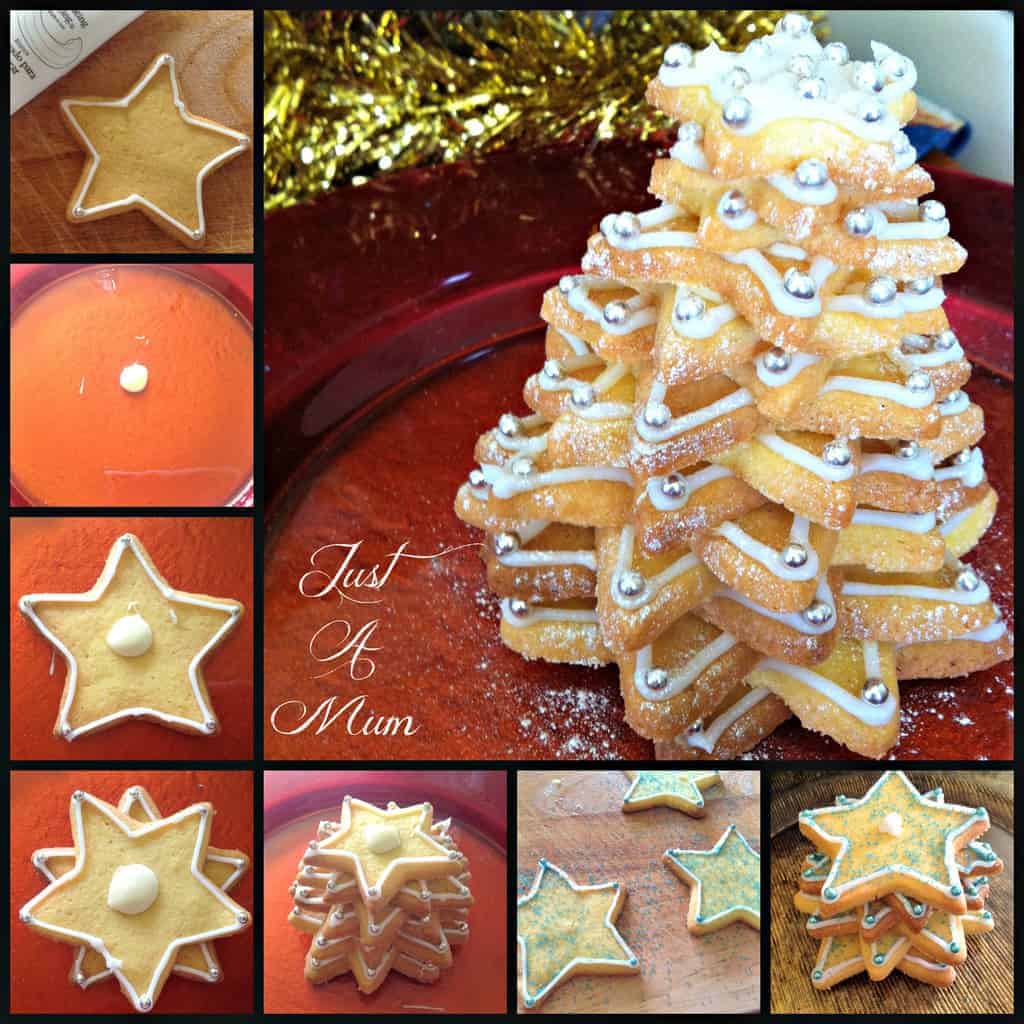
- Use the cookie cutter to cut the shape and gently transfer to a baking tray lined with baking paper - cut 3 of each star shape - so 15 in total per tree - this recipe should to 3 trees
- Cook for 13-15 minutes. Keep an eye on the little stars from about 10 minutes on to ensure that they do not begin to brown at the edges, they should be pale golden underneath when done. I took the two littlest star shapes out early - watch your fingers!
- Cool on the tray for 3 minutes then transfer to a wire rack to cool completely. Store in an airtight container for up to 5 days.
- To Prepare Tree
- Ice around the outside of the star shape with a small icing tip, add the decorative bauble of your choice at each tip - repeat with remaining cookies - 3 of each shape - so in this case 15 cookies
- Melt the white chocolate in the microwave, stirring every 10 seconds
- Place a small amount of melted white chocolate in the middle of a decorative plate.
- Place your largest star on the white chocolate and add a small amount of white chocolate on top of that star.
- Then add the next large star of the same size, you can either have this completely off centre of the other star or 1/3rd turned.
- Then add another dollop of white chocolate
- Repeat with last largest star - turned again either off centre to that one or 1/3 turned again.
- Then begin with the next size, repeating the dollop of white chocolate, and turning the star to different angles and continue until you have used all 15 stars.
- Be careful as you are creating the tree that you keep it centred and the tree growing straight not leaning sideways!
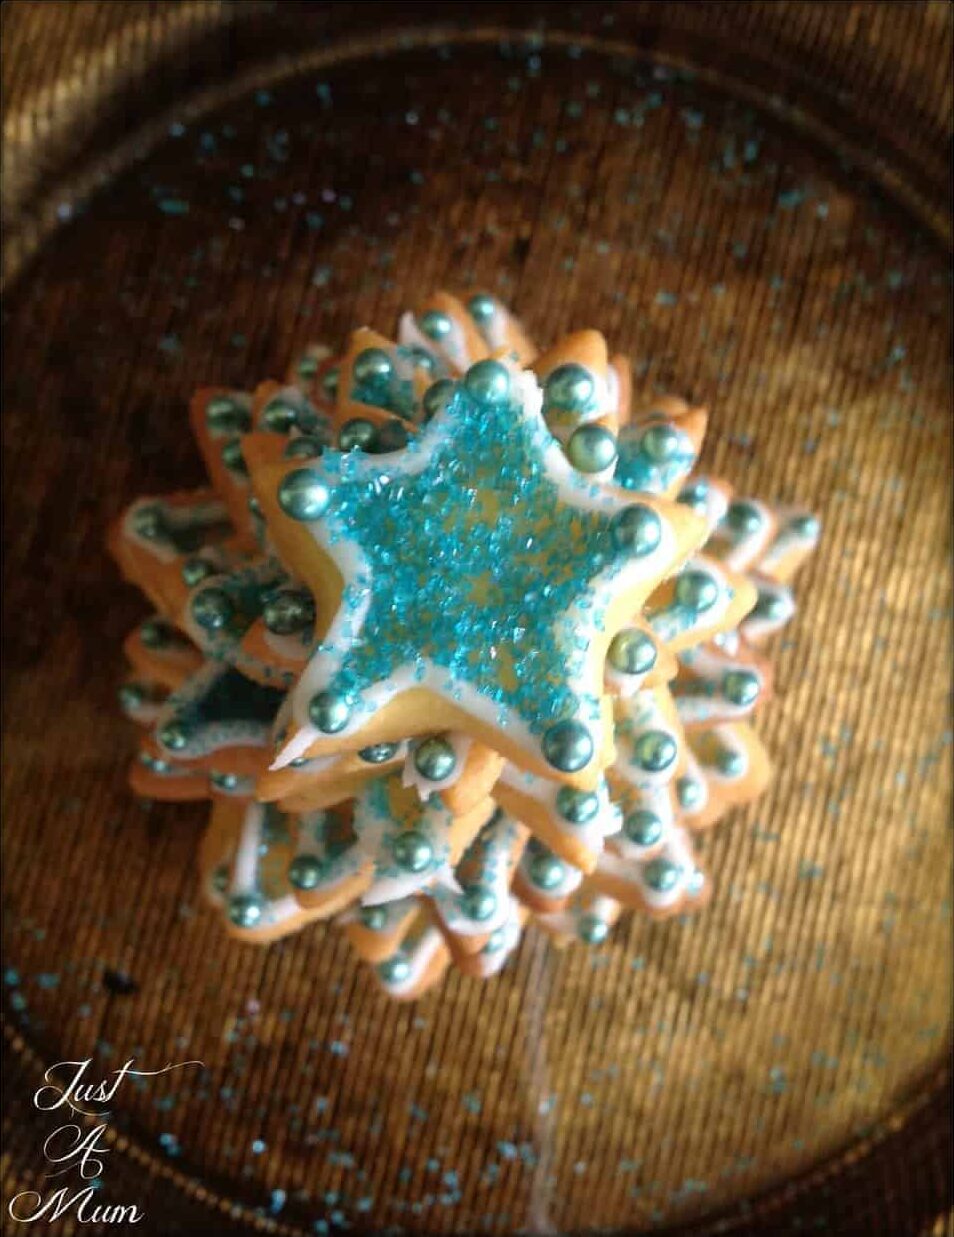
- Sprinkle over the completed tree with some edible glitter, sugar sprinkles or icing sugar to finish them off.
- Enjoy!
Nutrition Information:
Yield: 36 Serving Size: 1Amount Per Serving: Calories: 73Total Fat: 0gSaturated Fat: 0gUnsaturated Fat: 0gCholesterol: 5mgSodium: 17mgCarbohydrates: 16gFiber: 0gSugar: 5gProtein: 2g
JustAMumNZ.com, occasionally offers nutritional information for recipes contained on this site. This information is provided as a courtesy and is an estimate only. This information comes from online calculators. Although justamumnz.com attempts to provide accurate nutritional information, these figures are only estimates.
So while there are a lot of instructions it is really quite simple! I loved making these with my daughter and I am going to make up another batch for when they finish school so they can create their own.
Here is the link for royal icing – you will not need the quantity they have listed here so at least half the recipe or make other things like gingerbread men or more xmas trees! 🙂 Royal Icing Recipe
Thank you so much for stopping by to check out this recipe, you can follow me on Facebook & Instagram and also follow this blog via email to receive all my recipes as I publish them so check out the subscription box below.
Happy Baking!
Anna

Cindy @Your Kids OT says
I’ve always wanted to make one of those trees. I should invest in those cookie cutters. Your star trees look lovely.
justamumnz says
Thank you Cindy – they were so much easier than I imagined and the cutters are just a cheap set too 🙂