


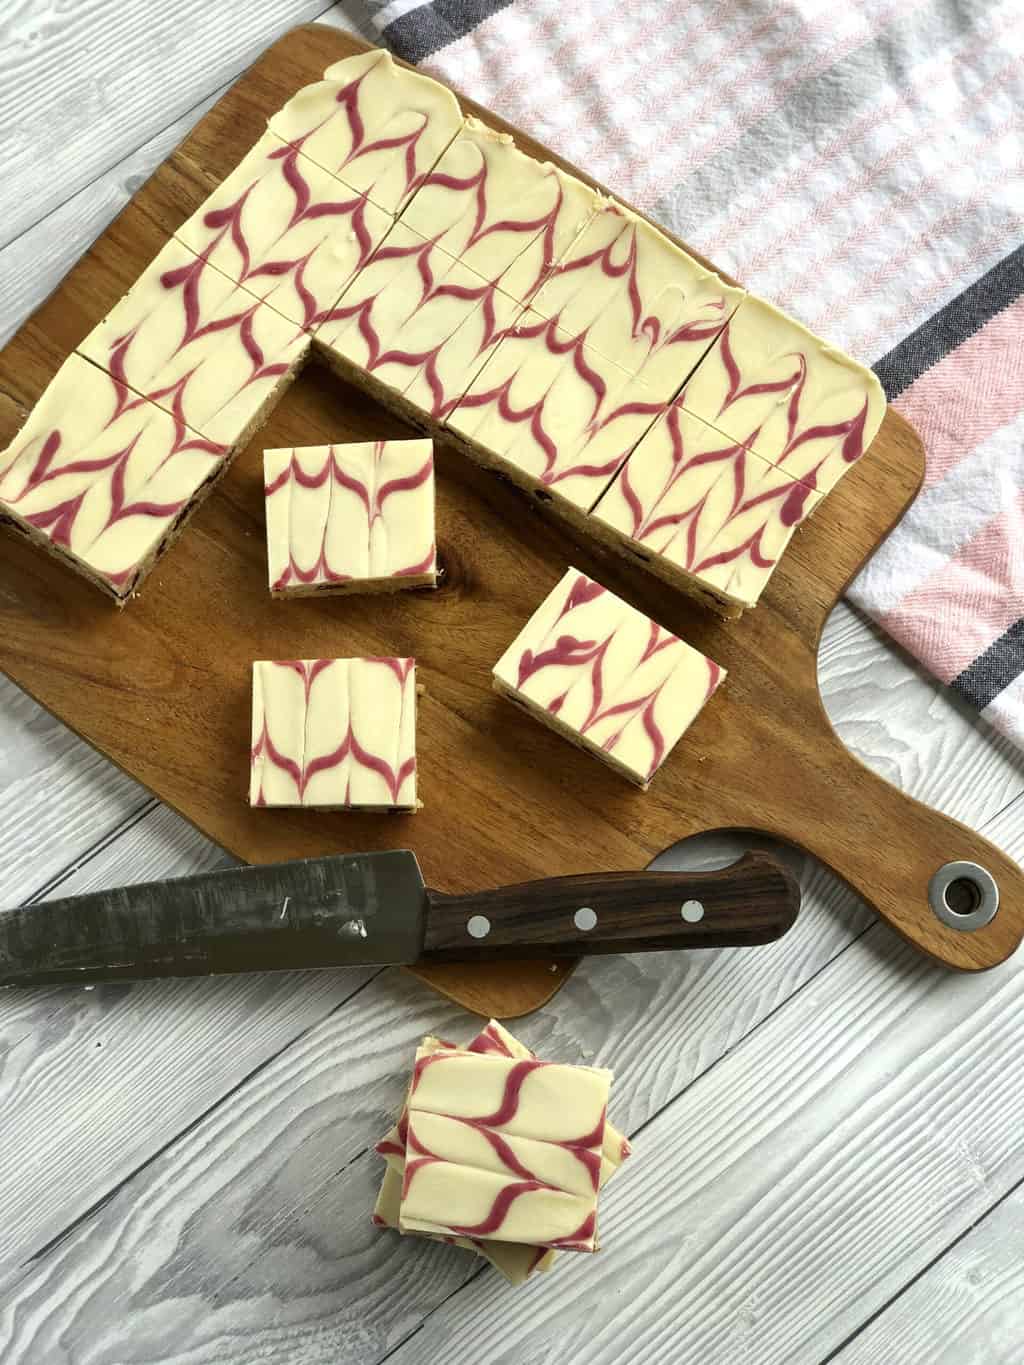
No bake slices are such a handy thing to have in your baking repertoire. They are quick to make, easy to customise and perfect for everything from lunchboxes to simple sweet treats. But if you’ve ever ended up with a slice that is too soft, oily, crumbly or difficult to cut, you’ll know they don’t always go quite to plan!
The good news is that most no bake slice problems are easy to fix once you understand what’s happening in the mixture. Whether your slice isn’t setting properly, the icing is too soft, the chocolate has seized or the butter is leaking from the base, this guide will help you troubleshoot common issues and get better results every time.
If you’re looking for a broader guide covering common baking problems across cakes, cookies and more, I’ve shared that here.

If you’re looking for inspiration, you might like my full collection of Easy No Bake Slices.
Once you understand what helps a no bake slice hold together, it becomes much easier to work out what’s going wrong. Here are the most common issues, along with simple tips to help you fix them. Don’t worry if it hasn’t worked out perfectly before, a few small tweaks usually make all the difference!
What helps a no bake slice set properly?
A no bake slice sets as the fats and sugars firm up when chilled. What holds it together is a balance of melted butter, chocolate or condensed milk, combined with dry ingredients such as crushed biscuits, coconut or cereal.
For a slice to hold together well, you need:
- enough dry ingredients to absorb moisture and help it hold together
- enough melted ingredients to bind everything together
- thorough mixing so the fat is evenly distributed
- sufficient chilling time for the mixture to firm up
- the right tin size so the slice has enough depth
If any of these are out of balance, the slice may stay soft, feel greasy or fall apart when cut. This is one of the most common things I see, and thankfully it’s usually very easy to fix.
You can see this balance in action in my No Bake Chocolate Slice, which is a great base recipe to adapt with any chocolate you like!
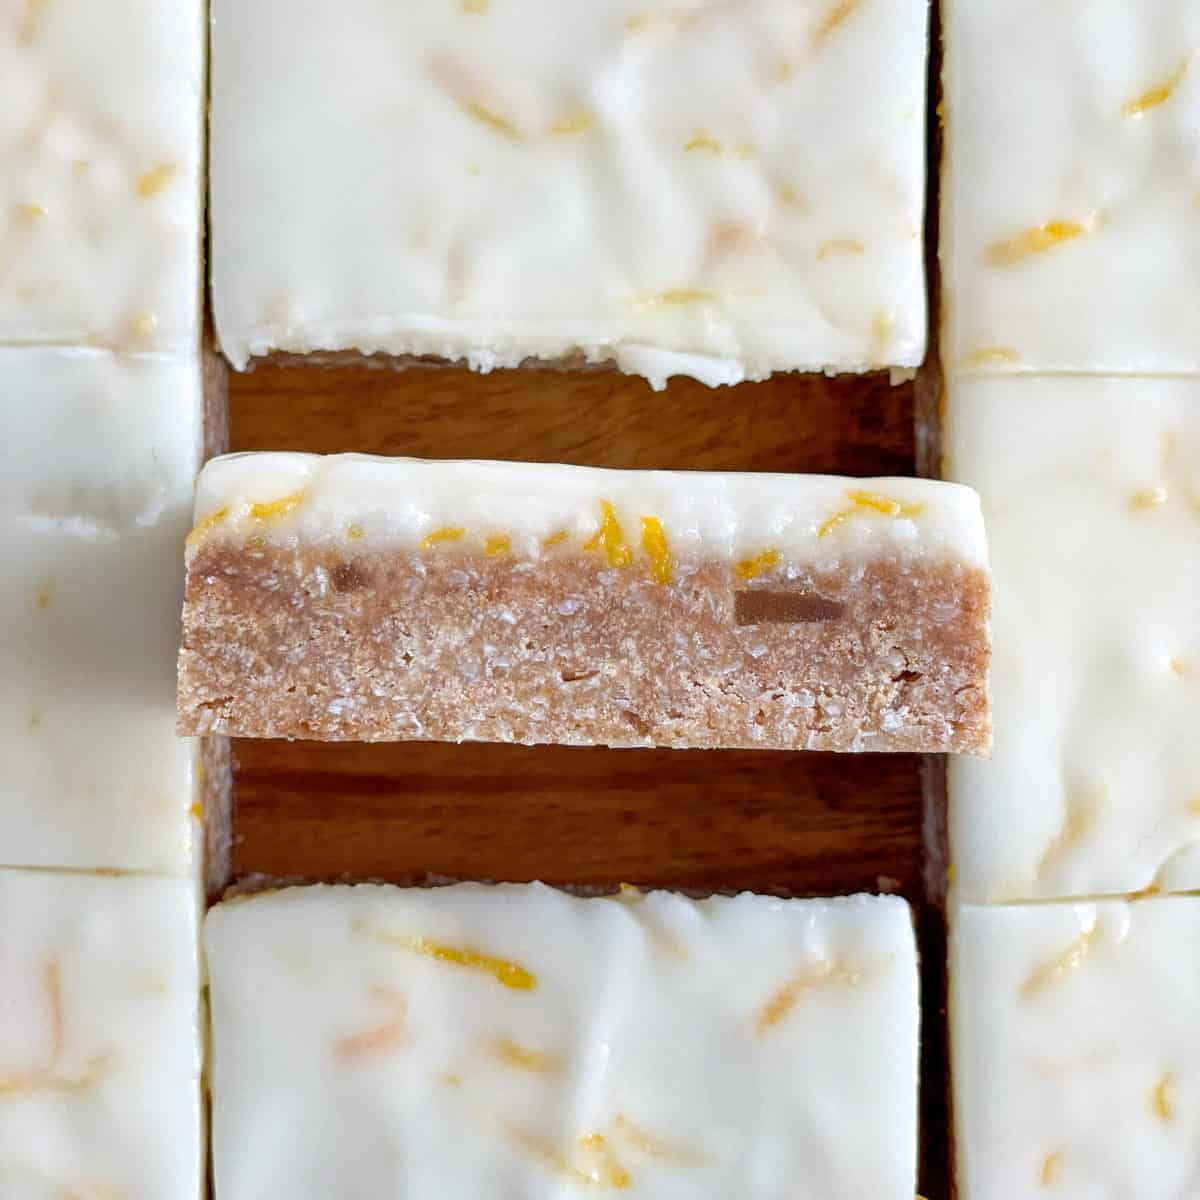
What biscuits are best for no bake slices?
The type of biscuit you use plays a big role in the final texture of your slice. Some give a firm, classic base, while others create a softer or slightly sweeter result.
In New Zealand, wine biscuits are the most commonly used. They have a light texture and neutral flavour, making them perfect for soaking up butter or condensed milk while still holding their shape.
If you can’t find wine biscuits, there are plenty of great alternatives:
- Marie biscuits – a very similar option, slightly firmer but still mild in flavour
- Arrowroot biscuits – light and crumbly, giving a softer, more delicate base
- Rich Tea biscuits – popular in the UK, slightly drier and great for helping the slice hold together
- Digestive biscuits – a little more dense and wheaty, giving a firmer, slightly more rustic base
- Malt biscuits – softer and a bit sweeter, which can add extra flavour but may create a slightly softer slice
For best results, choose a biscuit that crushes easily and absorbs moisture well without becoming pasty. A fine crumb with a little texture (rather than a powder) gives the nicest result.
Once you get a feel for this, you’ll find it much easier to adjust recipes to suit what you have on hand.
💡 Handy Tip: For Clean, Neat Slices
Most no bake slices cut best when fully chilled, then rested briefly at room temperature before slicing. It makes such a difference to how neat they look!
Why is my no bake slice not setting?
This is usually caused by one of the following:
Too much wet ingredient for the amount of dry
If there is too much butter, condensed milk, syrup or melted chocolate compared with the dry ingredients, the mixture will not firm up properly.
A good indicator is how the mixture looks before pressing it into the tin. If it appears loose, glossy or oily, it likely needs a bit more to help it hold together. Stir through a little extra crushed biscuit, coconut or similar dry ingredient until it holds together without becoming dry.
Not chilled for long enough
No bake slices rely entirely on chilling to set. While some may feel firm after a short time, they continue to firm up as they cool fully.
For best results, chill for at least 3–4 hours, and longer if the slice contains chocolate or a soft icing layer. Overnight chilling often gives the cleanest cut.
Warm mixture or warm environment
If the mixture is still warm when pressed into the tin, or your kitchen is warm, the fats remain too soft and the slice will take longer to set.
Allow hot ingredients to cool slightly before mixing, and always chill promptly. In warmer conditions, the fridge is essential.
Tin size is too large
If the mixture is spread too thinly, it will not have enough depth to hold together once set. This can make even a well-balanced recipe seem soft or fragile.
Using the correct tin size helps ensure the slice sets firmly and cuts neatly.
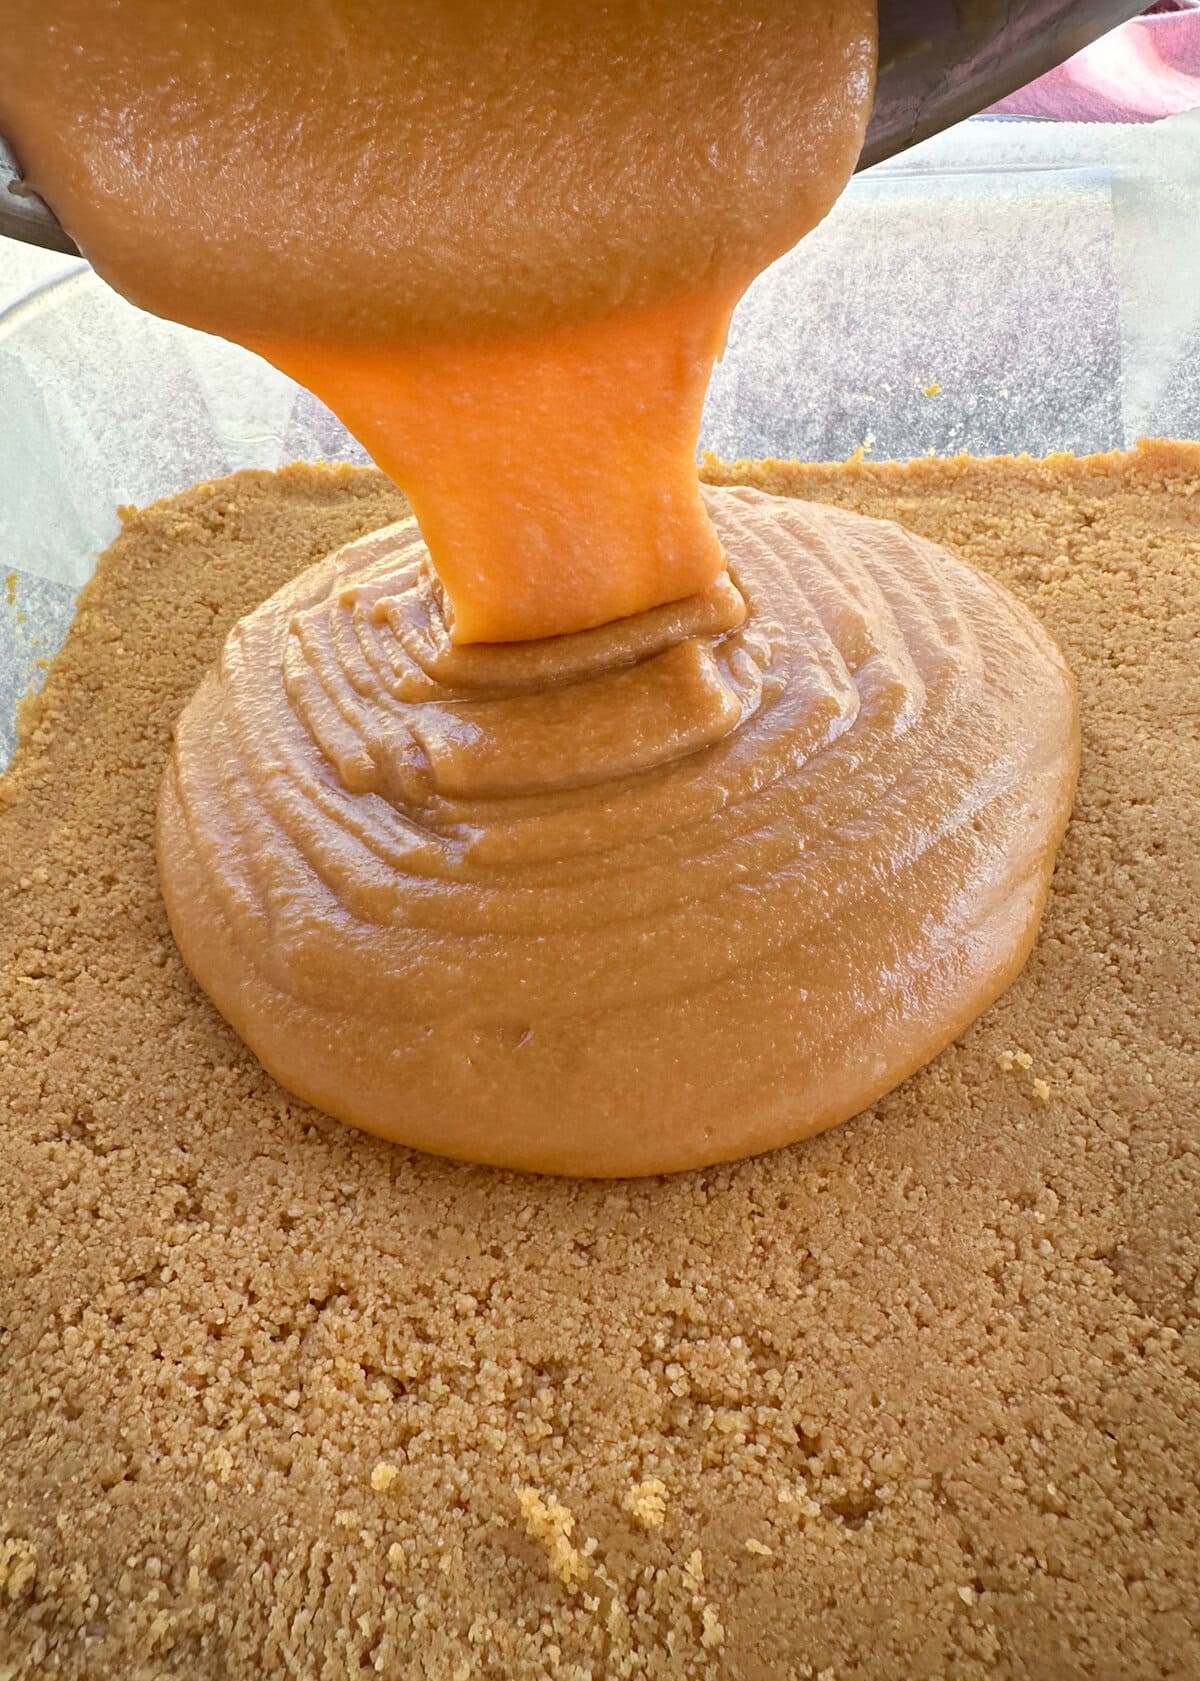
Why is butter leaking out of my slice?
Butter leaking or pooling is a sign that the fat has not been fully absorbed into the dry ingredients.
This can happen if:
- the butter quantity is too high for the recipe
- the biscuit crumbs are too coarse to absorb the fat
- the mixture has not been mixed thoroughly
- the butter was overheated and separated
If the butter becomes very thin or starts to separate, it has likely been overheated, which can make it harder to bind evenly through the mixture.
For best results, melt butter gently until just liquid, allow it to cool slightly, then mix thoroughly so every part of the mixture is evenly coated. The final mixture should look moist but not oily.
Add extra biscuit crumbs if it feels too moist or oily.
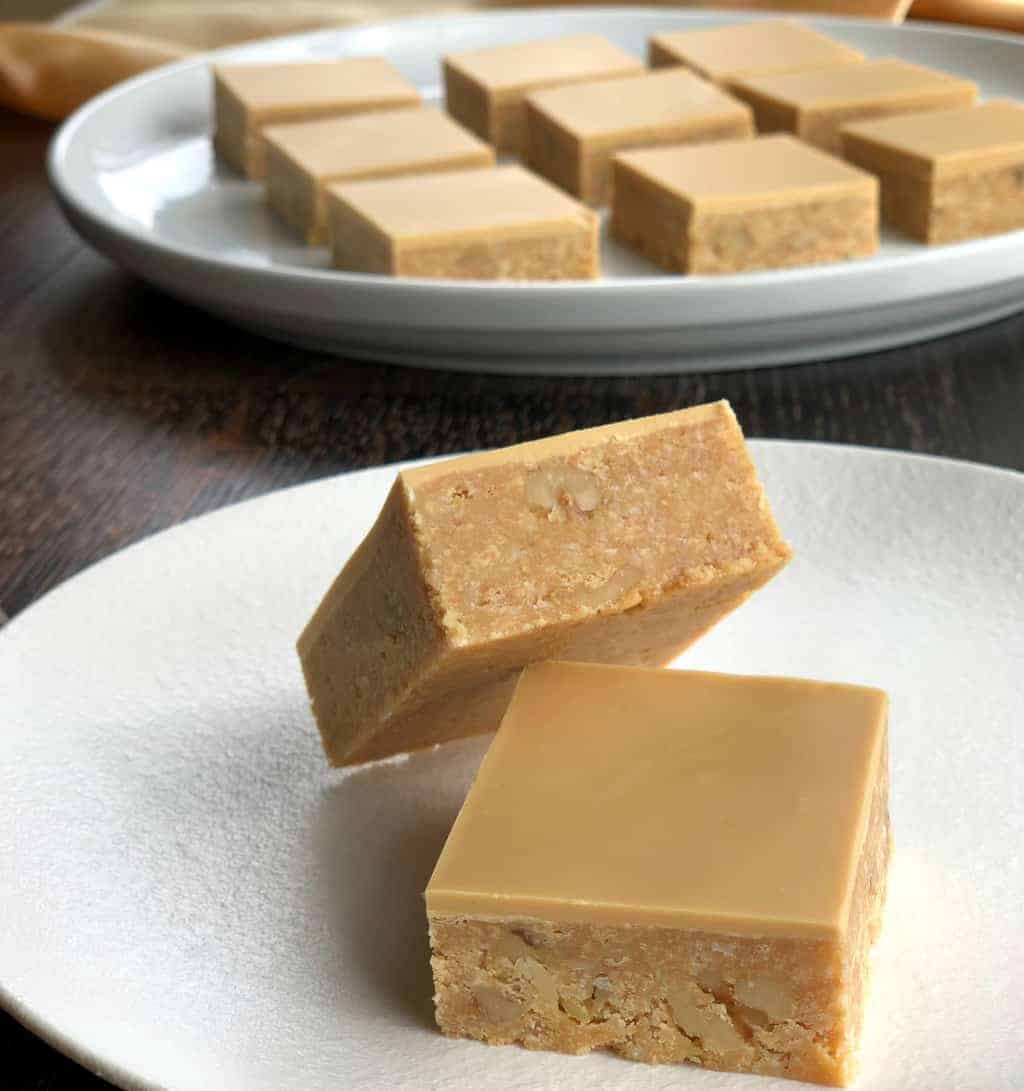
Why is my slice too crumbly?
A crumbly slice usually means there is not enough binding ingredient to hold everything together.
This can be caused by:
- too little butter, condensed milk or chocolate
- very coarse dry ingredients
- not pressing the mixture firmly enough into the tin
A good test is to press a small amount in your hand. It should hold together without crumbling or feeling greasy.
If it feels dry or loose, add a small amount of melted butter or other binder and mix well before pressing firmly into the tin.
It can feel like it’s never going to hold together at first, but a small adjustment usually fixes it.
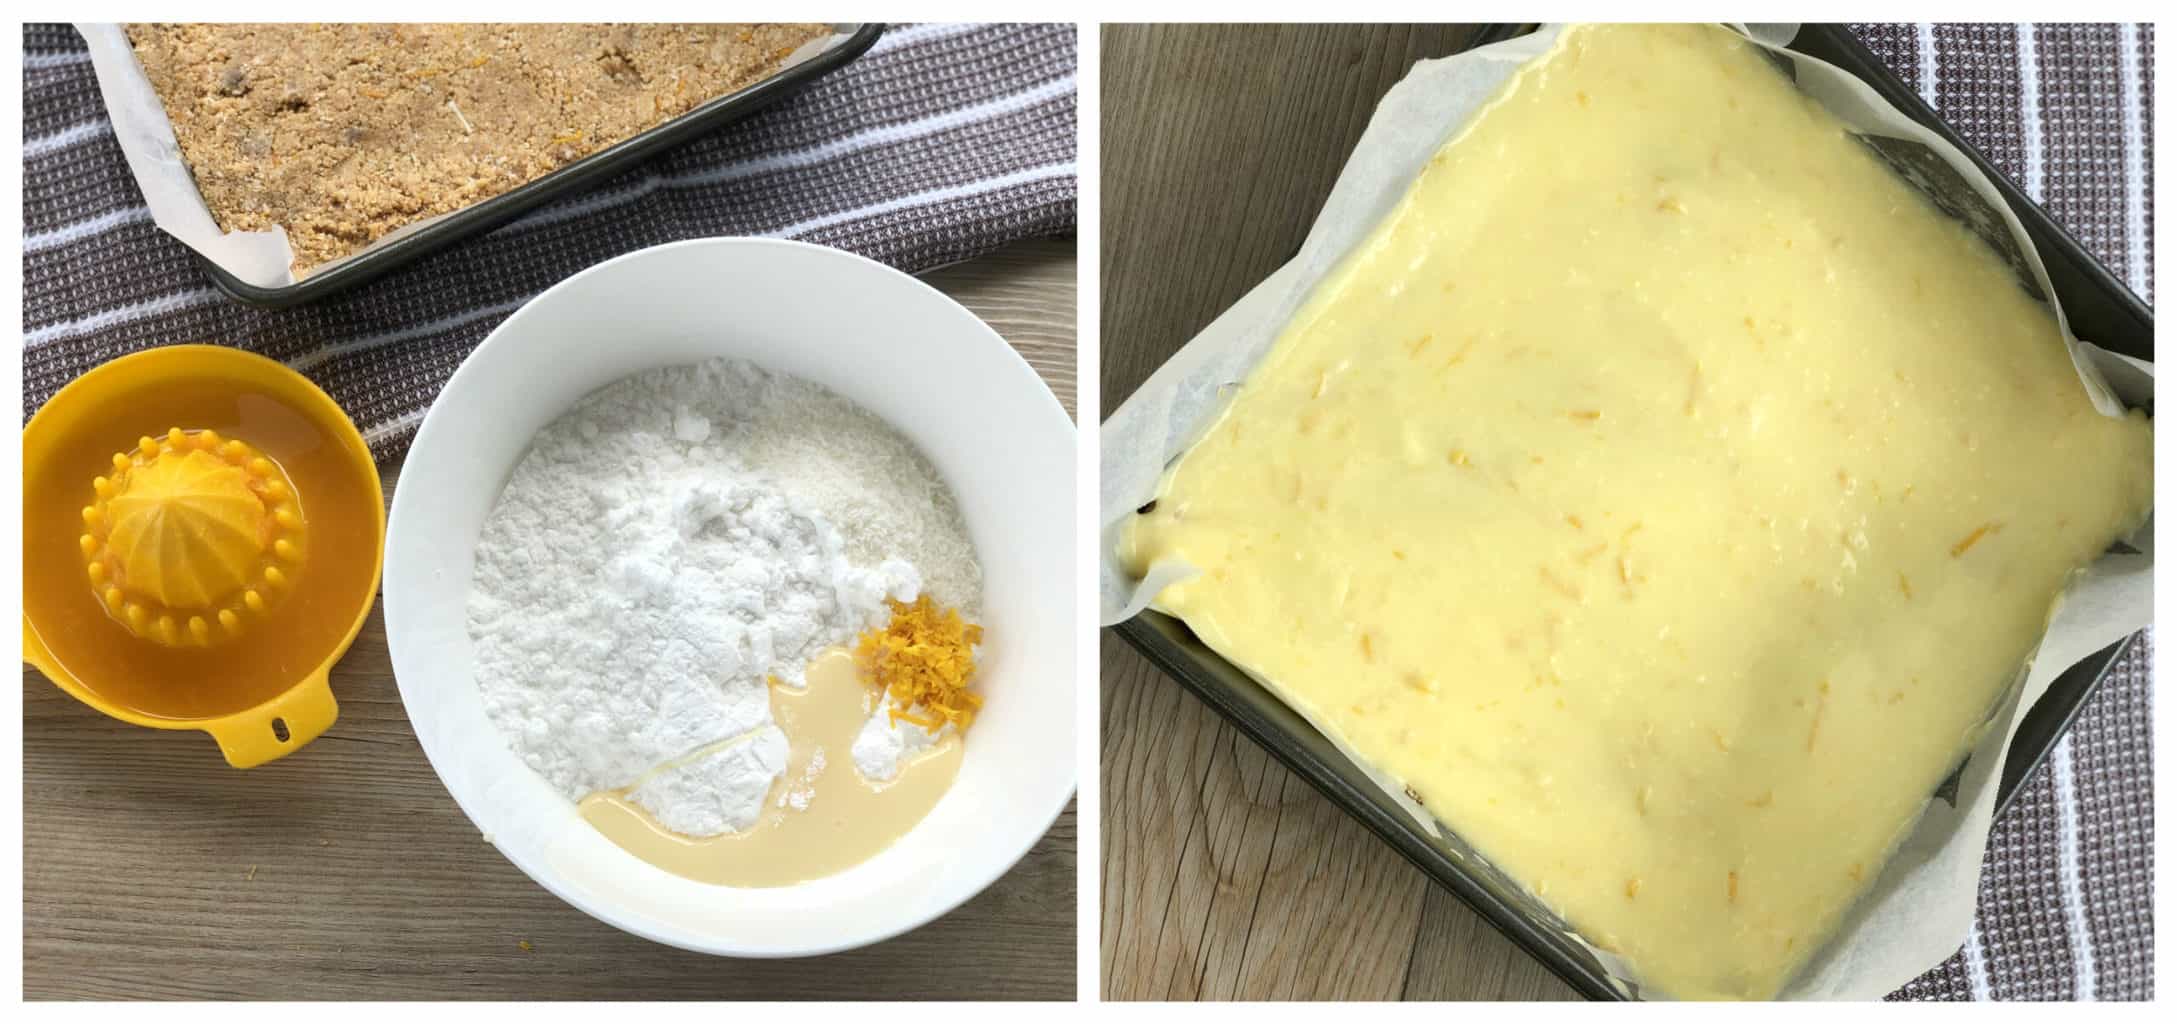
Why is my icing too soft?
Soft icing is usually the result of too much liquid or not enough to help it set properly.
Common causes include:
- too much butter or liquid added
- icing applied while the base is still a bit too warm
- not enough icing sugar or chocolate to set it
- insufficient chilling time
A good icing should be spreadable but hold its shape. If it is too soft in the bowl, add more icing sugar or melted chocolate a little at a time. If already on the slice, chilling will help it firm up, but it may soften again once brought back to room temperature.
For some icings, especially chocolate or butter-based ones, it’s best to chill the slice until firm before cutting, then allow it to soften slightly at room temperature before serving.
For more ideas with different toppings and finishes, explore my chocolate slice recipes.
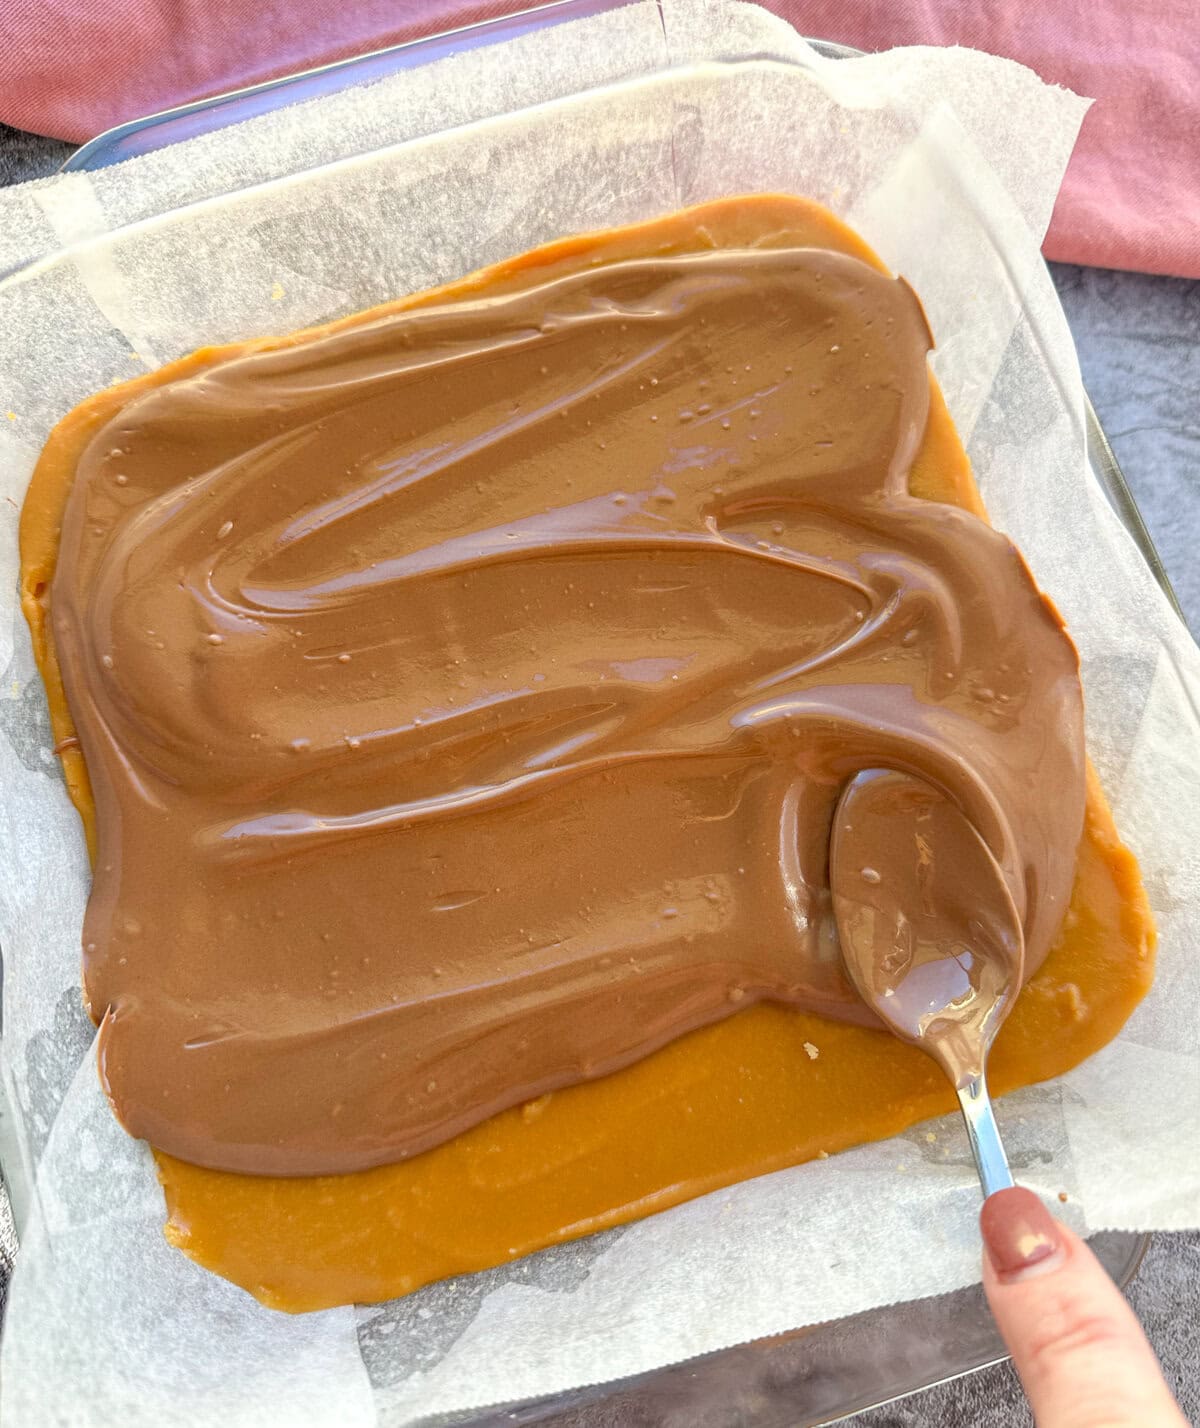
Why has my chocolate seized?
Seized chocolate becomes thick, grainy and difficult to spread. This usually happens when moisture gets into the chocolate or it has been overheated.
How to avoid it
Use a completely dry bowl and melt chocolate gently, either in short bursts in the microwave or over barely simmering water. Avoid letting steam or water come into contact with the chocolate.
Can it be saved?
If the chocolate has only slightly seized, it can often be brought back by stirring through a small amount of boiling water, about a teaspoon at a time, until it loosens. This works because the water helps rehydrate the sugar in the chocolate.
Keep in mind the texture will be softer, so it’s best used for spreading or mixing into a base rather than a firm topping. If the chocolate is very thick and grainy, it is usually best to start again for the smoothest finish.
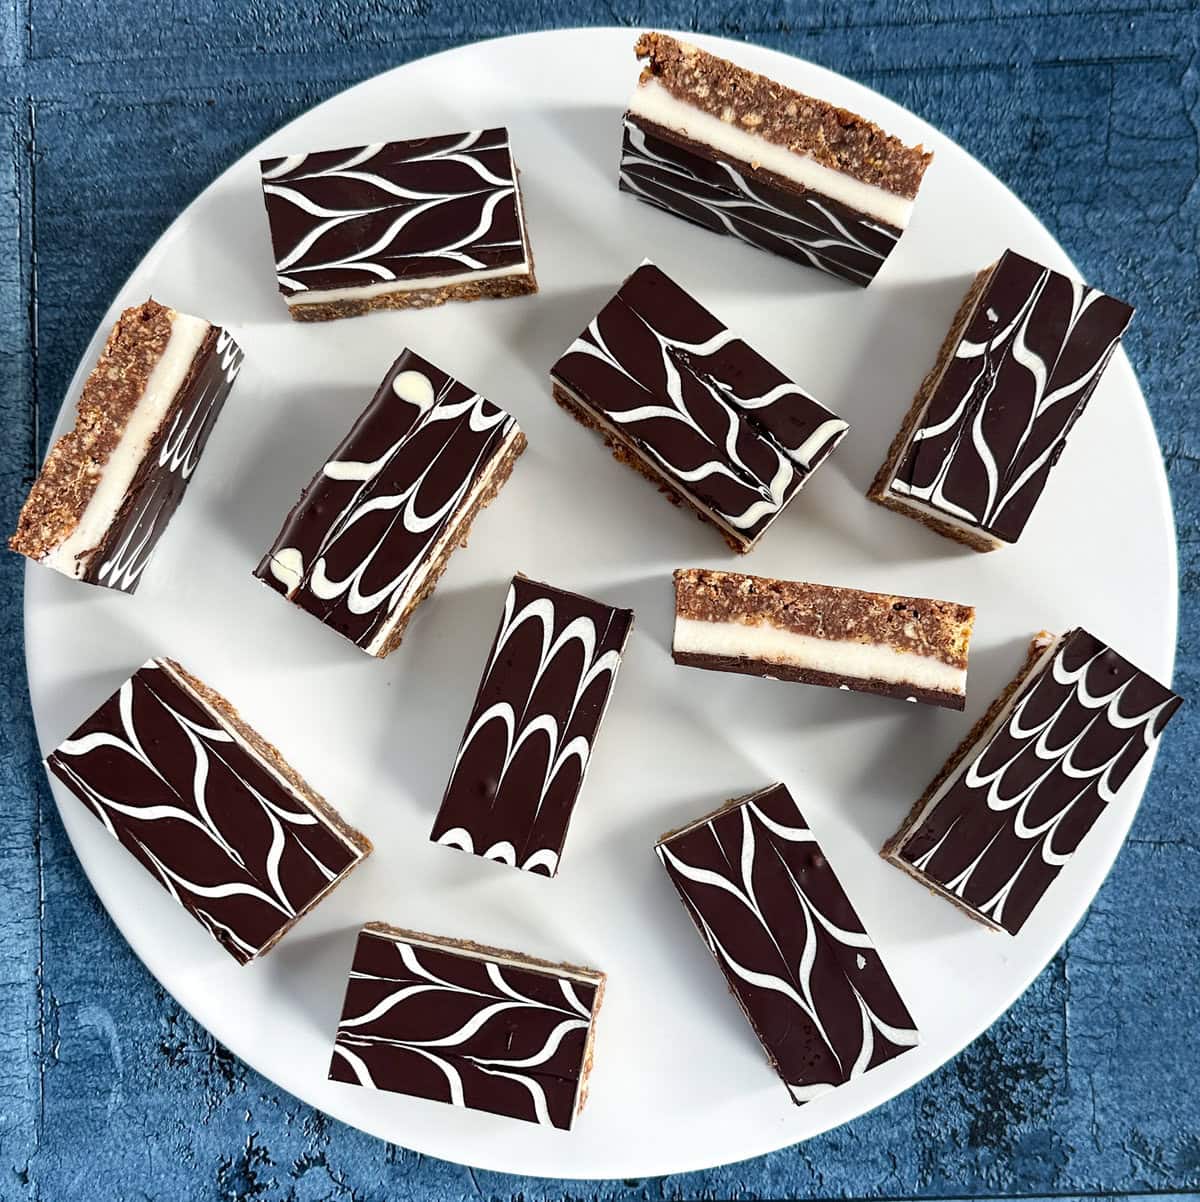
Why is my topping cracking when I cut it?
Chocolate toppings that set very firm in the fridge can crack when sliced.
To help prevent this, add a small amount of butter or oil to the melted chocolate before spreading so it sets a little softer.
Letting the slice sit for a short time out of the fridge will soften the topping slightly and help prevent cracking.
Why is the base too hard from the fridge?
Slices that contain chocolate or a higher butter content can firm up quite a lot in the fridge.
This is completely normal and nothing to worry about at all. Letting the slice sit briefly at room temperature will soften the texture and improve both cutting and eating.
However, if the base is very hard or difficult to bite through even after resting, it may be due to the balance of ingredients. Too much biscuit or dry ingredients and not enough butter or binder can create a base that sets overly firm.
Crushing biscuits too finely can also make the base firmer once set, so aim for a fine crumb rather than a powder. For best results, aim for a mixture that holds together easily when pressed and feels moist but not dry before chilling.

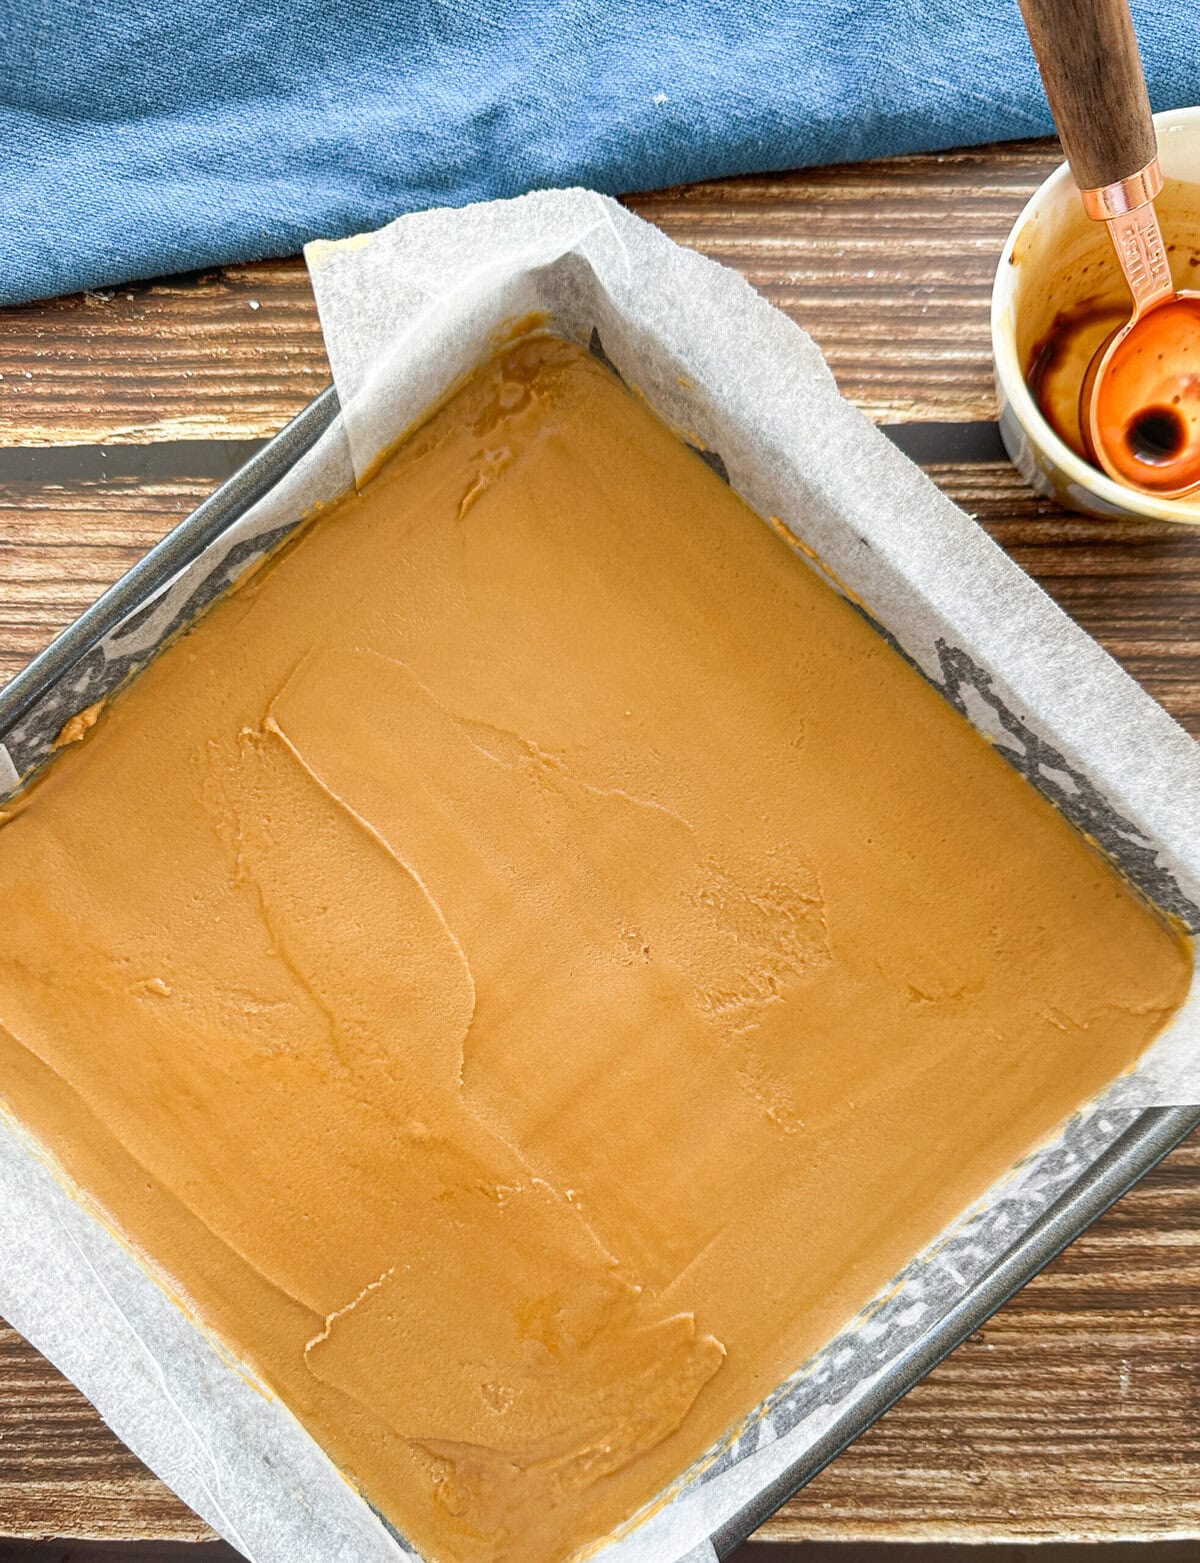
Should I line the tin?
Yes, lining the tin with baking paper makes it much easier to lift the slice out and cut it neatly. Leaving a slight overhang on the sides helps with removal.
A light spray of cooking oil on the tin before adding the baking paper can help hold it in place, especially when pressing the mixture in.
How firmly should I press the base in?
Press the mixture firmly and evenly so it holds together once chilled, but avoid over-compressing it.
Using the back of a spoon or a flat-bottomed glass helps create a smooth, even surface.
How do I get the right balance of base to icing?
A well-balanced slice has a base that holds together well, with just enough topping to add flavour without taking over.
If the base is too thin and the icing too thick, the slice can feel overly sweet or unstable. If the base is too thick, it can feel heavy.
A good guide is to make the base the main component, with the topping adding flavour and contrast rather than dominating the slice.
How long should I chill before cutting?
Chill until fully firm before cutting, which is usually at least 3–4 hours depending on the slice.
For the neatest result, you can also leave it to chill overnight. Cutting too early is one of the most common causes of messy slices.
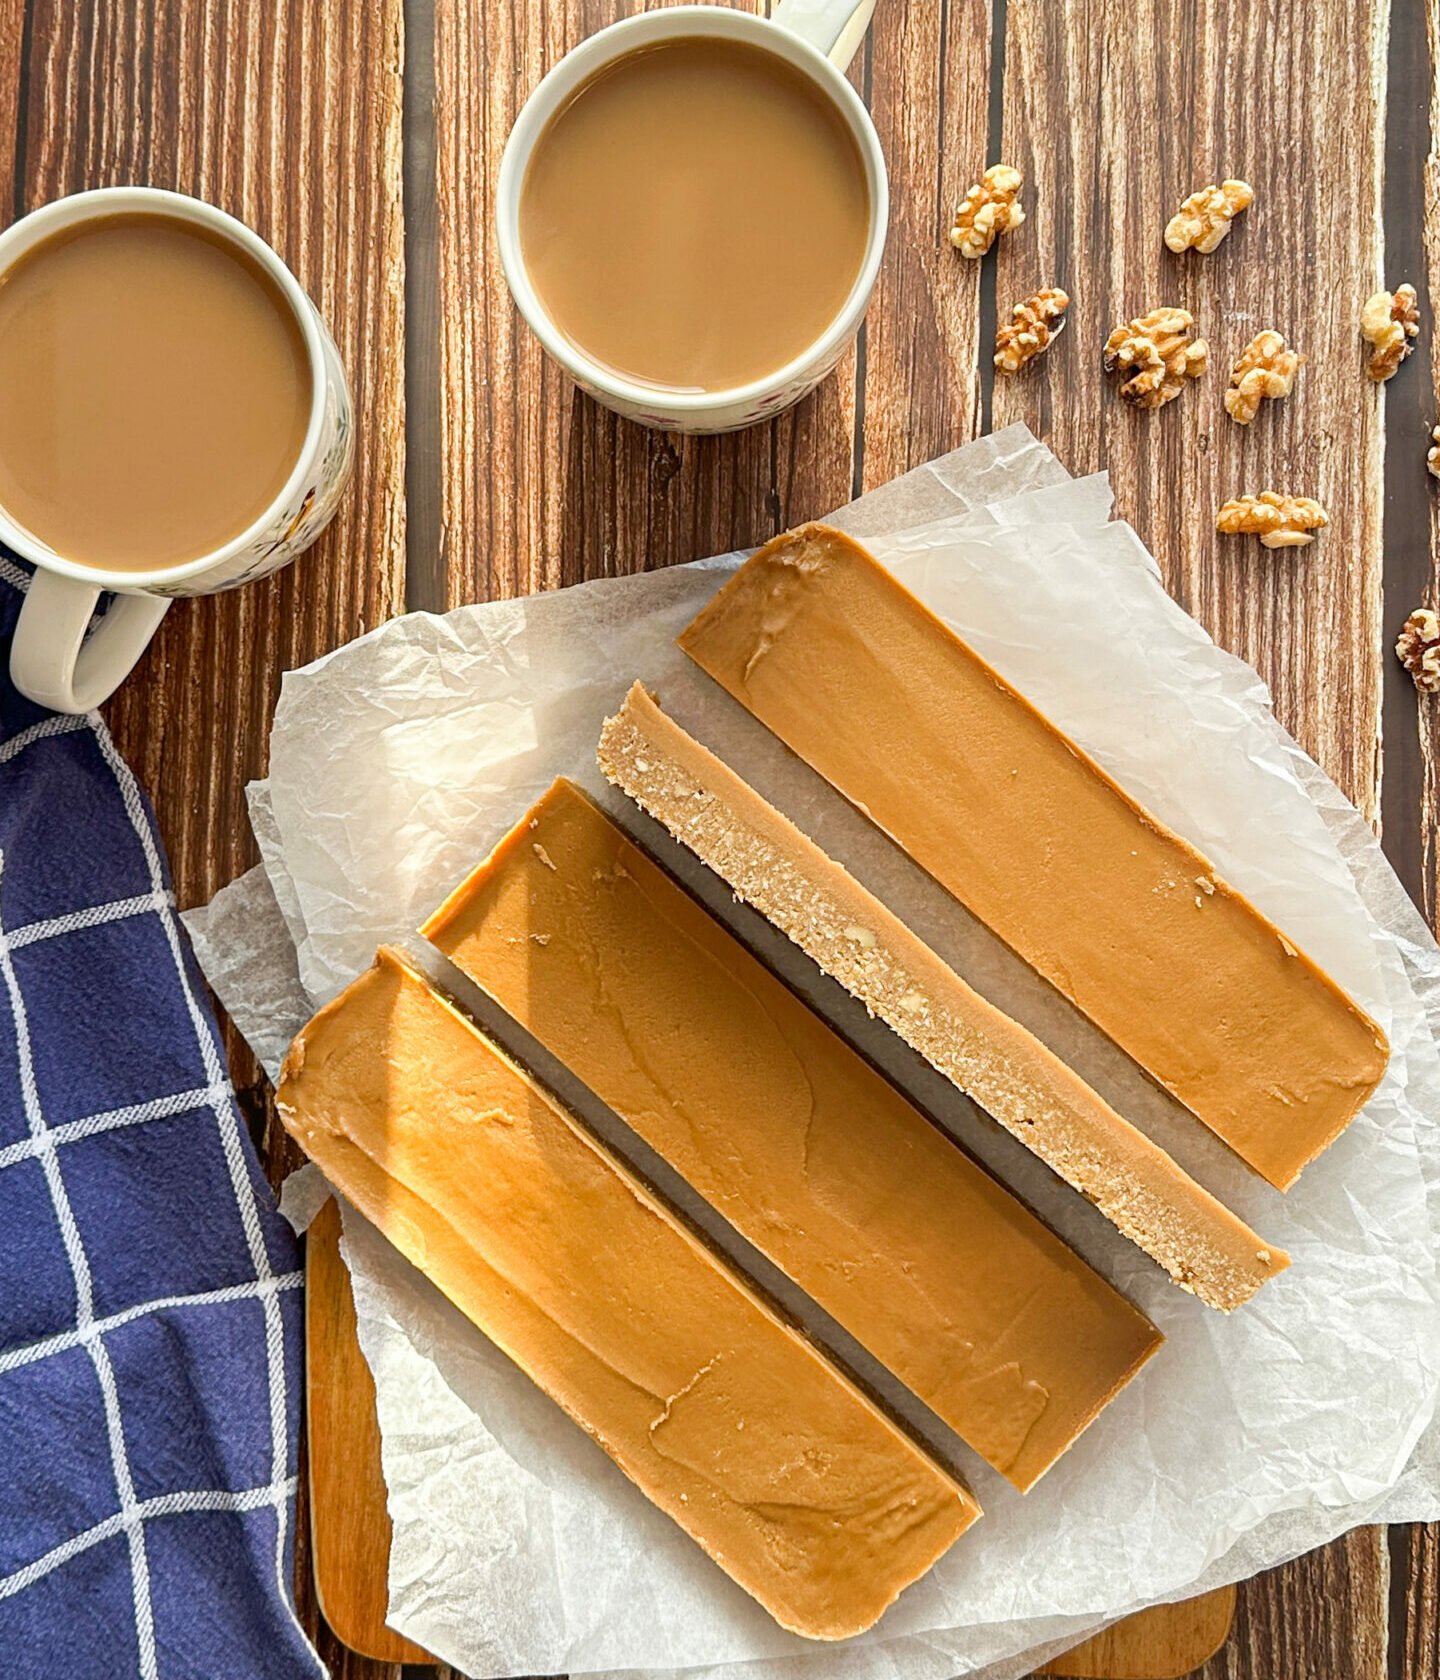
How do I cut slices neatly?
Use a large, sharp, thin knife and wipe it clean between cuts. A thinner blade will slice more cleanly without crushing the slice. For chocolate toppings, warming the knife in hot water and drying it before slicing can help create clean edges.
For best results, remove the slice from the fridge about 15–20 minutes before cutting. This allows the topping to soften slightly, reducing cracking while still keeping the slice firm enough to hold its shape.
Cut with steady pressure rather than sawing, and clean the knife between each cut for the neatest finish.
For very firm slices, you can score the top lightly first, then press down to cut all the way through.
Can I freeze no bake slices?
Yes, many no bake slices freeze very well and are ideal for making ahead.
Chill the slice completely until firm, then freeze whole or in portions in an airtight container, with baking paper between layers to prevent sticking. Wrap well to prevent drying out or absorbing freezer odours.
Freeze for up to 2–3 months for best quality. Some icings may soften slightly once thawed, and chocolate toppings can lose a little shine, but they are still perfectly enjoyable.
To thaw, defrost in the fridge or at room temperature, then allow the slice to sit briefly before serving so it softens slightly. For best results, avoid refreezing once thawed.
Can I freeze slices with baked elements?
Yes, slices that include a baked base and no bake topping can usually be frozen successfully.
The main change may be in the topping texture after thawing, particularly if it is very soft or creamy, but they remain perfectly enjoyable.
Many of the recipes in my no bake slice collection freeze beautifully, making them perfect for planning ahead.
Common no bake slice mistakes at a glance
- Slice too soft — too much wet ingredient or not enough chilling
- Slice too crumbly — not enough binder or mixture not pressed firmly
- Butter leaking — excess fat or poor absorption
- Icing too soft — too much liquid or not enough to help it set properly
- Chocolate seized — moisture or overheating
- Topping cracks — topping too firm or slice cut too cold
No bake slices rely on chilling to firm up, so if it’s still soft it usually just needs more time in the fridge. It can also happen if there’s a bit too much butter or liquid compared to the dry ingredients. Don’t worry, adding a little extra crushed biscuit or coconut and chilling for longer will usually fix it!
A crumbly slice usually means there isn’t quite enough to hold everything together. Try adding a small amount of melted butter, condensed milk or chocolate and mixing well. It should press together easily in your hand before going into the tin.
Most no bake slices need at least 3–4 hours in the fridge to firm up properly, and often longer depending on the ingredients. If you have time, leaving it overnight will give you the neatest result and make slicing much easier.
In New Zealand, wine biscuits are the most commonly used as they give a lovely light texture and hold together well. If you don’t have them or live elsewhere, Marie, Arrowroot or Rich Tea biscuits are all great options. The key is to use a plain biscuit that crushes easily and absorbs the mixture without becoming too soft.
This usually comes down to a bit too much liquid or not quite enough icing sugar or chocolate to help it set. If it’s still in the bowl, you can thicken it slightly before spreading. If it’s already on the slice, chilling will help it firm up nicely.
Yes, most no bake slices freeze really well! Once fully set, store them in an airtight container with baking paper between layers. Defrost in the fridge or at room temperature, and they’ll be ready to enjoy again.
Final thoughts
No bake slices really are simple once you understand how the ingredients work together. With a little practice, you’ll quickly get a feel for the right texture and balance, and from there they become one of the easiest and most reliable treats to make.
They’re perfect for busy days, sharing with family, or just having a little sweet treat tucked away in the fridge when you need it!
If you have any questions or run into something not covered here, feel free to pop it in the comments below. I’m always happy to help.
If you are looking for more inspiration, be sure to explore my easy no bake slice recipes, no bake slices for lunchboxes and chocolate slice recipes for plenty of delicious ideas to try.Happy baking,
Anna 💛
Leave a Reply