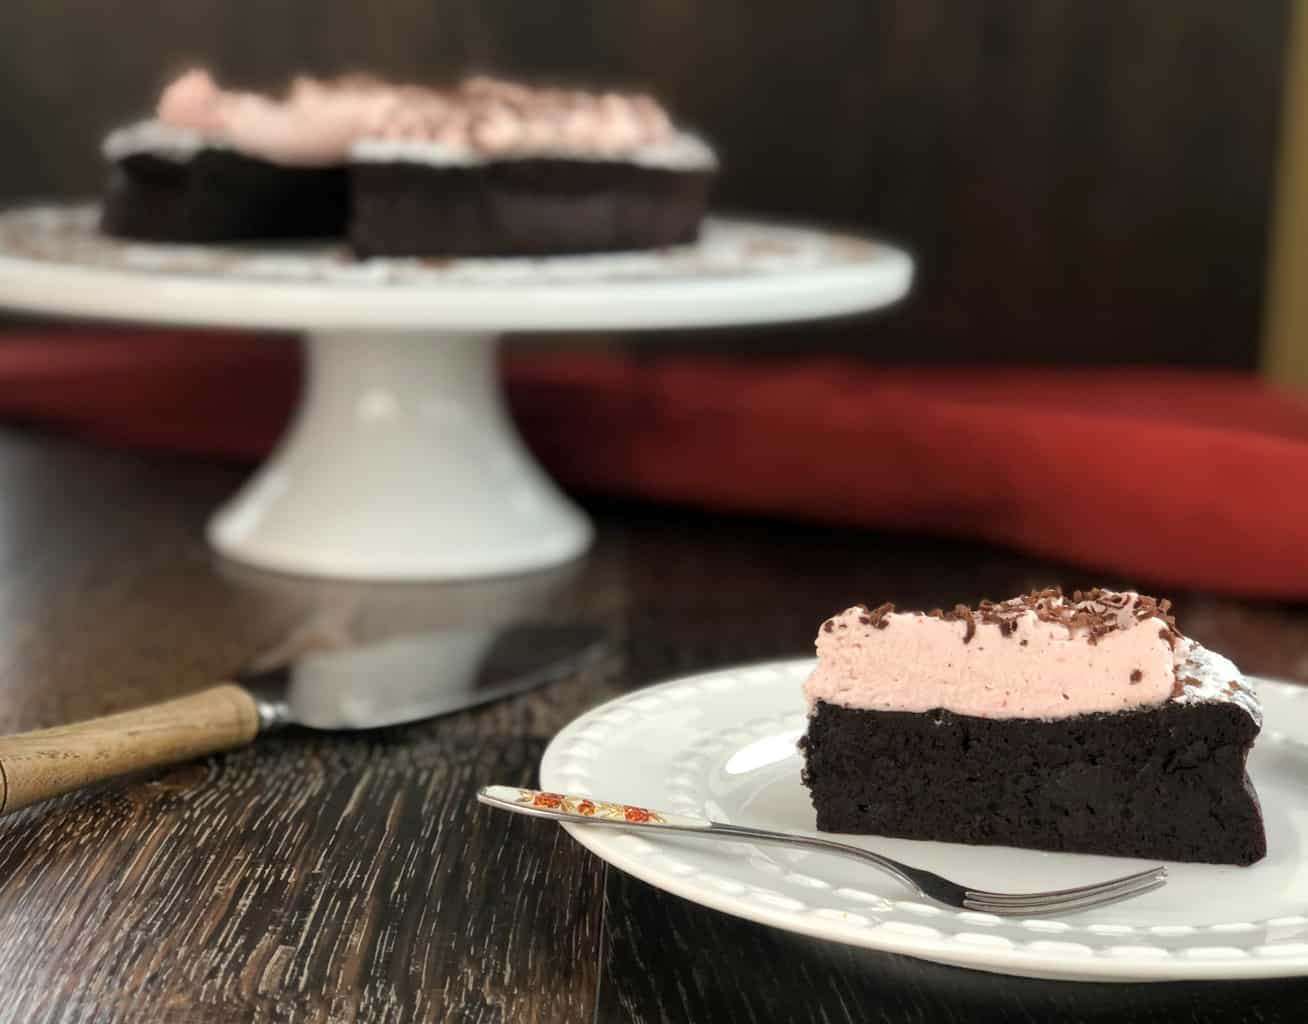
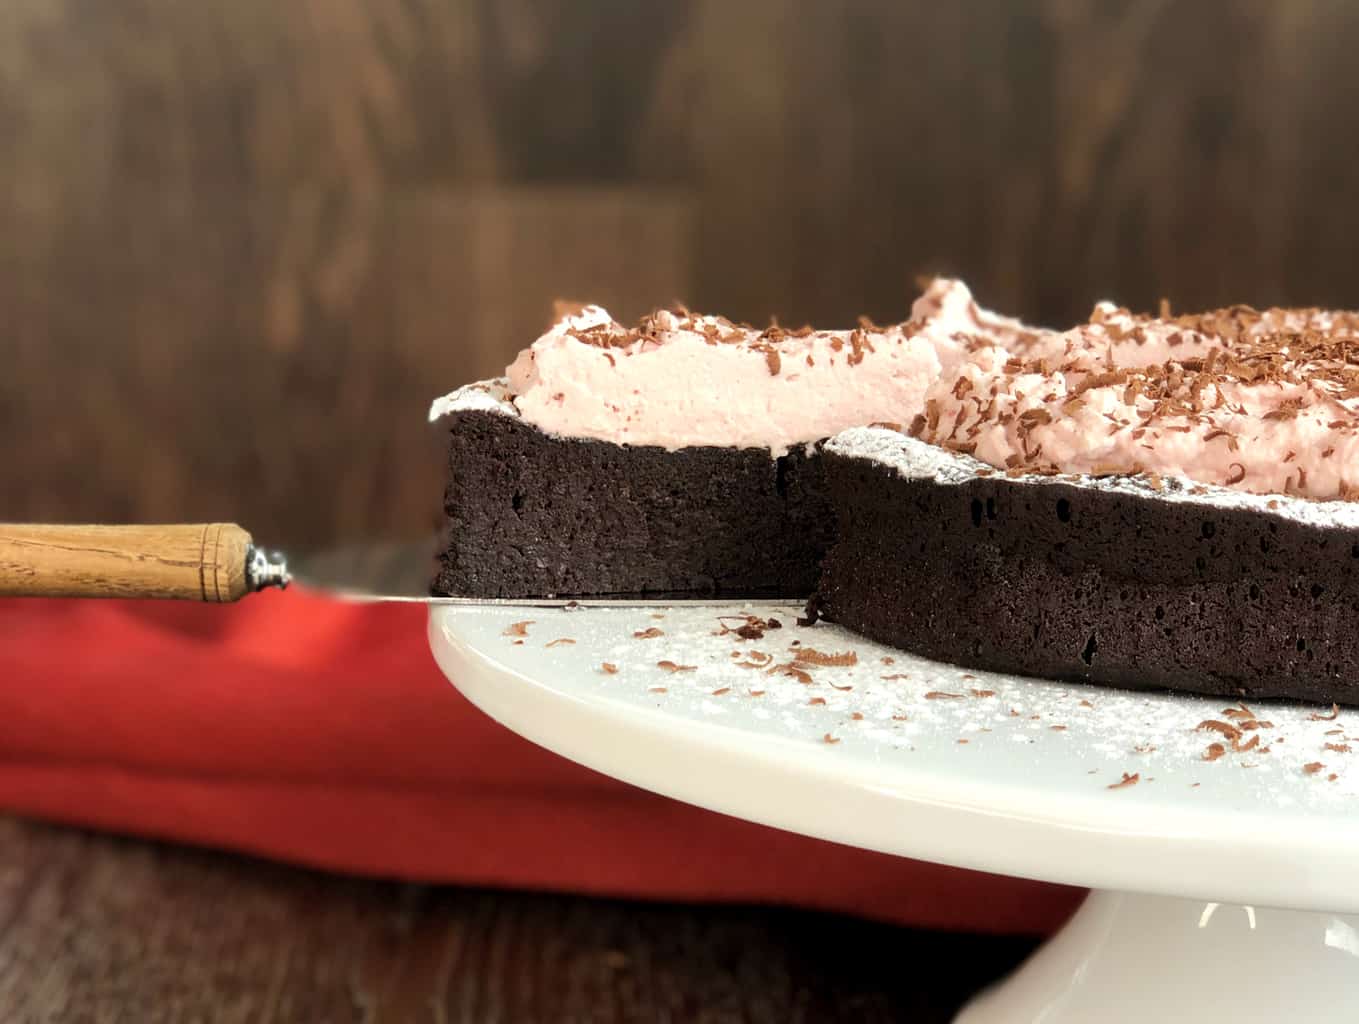
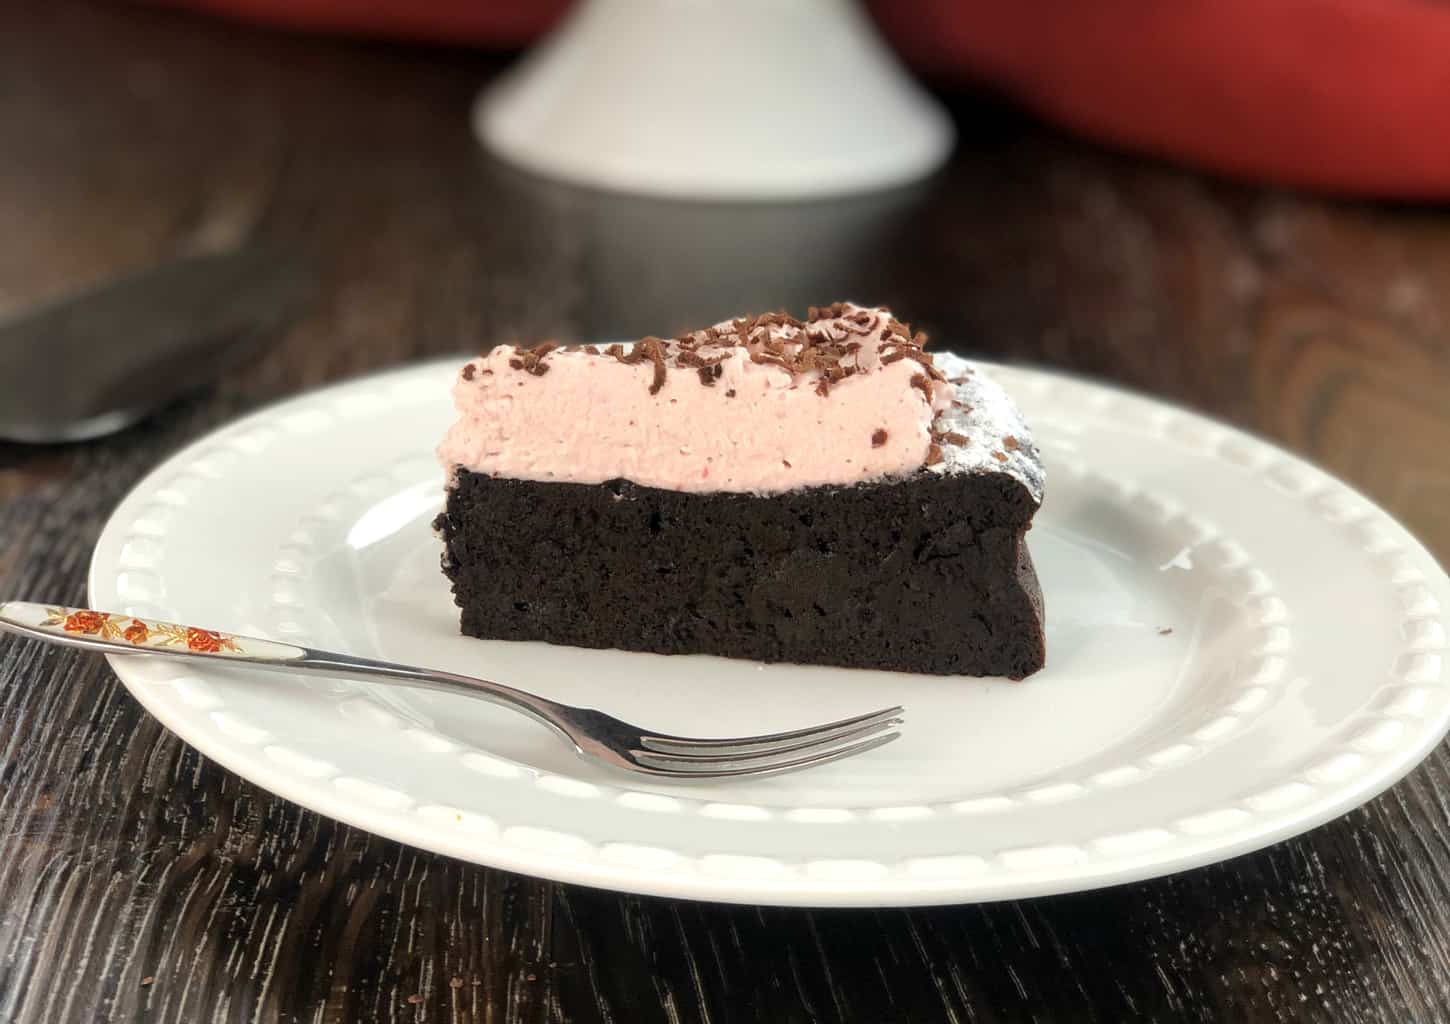
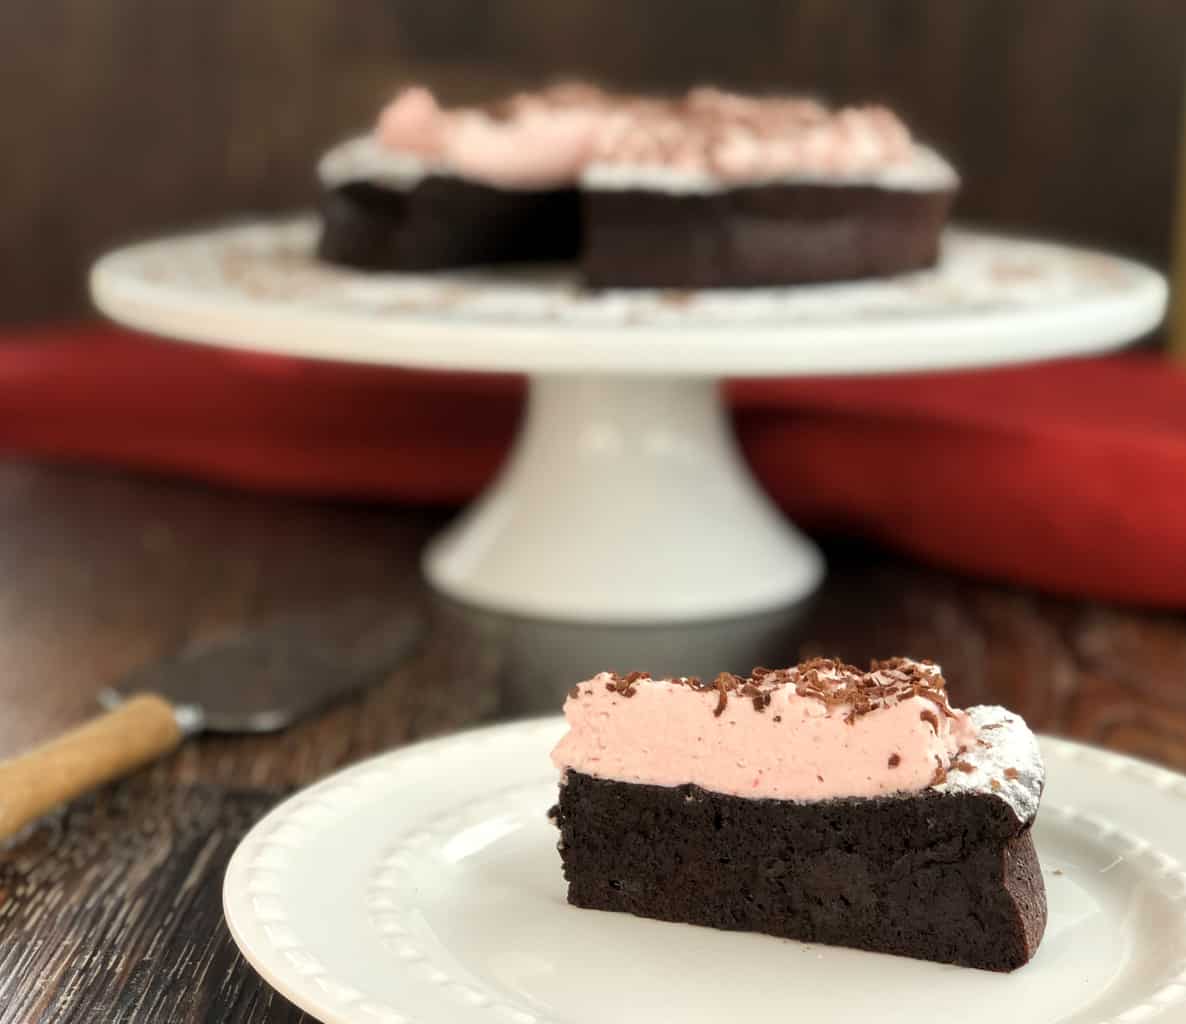
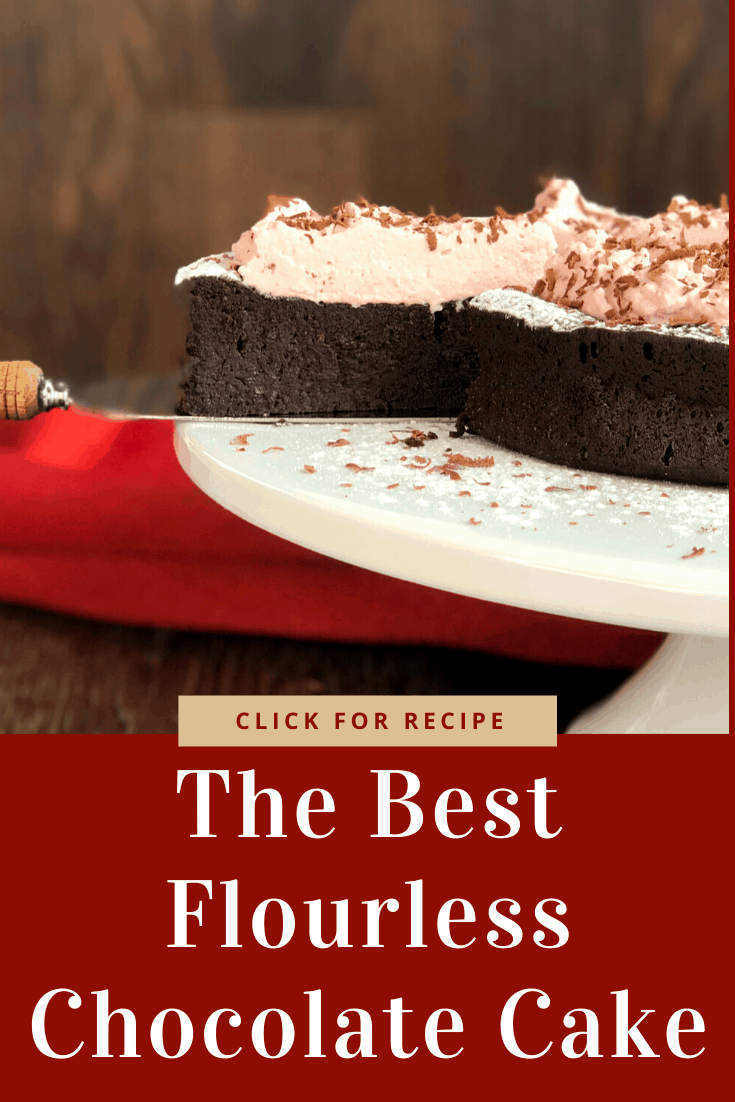
A truly Flourless Chocolate Cake is a thing of beauty! This one is beautiful, so easy rich, dense and fudgy.
There are many versions of this available, everyone has their own versions, and tips and tricks to create the best. Here I do my usual of combining a bunch of ideas to create an easy and delicious version.
Many flour free or gluten free recipes use replacements for the flour, almond flour, GF flour etc, but I wanted to share a truly Flour free recipe. This recipe is gluten free as long as you use all GF products for the other ingredients. I don’t like recipes that use too many random ingredients or substitutes, this one is just so easy.
This is one of those recipes that you want to make with the exact ingredients and techniques if you want to ensure a good outcome. I know so many of you like to reduce things, or use substitutes. Of course you are welcome to but in this instance I suggest you follow my steps.
There are a few easy techniques that you will want to use to make this recipe for Flourless Chocolate Cake a success. They are all easy so have no fear!
Lining the Cake Tin
Super important step, this cake will stick so better to be safe than sorry. I use a 20 cm (8 inch) cake tin, you can use a 23cm (9 inch) but it will be thinner. Grease the cake tin, add paper to the base and around the sides, and then grease the paper too. I use cooking spray as it is so easy! Butter is a good substitute.
Melting Butter & Chocolate
You can use a double boiler but I never do. I just use the microwave, all microwaves are different so better to heat for less time than more. For me I do 30 second bursts to ensure the chocolate does not burn, after the first two 30 second bursts you may only need 10-15 seconds more. Stir well.
Sifting
I tend not to sift most of my recipes, call me lazy! But cocoa is one of those ingredients that does like to be sifted as lumps can easily form. So in this case I will suggest sifting!
Whisking Egg Whites Separately – Soft Peaks
For this recipe you will need to whisk the egg whites, this is easy, made even easier if you have a stand mixer or an electric beater. If not you can use a whisk and a very strong arm! Soft peaks are when you hold the whisk away and the egg whites are just starting to hold, and bend back into themselves after a few seconds.
Water to Create Steam
You don’t want to fuss with a water bath, but steam does help this recipe remain moist and delicious. You do not HAVE to do this step, but its easy so no harm. All you do is pop an oven rack on the bottom of the oven and another in the middle. On the bottom rack pop in a roasting tray, when you are ready to bake fill the roasting dish with very hot water. Shut the door quickly to trap the steam.
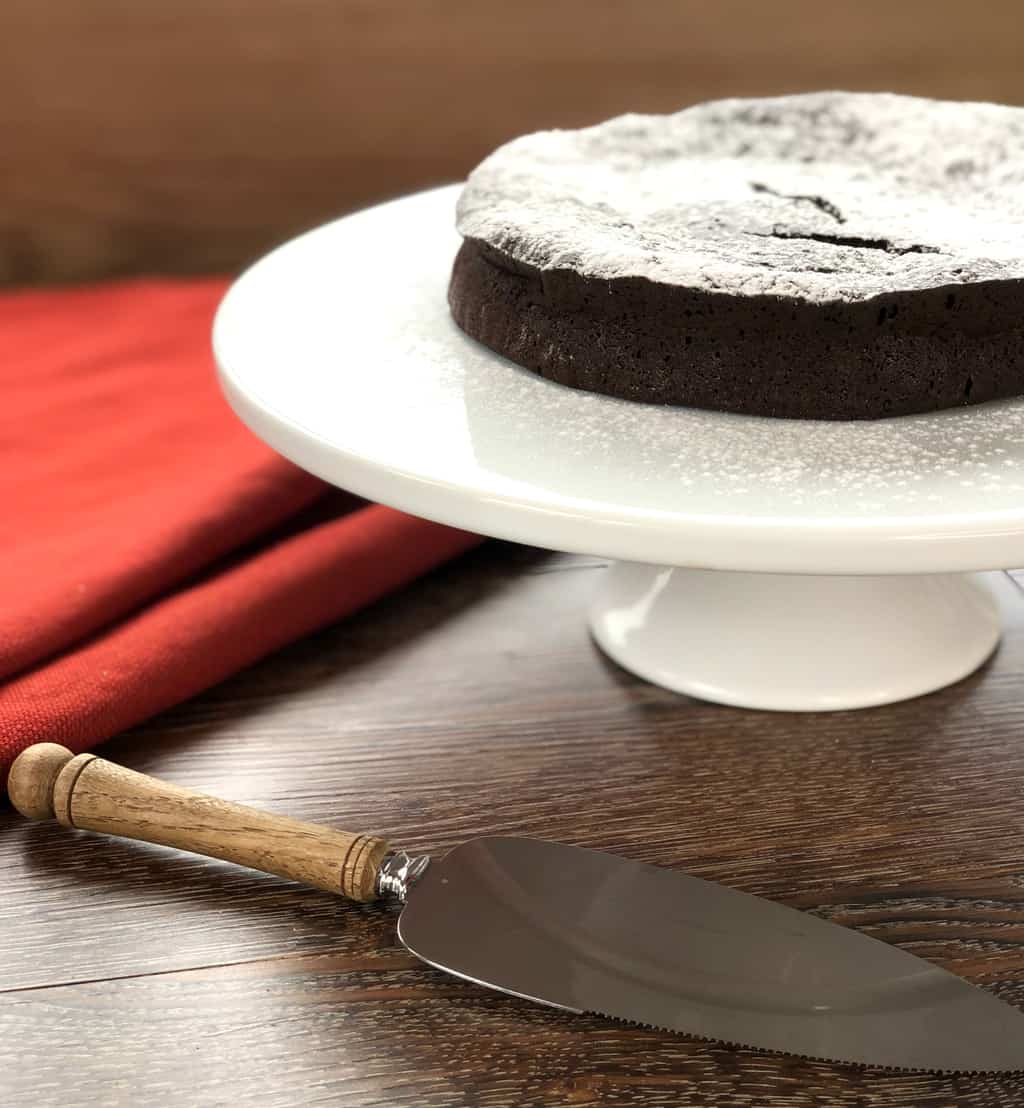
It will sink!
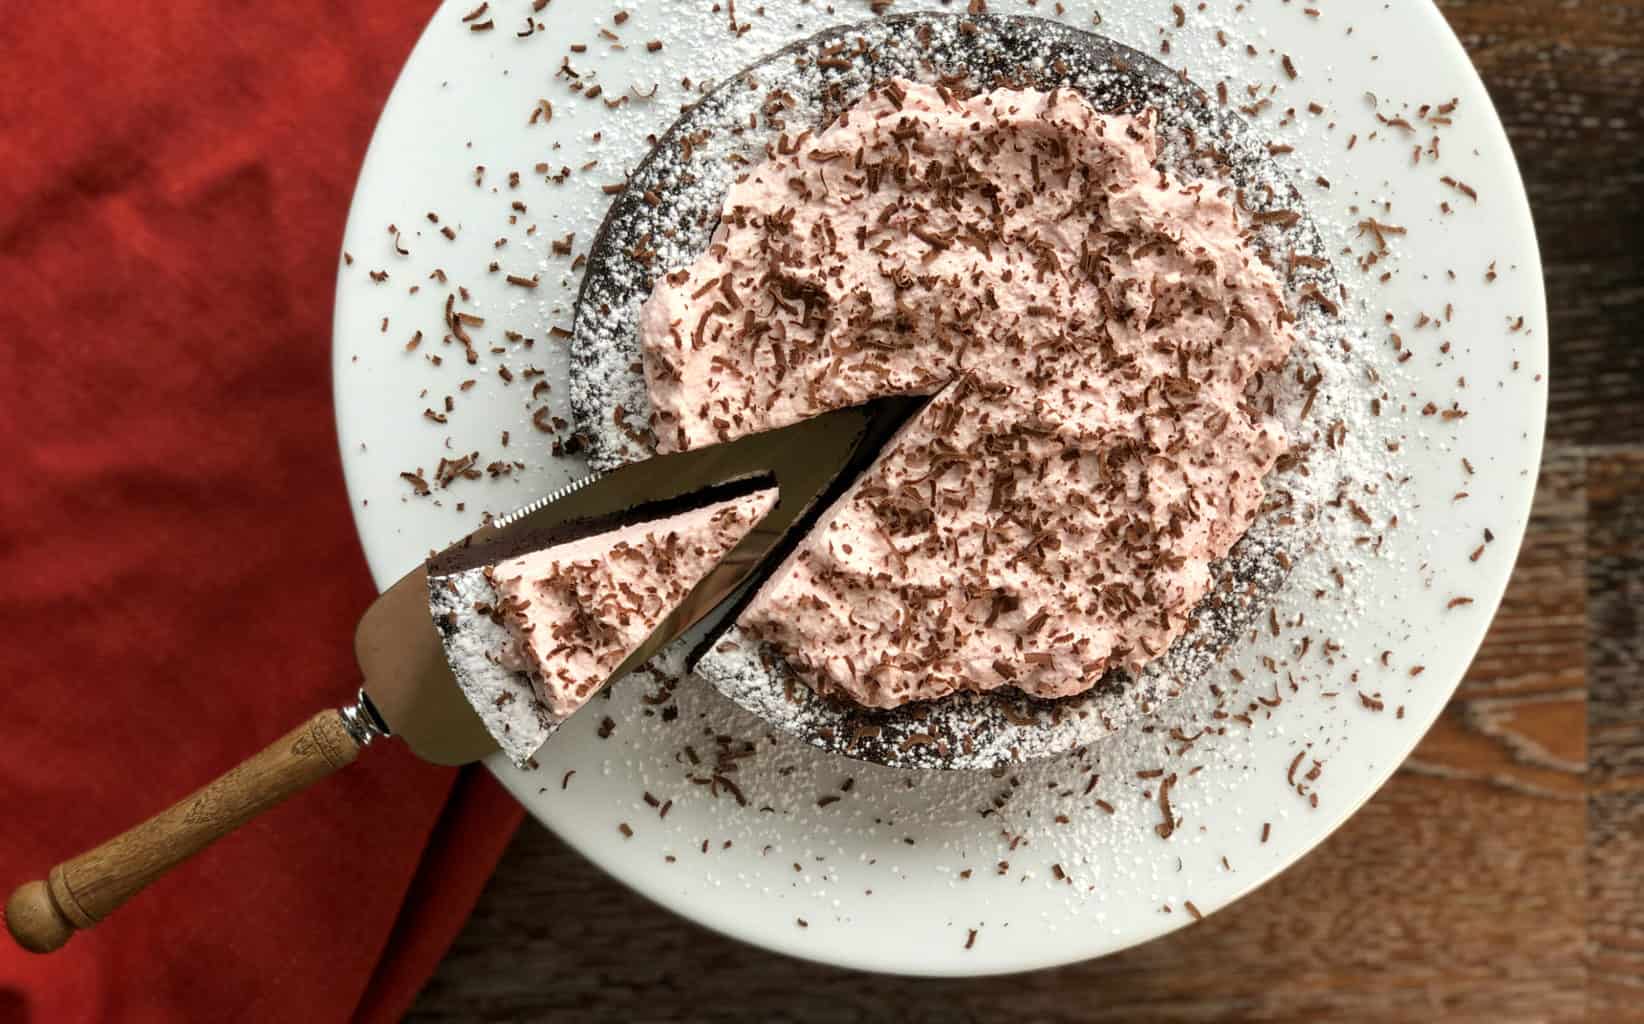
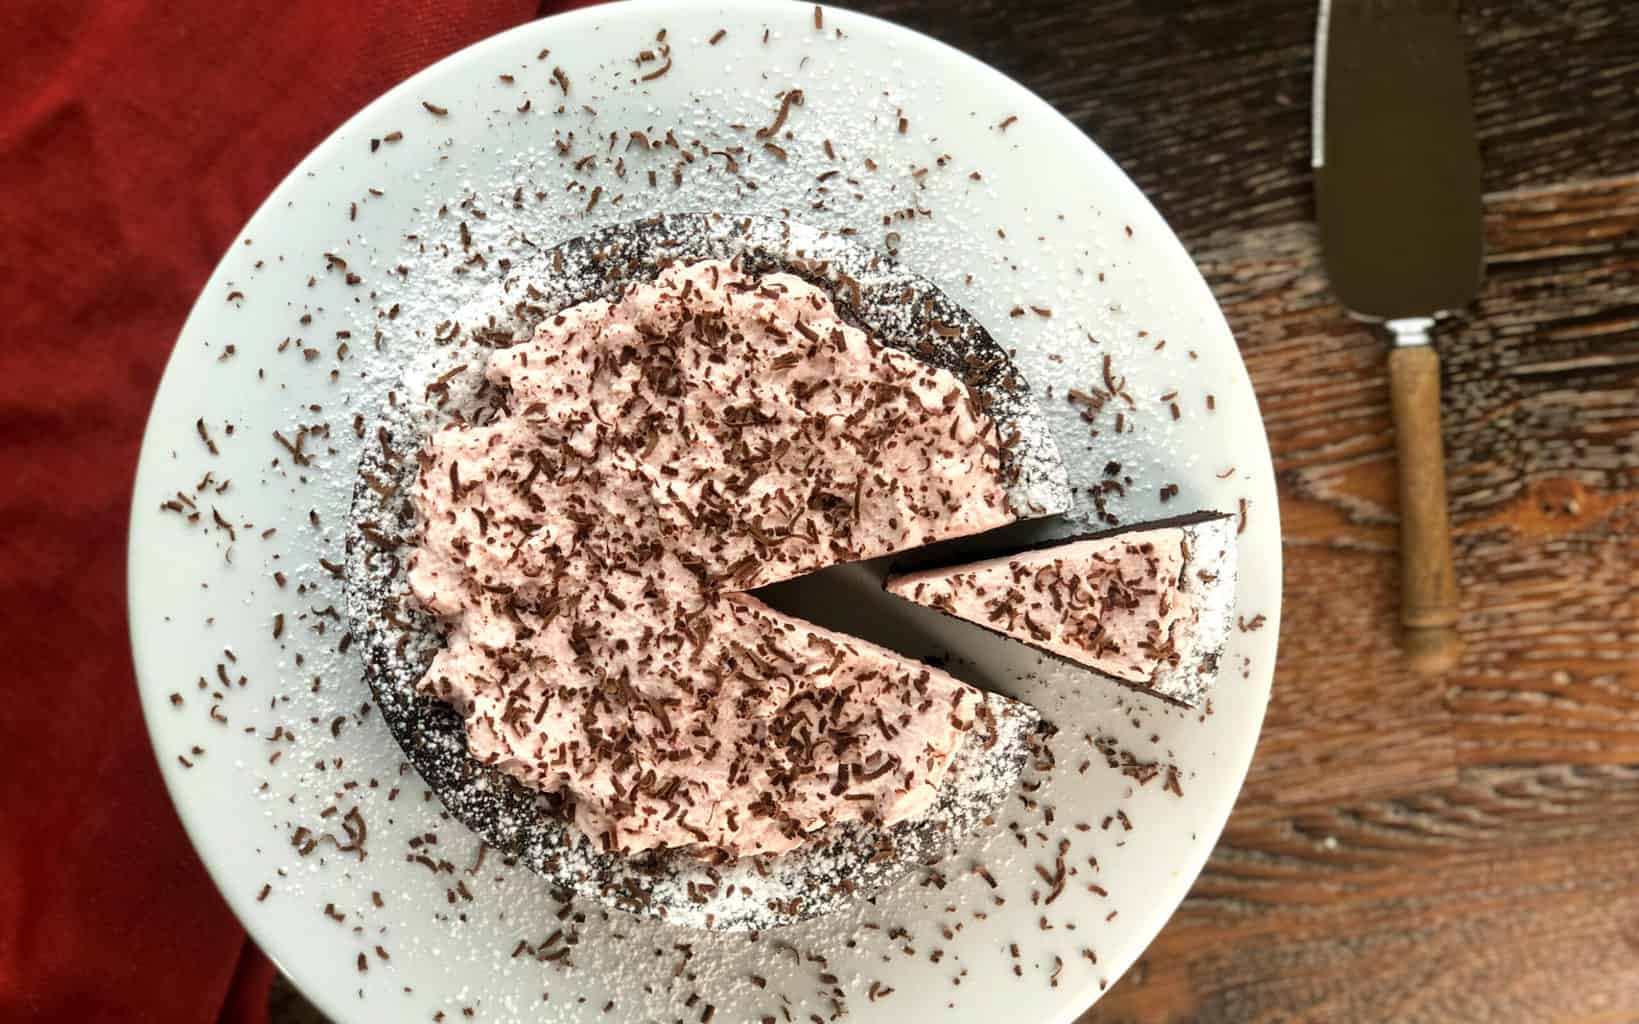
I actually love that this one sinks a little in the middle. It means you can be creative with how you serve it. it will rise weirdly at the edges and then possibly sink once it cools. Today I have served this with an easy raspberry whipped cream. You can serve yours however you like. SCROLL DOWN FOR MY QUICK RASPBERRY WHIPPED CREAM RECIPE
I cannot wait to see what you think of this rich indulgent cake. See below for my easy cheats version of raspberry couli whipped cream using frozen raspberries.
If you love Chocolate Cakes that use flour I have you covered there too! Some divine recipes here, click on the title to go to the recipe.
-
The Best Ever Chocolate Cake
-
Easy Rich Chocolate Cake
-
Easy Chocolate Cake
-
Chocolate Strawberry Jam Cake
Onto the recipe for this delicious easy Flourless Chocolate Cake, let me know in the comments below when you make it!
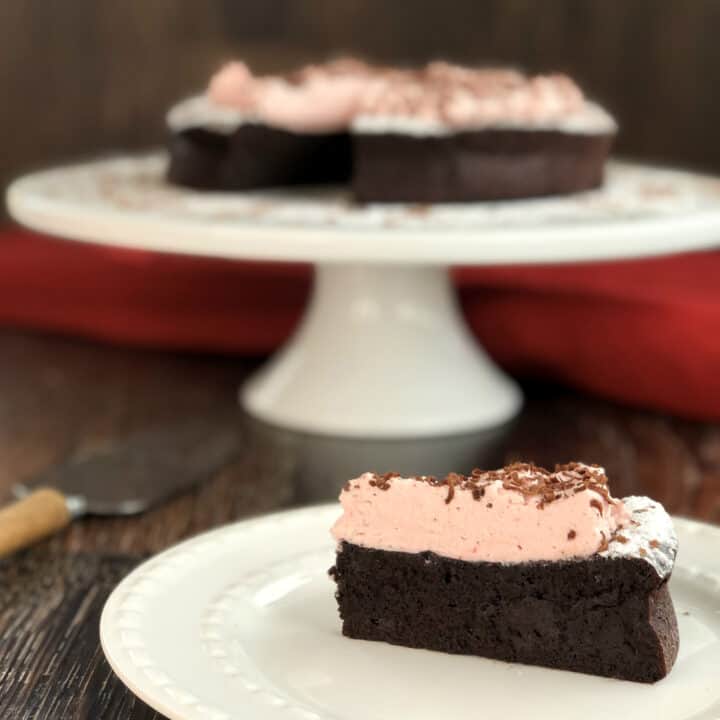
Flourless Chocolate Cake
Delicious Flourless Chocolate Cake, no fussy techniques using every day ingredients, for a rich indulgent cake. Scroll down for Raspberry Whipped Cream Recipe
Ingredients
- 170 Grams Dark Chocolate
- 115 Grams, Butter, diced
- 2 Egg Whites
- 3 Eggs
- 150 Grams White Sugar, 3/4 Cup
- 40 Grams Cocoa Powder, 1/2 Cup, sifted
- 1 teaspoon Vanilla
- 1/2 teaspoon Salt
Instructions
- Preheat Oven to 175C Bake (350F)
- Prepare a 20cm (9 inch) round cake tin with cooking spray, or butter. Line the base and sides with baking paper and grease again well on the base and sides. Set aside
- In a small microwave proof bowl add the dark chocolate and butter. Melt for 30 seconds, stir, melt for a further 30 seconds and stir again well. If some lumps remain heat for 15 seconds at a time until no lumps remain. Set aside.
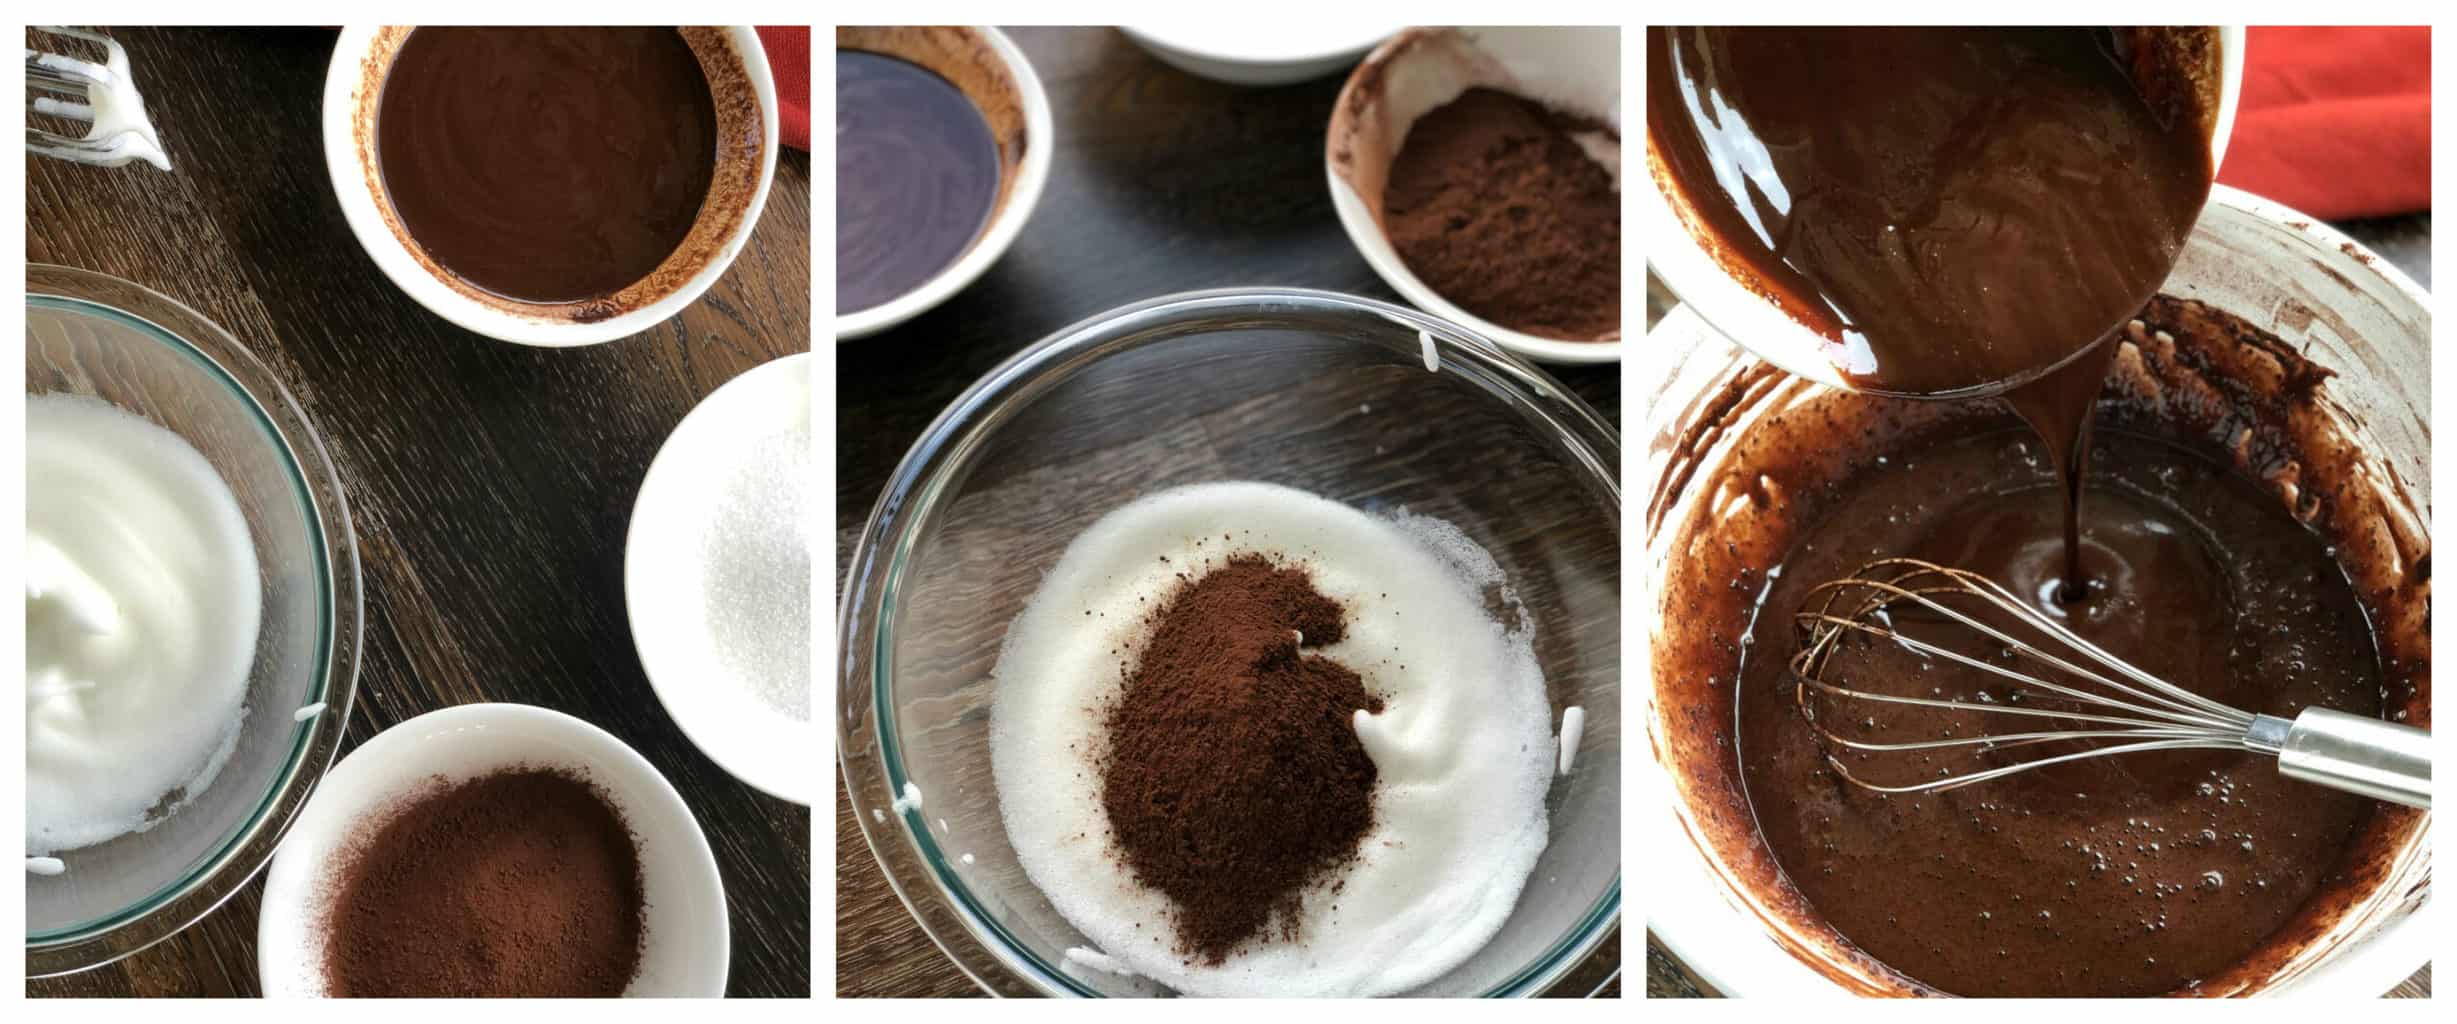
- In a medium clean bowl or mixer stand, add the egg whites. Beat on medium until soft peaks form (see notes for tips on soft peaks)
- Add half the sugar measure and half the sifted cocoa measure and beat slowly until it becomes glossy and thick. Set aside
- In a large bowl add the 3 whole eggs, remaining sugar, remaining cocoa, vanilla and salt. Whisk this together well
- Add to this the melted chocolate and butter, whisk together gently until completely combined.
- Finally add your beaten egg whites mixture. Using a rubber spatula or similar carefully fold this into the cake until it is completely blended
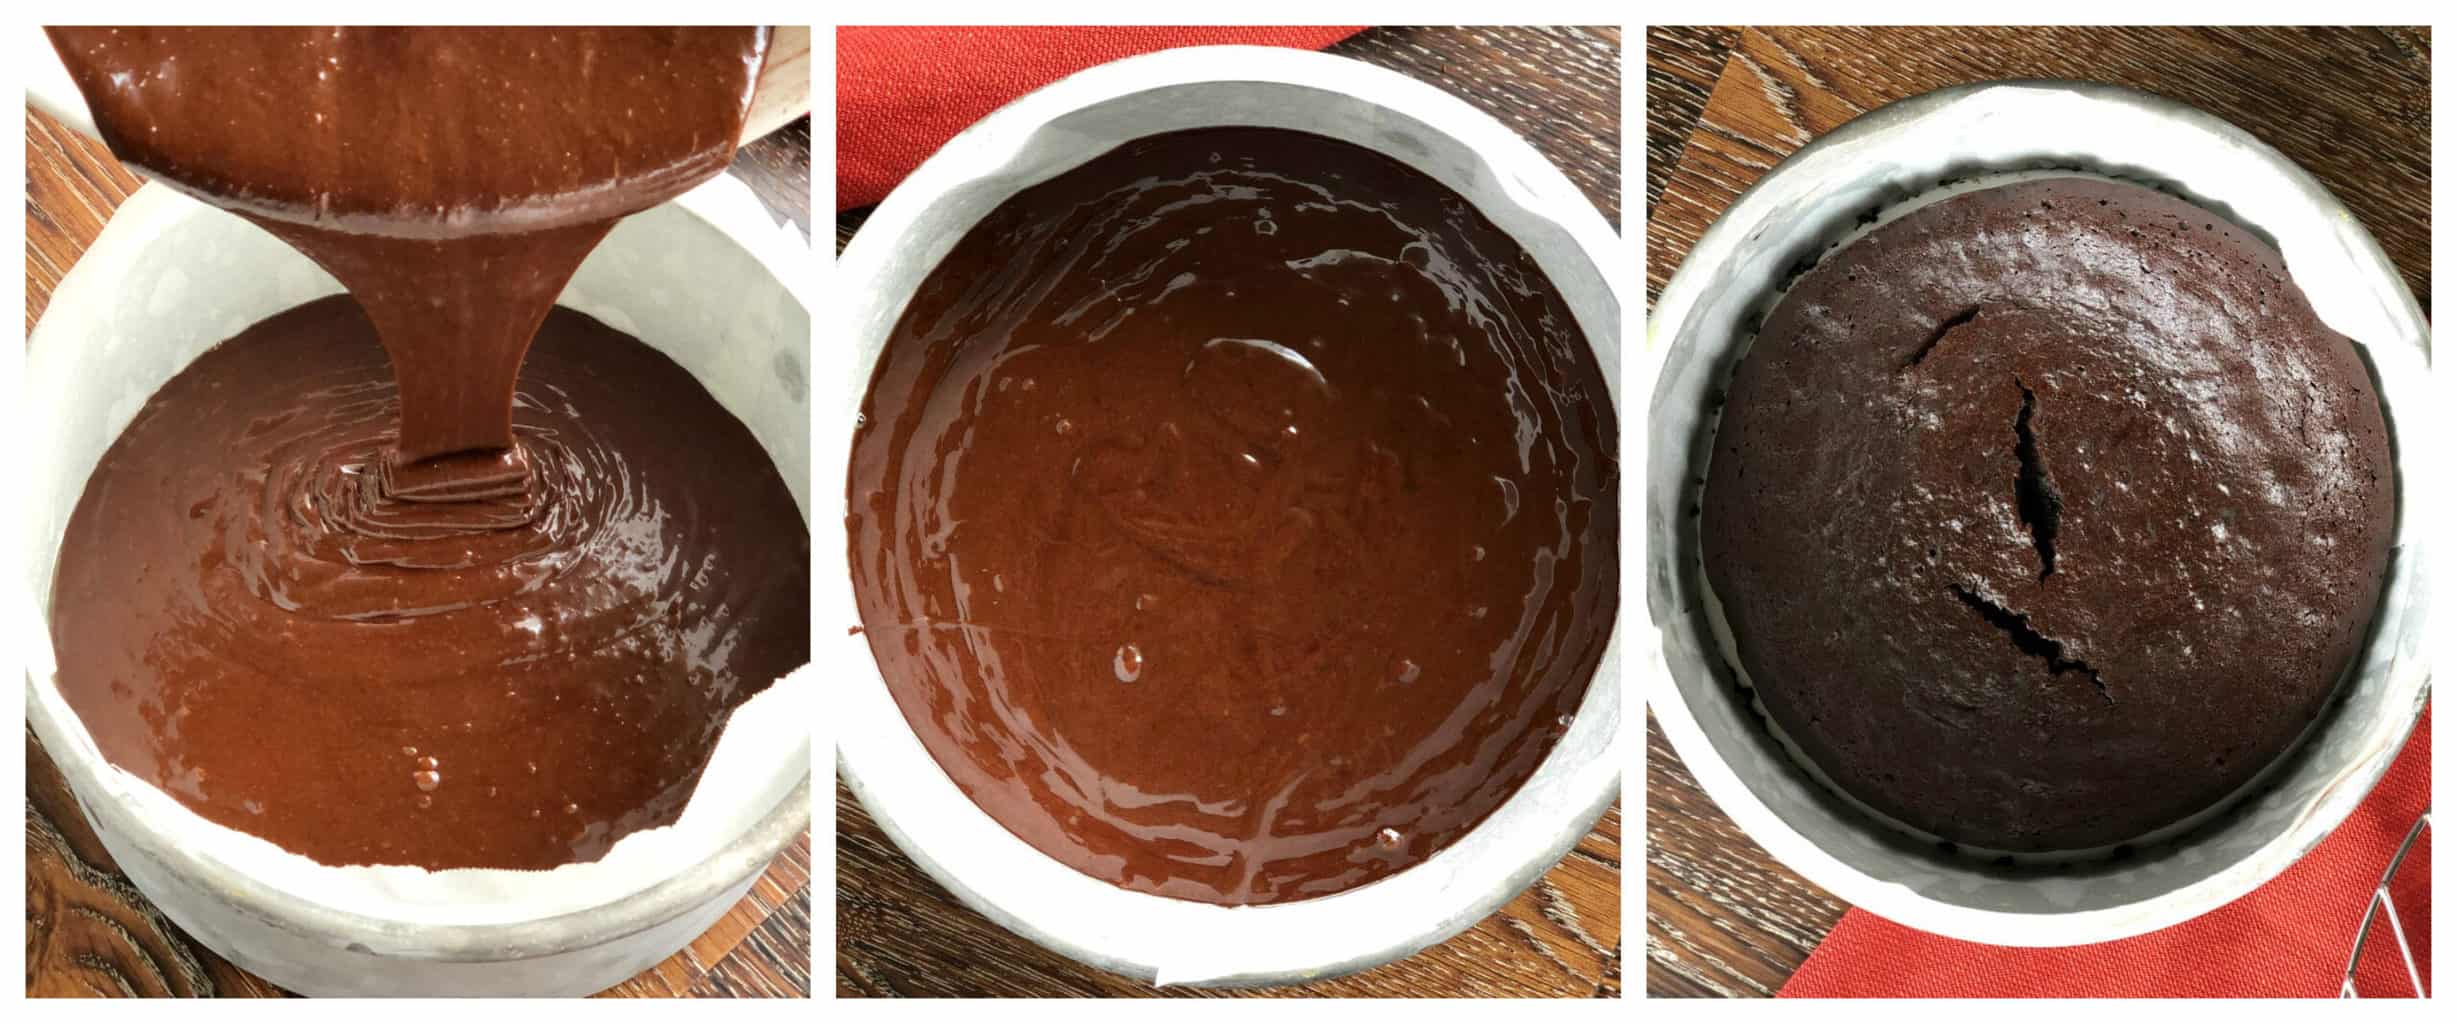
- Pour this mixture into your prepared cake tin, tap two times on the bench to remove any air bubbles
- Place an empty large roasting dish on the bottom rack of your oven
- Pour a kettle full of very hot water into the roasting dish and close the oven door to trap the steam
- Place your cake on the middle rack and bake for 30 minutes. Do NOT over bake this cake, if you use a 9 inch pan check it after 25 minutes.
- This cake is done when a skewer or knife comes out clean or with a few damp crumbs. Remove from oven immediately.
- Allow the cake to cool for 20 minutes in the tin
- Once cooler remove from the tin and place on a wire rack to completely cool.
- Serve immediately with your favourite topping, today I have made a simple raspberry whipped cream (see below for Whipped Cream Recipe)
- You can store this cake in an airtight container at room temperature if topping allows, in the fridge or it freezes well.
- Enjoy!
Notes
Melting Butter & Chocolate
You can use a double boiler but I never do. I just use the microwave, all microwaves are different so better to heat for less time than more. For me I do 30 second bursts to ensure the chocolate does not burn, after the first two 30 second bursts you may only need 10-15 seconds more. Stir well.
Sifting
I tend not to sift most of my recipes, call me lazy! But cocoa is one of those ingredients that does like to be sifted as lumps can easily form. So in this case I will suggest sifting!
Whisking Egg Whites Separately - Soft Peaks
For this recipe you will need to whisk the egg whites, this is easy, made even easier if you have a stand mixer or an electric beater. If not you can use a whisk and a very strong arm! Soft peaks are when you hold the whisk away and the egg whites are just starting to hold, and bend back into themselves after a few seconds.
Water to Create Steam
You don't want to fuss with a water bath, but steam does help this recipe remain moist and delicious. You do not HAVE to do this step, but its easy so no harm. All you do is pop an oven rack on the bottom of the oven and another in the middle. On the bottom rack pop in a roasting tray, when you are ready to bake fill the roasting dish with very hot water. Shut the door quickly to trap the steam.
It will sink!
I actually love that this one sinks a little in the middle. It means you can be creative with how you serve it. Today I have added a instant pudding as the topping, you could add fresh berries, a ganache or just a sprinkling of icing sugar and serve with yoghurt. Be creative!
Thank you so much for stopping by to check out my latest recipe and others on my blog. If you are not already be sure to follow me on Facebook or Instagram for more deliciousness, and you can register your email in the subscription box below to receive all my recipes as I publish them.
Happy Baking!
Anna
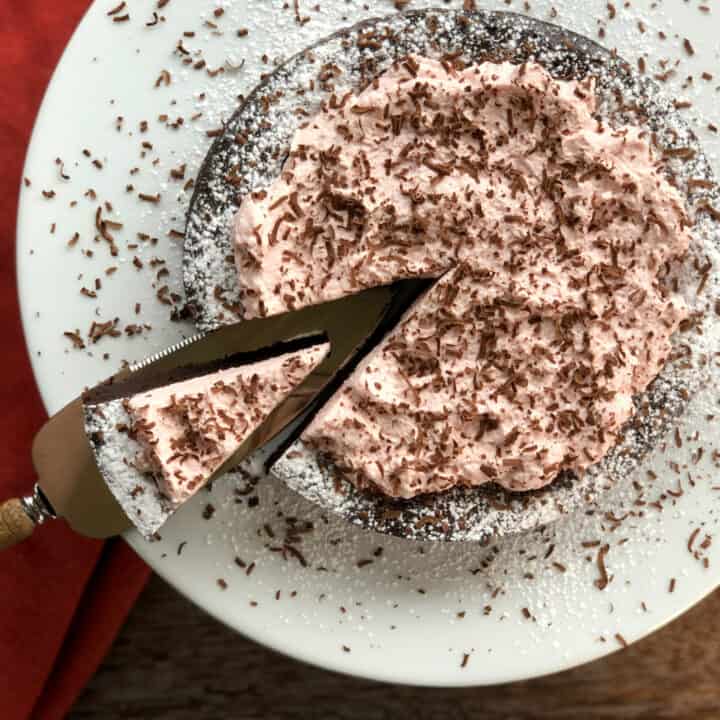
Easy Raspberry Whipped Cream
Delicious Easy Whipped Cream using frozen raspberries for flavour and colour.
Ingredients
- 1 Cup Frozen Raspberries
- 1 Tablespoon Icing Sugar
- 1 Cup Cream, 250mls, Cold
- 2 Tablespoons Icing Sugar
- 1/2 teaspoon Vanilla, or more to taste
Instructions
- In a small microwave proof bowl add the frozen raspberries, the aim is to thaw the raspberries but NOT heat them too much. Heat 20 seconds at a time in the microwave until they begin to soften and release juices
- Add a table spoon of icing sugar and stir well
- Over a small bowl strain through a fine sieve to remove all the seeds, using a spoon to press out all the juice you can .
- Set aside to cool while you prepare the whipped cream
- In a large cold glass or metal bowl pour in the cream, icing sugar and vanilla essence
- Using the whisk attachment of the food mixer or hand held beaters whip the cream for 3-4 minutes until you achieve medium peaks.
- I tend to check once it begins to thicken to the soft peak stage, and then whip in brief increments until medium peaks. Medium peaks are when the whisk lifts off the cream and a peak forms and gently folds a little at the top.
- Add the strained raspberry juice - make sure it is cool. Gently fold it through.
- Use immediately or you can store covered in the fridge for up to 24 hours before using.
I love hearing from you! What do you think of this recipe?