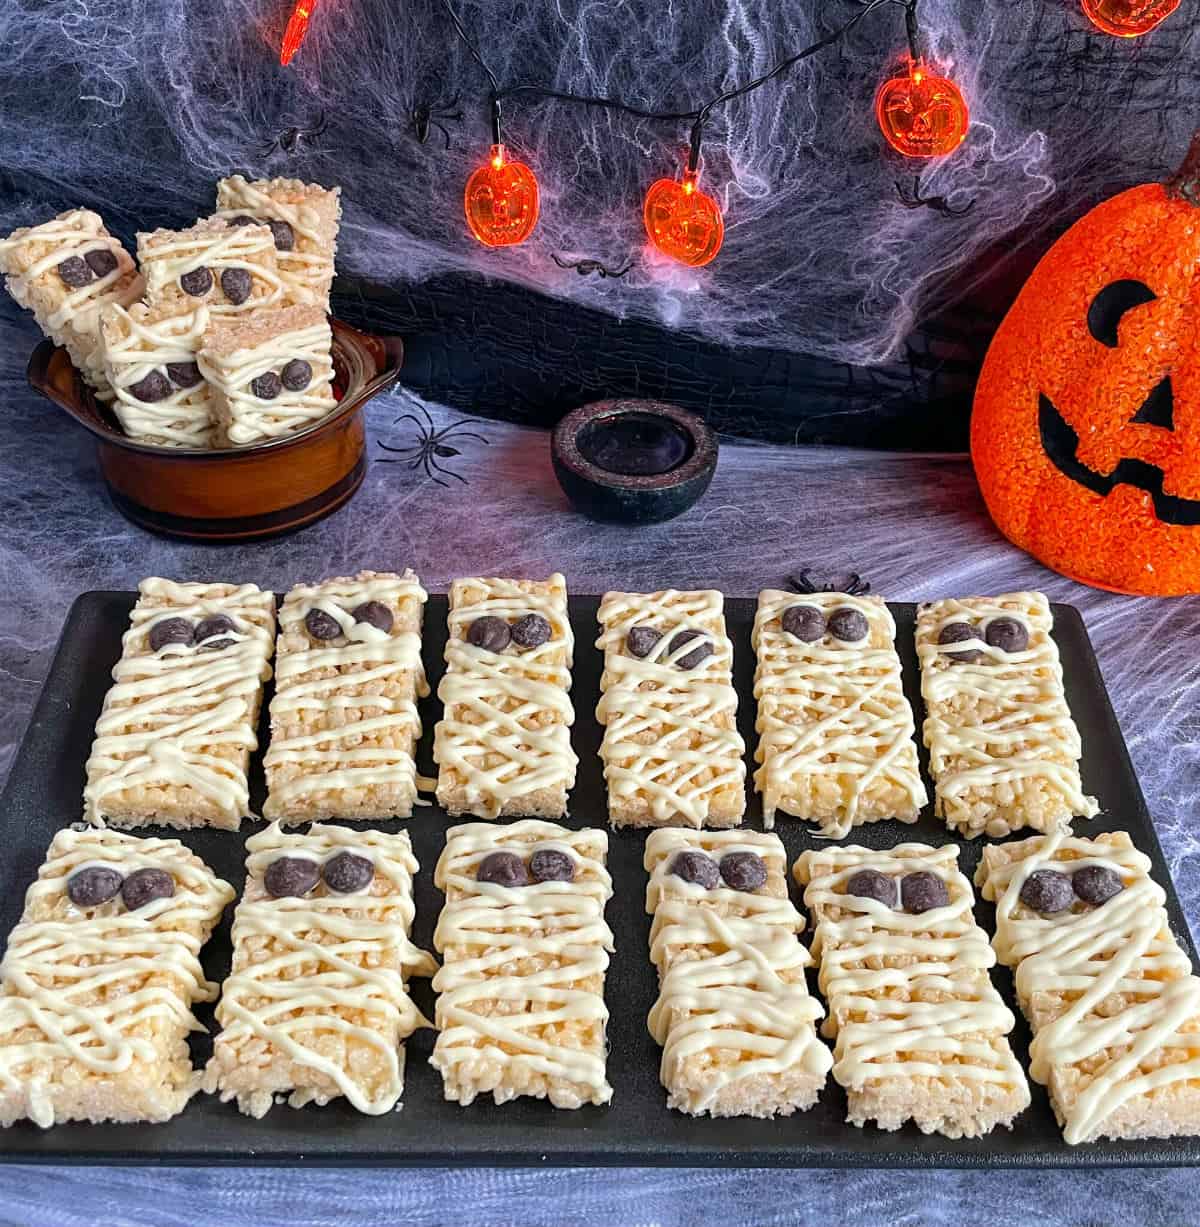
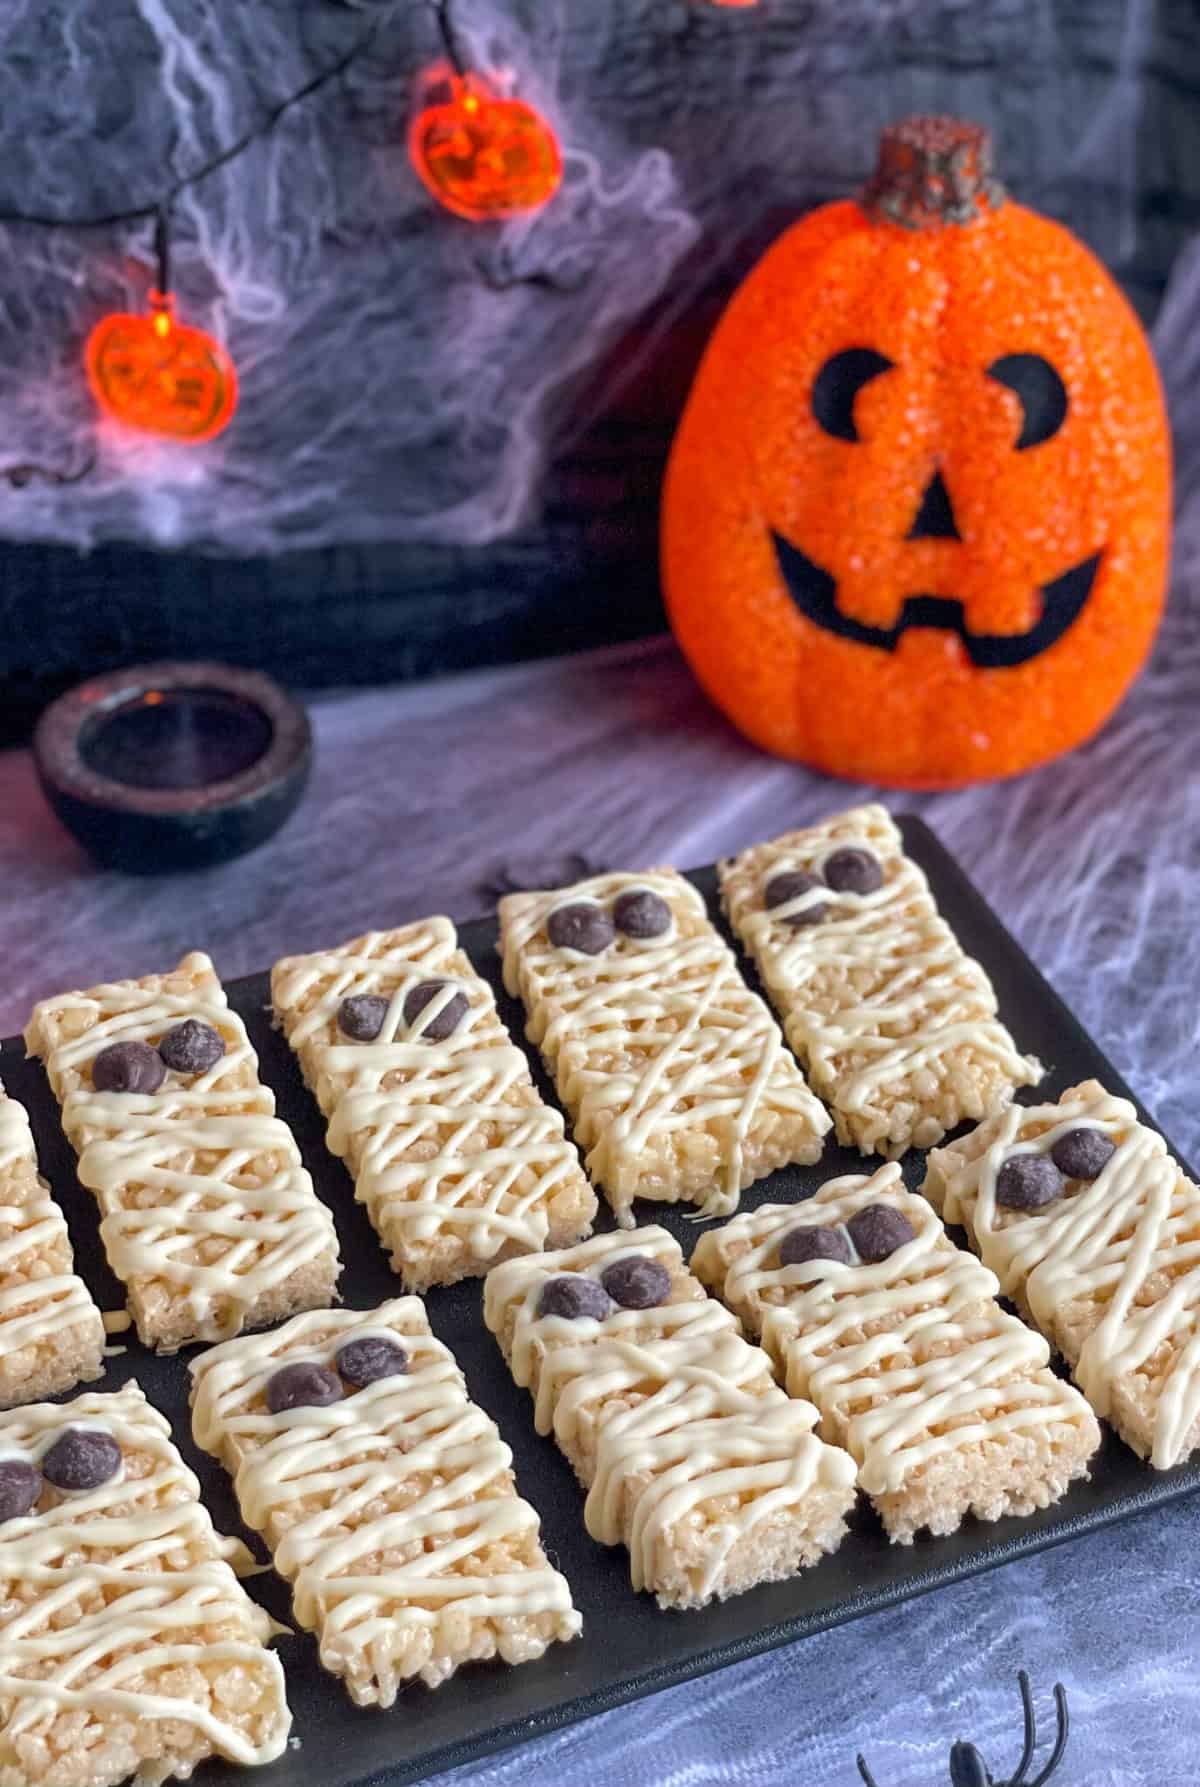
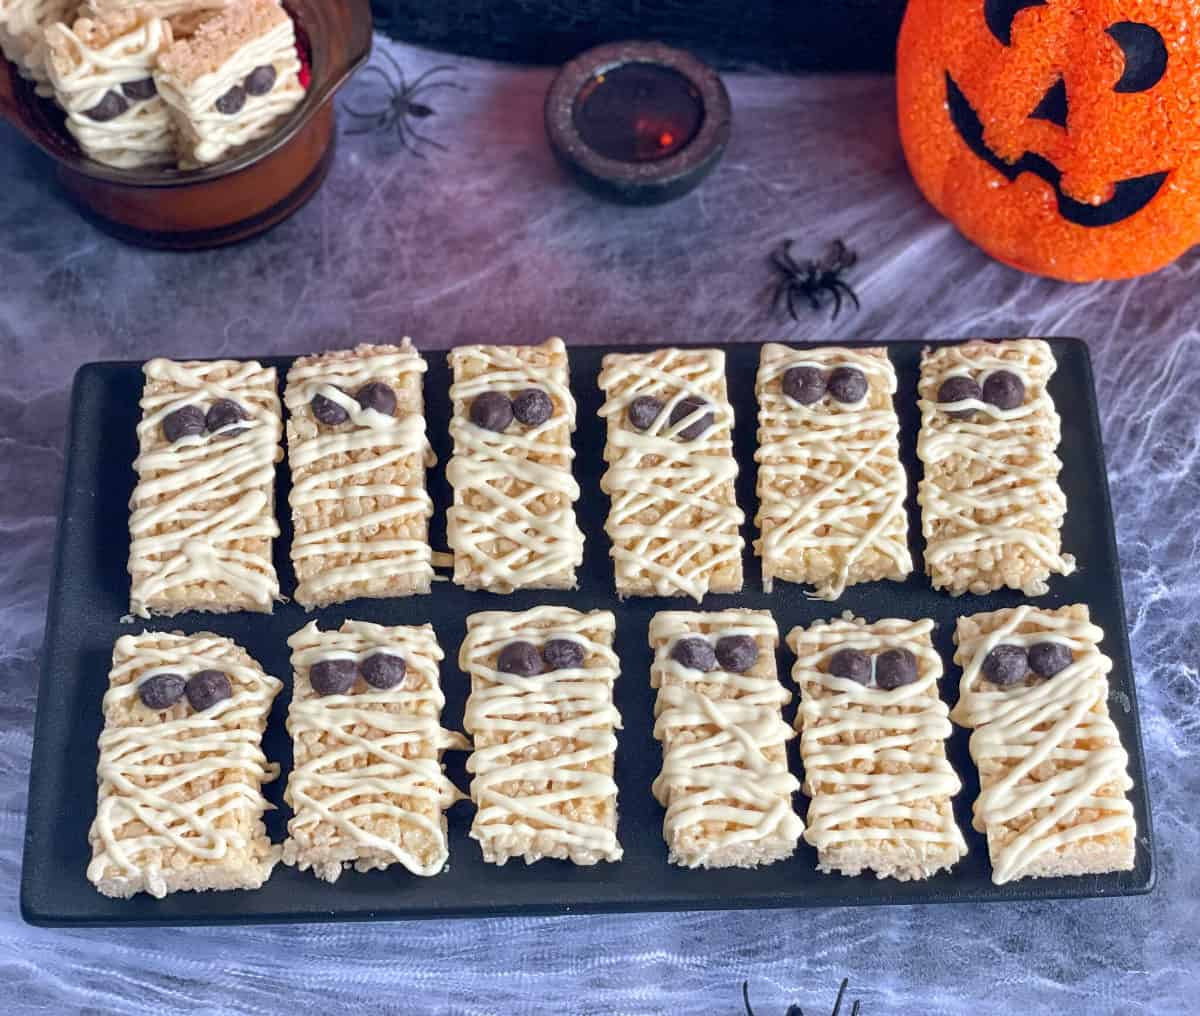
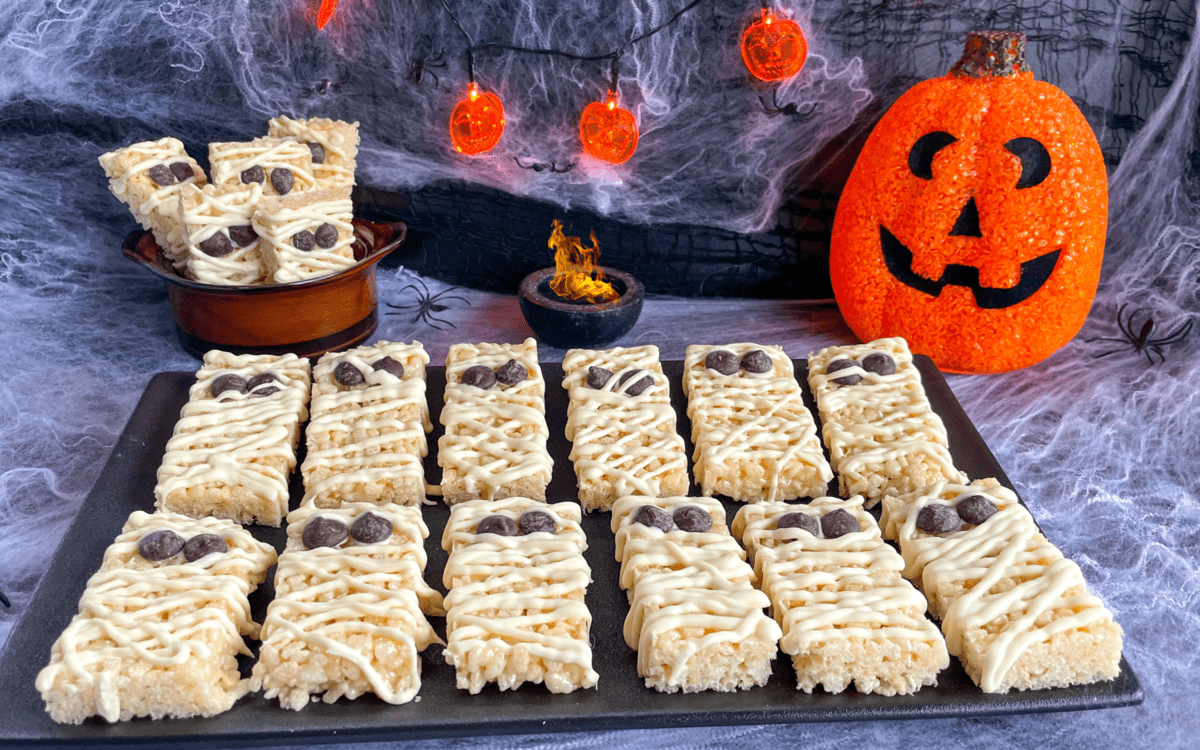
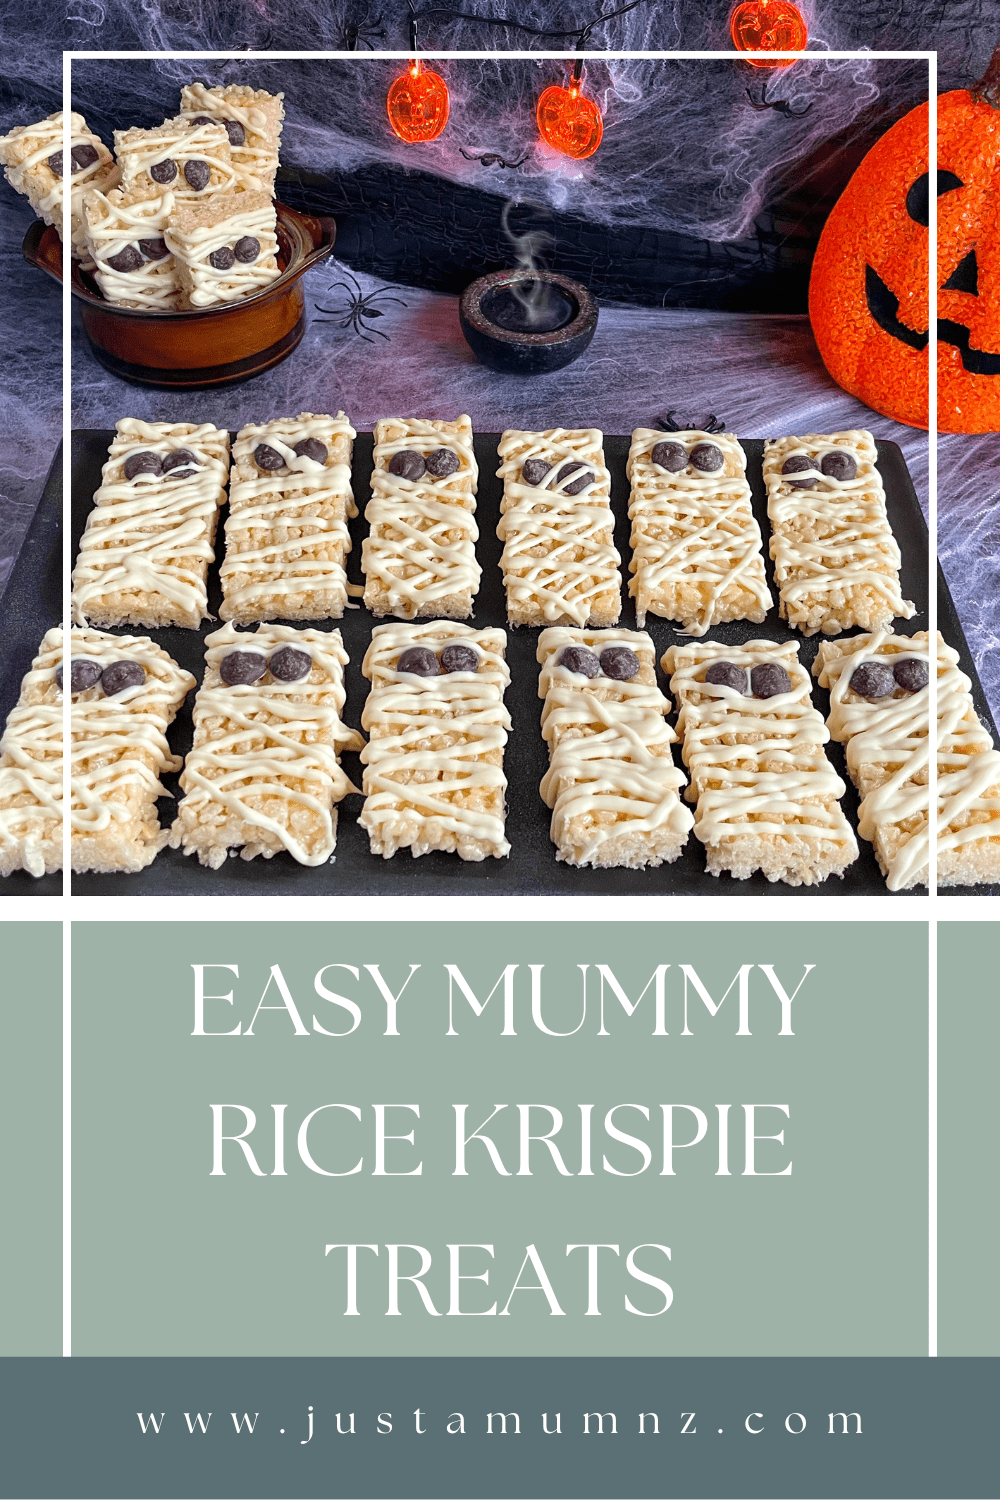
These delicious Halloween Rice Krispie treats are decorated to resemble a Mummy, so easy to make and super tasty
Here in New Zealand Halloween is still a new thing to us, but it is BIG overseas. So we are able to pick and choose what we do here, and for those that do celebrate it I love hearing of the amazing food people create to share with friends and family.
I wanted to show how you can make a fun treat for the kids that will look fun in the lunch box or around the party table. Using all pantry basics and my Marshmallow Rice Bubble Treat recipe this one is a winner!
Many of you will be aware of the popular Honey Rice Bubble Slice, this is a version of that. You can absolutely use the honey version of rice bubble slice if you prefer, but these are wonderful made with marshmallow and slightly softer so less likely to crumble everywhere when slicing and decorating.
Super quick and easy I hope you love it.
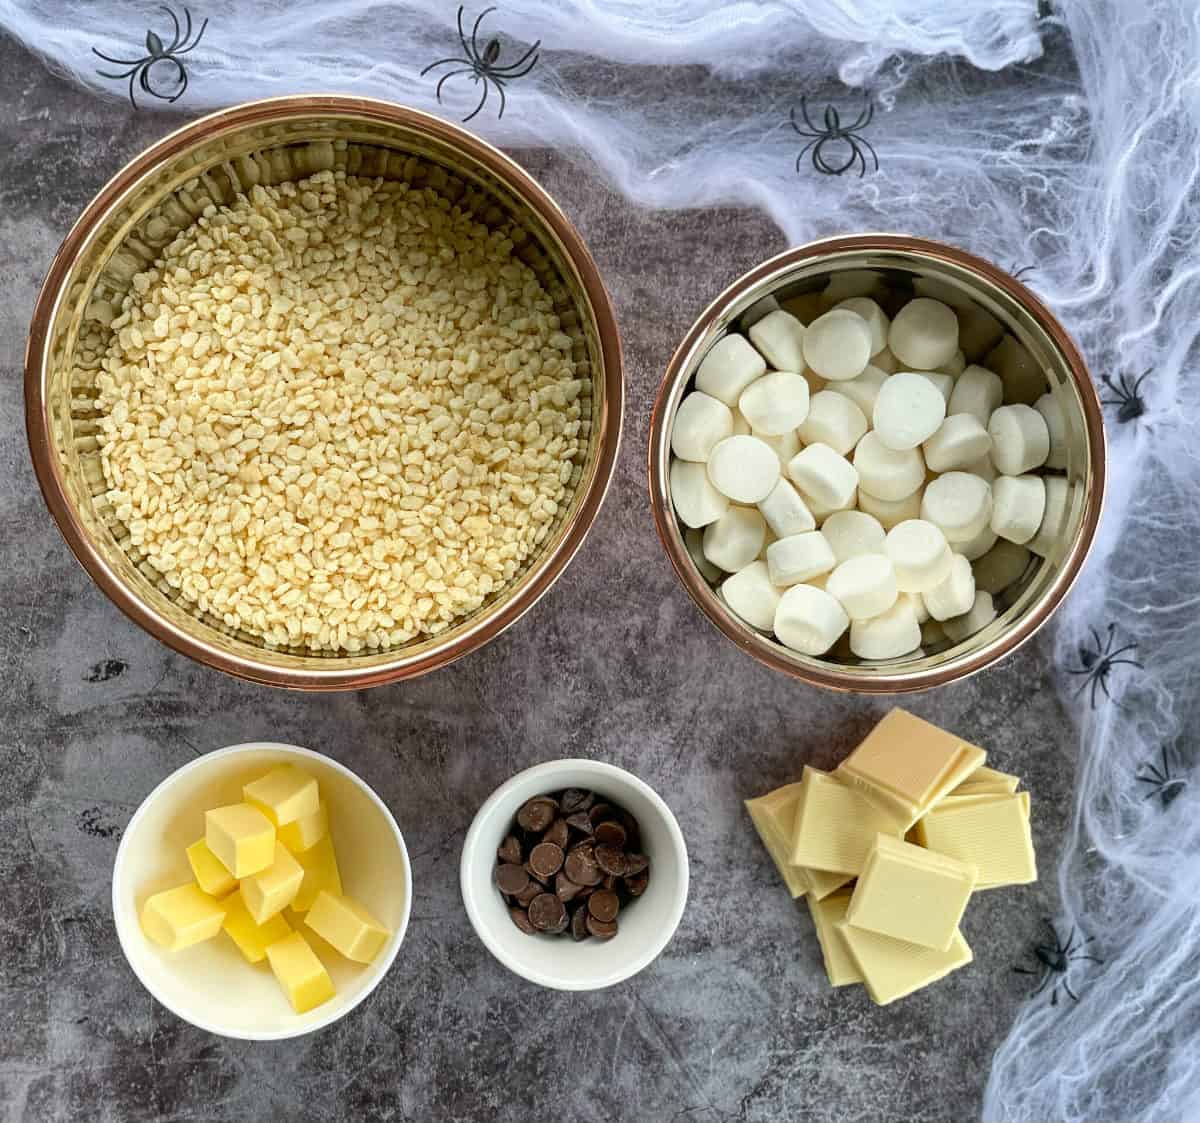
All you will need for this recipe is:
-
Butter
-
Marshmallows
-
Rice Bubbles
-
Dark Chocolate Drops
-
White Chocolate
You will see that I have only used white marshmallows, that is to give it a distinctive white mummy look – you can absolutely add the pink marshmallows in their, it will just turn your mummy’s pink!
Which is fine too. I have popped my pink marshmallows away in the freezer to make THIS recipe at another time.
To make this recipe is so easy, you will need to check the ingredients and the tin size I use before starting as once you begin to cook it moves quickly and the ingredients are very very hot. So please take care.
The first step is to prepare the pan, I have used a cookie sheet for this, mine has a lip around the edge of around 1-2cm which is the perfect height as you want these to be quite thin, and it is around 23 x 33 cm (9 x 13inches).
If you do not have something like this you might find your roasting dish is a similar size. Grease the pan well to ensure you can get the mixture out later.
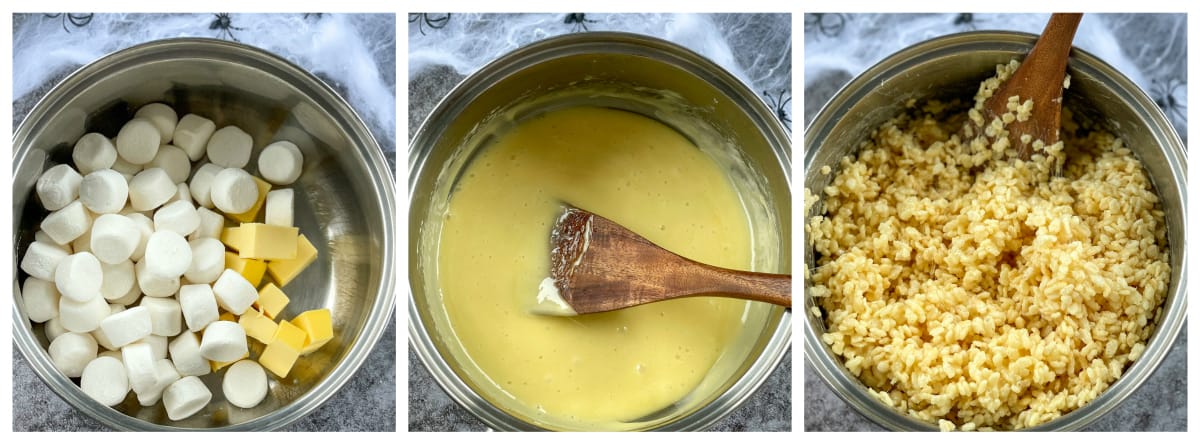
Next step is to slowly and carefully melt down the marshmallows and butter in a large saucepan, you will need to add 5 cups of rice bubbles to this later so the size is important.
Slow and steady is best, stirring constantly to ensure the mixture does not stick and keeping the temperature very low. Once the marshmallows have completely melted into the butter you can remove from the heat and add the rice bubbles straight away.
Folding the rice bubbles through with a large wooden or rubber spoon to ensure they are fully coated with the marshmallow mixture.
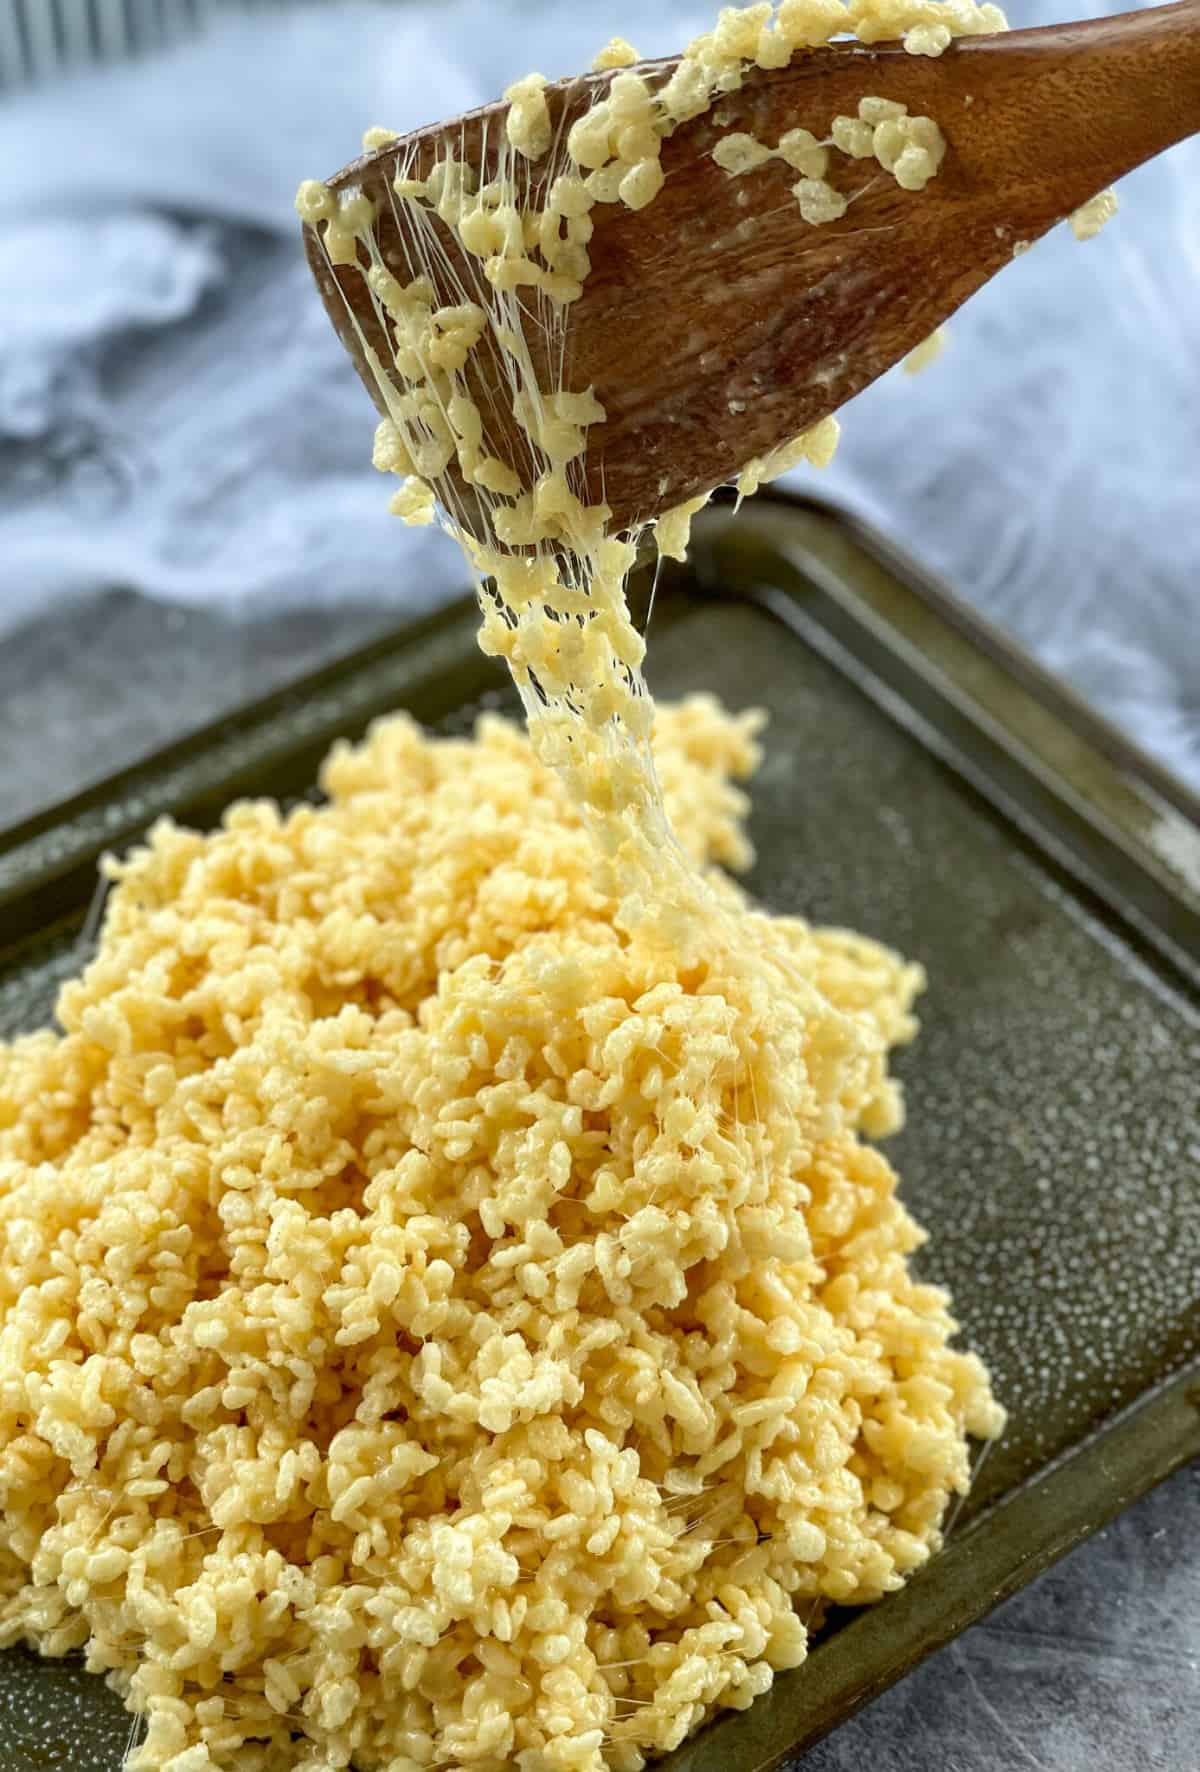
This is a very hot mixture, do not be tempted to lick your fingers! Tip this onto the prepared pan and as best you can begin to flatten out the mixture with the wooden or rubber spatula.
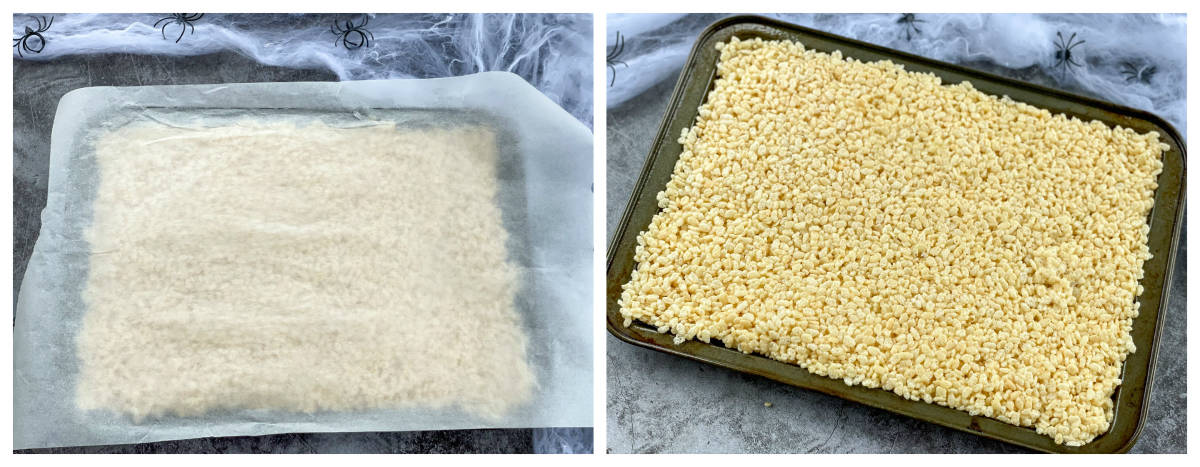
The mixture is VERY sticky and resembles cobwebs, so I tend to get a large piece of baking paper, and lay this across the top and press the mixture down with my hands until it is flat and pressed evenly into the pan. Again take care as it will still be very warm.
Once it is even and flat, simply allow it to completely cool at room temperature, around 4 hours, before you remove if from the pan and slice into rectangles.
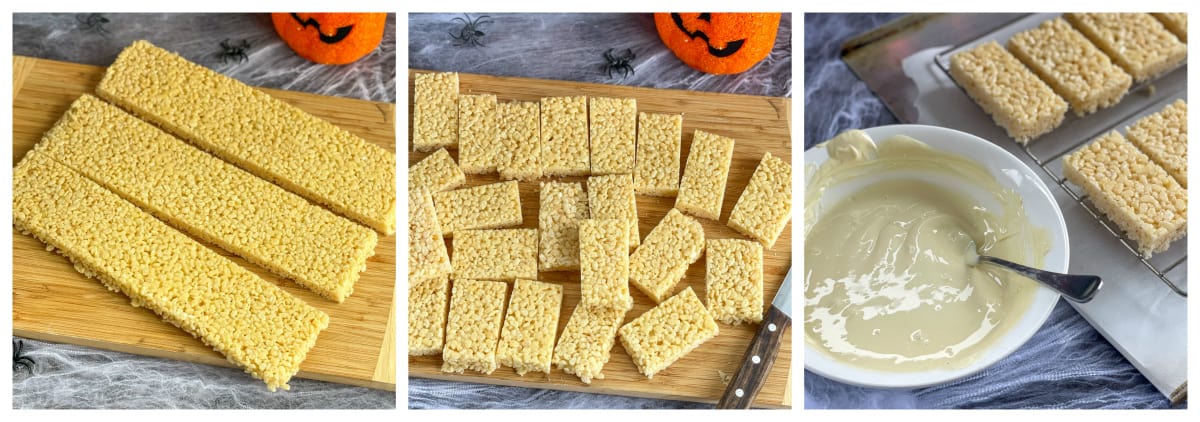
I sliced and measured mine to ensure they were even. I sliced mine to be 8 x 4 cm, once I had the three long rectangles cut I measured one of the long strips at 4cm then I used that as a guide to cut the rest.
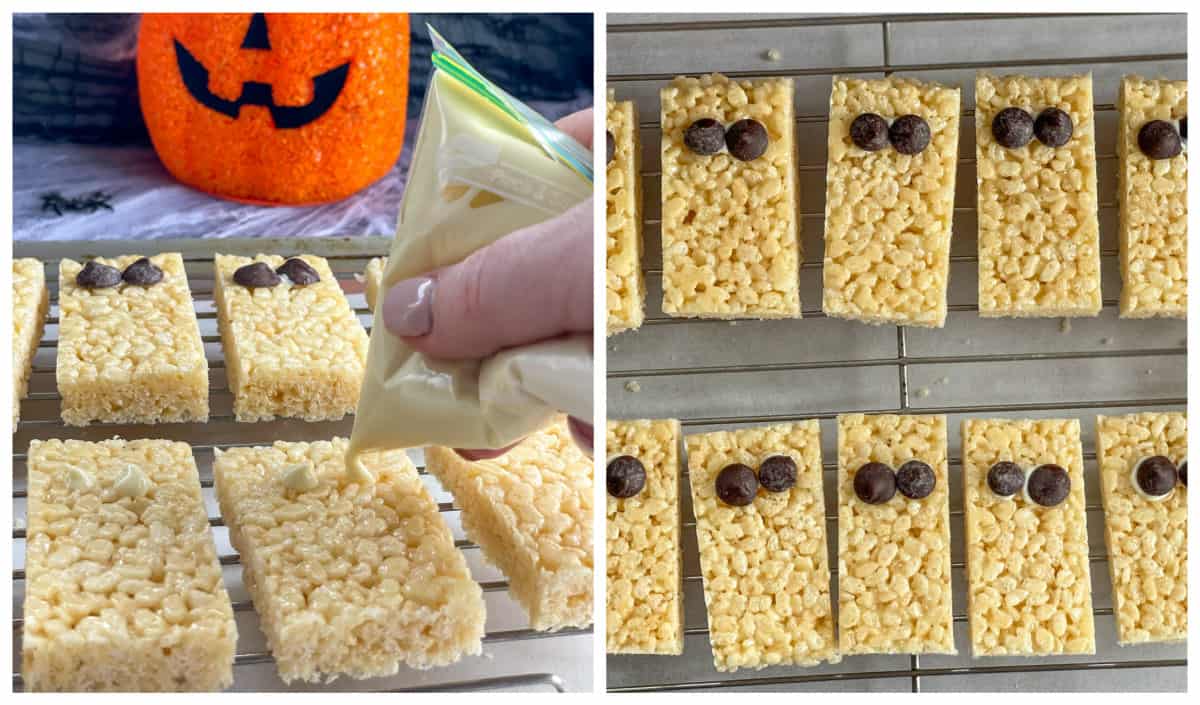
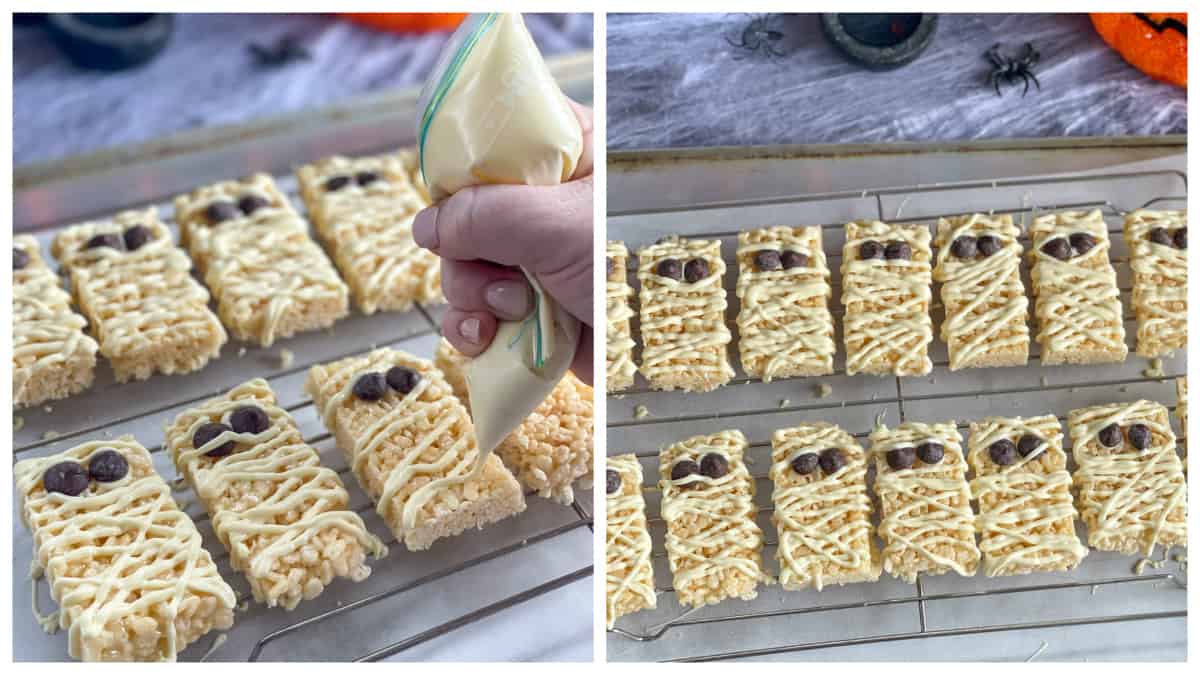
For the Mummy features, I have used melted white chocolate. I have used a small zip lock bag for the piping. Simply slice a tiny corner off.
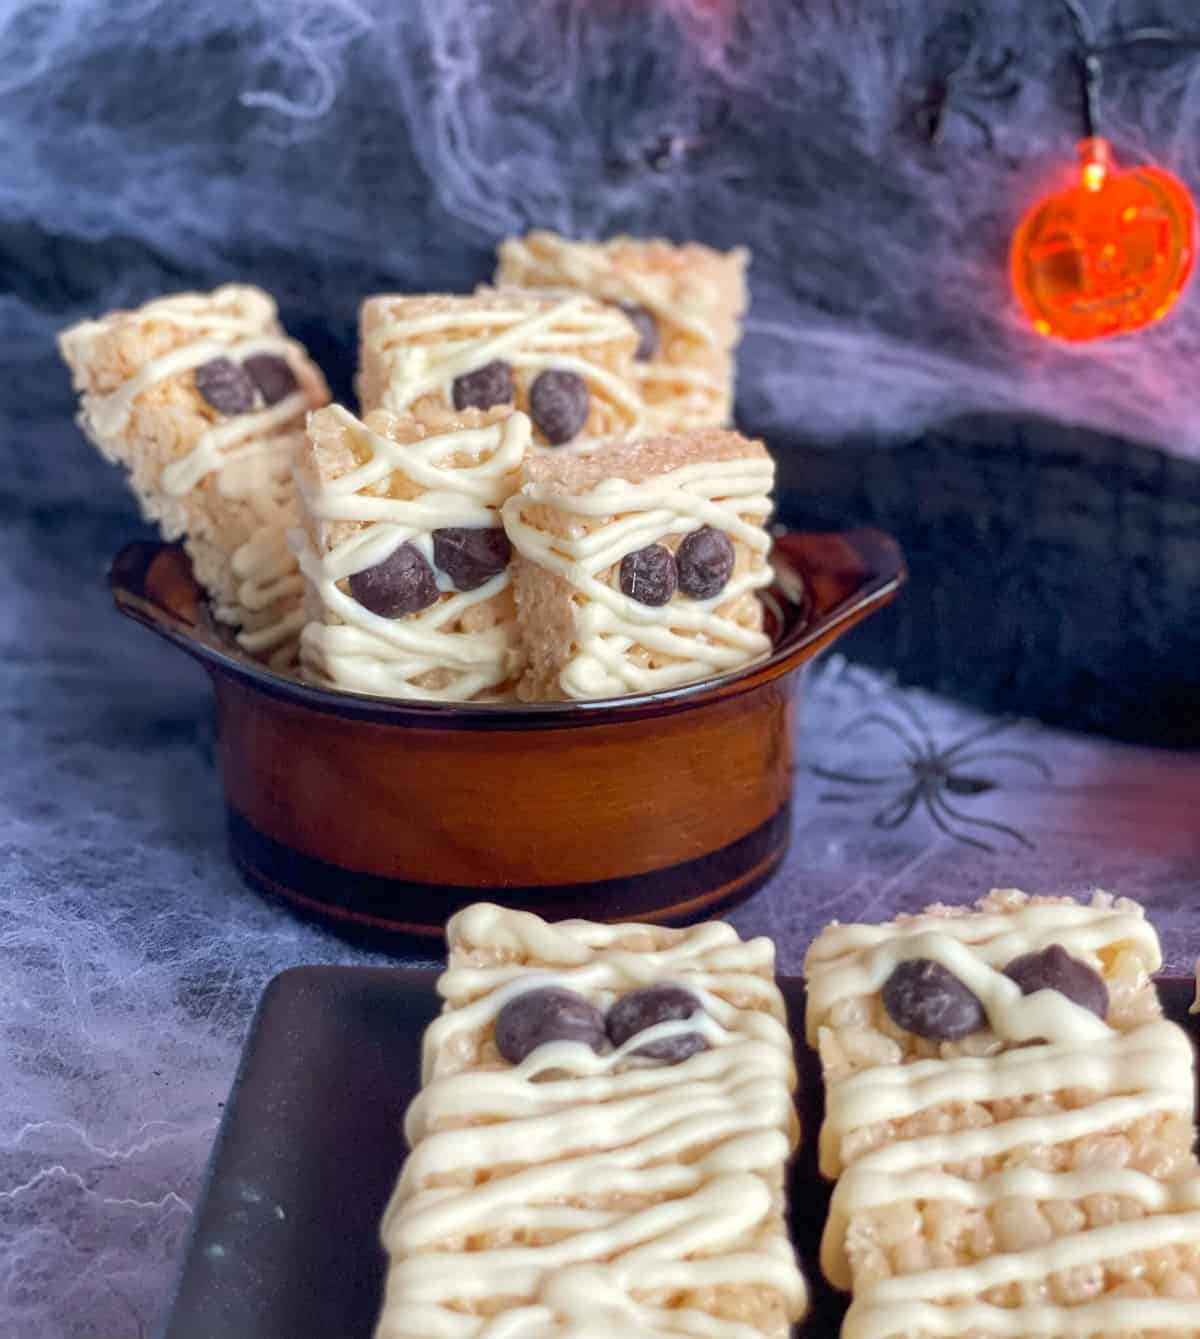
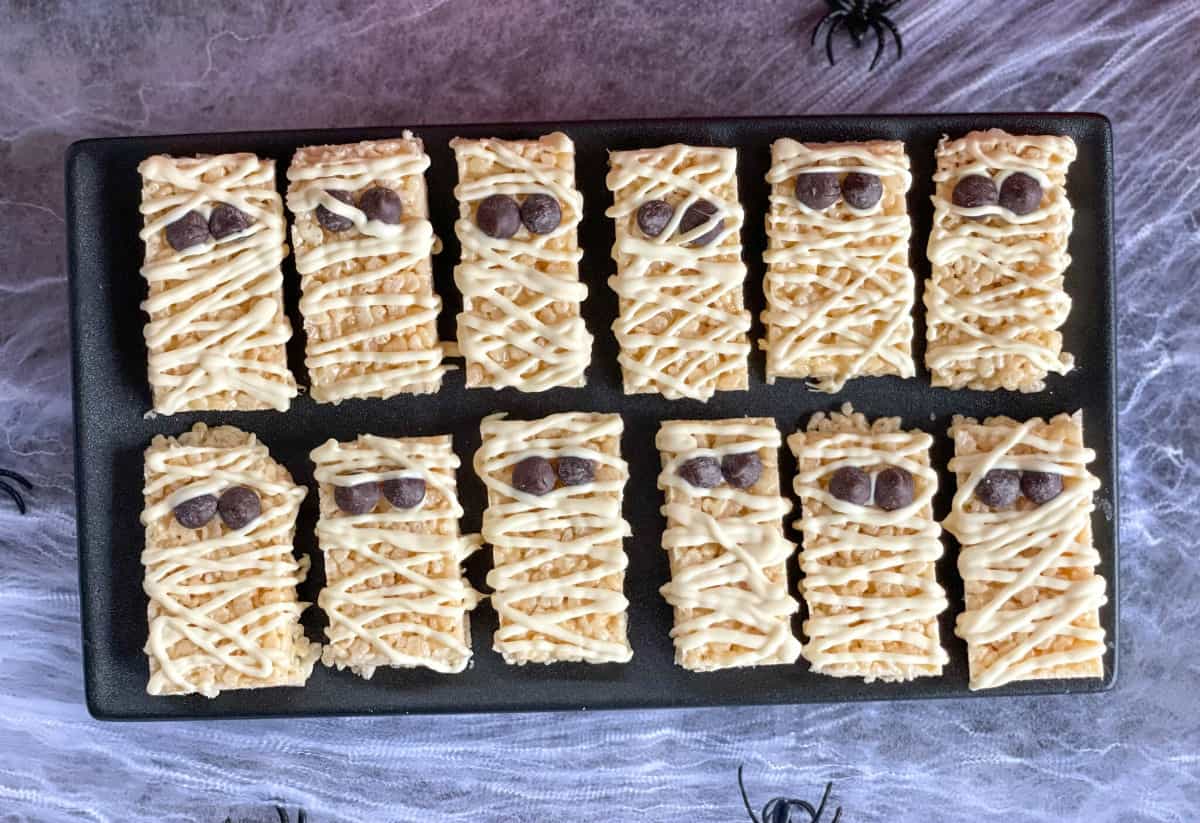
For the eyes I add a drop of chocolate then place on the dark chocolate drops in place, then drizzled melted chocolate all over the treats to resemble bandages in one direction and then the other.
You will get the hang of the direction the more you do, but it does not need to be perfect to be enjoyed.
I hope you love this fun wee Halloween Treat, be sure to send me photos on my social media pages if you make these.
Here is my recipe for Easy Mummy Rice Krispie Halloween Treats.
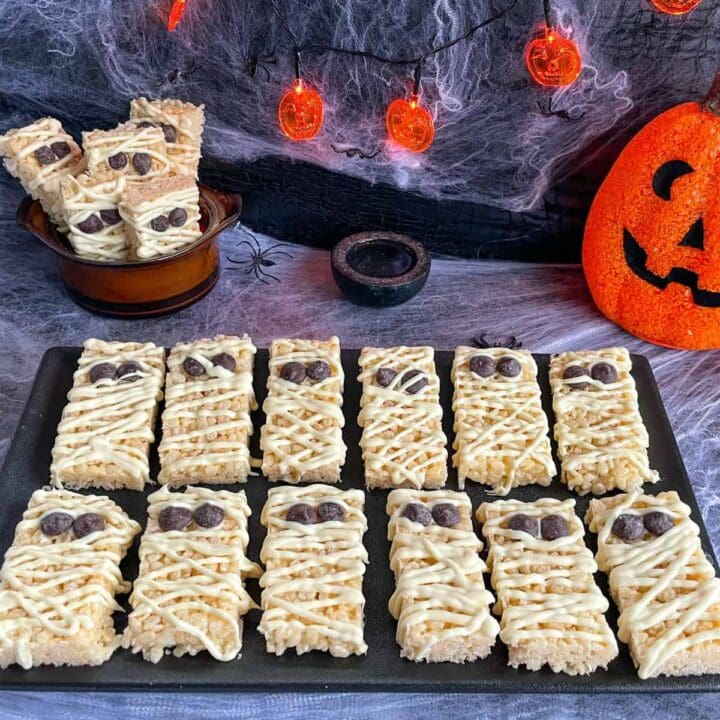
Mummy Rice Krispie Halloween Treats
Delicious Marshmallow Rice Bubble Slice turned into a fun Halloween Treats
Ingredients
- 75 Grams Butter, cubed
- 250 grams Marshmallows, White* see notes
- 5 Cups Rice Bubbles, 175 grams
- 48 Chocolate Drops, Dark
- 220 grams White Chocolate
Instructions
- Prepare a 23 x 33 cm baking pan or lipped cookie tray (9 x 13 inches) with butter or cooking spray and coat well, set aside
- Measure out 5 cups of rice bubbles and set aside.
- In a large saucepan or pot add the cubed butter and the marshmallows and over a very low heat begin to melt
- Stir constantly with a wooden or rubber spatula to ensure it does not stick the sides or base of the pan.
- Slowly combine until no lumps of marshmallow remain and the butter and marshmallows are well incorporated, this may take time but keep the heat low.
- Please take care, this mixture is HOT
- Remove from the heat and pour the rice bubbles into the marshmallow mixture, fold the rice bubbles through with the wooden or rubber spatula ensuring the rice bubbles are well coated
- Tip this onto the prepared pan and expect it to look a bit like rice bubbles mixed with cobwebs
- Press as well as you can with the spatula, but I then use a large sheet of baking paper, and lay this over the mixture
- Taking care as it will still be warm, but press with your hands through the baking paper to spread the mixture evenly into the pan, pressing to the corners and smoothing.
- Once smooth and even, remove the baking paper and set aside to cool, approximately 4 hours
- Once cool, remove from the tray, you may need to slide a metal spatula under it to ease it out.
- Lay on a wooden chopping board and slice into 3 long even slices (mine were approx 8cm)
- Then I sliced one of the lengths into a 4 cm wide piece, then used this as a guide to slice the rest into 4 cm pieces.
- To ice, I placed the rice krispie treats evenly spaced on a wire rack over a baking tray. You may need to work in two batches.
- Melt the white chocolate in a small bowl in 20 second bursts in the microwave (or over a bain marie on the stove) stirring well between each time, until no lumps remain. Careful not to overheat the chocolate.
- Carefully pour the chocolate into a small ziplock bag (or piping bag if you are feeling fancy) and cut off a tiny corner of the bag, the width you would like your stripes to be, start with a small cut, then cut a tiny bit more if you need.
- Add two small drops of melted white chocolate onto each piece where the eyes will go and place on two chocolate drops, repeat with remaining rice krispie treats
- Once the eyes are on, starting at the top drizzle the melted white chocolate in a side to side angled motion to cover the treats in the 'bandages' with a pattern one way all the way to the bottom then back up in a different angle. Trial and error is key here.
- Allow the chocolate to set, this may take several hours
- Then store in an airtight container until ready to use for a few days or they will last longer in the fridge or you can freeze these.
- Enjoy!
Notes
*I have used only white marshmallows here, that was 2 bags worth, I have stored the remaining pink marshmallows for another recipe. If you use both pink and white the overall colour will be pink which is fine too!
Please see the full blog post for more detailed instructions if you require.
Be sure to let me know in the comments below if you make this one! So fun and easy to do.
Thank you so much for stopping by to check out my latest recipes on my blog. If you are not already, be sure to follow me on Facebook or Instagram for more deliciousness, and you can register your email in the subscription box below to receive all my recipes as I publish them.
Happy Baking!
Anna
Joan says
I can just imagine how excited kidlets will be when they see these biscuits, I think they look awesome. I just love receiving you emails, thank you.