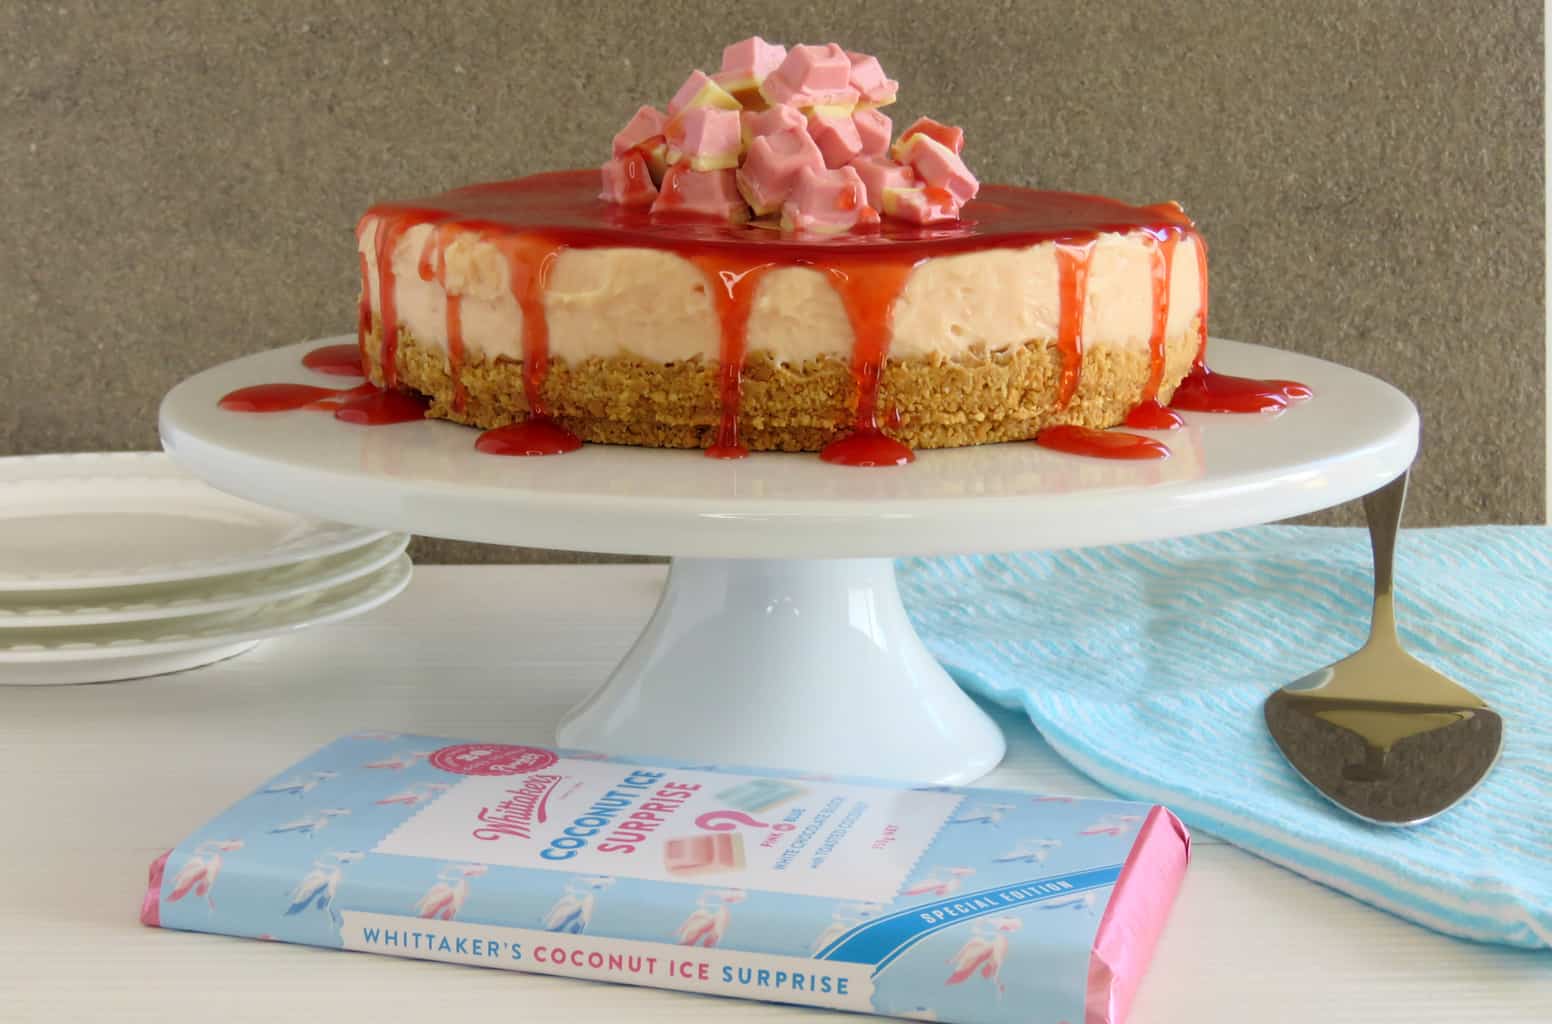
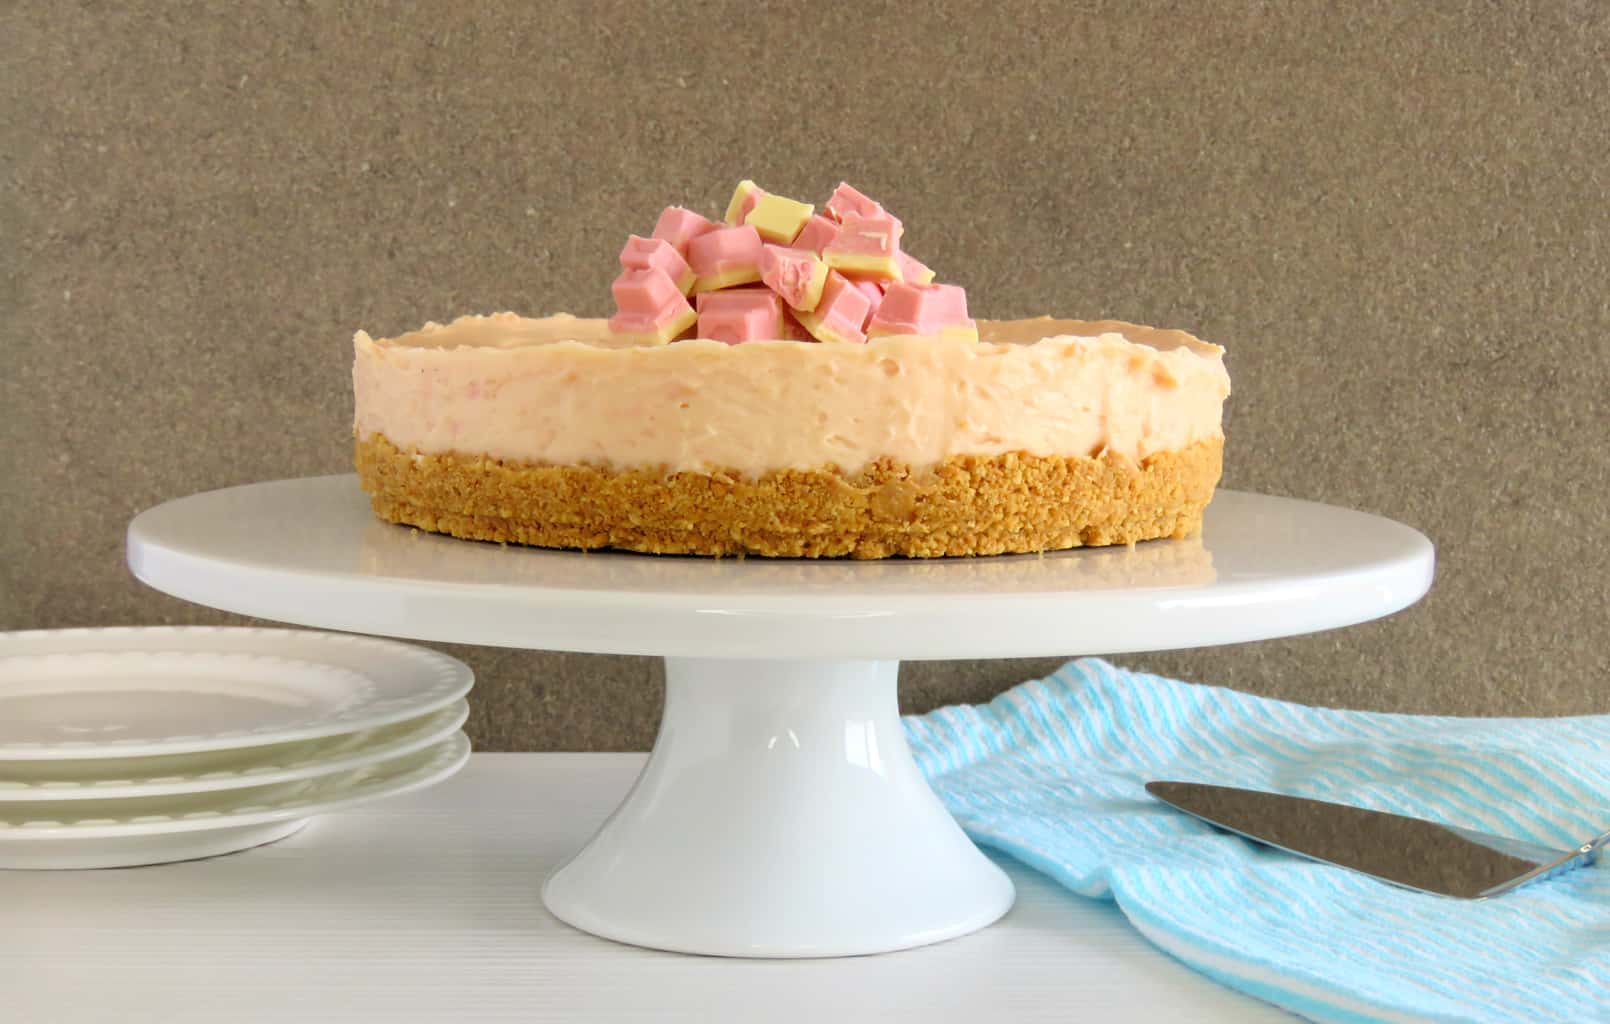
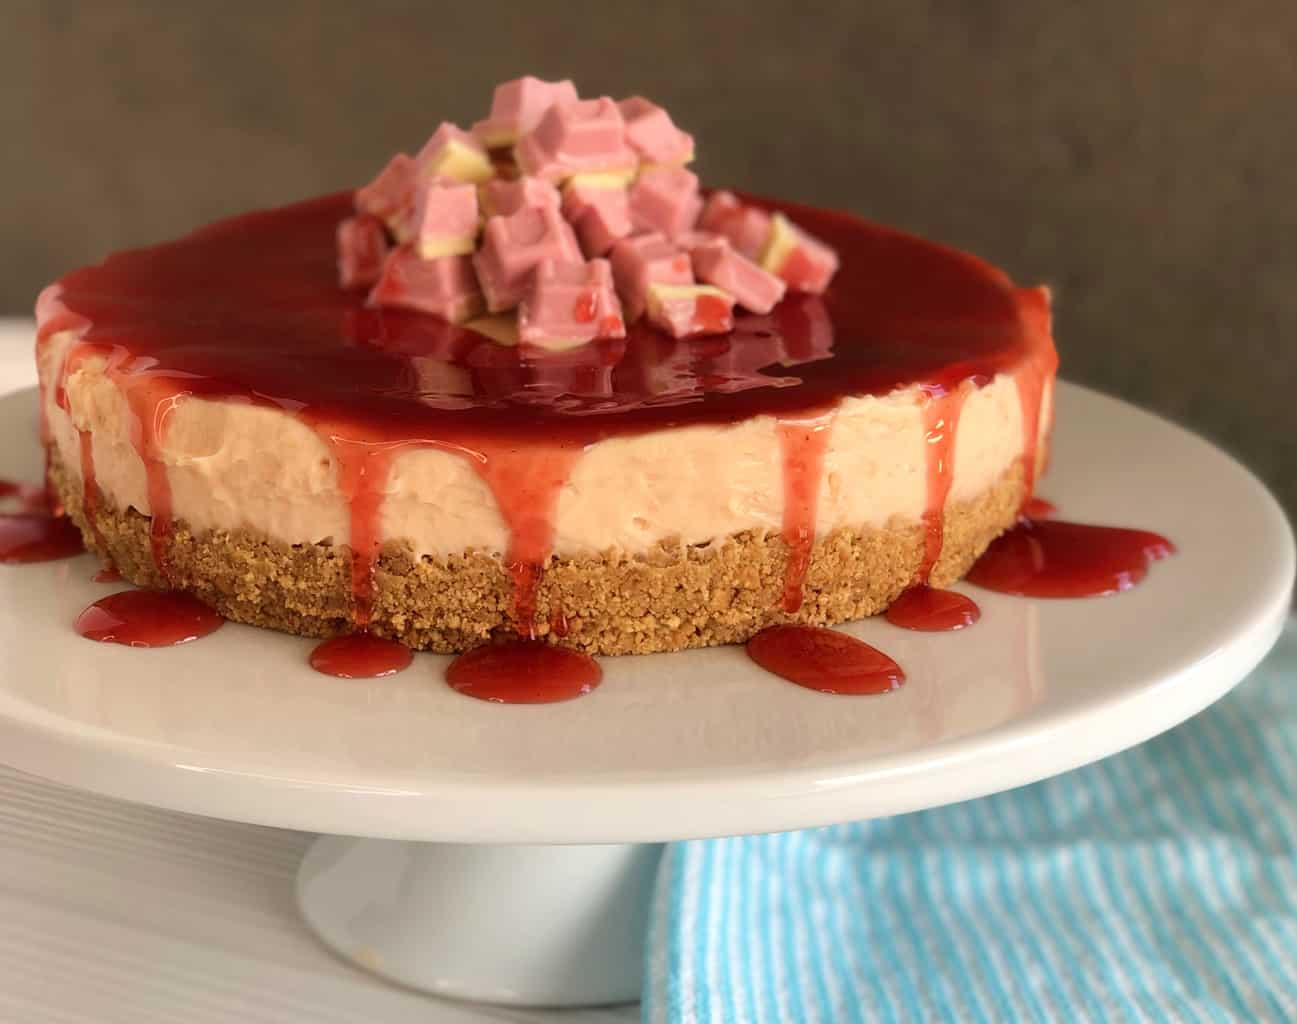
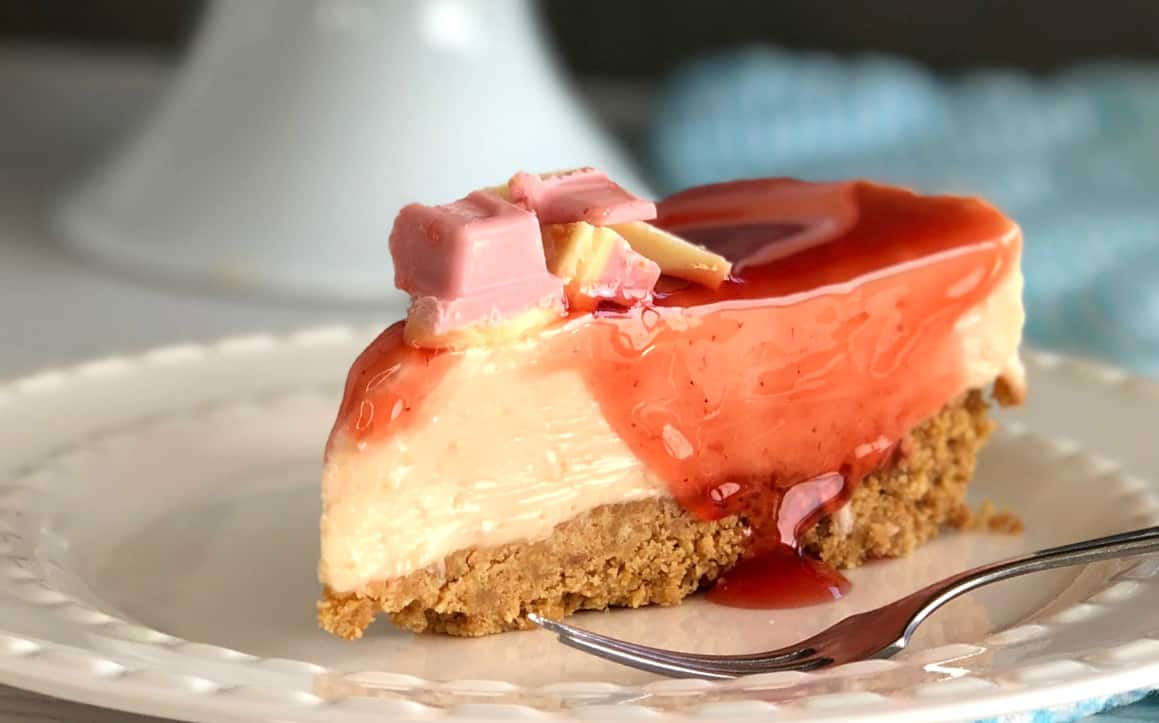
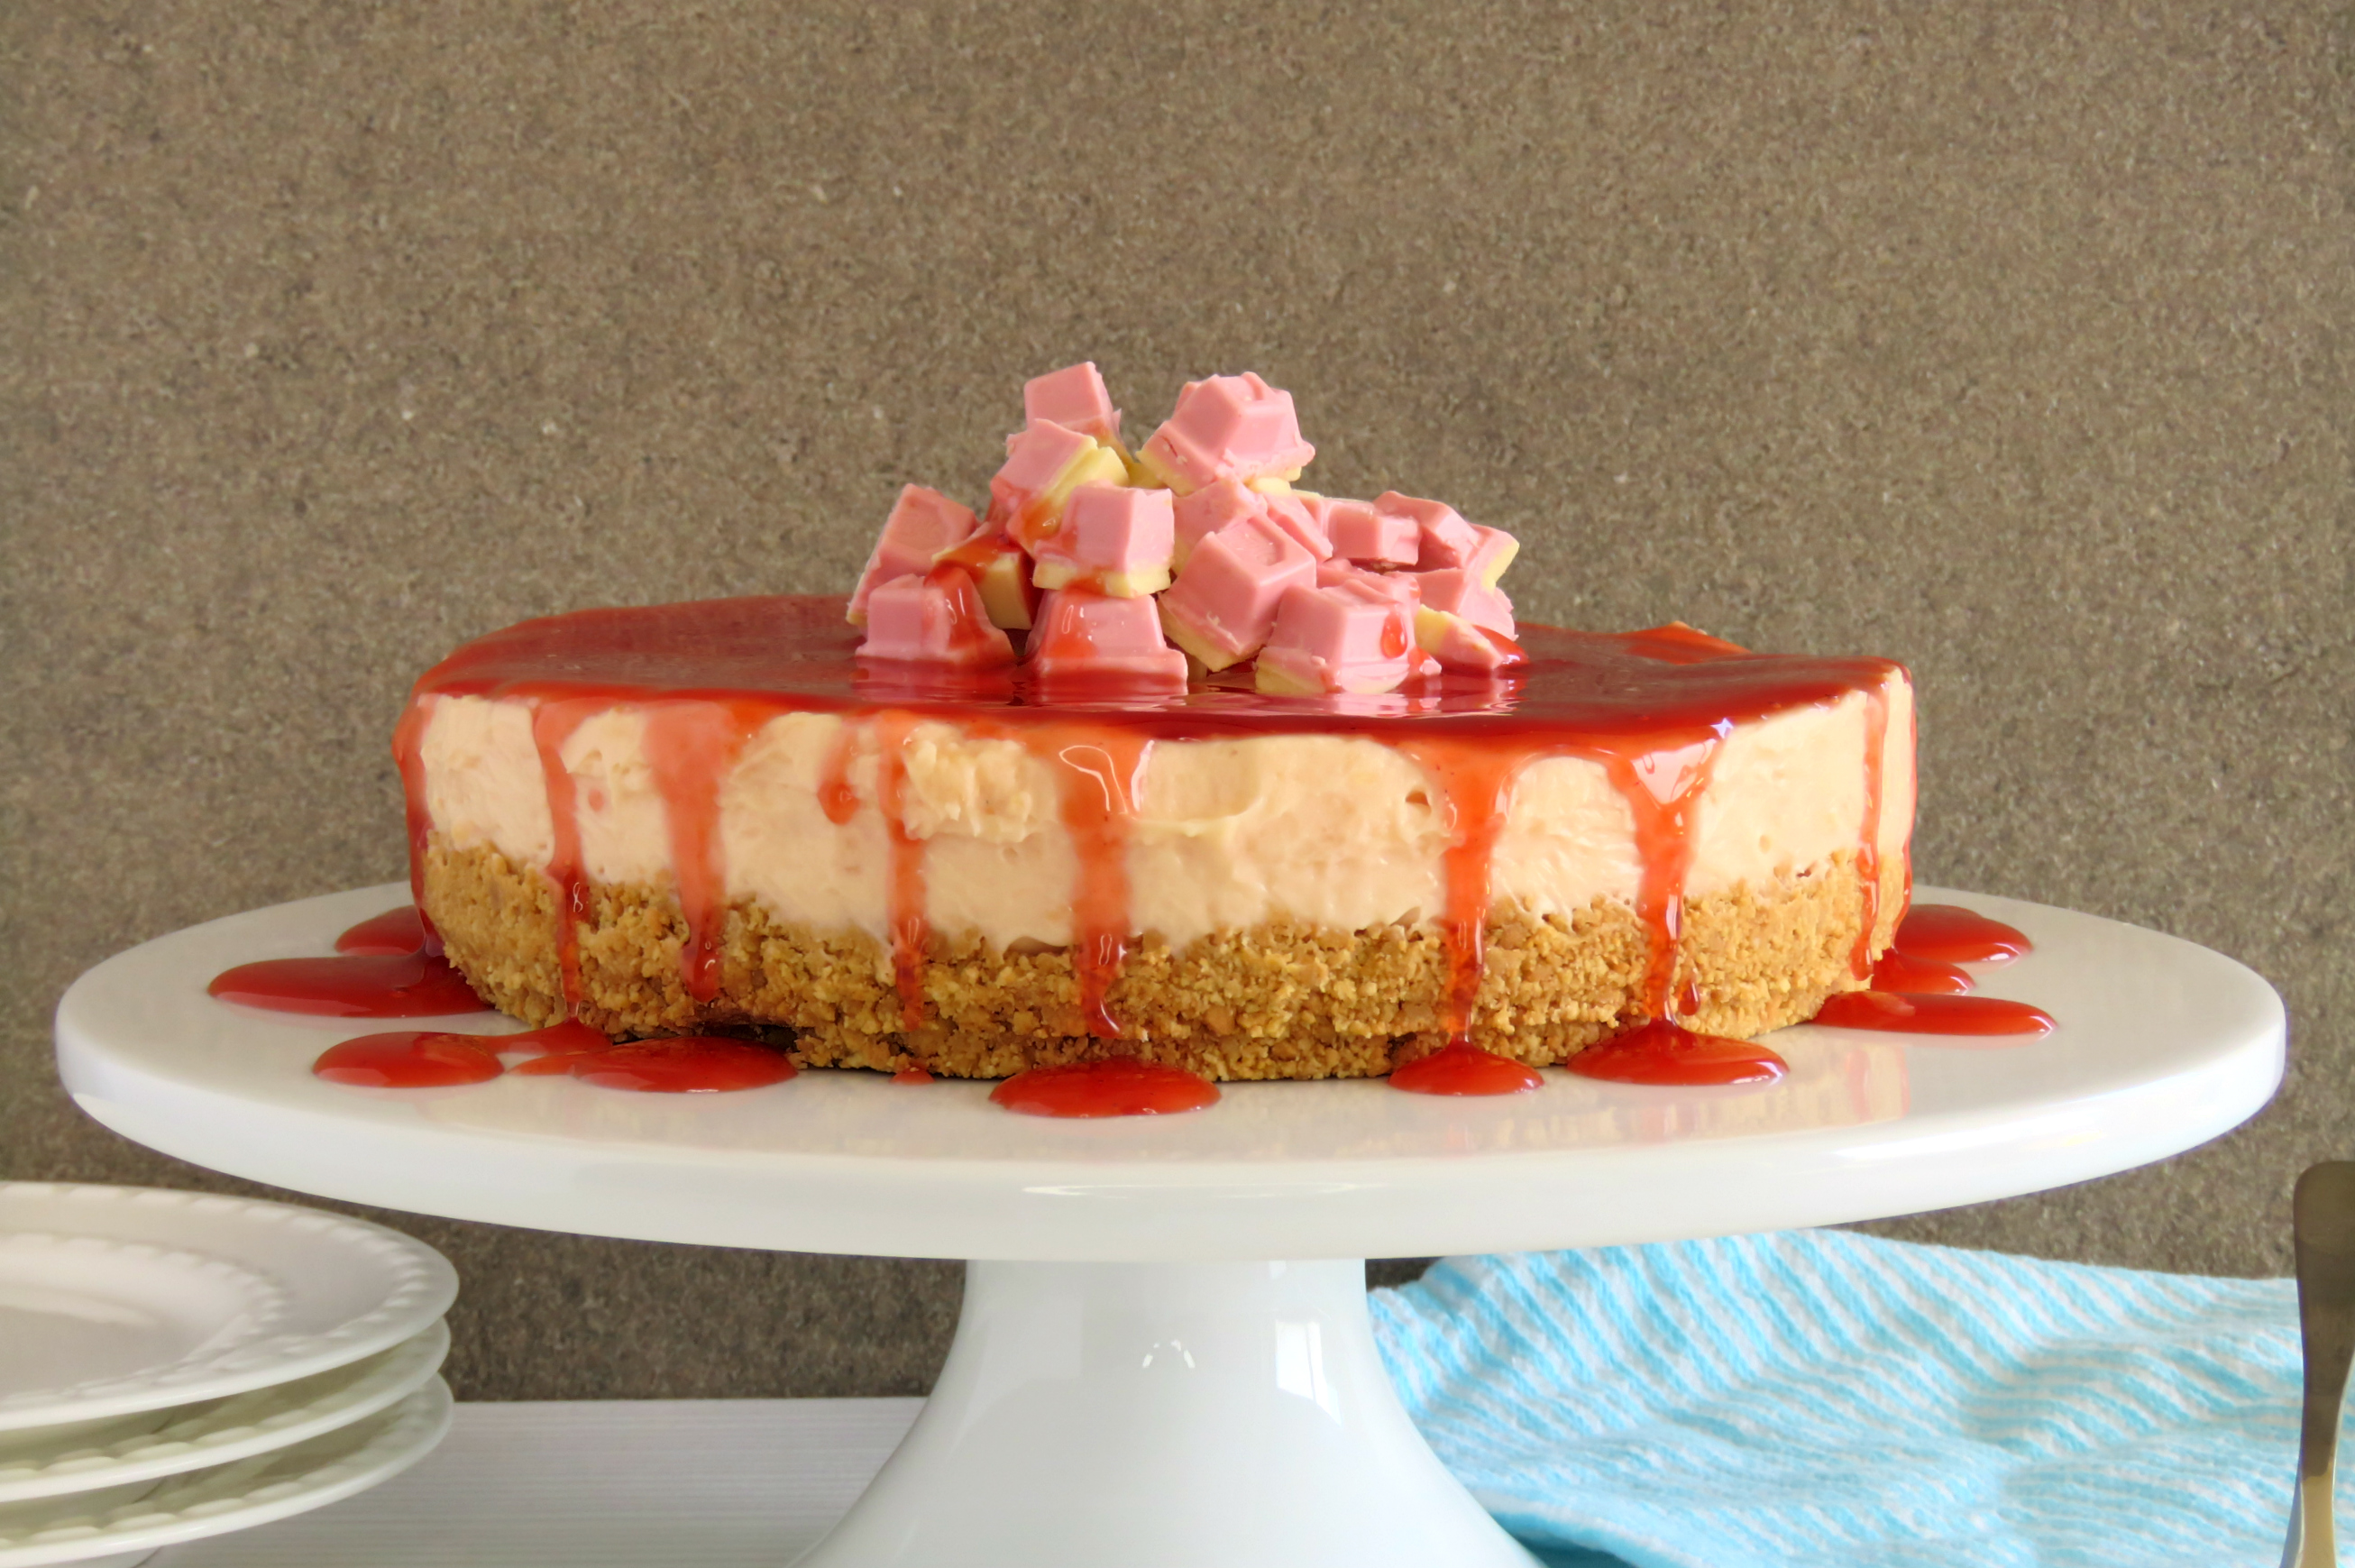
As soon as I saw that a limited time chocolate appeared that was Coconut Ice flavoured I knew I had to get that into one of my famous cheesecakes! This Coconut Ice Cheesecake is even better than I could have imagined….
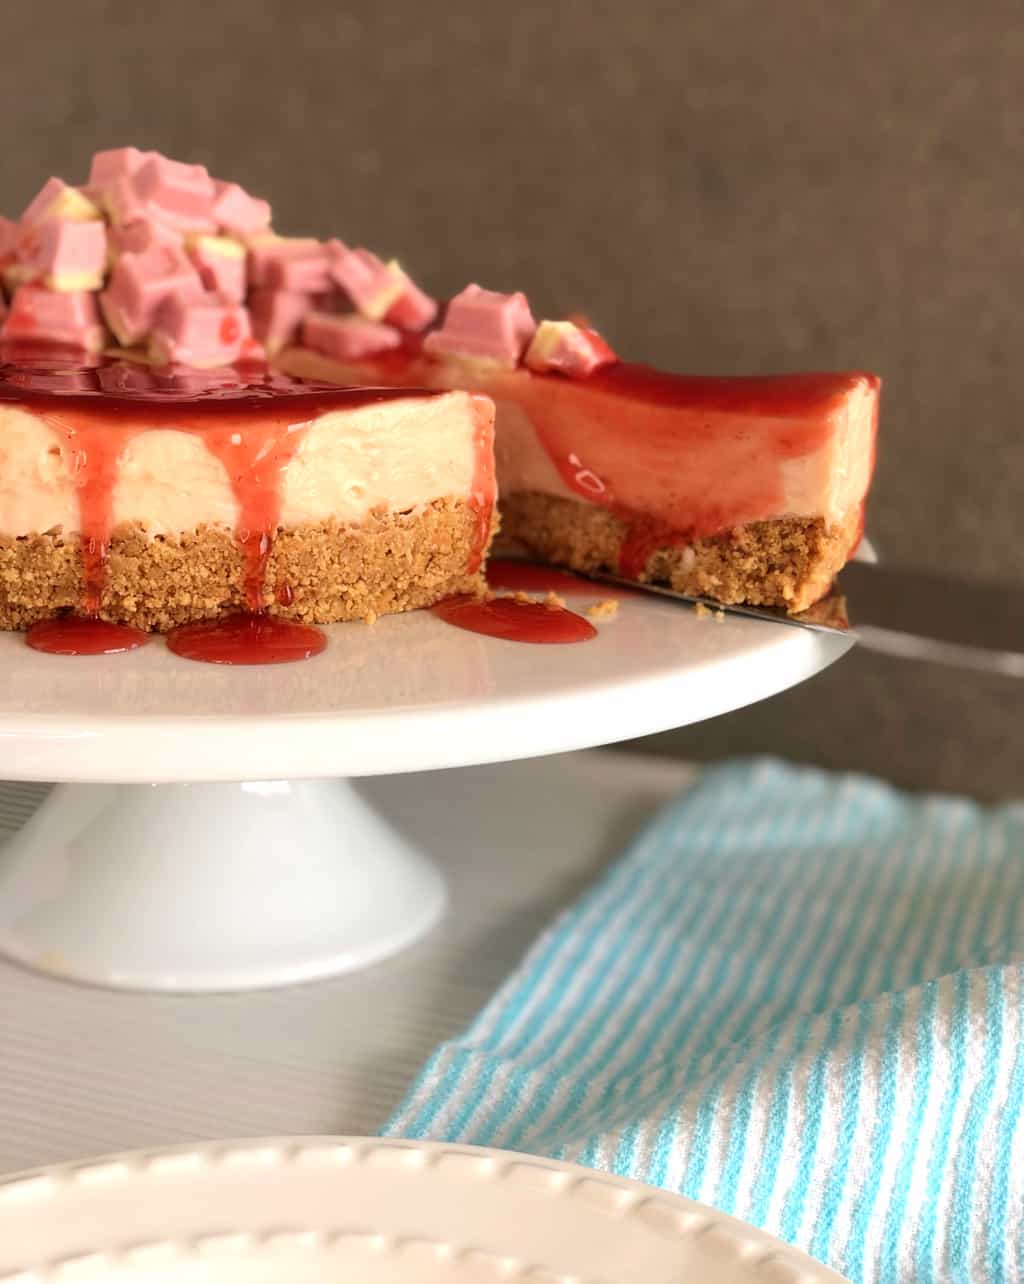
This post is in no way sponsored or supported by the makers of this particular chocolate, although we would be a match made in heaven so Whittakers should really give me a call….. Given how much I love their Creamy Milk I basically have shares in them anyway 😉 It comes in two colours, blue and pink, but they taste the same so you can go for a light pink or light blue cheesecake with equally delicious results!
My cheesecake has been re-imagined in all sorts of flavours recently, from Caramello, Caramilk, White Chocolate and more recently as divine White Chocolate & Oreo it should be no surprise I wanted to bring out a new flavour to share with you all, even if it is a limited time thing. However it is actually so delicious maybe if we help them sell out it might become a full time thing!
My cheesecakes are super simple, including no tricky steps and no bake. I often get asked about thickened cream, this is a cream you can by in the supermarket that is already whipped and has added gelatin. You can also buy some cooking creams that have the same or similar ingredients.
For the biscuit base I use wine biscuits which are a basic vanilla type biscuit, in Australia you might use a Marie or Arrowroot biscuit and in the UK the Marie or a digestive will work well. Easiest way to blitz them is in a food processor but if you do not have one then a big ziplock bag and a rolling pin will do the trick. You want the crumb nice and thin to blend well with the melted butter. I like my bases thick, but if you prefer them thin simply press the biscuit base up the sides of the tin as well to create a sort of case for the cheesecake filling.
To make the filling it is really easy, simply whip together the cream cheese, caster sugar and vanilla. Caster sugar is a finer sugar than the standard, this means it incorporates well into the filling without leaving a grainy texture. Next you add the melted chocolate and the thickened cream. I melt my chocolate in the microwave, in short bursts stirring in between until it is all just melted. You do not want to overheat it or it will go thick and gluggy.
Then all there is left to do is to set it. Simply pop it in the freezer for at least 4 hours before serving. Cheesecake is best served after being out of the fridge for around 20 minutes so get it out ahead of time.
So onto the recipe, be sure to let me know if you make it!
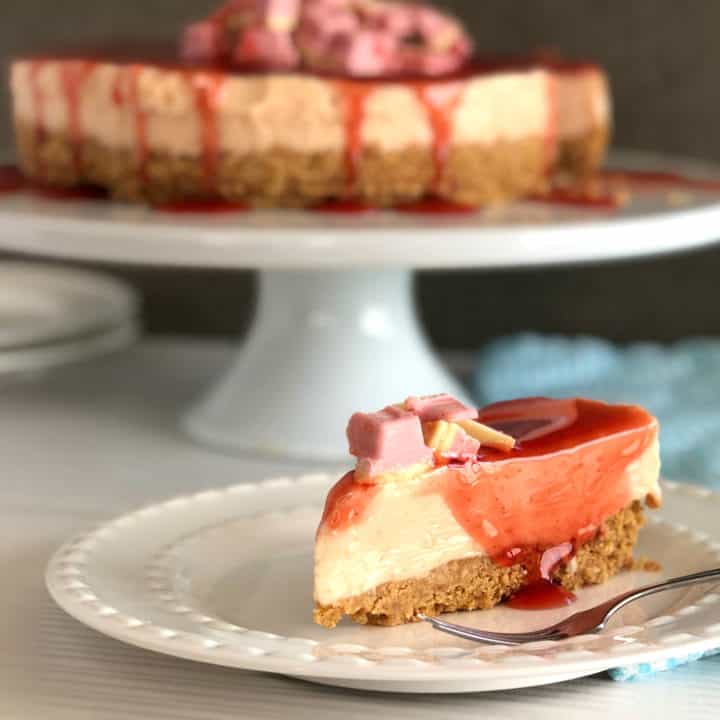
Coconut Ice Cheesecake
Decadently divine, this cheesecake has to be on your must try list, so easy but so dreamy
Ingredients
- BASE
- 125g Butter, melted
- 1 x 250g Packet Super Wine Biscuits (Arrowroot or Marie a good alternative)
- FILLING
- 500g Cream Cheese
- 1 teaspoon Vanilla
- ½ Cup Caster Sugar
- 190 grams Whittakers Coconut Ice Chocolate, melted
- ½ Cup Thickened Cream *found in the supermarket, in NZ I use the Anchor Brand
Instructions
BASE
- Crush biscuits into a fine crumb in the food processor, add melted butter and blend well.
- Pour into a 22cm springform tin and press down well – for a thinner crust you can press it up the side of the tin or pat it down into one layer.
- Pop this in the fridge while you prepare the filling.
FILLING
- Rinse out the food processor or use a food mixer
- Combine together cream cheese, vanilla and sugar until it is light and fluffy – scraping down the sides occasionally.
- You really want the mixture to be creamy and satiny to ensure you get the best texture in the end so whip a minute longer than you think you need to.
- In a small bowl, break the chocolate into pieces and melt in the microwave – heating for 10-15 second bursts, stirring in between until completely melted and smooth
- Fold the thickened cream and chocolate gently into the cream cheese mixture until well combined – I used the food processor and just put it on lowest speed until just combined.
- Pour the cream cheese mixture onto the biscuit base and gently smooth it using a knife.
- Refrigerate until set – ideally 4 hours, but can also be made a day ahead if required.
- Once set, remove from the fridge for 20 minutes.
- Use a slightly warm knife around the edge and gently undo the spring from tin, then carefully transfer to a serving plate and remove the base of the tin.
- Ideally allow to reach room temperature before serving.
- You can serve it as is, or add some strawberry topping, coconut ice, leftover coconut ice chocolate, or coconut threads.
- Enjoy!
If you try this or any of my recipes send me some photos – via email,Instagram or FB, I love to see them.
Thank you so much for stopping by to check out this recipe and others on my blog. If you are not already be sure to follow me on Facebook or Instagram for more deliciousness, and you can register your email in the subscription box below to receive all my recipes as I publish them.
Happy Baking!
Anna xo
I love hearing from you! What do you think of this recipe?