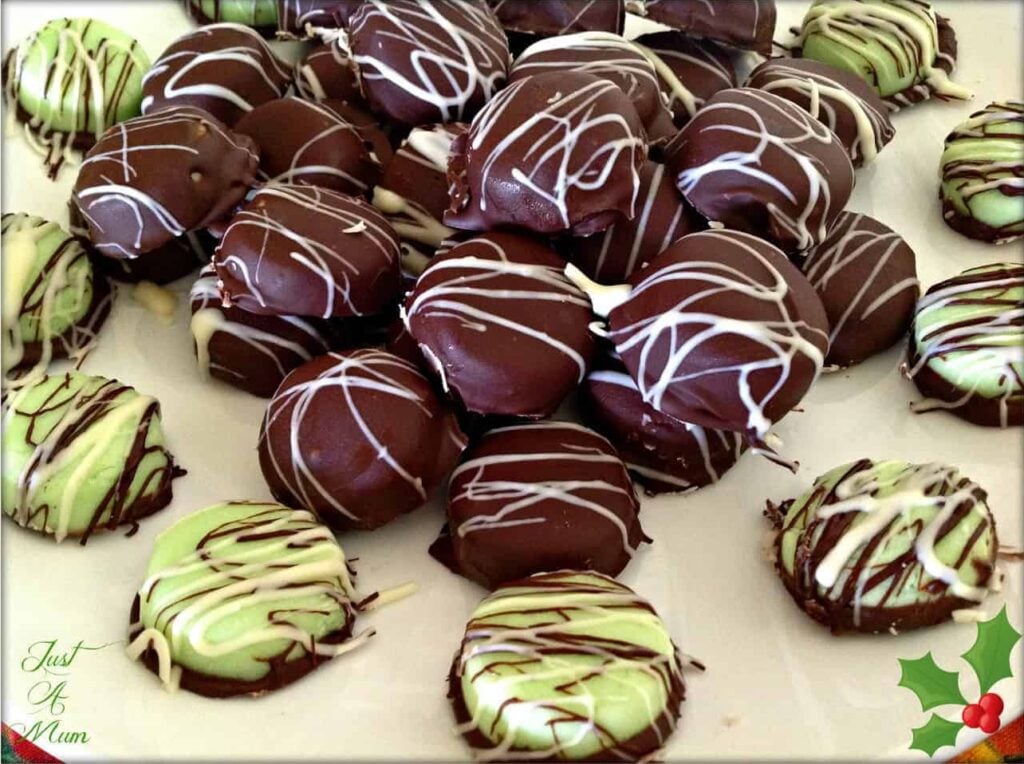
These Peppermint Creams are such a lovely recipe to make, with such delicious flavours, they make perfect gifts!
Posted December 10, 2014, Updated November 26, 2025
I love getting recipes from family and this recipe comes from my husbands Mum, although she does not remember it lol!
I recently had a disaster with a peppermint slice so I was a little hesitant making up this recipe in case I was cursed with icing sugar mint creations – and I have to admit I did have to tinker with the original recipe to get it to a good consistency, but if the feedback I got today from a group of ladies is anything to go by they were a hit!
They were compared to an after dinner mint, and I can see the resemblance, although the centre is a little drier than a soft after dinner mint is still tastes lovely, minty and chocolately!
It is a little fiddly but it is one of those things that you figure out with trial and error. I quite like doing different things at Christmas time so I didn’t mind! I am looking forward to making strawberry hearts for Valentines day!
The final product is more grainy than creamy – this is totally normal and does not seem to detract from the taste – if it were too soft and creamy you could not roll it out so bear that in mind when you create them.
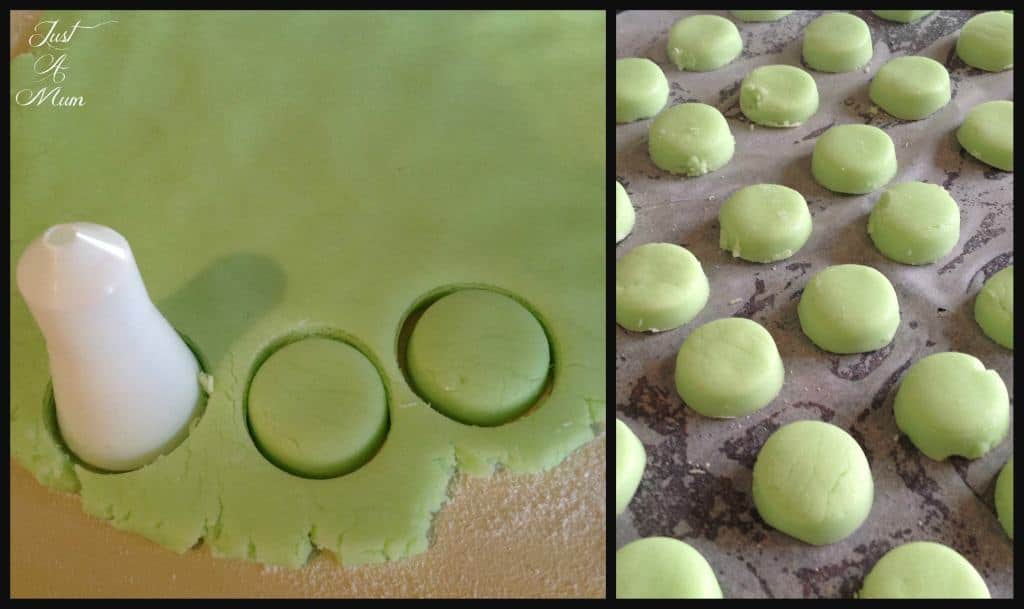
I like to make things as easy as possibly, so I have used a nozzle from one of my icing kits here to make the right size cutouts, you can use whatever you have on hand.
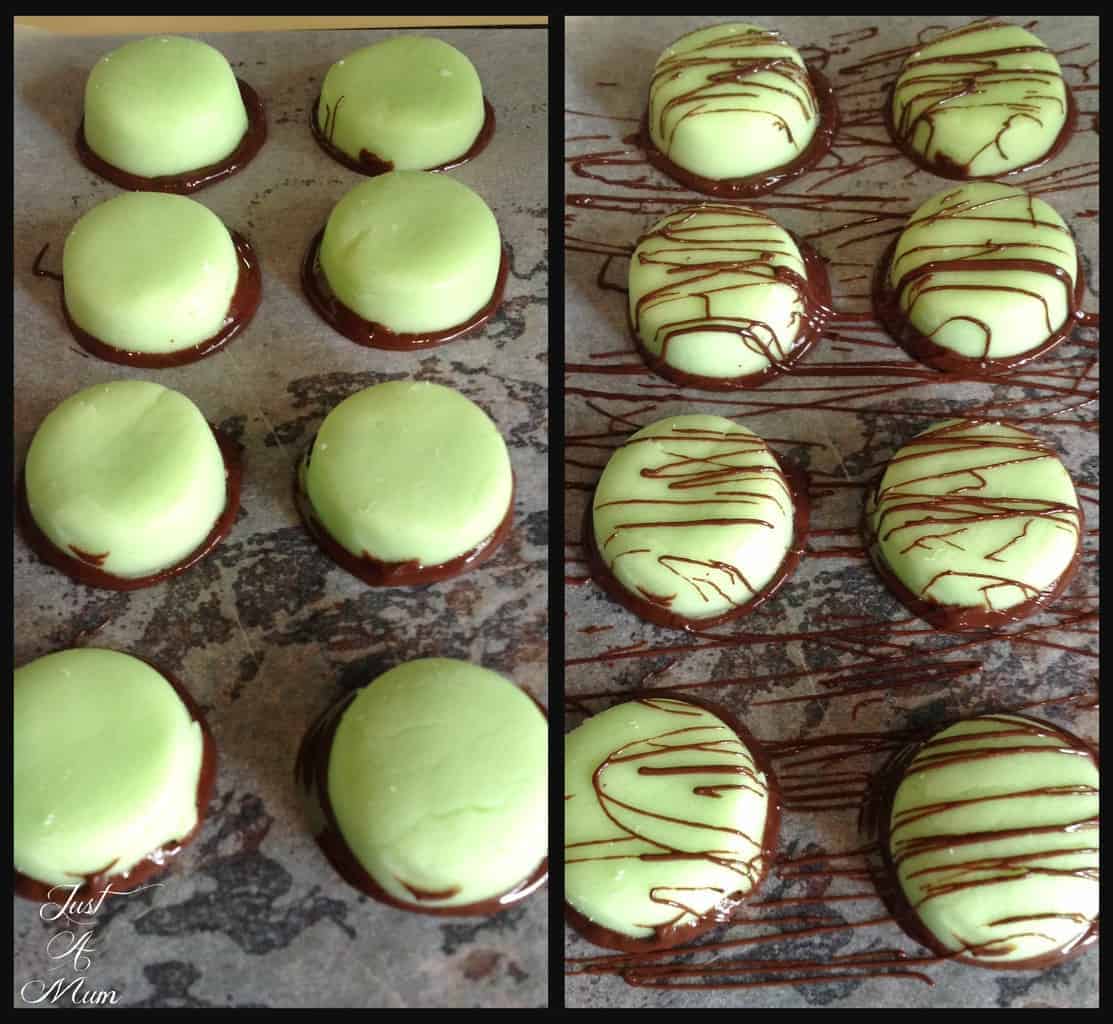
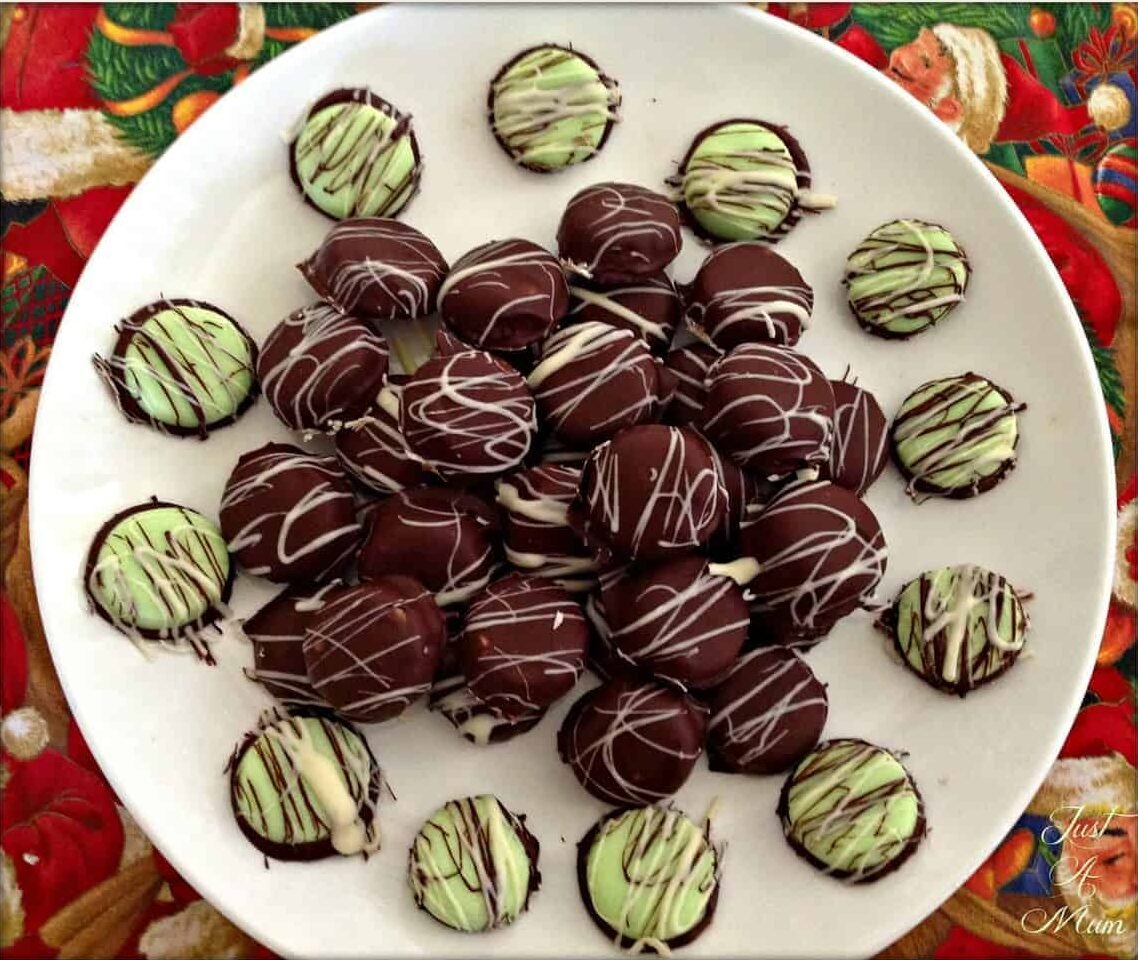
You may decorate these however you like! There are several methods including dunking the bases and flicking chocolate over them, or completely immersing them in chocolate. As you can see I have done a mixture of both.
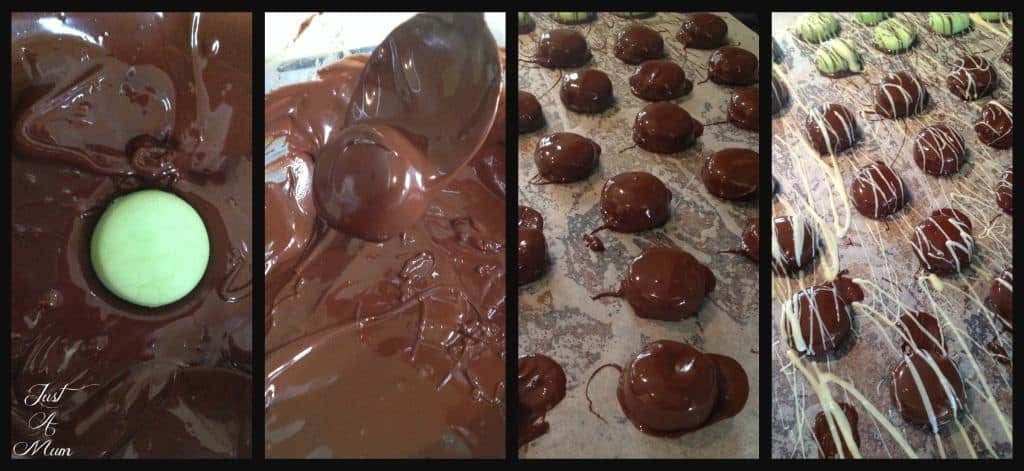
My favourite way to decorate these Peppermint Creams was to dip them completely in chocolate – then add melted white chocolate drizzles over the top once they had nearly set.
You need to hang it off the end of a large spoon – you will get the hang of the balance so that the chocolate drizzles off but the cream does not fall back into the chocolate – trial and error! Have patience and fun!
If you love the look of these try some other Christmas Confectionery on my page
White Chocolate Rocky Road
Marshmallow Christmas Trees
Candy Cane Chocolate Bark
Candy Cane Santa Sleighs
Do not be daunted, there are a few steps but it is fun to play around with these ingredients. Kids and adult alike will love them!
Store them in the fridge until you are ready to use them.
And now onto the recipe for Peppermint Creams, a lovely treat.

Peppermint Creams
Lovely sweets perfect for Christmas.
Ingredients
- Butter, 56 grams
- 3-4 Tablespoons Milk
- 1/2 teaspoon Peppermint Essence
- 3-5 Drops Green Food Colouring
- Icing Sugar (Powdered), 455 grams
- Good Quality Chocolate (I used Cadbury Old Gold Dark), 200-250 grams
- ~Optional~ White Chocolate
Instructions
- Prepare a tray or two with baking paper (I spray lightly with cooking spray so paper sticks to tray)
- In a large saucepan place butter, 3 TBSP milk, essence and colouring in a pan and heat slowly until butter is melted. DO NOT BOIL
- Remove from the heat and cool slightly
- Add Icing sugar and mix well to form a soft ball - if not coming together easily then add an extra tablespoon of milk to make pliable dough or more if necessary - mix with hands too to see if ball forms.
- Taste at this stage to see if it has enough essence flavour and add a few drops more if need be.
- Turn mixture on to a bench sprinkled with icing sugar and knead into a ball.
- Roll out to 1cm thickness.
- I used an icing tip to cut my circles as it is the perfect size, but you can use a small cookie cutter or lid, anything that will give you desired shape that is hanging around in the back of your drawer!
- Cut into rounds and set aside on a tray covered in baking paper.
- Melt the chocolate in a double boiler or the microwave. If you do it in the microwave heat for 30 seconds then stir, then melt for a further 10 seconds at a time stirring in between until it is just completely melted.
- I did a few different methods of decorating, see below for more instructions on each style.
- Cool these in the fridge - I keep mine in the fridge until it is time to serve as it is summer here but in cooler months these should be ok out of the fridge for a time.
- Enjoy!
I hope you have fun with this recipe – it would make the perfect gifts in little cellophane bags or to serve at one of your many Christmas functions!
Thank you so much for stopping by to check out this recipe, you can follow me on Facebook & Instagram and also follow this blog via email to receive all my recipes as I publish them so check out the subscription box below.
Happy Baking!
Anna



Ange says
These are going to be made for Christmas this year! .I might have a go using raspberry too,or coffee essence & dipped in caramilk!!
Kylie says
Wow!! These were better than store bought. Super easy to make too. Chocolate dipping a but tricky at first but nailed it in the end. Total hit in our household
Sam says
If my sister was in NZ I would be making these for her as our mum used to make them for us when we were little 🙂
Lucy @ Bake Play Smile says
I love this!! Like MEGA love this!! What a simple idea. You’re blog is looking super fabulous and festive by the way! xx
justamumnz says
Well I MEGA thank you 🙂 I still surprise myself when things work out lol 🙂
Bec says
This little gems look wonderful! I’m going to have to make these for my husband, he’s a mad Mint fan. Yum x
justamumnz says
Yay Bec – thanks for stopping by – let me know what he thinks 🙂